

Panasonic ET-PKD520S Users Manual
ENGLISH
ENGLISH
Installation Instructions
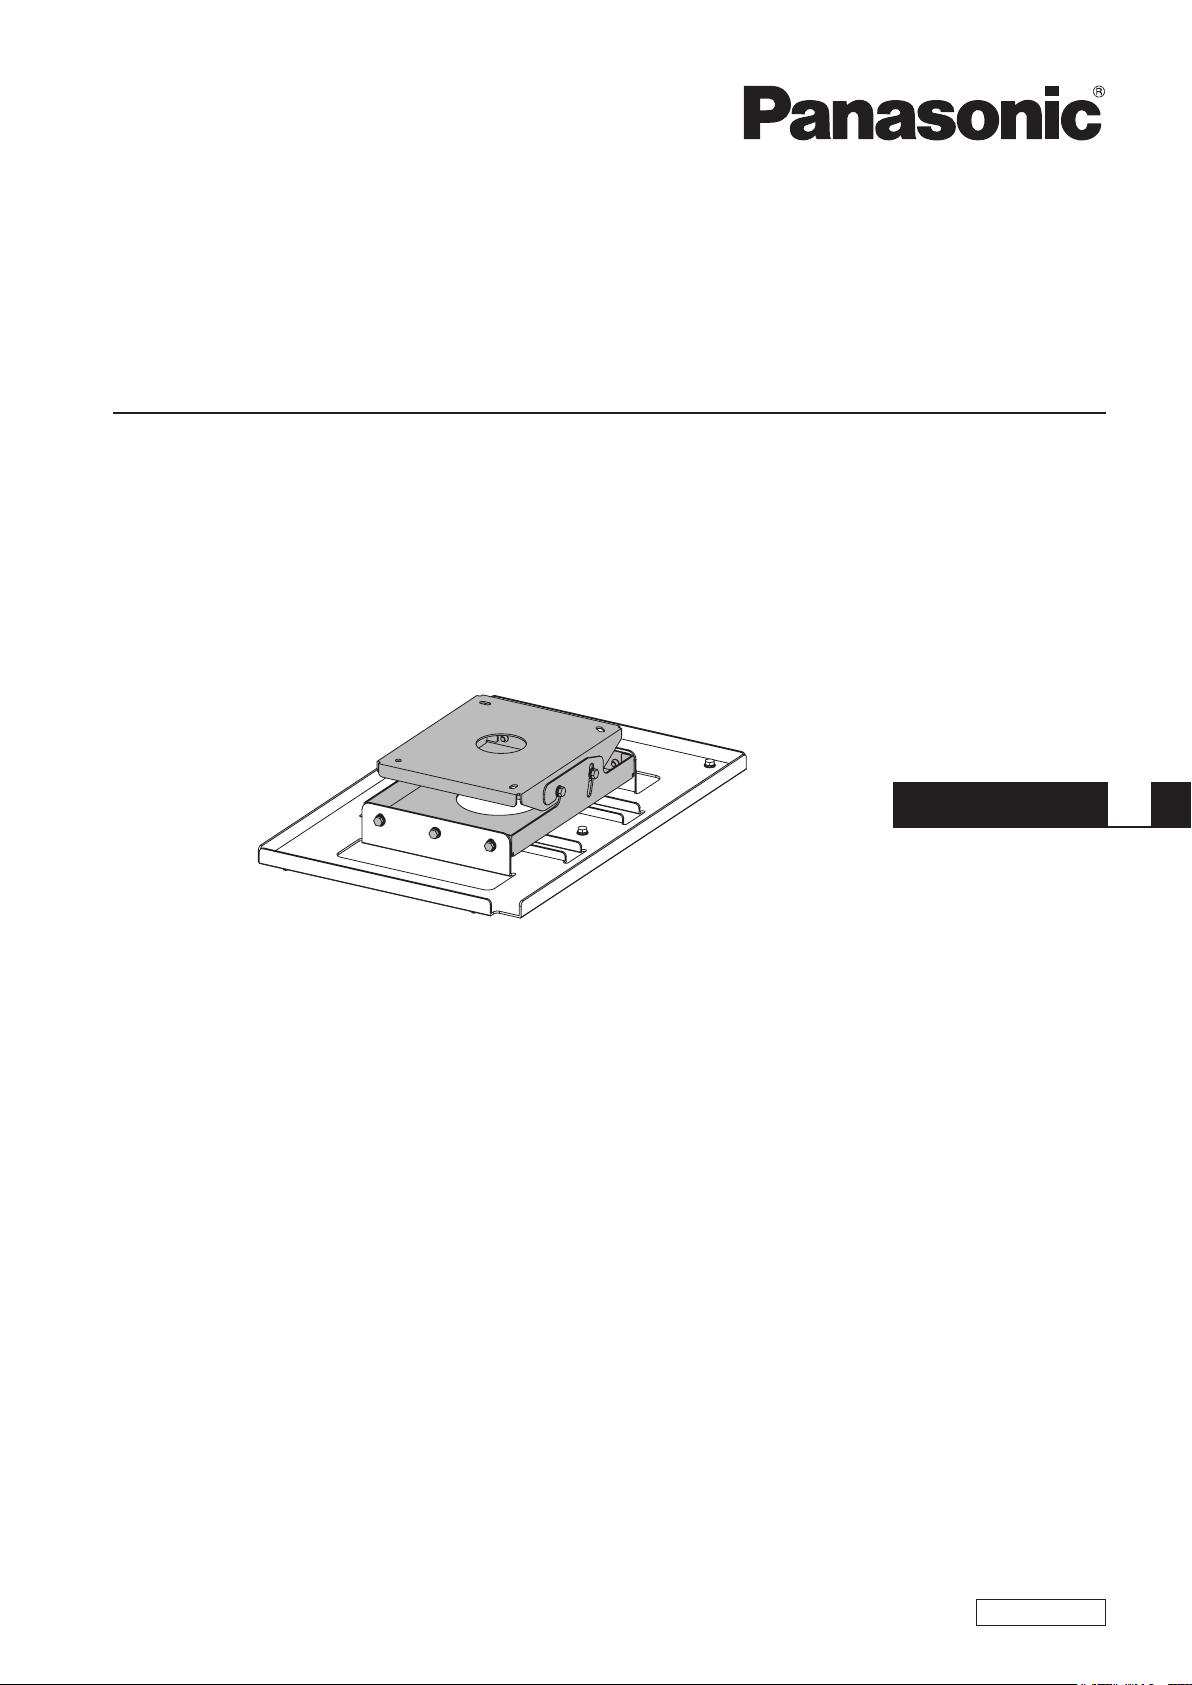
Ceiling Mount Bracket (for Low Ceilings)
Model No. ET-PKD520S
* The figure above shows a combination of this product and the separately sold ET-PKD520B projector mount bracket.
* Unless specified otherwise, the ET-PKD520B is used in the illustrations of the projector mount bracket in these instructions.
Thank you for purchasing this Panasonic product.
■ To customers
The “Installation Instructions” is intended for use by installation personnel. Be sure to employ certified personnel to
perform the installation.
After installation, have the installation personnel return these “Installation Instructions” to you, and save it for future use.
When moving or removing the projector, give this manual to the certified personnel and have them perform the
procedure.
■ To installation personnel
Read the “Installation Instructions” thoroughly and then perform the operation correctly and safely.
Be sure to read through the section entitled “Read this first!” (page 3) before proceeding with the
installation.
After installation, return these “Installation Instructions” to the customer.
TQZJ722-1

Contents
Read this rst! ................................................................................................... 3
Product components ......................................................................................... 4
Installation .......................................................................................................... 5
Setting up the screen .......................................................................................................... 5
Screws tightening torques .................................................................................................. 5
Installing the attachment plate to the ceiling ....................................................................... 5
Installing the bracket to the projector .................................................................................. 7
Suspending the projector .................................................................................................... 7
Adjusting the installation angle ....................................................................... 8
Attaching the wire rope to the ceiling ........................................................... 10
Specications .................................................................................................. 11
ENGLISH
2 -
Read this rst!
Always follow these precautions
WARNING:
Installation work should only be carried out by the certied personnel.
zIf this product is not installed correctly, serious accidents may result.
zFollow the instructions specied in “Installation” and “Attaching the wire rope to the ceiling” of this manual,
and perform secure installation.
Install the ceiling mount bracket in accordance with the structure and materials of the installation
location.
zIf a mistake is made in the installation procedure, the ceiling mount bracket may fall down and an injury may
result.
Mounting must be carried out by two or more persons.
zWhen installing the projector in an overhead location, such as on a ceiling, have at least two persons
perform the installation.
Make sure that your footing is safe and secure during installation.
zIf your footing is not secure, you may trip or fall down, and an injury may result.
Do not loosen or remove the unit screws and bolts unnecessarily.
zThe projector may fall down and an injury may result.
Do not install in a location that is not strong enough.
zIf the installation location is not strong enough, the unit may fall down and damage to the projector or an
injury may result.
Do not install the ceiling mount bracket in humid or dusty locations or in locations where the ceiling
mount bracket may be exposed to oily smoke, steam, or excessive heat.
zFailure to obey may result in re or electric shock. In addition, oil will cause the plastic to deteriorate, which
may result in a drop hazard.
Do not allow children to reach the supplied screws and metal ttings.
zThese items can cause personal injury if swallowed.
zIf swallowed, seek medical help immediately.
Do not disassemble or modify the ceiling mount bracket.
zThe projector may be damaged or fall down, and an injury may result.
CAUTION:
This bracket should only be mounted on the specied projector mount bracket.
Install only using the designated method.
zOtherwise, the projector may fall and become damaged, and cause injury.
Do not install the ceiling mount bracket in a place which may impede projector ventilation.
zIf this is not observed, re may result.
Do not hang from or hang objects on the projector or ceiling mount bracket.
zThe projector may fall and cause injury.
Always use the supplied parts when performing installation.
zOtherwise, this may cause damaged projector to fall and cause injury.
Install the mounting screws and power cable in such a way that they will not make contact with the
inside metals of the ceiling.
zElectric shocks may result from contact with any metal objects inside the ceiling.
■ Panasonic disclaims all liability for any accidents or any damage caused by the installation of the
ceiling mount bracket using methods that are not described in these Installation Instructions or
methods that do not use the parts specied in these Instructions.
■ If products are no longer being used, they should be dismantled and removed by the certied
personnel as soon as possible.
ENGLISH
- 3
Product components
This is a ceiling mount bracket for installing projectors.
Use this together with the projector mount bracket (sold separately).
■ Applicable projector mount bracket
ET-PKD520B
*
Products other than the above may be supported. Refer to the installation instructions for your projector mount bracket.
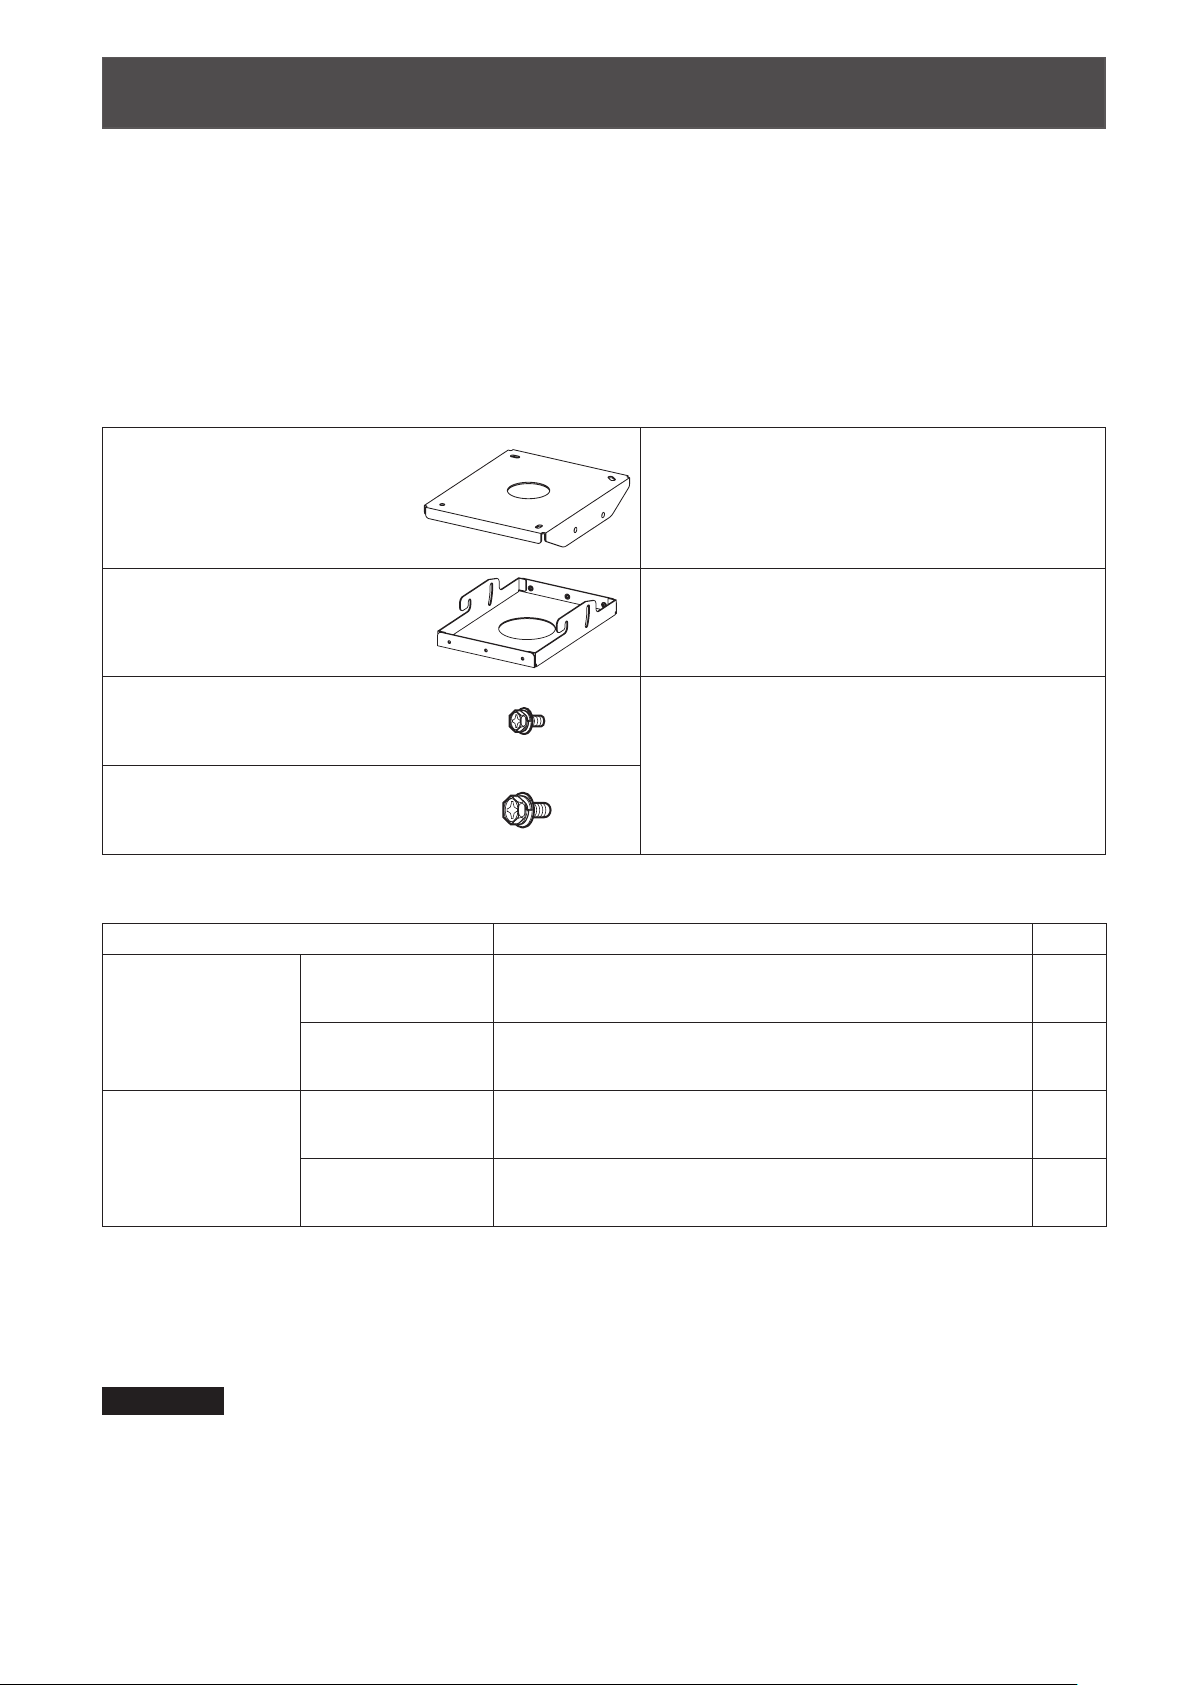
■ Structural components
Check that the package contains the following parts. The number enclosed in < > is the quantity.
Attachment plate <1> The attachment plate is attached to the ceiling via
four ceiling mount bolts.
Installation methods are different for concrete and
wooden ceilings.
This allows panning adjustment.
Angle adjusting bracket <1>
Hex head bolt, captive washer
<6>
(M6 × 16)
Hex head bolt, captive washer
<4>
(M8 × 20)
This is attached to the projector mount bracket
(sold separately).
This allows vertical tilt adjustment.
These are used to assemble the bracket.
■ The user must also obtain the following parts. (commercially-available)
Installation work Required parts Page
Installing the
attachment plate to
the ceiling
(Bolt diameter: M10
or 3/8")
Attaching the wire
rope to the ceiling
(Bolt diameter: M10
or 3/8")
Installing to a
wooden structure
Installing to a
concrete structure
Installing to a
wooden structure
Installing to a
concrete structure
Ceiling mount bolt (× 4), Hex nut (× 16), Flat washer (× 16),
Spring washer (× 8)
Ceiling mount bolt (× 4), Hex nut (× 12), Flat washer (× 12),
Spring washer (× 8), Anchoring nut or curled plug (× 4)
Ceiling mount bolt (× 4), Hex nut (× 8), Flat washer (× 8),
Spring washer (× 4)
Anchoring nut or curled plug (× 4), Hex head bolt (× 4),
Spring washer (× 4), Flat washer (× 4)
6
6
10
10
* Use at washers (commercially available) with an outside diameter (Ф) of at least 22 mm (7/8") and a thickness (t)
of at least 1.5 mm (1/16").
zTightening torque for the screws are M6: 4±0.5 N•m, M8: 10±1 N•m, and M10 (3/8"): 20±1 N•m.
zWhen tightening up the screws, use a tool such as a torque screwdriver or torque wrench. Do not use electric
screwdrivers or impact screwdrivers.
Attention
zDispose of the packaging materials properly after taking the product out of it.
zStore small parts in an appropriate manner, and keep them away from small children.
ENGLISH
4 -
 Loading...