

Panasonic CF-W4HWEZZBM Service Manual
ORDER NO. CPD0604066C1
Personal Computer
CF-W4
This is the Service Manual for
the following areas.
M …for U.S.A. and Canada
Model No. CF-W4HWEZZBM
© 2006 Matsushita Electric Industrial Co., Ltd. All rights reserved.
Unauthorized copying and distribution is a violation of law.

CONTENTS
Page Page
1 Read Me First. ....................................................................
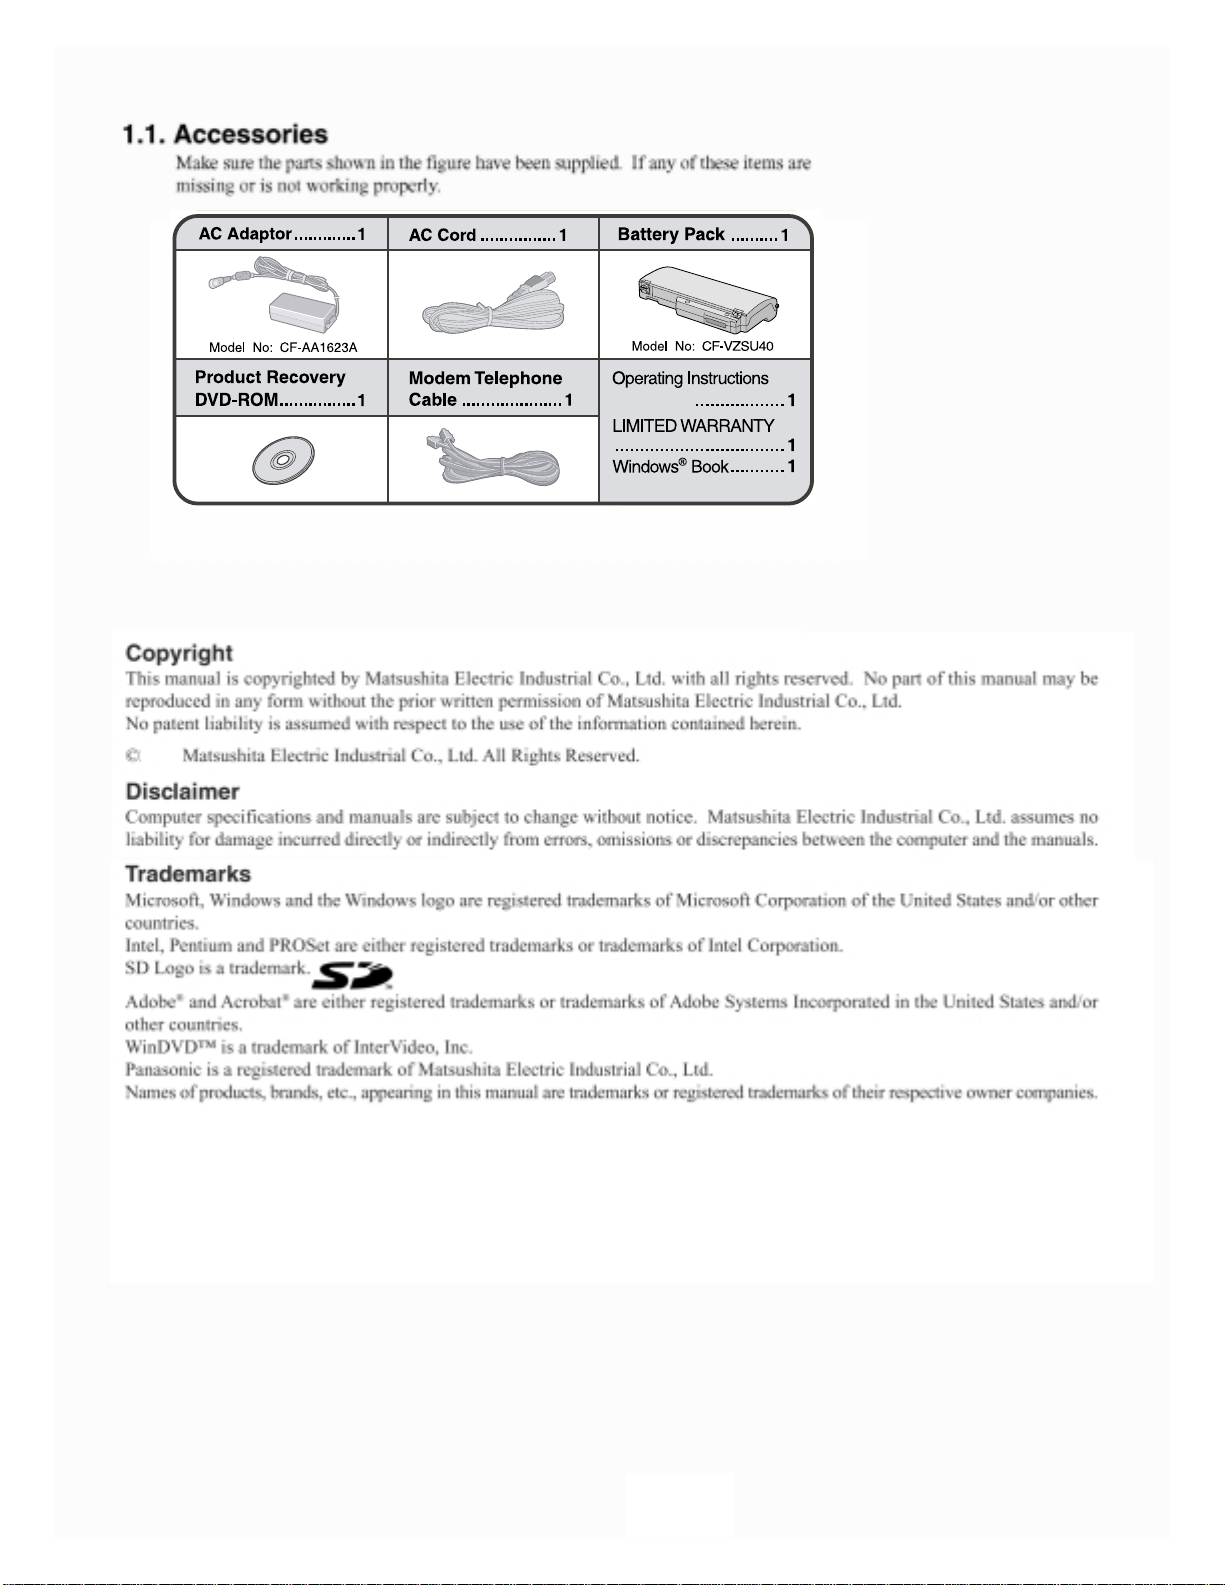
1.1 . Accessories ...........................................................
2 Specifications ....................................................................
3 Names and function of Parts ..........................................
4 Diagnosis & Repair ..........................................................
4.1. Basic Procedures .....................................................
4.2. Troubleshooting .......................................................
4.3. Connection Diagram ................................................
4.4. Power-on Self Te st (Boot Check) .............................
5 Self Diagnosis Test ..........................................................
5.1. Outline of Self Diagnostic Te st .................................
5.2. Automatic Test ..........................................................
5.3. Peripheral Test .........................................................
5.4. Test Selection ...........................................................
5.5. Error Messages and Troubleshooting ......................
10
11
14
16
16
17
23
24
26
26
27
28
29
30
6 Disassembly & Reassembly Instruction ...................
4
6.1. Disassembly Flow Chart .....................................
6.2. Disassembly ........................................................
6.3. Reassembly ........................................................
7 Explanation of Hardware ............................................
7.1. System Block Diagram ........................................
8 Main Unit Extended View ...........................................
8.1. Display section ....................................................
8.2. Cabinet section ...................................................
8.3. Bottom section ...................................................
9 Replacement Parts List ..............................................
31
31
32
42
56
56
58
58
59
60
61
2

3
4

LASER SAFETY INFORMATION
For U.S.A
Class 1 LASER-Product
This product is certified to comply with DHHS Rules 21 CFR Subchapter J.
This product complies with European Standard EN60825 (or IEC Publication 825)
For all areas
This equipment is classified as a class 1 level LASER product and there is no hazardous LASER radiation.
Caution:
(1) Use of controls or adjustments or performance of procedures other than those specified herein may result
in hazardous radiation exposure.
(2) The drive is designed to be incorporated into a computer-based system or unit which has an enclosing
cover. It should never be used as a stand alone drive.
Danger:
The serviceman should not remove the cover of drive unit and should not service because the drive unit is a
non-serviceable part.
Please check DANGER label on bottom cabinet of the equipment.
. Unplug the AC power cord and remove the battery pack from the equipment before opening the top cover of
the drive.
. When the power switch it on, do not place your eyes close to the top cover to look into the interior of the unit.
LASER Specification
Class 1 level LASER Product
Wave Length: DVD 650 660 nm
CD
778 787 nm
Laser safety information is appropriate only when drive with laser is installed.
5
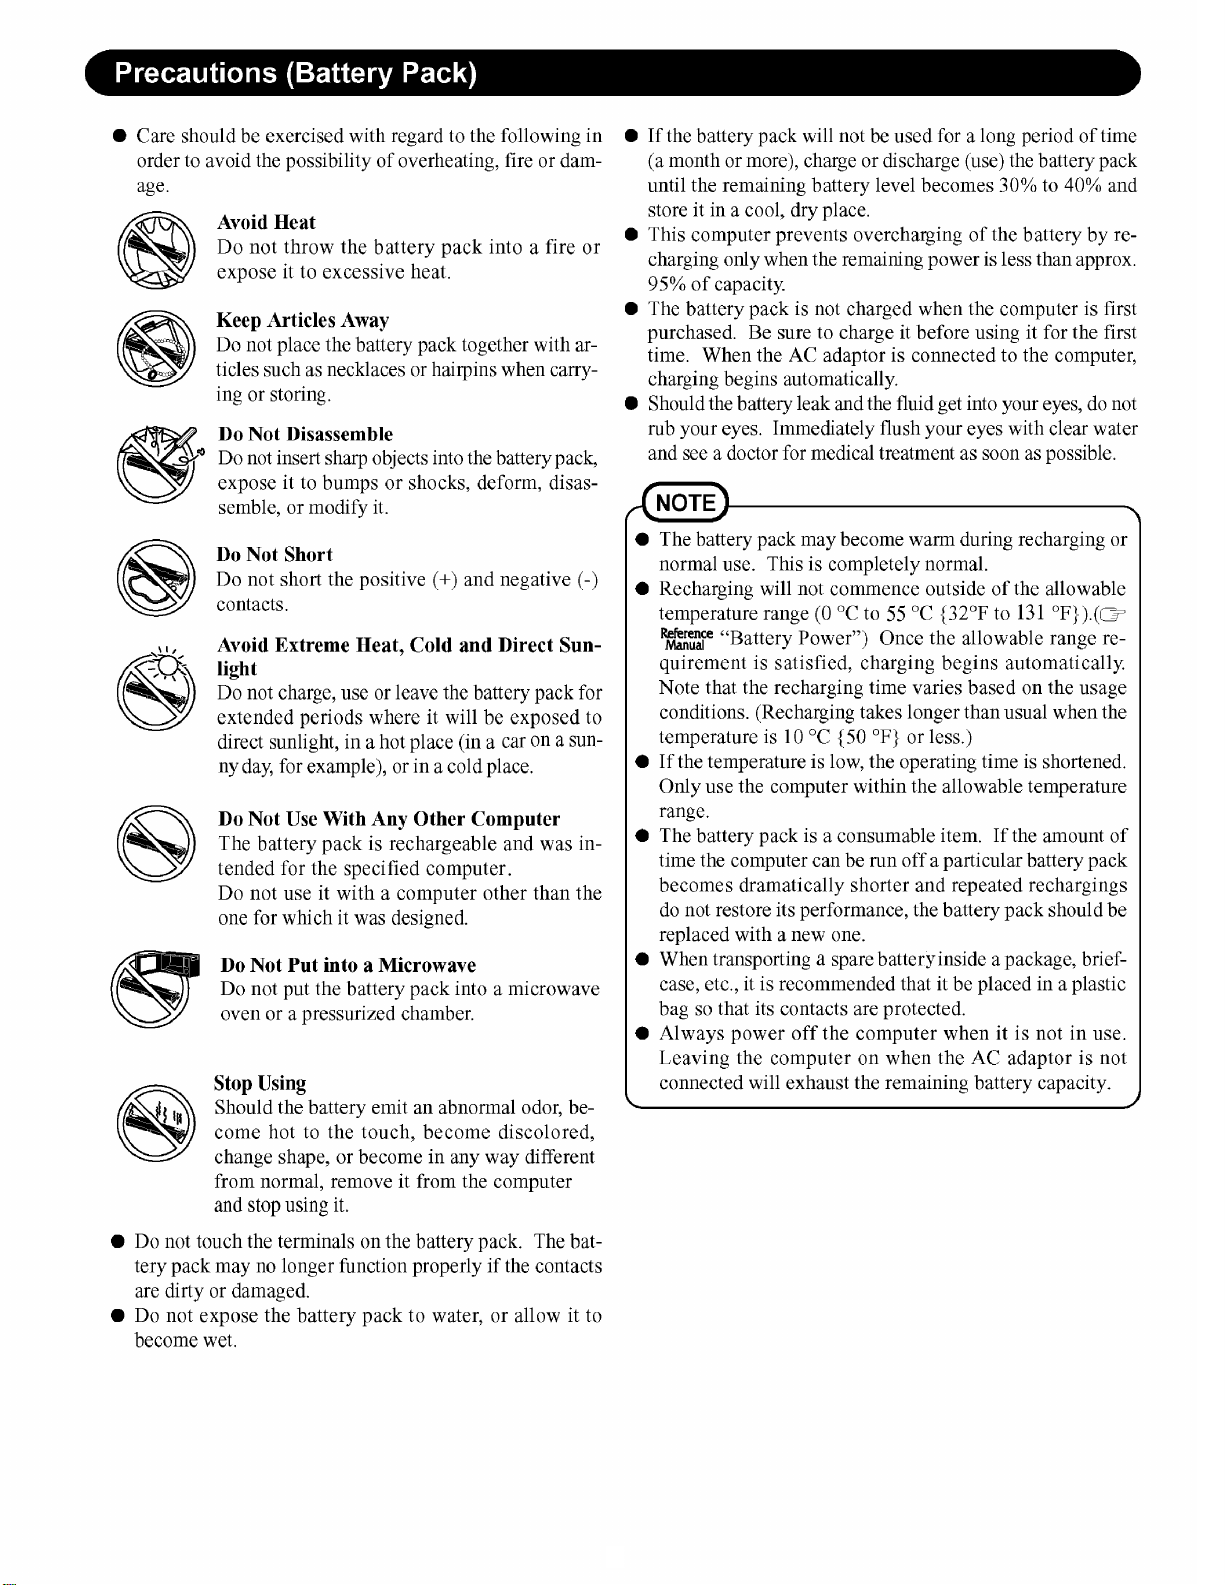
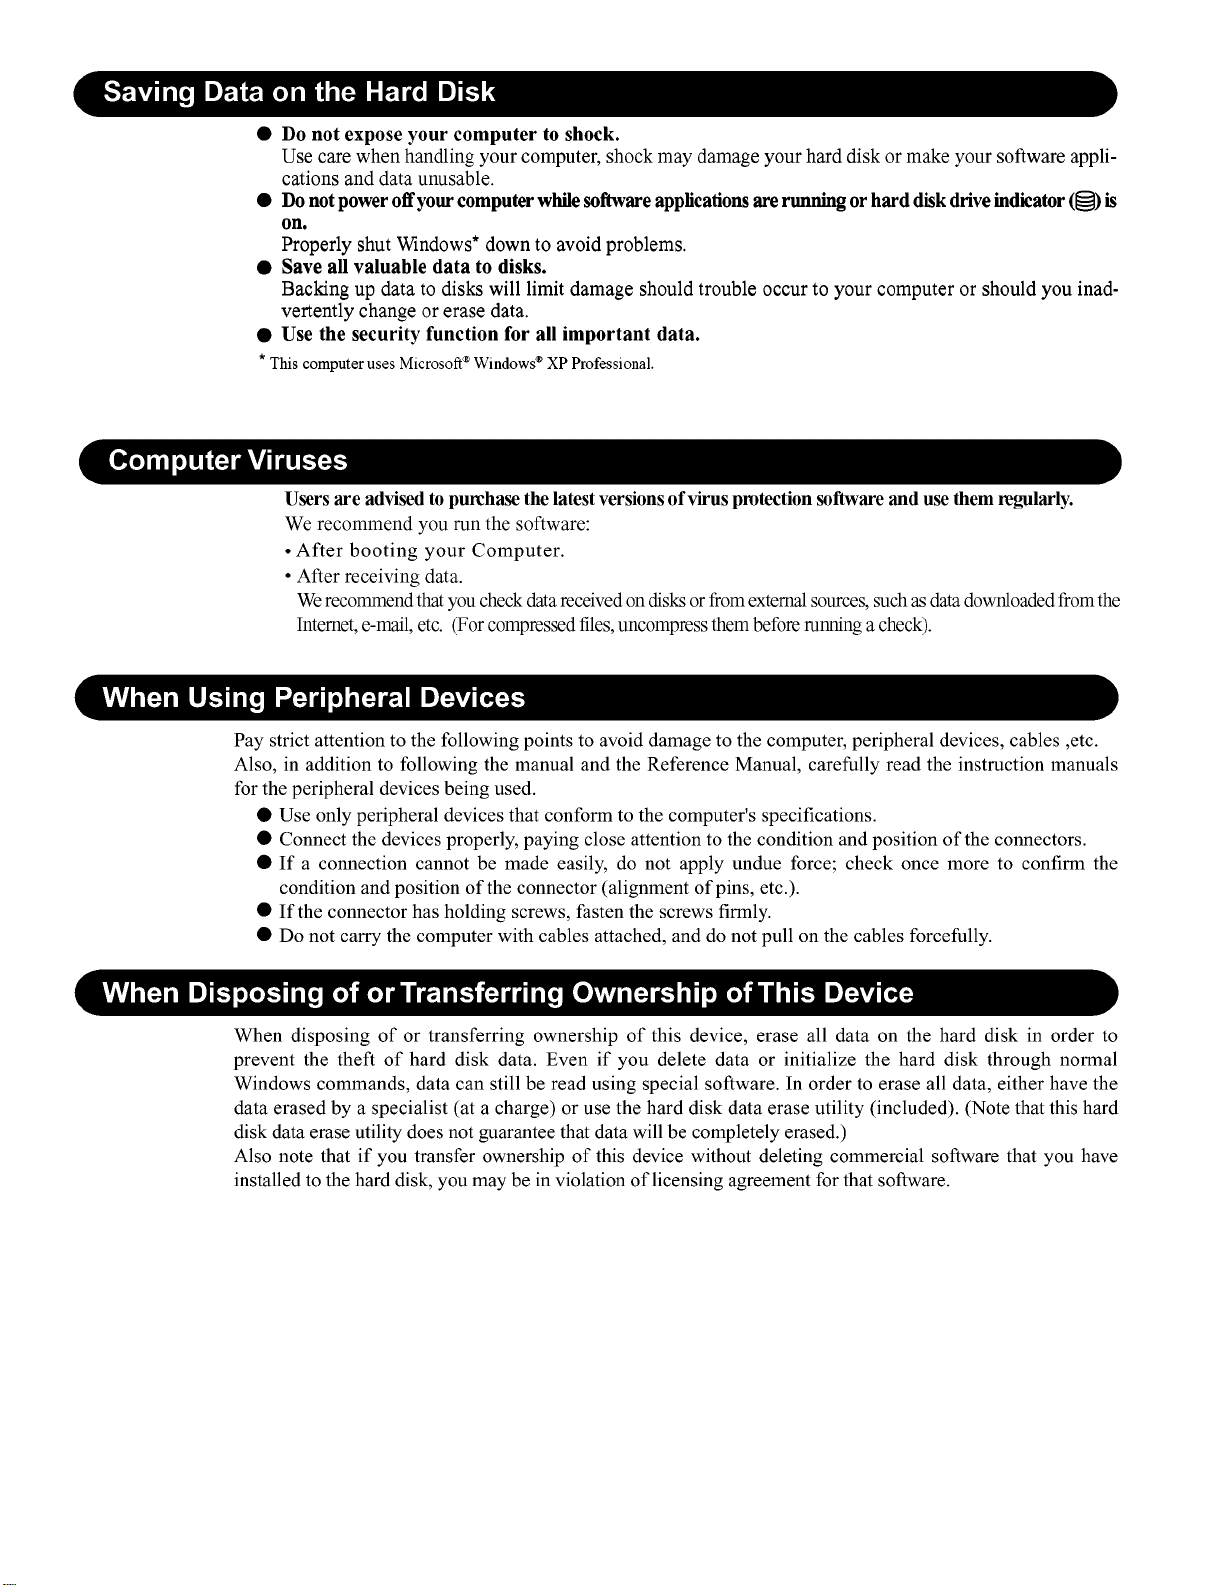
Precautions
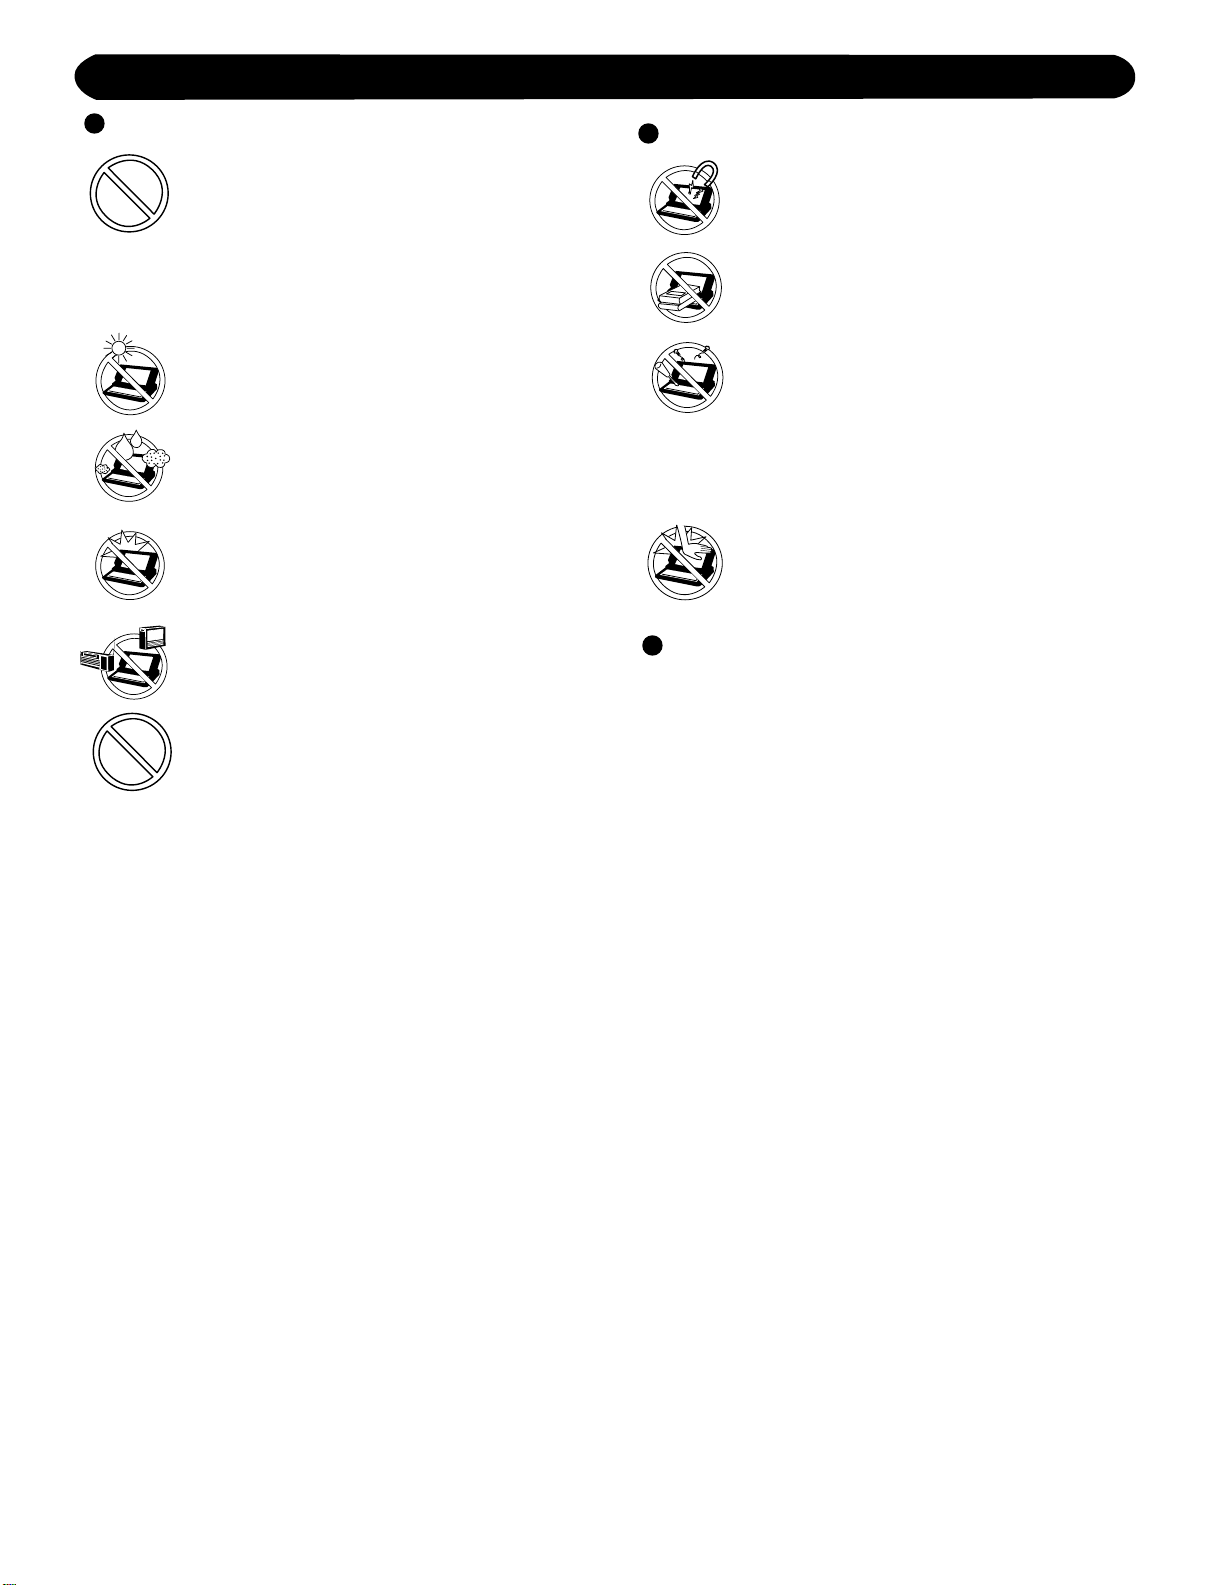
Usage
Avoid Extreme Heat and Cold
Do not store or use the computer in locations exposed to heat, direct sunlight, or
extreme cold.
Avoid moving the computer between
locations with large temperature difference.
Operation: 5 °C to 35 °C {41 °F to 95 °F}
Storage: -20 °C to 60 °C {- 4 °F to 140 °F}
Avoid Direct Sunlight on the LCD Panel
The LCD panel should not be exposed to
direct sunlight or ultraviolet light.
Avoid Humidity, Liquids and Dust
Do not store or use the computer in locations exposed to high humidity, liquids
(including rain) or dust.
Prevent Shock
Avoid subjecting the computer to severe
vibrations or impact. Do not place the
computer inside a car trunk.
Avoid Radio Frequency Interference
Do not place the computer near a television or radio receiver.
Avoiding Low-temperature Burns
Avoid more than casual contact with any
heat producing area of the notebook
computer, AC adaptor, and any option or
accessory you use with it. Even low heat,
if warmer than body temperature, can
cause a burn, if the skin is exposed to the
heat source for a long period of time.
Handling
Avoid Magnetic Fields
Keep the computer away from magnets.
Data stored on the hard disk may be lost.
Avoid Stacking
Do not place heavy objects on top of the
computer.
Do Not Disassemble the Computer
Do not disassemble the computer using
methods other than those shown in this
manual.
This computer contains high-voltage
parts, contact with which may result in
electrical shock. Modification or incorrect
disassembly may result in fire.
Avoid Excessive Force on the Display
Do not apply excessive downwardforce
on the display.
Cables
Use of an interface cable longer than 3m(9.84feet)
is not recommended.
6
7
8
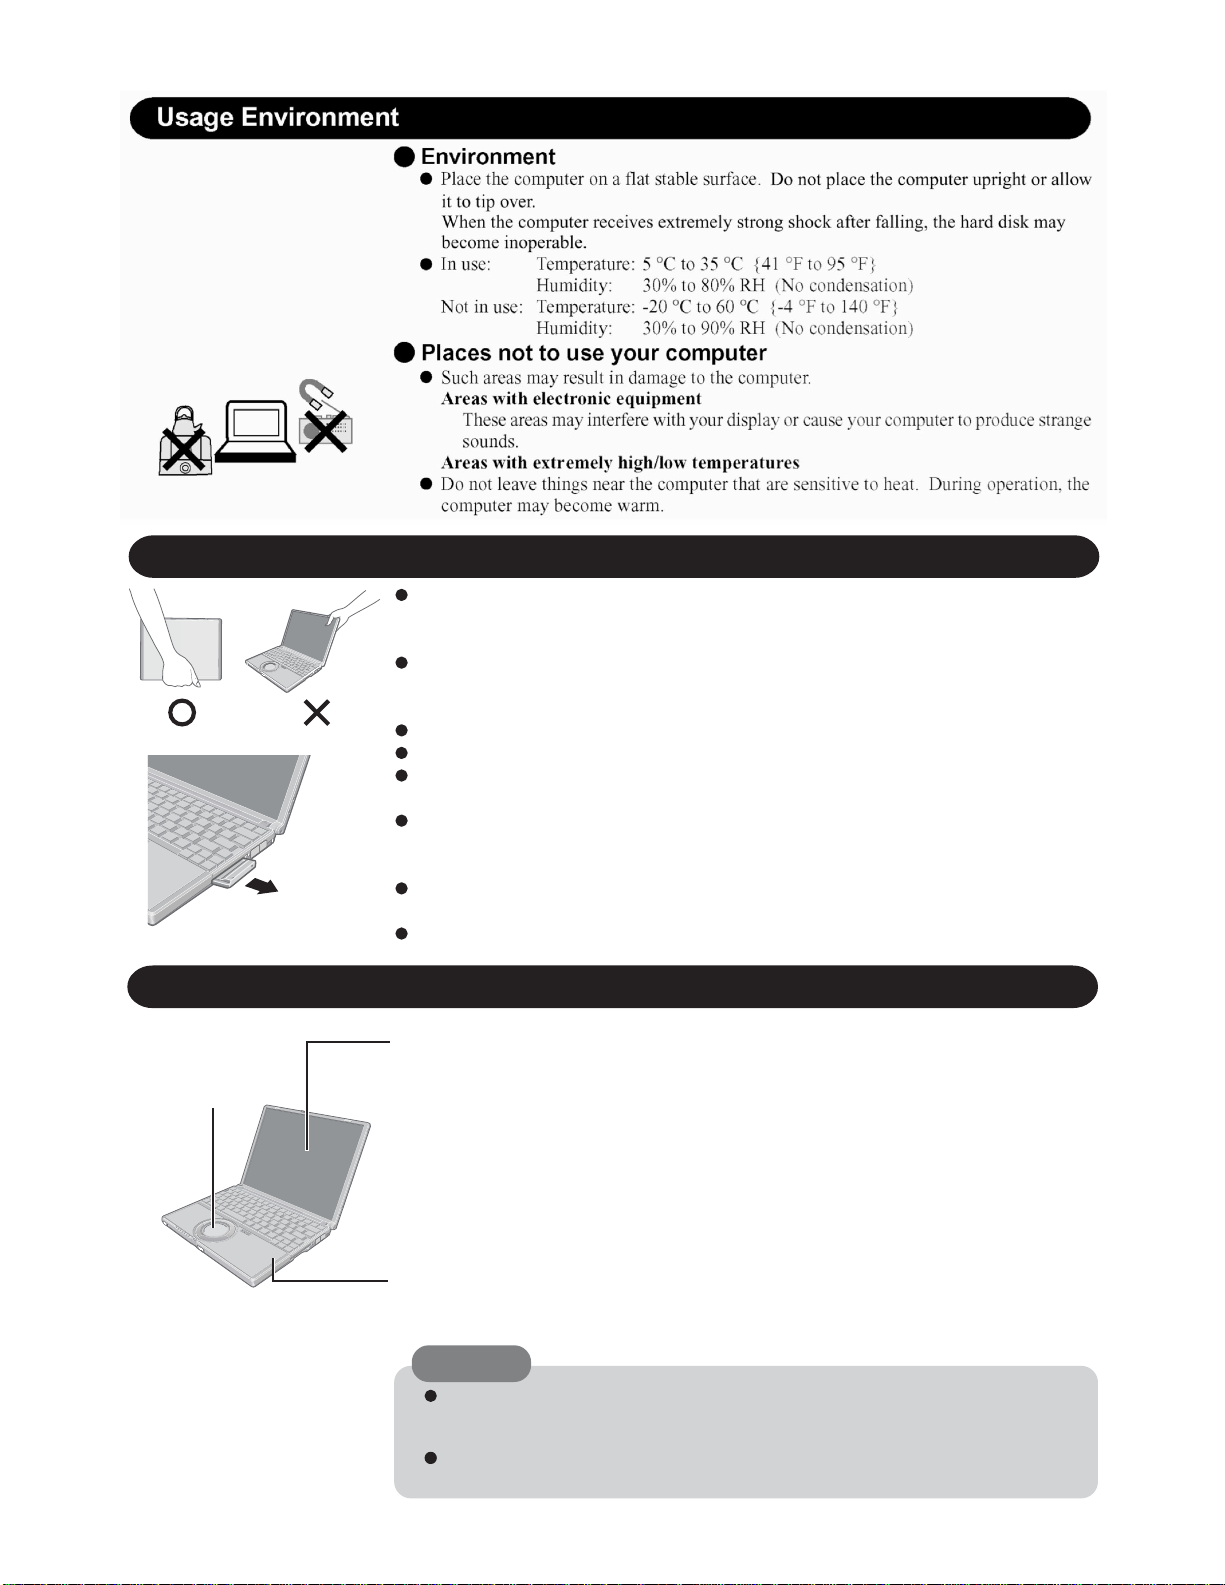
Handling
A
B
This computer has been designed so as to minimize shock to the LCD and hard disk drive, etc.,
but no warranty is provided against such trouble. Therefore, as a precision instrument, be
extremely careful in the handling.
Do not carry the computer while the display is open, or carry it by gripping the display or the
cabinet around the display (see figure A). When closing the display, ensure that the latch is
positioned correctly in the slot .
Do not carry your computer when the power is on.
Do not drop or hit your computer against solid objects.
Remove all external devices, cables, PC Cards sticking out of the computer (see figure B),
SD memory cards, and MultiMedia Cards before transporting the computer.
We recommend preparing a fully charged battery pack.
When transporting a spare battery pack inside a package, briefcase, etc., it is recommended
that it be placed in a plastic bag so that its contacts are protected.
Always carry your computer with you. Never check it in with luggage. For use of the computer inside an aircraft, we recommend asking the airlines regarding their policy on this issue.
It is a good idea to make backup copies on disks and carry them with you.
Maintenance
Touch Pad
Display
Avoid using water when cleaning the panel. Ingredients included in water may leave scratches
and reduce readability of the screen.
<When cleaning dust/dirt>
Avoid rubbing off dust/dirt with cloth since it may leave scratch on the screen.
Sweep dust/dirt with fine brush, then wipe it with a dry soft cloth used for cleaning glasses.
<When cleaning oily surface>
Apply camera lens cleaner on a soft gauze and clean it with gentle force. Then, wipe with a
dry soft cloth used for cleaning glasses.
Areas excluding the display
Wipe these areas with a soft cloth, after applying water or detergent diluted with water to the
soft cloth and firmly wringing out excess water.
CAUTION
Do not use benzene, thinner, or rubbing alcohol. Doing so may adversely affect the
surface, e.g., discoloration. In addition, do not use commercially-available household
cleaners and cosmetics, as they may contain components harmful to the surface.
Do not directly add or spray water or detergent. If liquid enters the inside of the
computer, it may cause it to work improperly or be damaged.
9
2006
10
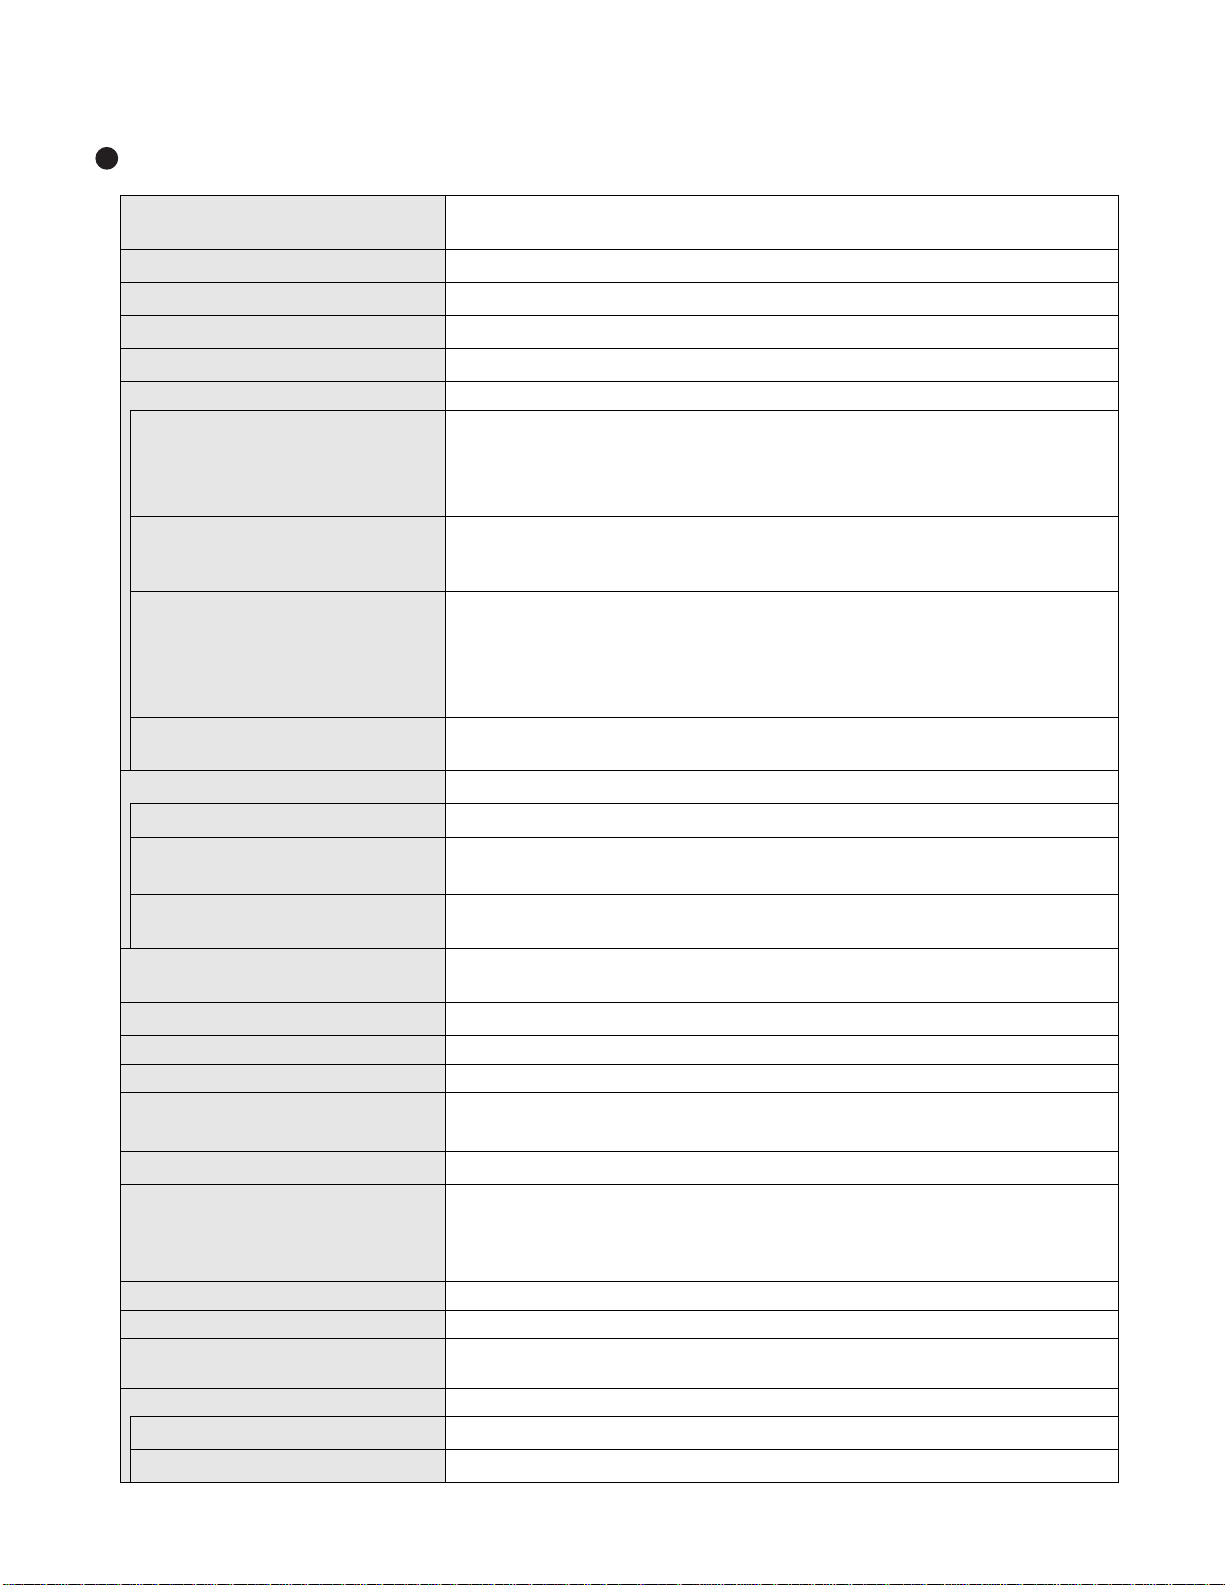
2. Specifications
Main Specifications
CPU/
Secondary cache memory
Chip Set
Main Memory
Video Memory
Hard Disk Drive
DVD-ROM & CD-R/RW Drive USB 2.0 connection interface, Buffer underrun error prevention function: Supported
Continuous Data Transfer Speed
Playback
Continuous Data Transfer Speed
Recording
Compatible Disk and Compatible For-
*
5
/Playback
mats
Compatible Disks and Compatible For-
*
5
mats
/Recording
Display Method
Internal LCD Display
*
External Display
11
Simultaneous Display on LCD + Exter-
*
nal Display
11
Wireless LAN
*4*5
*4*5
Intel® Pentium® M Processor Ultra Low Voltage 753 (1.20 GHz, 2 MB
MHz FSB)
Intel® 915 GMS Express chip set
*
1
512 MB
UMA (128 MB
60 GB
٨DVD-RAM
/
٨DVD-RW: 4X speed (Max.) ٨DVD-ROM
(Max.)
(Max.)
٨CD-R write
/
speed
, DDR2 SDRAM (1024 MB
*
*2
1
Max.)
*3
*6
: 2X speed (4.7 GB*3)/1X speed (2.6 GB*3) ٨DVD-R*7: 4X speed (Max.)
*8
٨CD-R
٨+R DL: 4X speed (Max.) ٨+RW: 4X speed (Max.)
٨High-Speed CD-RW write: 4X speed, 8X speed,10X speed ٨Ultra-Speed CD-
: 24X speed (Max.) ٨CD-RW*8: 24X speed (Max.) ٨+R: 4X speed
*
9
: 4X speed, 8X speed, 10-16X speed, 10-24X speed ٨CD-RW write: 4X
*
1
Max.)
*8
: 8X speed (Max.) ٨CD-ROM*8: 24X speed
RW write: 10X speed, 10-16X speed, 10-24X speed
*
٨DVD-ROM (Single Layer, Dual Layer) ٨DVD-Video ٨DVD-R
*
3
٨DVD-RW (Ver.1.1/1.2 1.4 GB, 4.7 GB, 9.4 GB)
GB)
2.6 GB, 5.2 GB, 4.7 GB, 9.4 GB)
٨CD-Audio ٨CD-ROM (XA compatible) ٨CD-R ٨Photo CD (multiple session compati-
٨VideoCD ٨CD-EXTRA ٨CD-RW ٨CD-TEXT
ble)
٨CD-R ٨CD-RW
12.1 XGA type (TFT) (1024
65,536/16,777,216 colors (1024
*
3
٨+R (4.7 GB)
× 768 dots)
× 768 dots)
*
10
*
3
*
3
٨+R DL (8.5 GB)
7
(1.4 GB, 3.95 GB, 4.7
٨DVD-RAM
*
65,536/16,777,216 colors (800 × 600 dots/1024 × 768 dots/1280 × 768 dots/1280 ×
1024 dots/1600
65,536/16,777,216 colors (800 × 600 dots, 1024 × 768 dots)
Built-in Intel
× 1200 dots/2048 × 1536 dots)
®
PRO/Wireless 2915 ABG
*
10
*
1
L2 cache, 400
*
6
(1.4 GB, 2.8 GB,
3
٨+RW (4.7 GB)
*
3
*
LAN
12
IEEE 802.3 10Base-T, IEEE 802.3u 100Base-TX
Modem Data: 56 kbps (V.92) FAX: 14.4 kbps
Sound WAVE and MIDI playback, Monaural Speaker (built in)
Card Slots
RAM Module Slot
Interface
PC Card Slot
SD Memory Card Slot
DDR2 SDRAM, 172-pin, 1.8 V, Micro DIMM, PC2-3200 Compliant
USB Ports
External Display Port: Mini Dsub 15-pin female / Microphone Jack: Miniature jack, 3.5
DIA / Headphone Jack: Miniature jack, 3.5 DIA / Mini Port Replicator connector : Dedi-
× 1: (One Type I or Type II, Allowable current 3.3 V: 400 mA, 5 V: 400 mA)
*
13
× 1
*
× 2 (USB2.0 × 29)
15
/ Modem Port ( RJ-11 ) / LAN Port ( RJ-45)
cated 50-pin male
Keyboard/Pointing Device 83 keys/Touch Pad
Power AC adaptor or Battery pack
AC Adaptor
*
16
Input: 100 V - 240 V AC, 50 Hz/60 Hz
Output: 16 V DC, 2.5 A
Battery Pack Li-ion 7.4 V, 7.8 Ah
Operating Time
Charging Time
*
17
*
20
Approx. 4 hours - 7.5 hours
Approx. 5 hours (Power off)/Approx. 6.5 hours (Power on)
*
18
(Approx. 5.5 hours
*
19
) (Disable Economy Mode (ECO))
11
*
14
*
12
/

Main Specifications
*
Power Consumption
21
Physical Dimensions (W × H × D)
*
23
Weight
Te mperature
Humidity 30% to 80% RH (No condensation)
Te mperature
Humidity 30% to 90% RH (No condensation)
Environment
*
24
OS
Operation
Storage
Approx. 35 W
268 mm
protrusion) {10.6 " × 1.0 " / 1.8 " × 8.3 "}
Approx. 1290 g {2.8 lb.}
5°C to 35°C {41°F to 95°F}
-20°C to 60°C {-4°F to 140°F}
Microsoft® Windows® XP Professional with Service Pack 2 with Advanced Security
Te chnologies (NTFS File system)
*
22
/ Approx. 40 W (maximum when recharging in the ON state)
× 24.9 mm (at the front)/44.3 mm (at the rear) × 210.4 mm (excluding
Microsoft® Internet Explorer 6 Service Pack 2 / DirectX 9.0 c /
Microsoft® Windows® Media Player 10 / Microsoft® Windows® Movie Maker 2.1 /
Microsoft
®
.NET Framework 1.1 / Adobe Reader / Intel® PROSet/Wireless Software
<Only for models with wireless LAN> / SD Utility / Icon Enlarger / Loupe Utility / To uch
Pre-installed Software
24
Pad Utility / DMI Viewer / PC Information Viewer / WinDVD™5 (OEM Version) / B’s
*
Recorder GOLD8 BASIC / B’s CLiP 6
25
/ Hotkey Settings / Optical Disc Drive Power-
*
Saving Utility / Wireless LAN Switch Utility <Only for models with wireless LAN> / Economy Mode (ECO) Setting Utility / Battery Recalibration Utility / Infineon TPM Professio-
nal Package*
Setup Utility / Hard Disk Data Erase Utility
*1
1 MB = 1,048,576 bytes
*2
A segment of the main memory is allotted automatically depending on the computer ’s operating status. The size of the Video
28
*
26
/ Hard Disk Backup Utility
*
26
Memory cannot be set by the user.
*3
1 GB = 1,000,000,000 bytes. Operating system or some application software will report as fewer GB.
*4
Data transfer speeds indicate values measured by Matsushita Electric Industrial Co., Ltd. The data transfer rate of DVD per 1X
speed is 1,350 KB/s. The data transfer rate of CD per 1X speed is 150 KB/s.
*5
Performance of CD-R, CD-RW, DVD-RAM, DVD-R, DVD-RW, +R, +R DL, and +RW cannot be guaranteed depending on writing
status and recording format. Also, some data cannot be played back depending on the disk, settings, and environment being
used.
*6
In the case of DVD-RAM, only non-cartridge disks or removable cartridge disks can be used.
*7
DVD-R is compatible with 4.7 GB (for General) playback. DVD-R (for Authoring) playback is compatible with disks recorded
using Disk-at-Once recording.
*8
If an unbalanced disk (e.g., a disk with which the balance has been displaced from the center) is inserted, the speed may become
slower if there are large vibrations while the disk is rotating.
*9
Depending on the disk, the writing speed may become slower.
*10
A 16,777,216 color display is achieved by using the dithering function.
*11
Display may be impossible using some connected external displays.
*12
Some devices cannot be used depending on the port type.
*13
Operation has been confirmed for Panasonic SD memory cards with up to 2 GB capacity. The transfer rate using the SD memory
card slot on this computer is 8 MB per second (this is a theoretical value, and differs from actual speeds). The transfer rate is 8
MB per second even if you use an SD memory card that supports high-speed transfer rates. Does not guarantee connection/
operation of all SD devices. Does not support MultiMedia card. Do not insert MultiMedia card.
*14
Only a RAM module designed for DDR2 (PC2-3200) can be added (Panasonic : CF-BAV0256U / CF-BAV0512U).
JEDEC standard 214 pin Micro DIMM cannot be used. PC2100 / PC2700 172 pin Micro DIMM cannot be used.
*15
Does not guarantee operation of all USB-compatible peripherals.
*16
<Only for North America>
The AC adaptor is compatible with power sources up to 240 V AC adaptor. This computer is supplied with a 125 V AC compatible AC cord.
*17
Varies depending on the usage conditions, CPU speed, etc. Measured value when the power saving function on the USB2.0 USB
Root Hub is set to on. (At the time of purchase, the power saving function is set to off.)
When Economy Mode (ECO) is enabled, the operating time becomes approximately 20% shorter than when it is disabled.
*18
Measured using BatteryMark™ Version 4.0.1 (LCD brightness : Maximum - Minimum).
*19
Measured using MobileMark™ 2002 (LCD brightness : 60 cd/m2).
*20
Varies depending on the usage conditions, CPU speed, etc.
It may take a long time to charge a fully discharged battery.
*21
Approx. 1.5 W when the battery pack is fully charged (or not being charged) and the computer is off.
12

*22
Rated power consumption.
*23
Average value. May differ depending on models.
*24
Operations of this computer are not guaranteed except for the pre-installed OS.
*25
Preinstalled B’s CLiP does not support CD-R.
*26
The Product Recovery DVD-ROM is required.
*28
For information on TPM, input [c:\util\drivers\tpm\README.pdf] in [start] - [Run] and refer to the installation manual of “Trusted
Platform Module (TPM)”. You need to install Infineon TPM Professional Package to use TPM.
Wireless LAN <Only for models with wireless LAN>
*
27
*
27
Data Transfer Rates
IEEE802.11a: 54/48/36/24/18/12/9/6 Mbps (automatically switched)
*
IEEE802.11b: 11/5.5/2/1 Mbps (automatically switched)
27
IEEE802.11g: 54/48/36/24/18/12/9/6 Mbps (automatically switched)
Standard SupportedIEEE802.11a/IEEE802.11b/IEEE802.11 g
Transmission Method OFDM system, DS-SS system
Wireless Channels Used
RF Frequency Band
*27
These are speeds specified in IEEE802.11 a+b+g standards. Actual speeds may differ.
IEEE802.11a: Channels 36/40/44/48/52/56/60/64/149/153/157/161/165
IEEE802.11b/ IEEE802.11g: Channels 1 to 11
IEEE802.11a: 5.18 - 5.32 GHz, 5.745 - 5.825 GHz
IEEE802.11b/ IEEE802.11g: 2412 - 2462 MHz
13
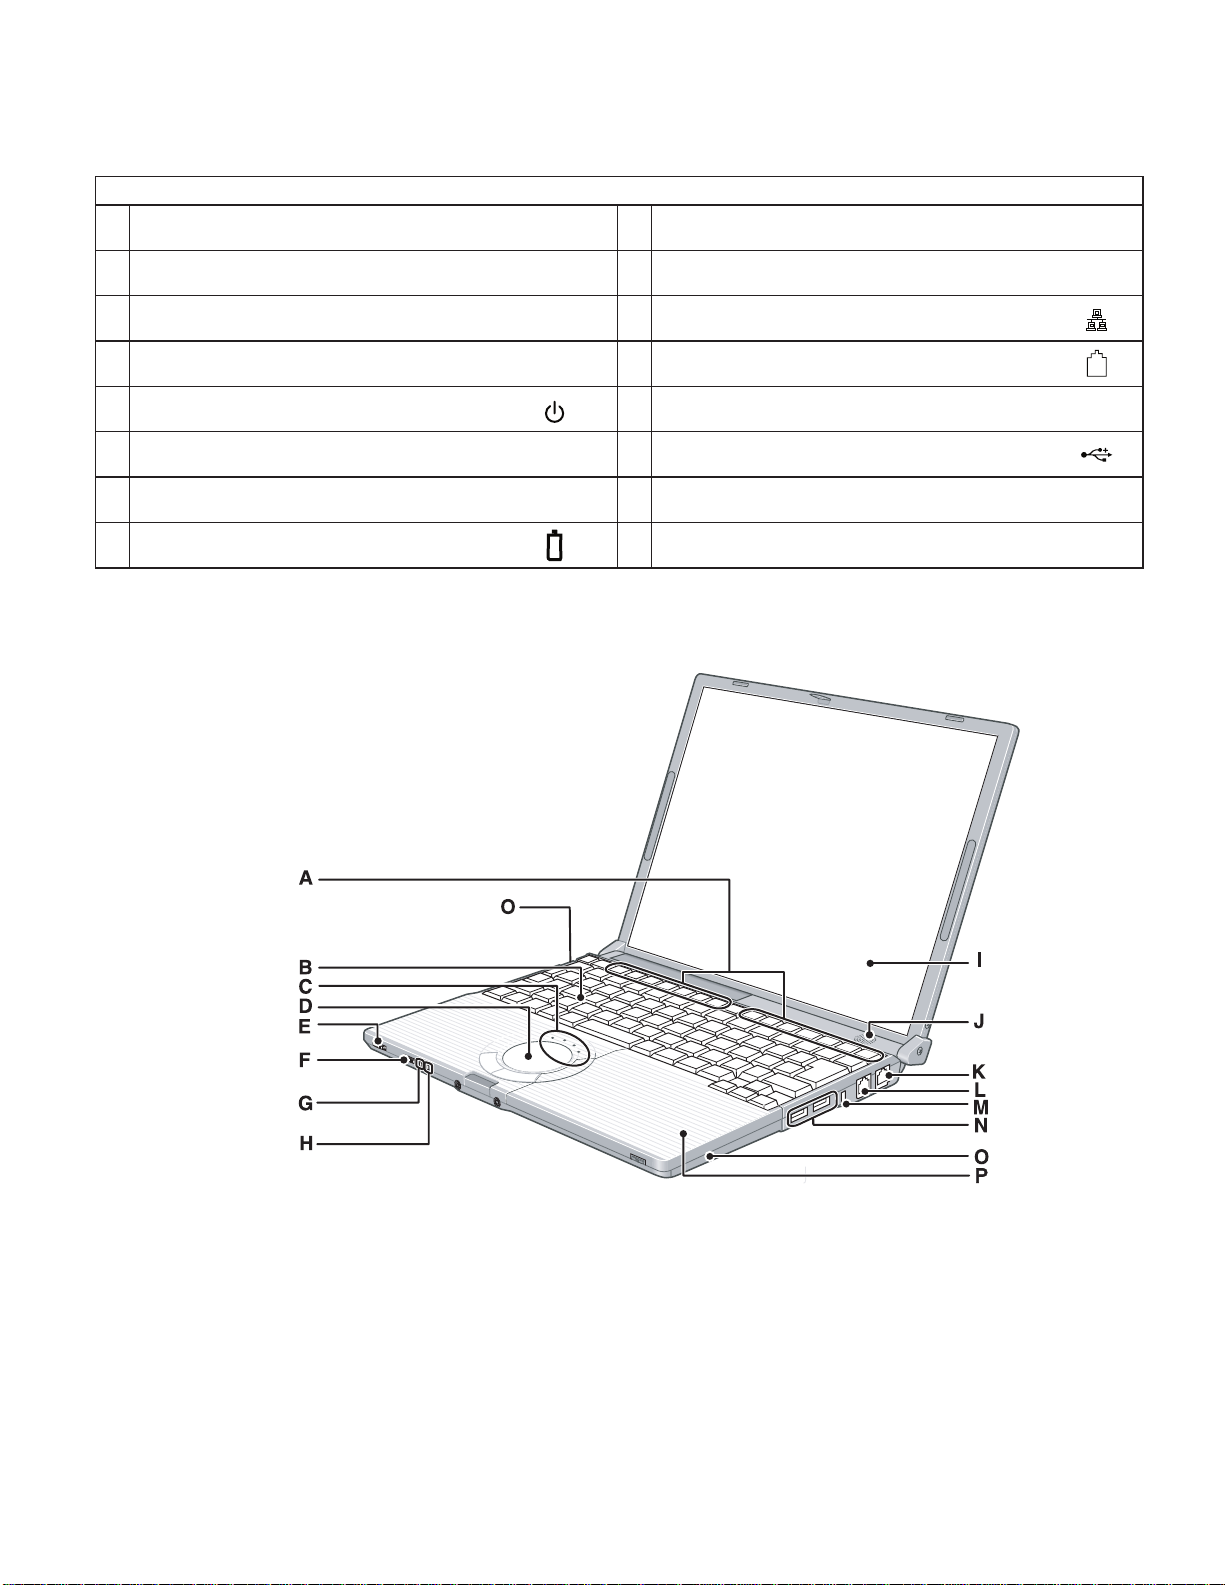
3. Names and Functions Parts
1DPHV
$ )XQFWLRQNH\ , 'LVSOD\LQWHUQDO/&'
% .H\ERDUG - 6SHDNHU
& 6WDWHLQGLFDWRU . /$1FRQQHFWRU
' :KHHOSDG / 0RGHPFRQQHFWRU
( 3RZHUVZLWFK3RZHULQGLFDWRU 0 6HFXULW\ORFN
) :LUHOHVV/$1VZLWFK 0 86%FRQQHFWRU
* (FRQRP\PRGH(&2LQGLFDWRU 2 :LUHOHVV/$1DQWHQQDEXLOWLQ
:,5(/(66/$1
(&2
+ %DWWHU\LQGLFDWRU 3 &''9'GULYH
14

Names
A Power terminal Microphone input terminalH
B External display connector Audio output terminal
C PC card slot Emergency hole
D SD memory card slot Additional memory slot
E SD memory card indicator Latch
F Drive power switch/Eject switch Latch
G Display latch Battery pack
I
J
K
L
M
N
15

4 Diagnosis & Repair
4.1. Basic Procedures
16
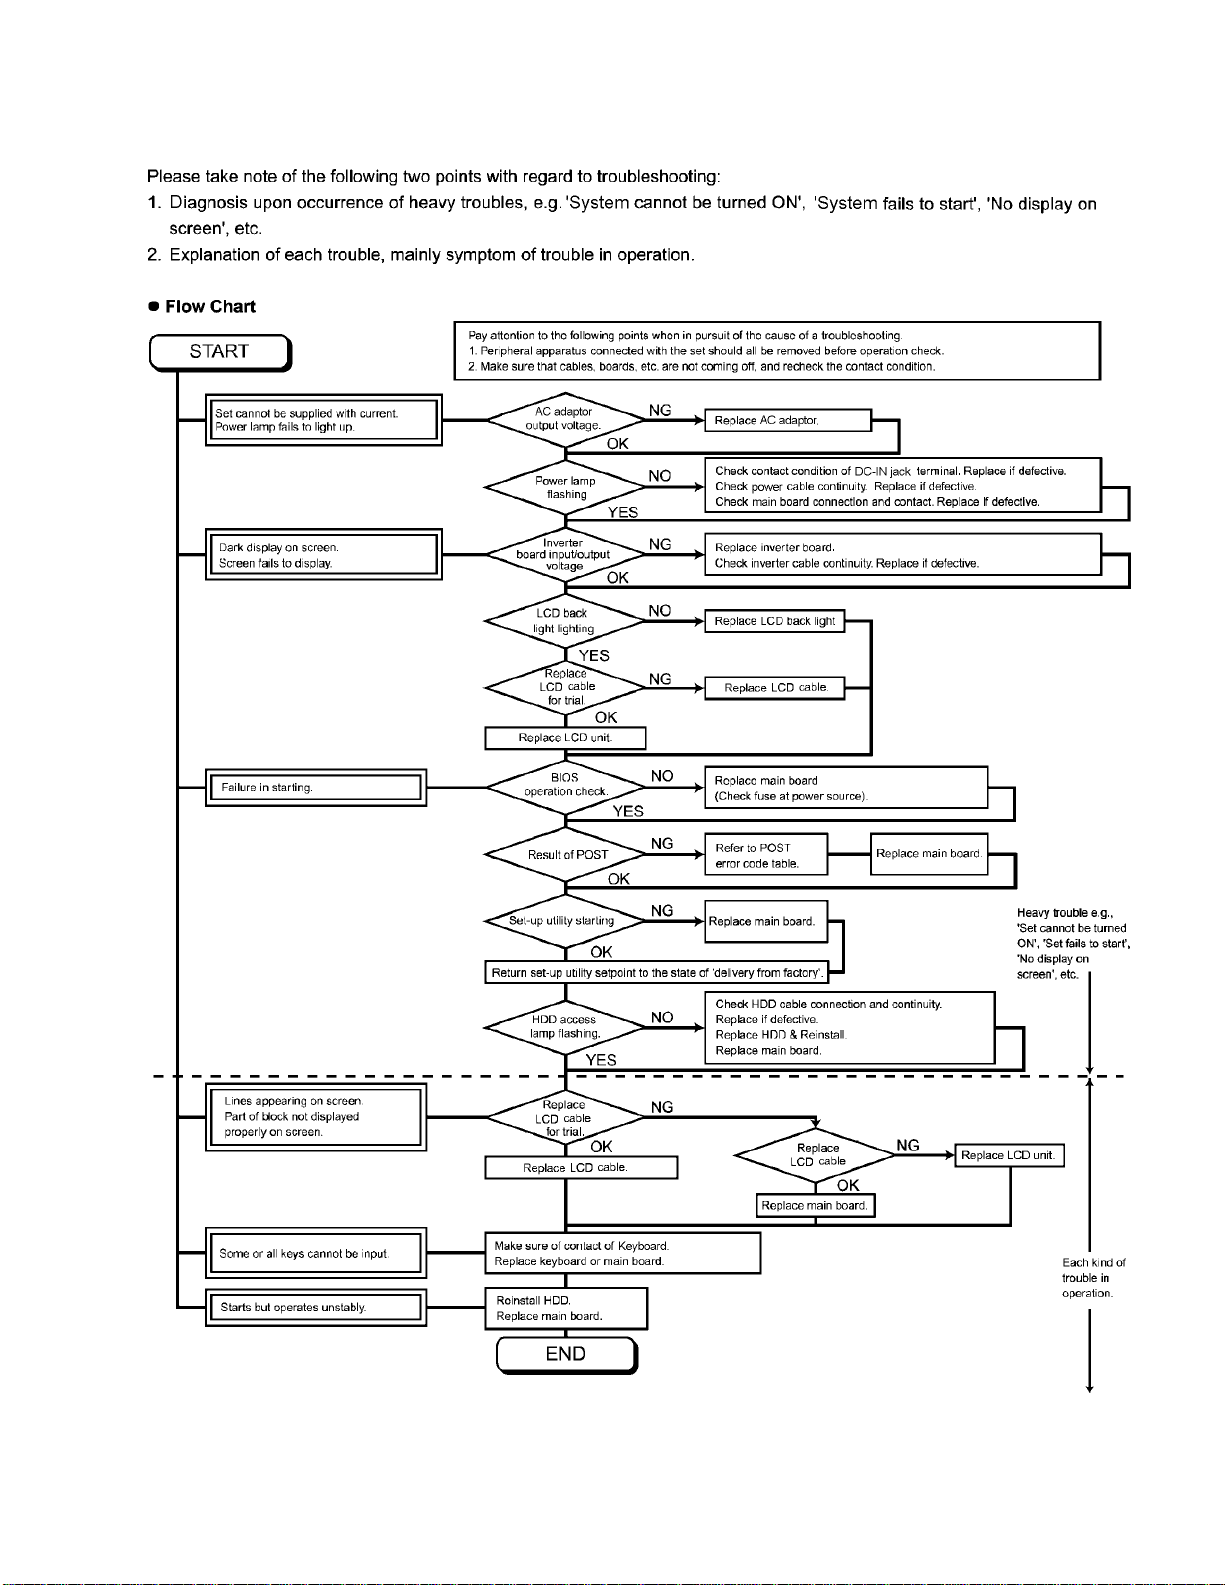
4.2. Troubleshooting
17
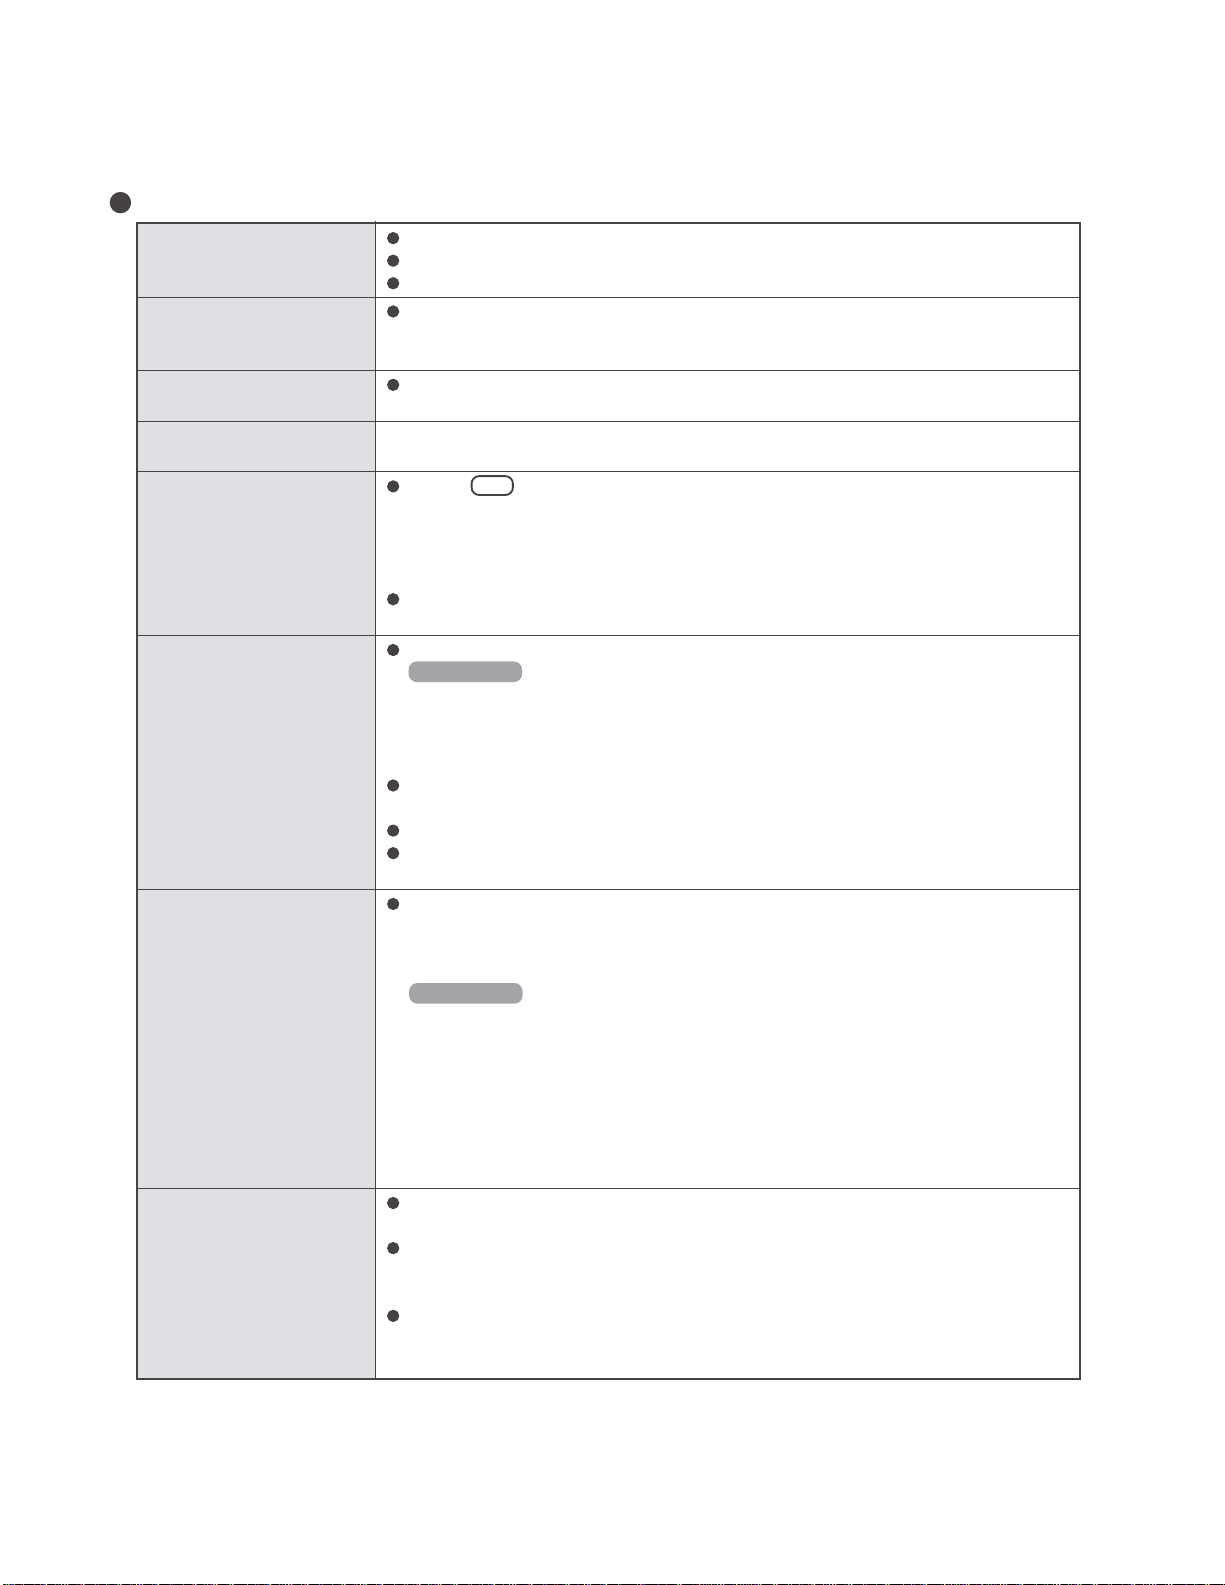
When a problem occurs, refer to this page. The “Reference Manual” also contains detailed information. If a problem appears to be
related to a software application, read the software related manual. If you still cannot troubleshoot the problem, contact your
technical support office. You can use the PC Information Viewer to check the computer’s usage status.
Starting Up
The power indicator or battery indicator is not lit
The computer does not operate when a USB device is
connected
[
Enter Password
POST Star tup Error (s) is
displayed
Windows startup, or an operation is extremely slow
The date and time ar e incorrect
] is displayed
Check the cable connection for the AC adaptor.
Check to see if a fully charged battery is properly inserted.
Remove the battery pack and disconnect the AC adaptor , then connect them again.
The computer may not operate when certain USB devices are connected. Disconnect the
USB device, or set [ Legacy USB Support] to [ Disable] in [ Advanced] menu of the Setup
Utility .
Input your Supervisor Password or User Password. If you have forgotten it, contact your
technical support office.
Press F9 in the Setup Utility. This will restore the Setup Utility’s settings to their
default values (except the password settings). Then, the Setup Utility must be run once
again for you to input the appropriate operating environment settings.
(The processing speed depends on the application software used, so this operation may
not cause the processing speed to increase. )
If operations slow down during streaming playback, try changing the number of colors of
the display.
You can set the date and time using the following menu:
Windows XP
[start] - [Control Panel] - [Date, T ime, Language, and Regional Options] - [Date and
Ti me]
When resuming fr om the
standby or hibernation
mode, [Enter Password]
does not appear even if a
password has been set in the
Setup Utility
When “Invalid system disk.
Replace the disk, and then
press any key.” (or a similar message) is displayed
If you continue to experience problems, the internal battery maintaining the clock may
need to be replaced. Contact your technical support office.
When the computer is connected to a LAN, confirm the date and time of the server .
This computer will not correctly recognize the date and time starting from the year 2100
A.D.
Even when a password has been set in the Setup Utility , [ Enter Password ] does not
appear when the computer resumes from the standby or hibernation mode.
If you want to use the security function when using the standby or hibernation mode, use
the Windows password as follows:
Windows XP
Select the account to change in [start] - [ Control Panel ] - [ User Accounts] and set the
password, then add the check mark for [Prompt for password when computer resumes
from standby] in [ Control Panel ] - [ Performance and Maintenance ] - [ Power Options] [ Advanced ].
This means a floppy disk that does not contain system startup information has been left in
the floppy disk drive. Remove the floppy disk, and press any key .
This message may appear when certain USB devices are connected. Remove the USB
device, or set [ Legacy USB Support ] in [ Advanced ] menu of the Setup Utility to [ Disable ].
If the message still appears even after trying the above two measures, this m ay be an
indication that some type of hard disk failure has occurred. Contact your technical support office.
18
18

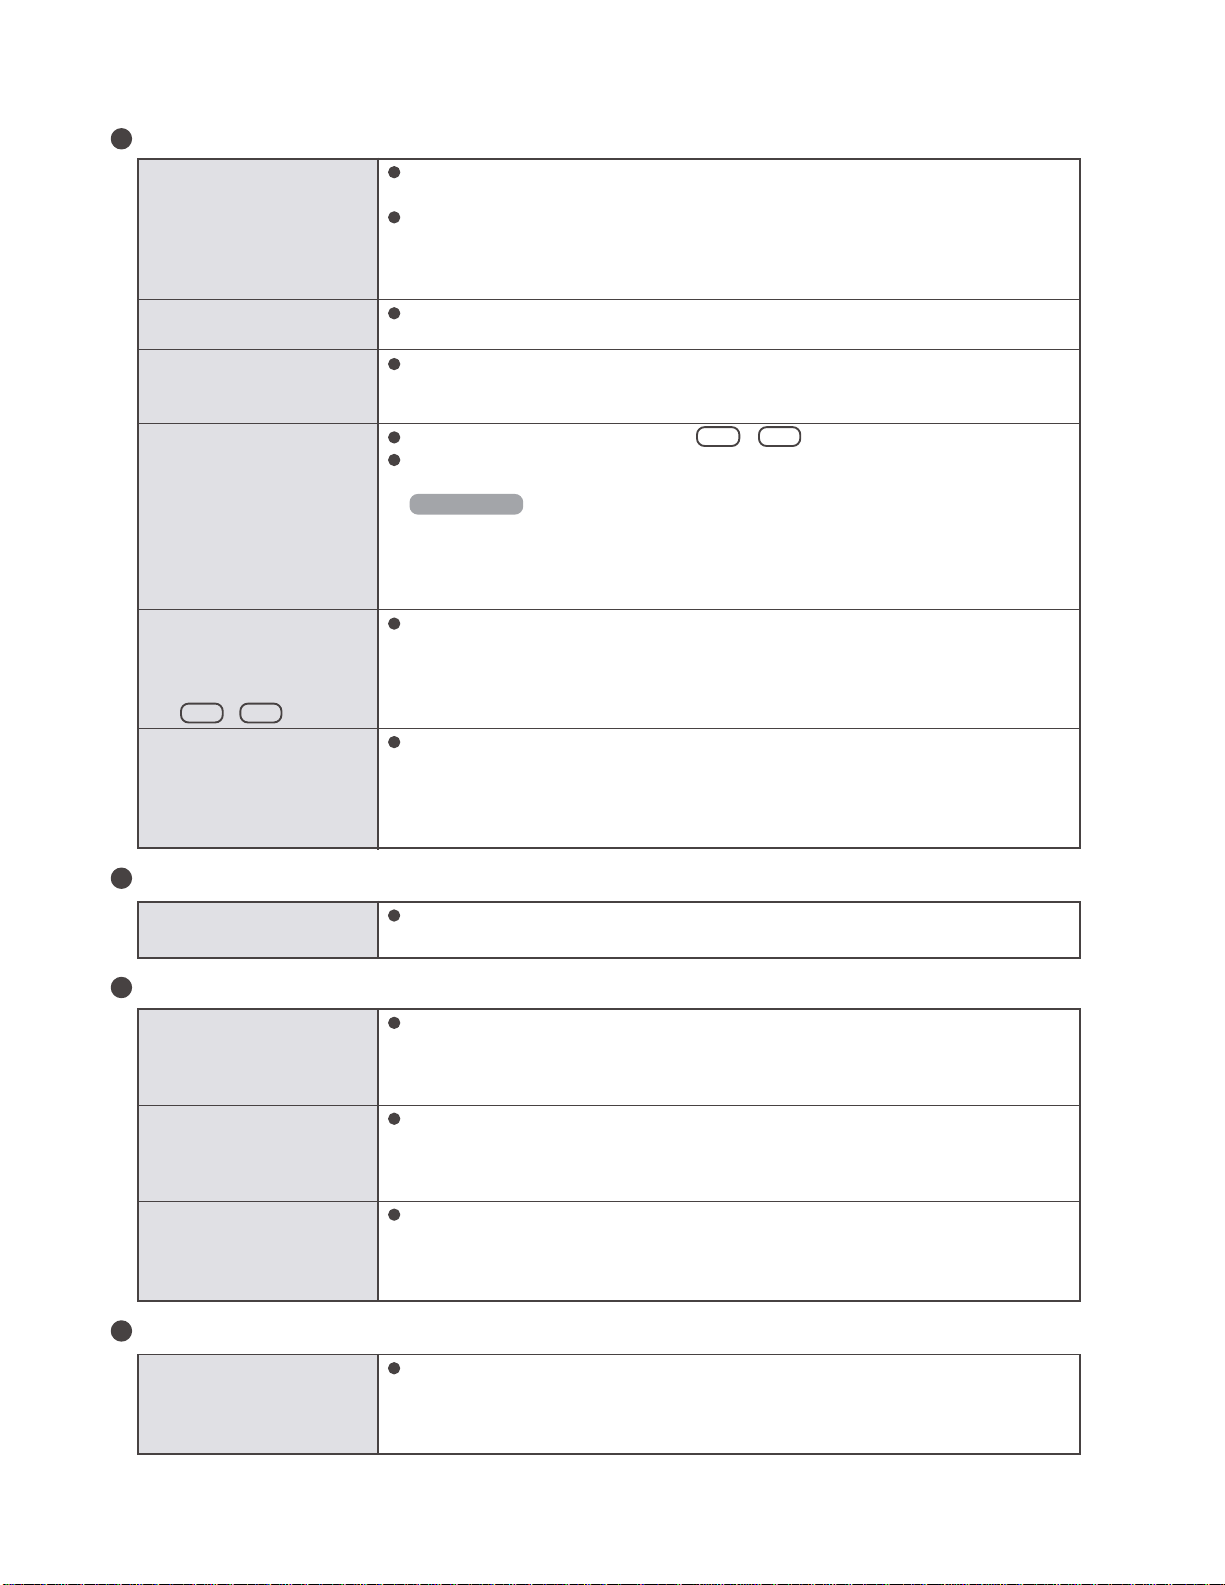
Starting Up (continued)
When the administrator
password is forgotten
Set the password again in the following procedure.
Windows XP
If you have created a password reset disk, a message is displayed when you fail to
correctly enter the password. Follow the message’ s instructions and set the password
again by using the password reset disk.
If you have not created a password reset disk, after reinstalling, setup Windows and then
set the password again.
When the previous item is
not the cause
Display
No display after powering on
The power has not been
turned off, but after a certain period of time, there is
no display
W hen the battery pack is
used, the screen is darker
than when the AC adaptor
is connected
The cursor cannot be controlled properly
Press F9 in the Setup Utility. This will restore the Setup Utility’s settings to their
default values (except the password settings).
Try removing all peripheral devices.
Check a disk error using the following procedure.
1
Display [Local Disk (C:) Properties].
Windows XP
Select [Local Disk(C:)] with the right button in [start] - [My Computer], and select
[Properties] .
2
Select [Tools] - [Check Now].
3
Select [Start] after selecting required items in [Check disk options].
At startup, hold down F8 when [Panasonic] boot screen disappears, and release your
finger when the Windows Advanced Option Menu is displayed. Start the computer in
Safe Mode, and confirm the details of the error.
When there is no display to an external display ,
• Check your cable connection to the external display .
• Confirm your display is powered on.
• Check the settings for your external display .
The display destination may be set to the external display .
Try changing the display destination by pressing Fn + F3 .
If you want to switch the display destination repeatedly by pressing Fn + F3 , make
sure that the display destination has switched completely each time before pressing
Fn + F3 again.
Has the computer been set to the power-saving mode?
To resume operation of your computer from the condition the power of the display is off
(for energy conservation purposes), press any key unrelated to the direct triggering of a
selection, like Ctrl .
To save power, your computer may have automatically entered the standby mode (power
indicator blinks green) or hibernation mode (power indicator turns off). In such cases,
slide the power switch.
Press Fn + F2 and adjust the brightness. Note, however, that when the brightness is
increased, the battery running time will become shorter .
Brightness can be set to separate levels for when the AC adaptor is connected and when
it is disconnected.
If you are using an external mouse, ensure that the external mouse has been connected
correctly .
Restart the computer by using the keyboard (Press , U , and select [Restart] with
If the computer does not respond to keyboard commands, read “No response”
, then press Enter ).
.
19
Display (continued)
An afterimage appears (e.g.,
green, red, and blue dots
remain on the display) or
there are dots not displaying the correct colors
The screen becomes disordered
The external display no
longer displays properly
During simultaneous display, the screen of the external display becomes disordered
If an image is displayed for a prolonged period of time, an afterimage may appear. This
is not a malfunction. The afterimage will disappear when a different screen is displayed.
High-precision and advanced technologies are necessary in the production of color liquid
crystal displays (color LCDs). Therefore, if 0.002% or less of the picture elements either
fail to light or remain constantly lit (that is, more than 99.998% of elements are functioning properly), no defect is considered to exist.
Changing the number of colors or resolution of the display may affect the screen. Restart
the computer.
When an external display not compatible with the power saving mode is used with the
computer, the display may not function correctly when the computer enters the power
saving mode. In such cases, turn off the power to the external display.
Try changing the display by pressing Fn + F3 .
If you continue to experience problems, try changing the display destination in the fol lowing menu:
Windows XP
[start] - [ Control Panel ] - [ Other Control Panel Options] - [ Inte
[ Devices]
l(R)
Extreme Graphics] -
When an M PEG file is being played with Media
Player, the display destination cannot be switched using
Fn + F3
Application is not displayed
properly, or characters are
garbled
Shutting Down
W indows cannot be shut
down or restarted
Battery Indicator
The red indicator lights
The red indicator blinks
The orange indicator blinks
The display destination cannot be switched while an MPEG file is playing. Stop playing
the MPEG file before switching the display destination.
Is the application a non-Unicode program? When non-Unicode programs are run on
Windows XP, you must select the language appropriate to that program.
Set [ Language for non-Unicode programs] in [ Control Panel ] - [ Date, Time, Language,
and Regional Options] - [ Regional and Language Options] - [ Advanced] .
Note that only a user with the administrator authority can change this setting.
If a USB device is connected, try removing it.
The battery level is very low (the charge is less than approx. 9% capacity).
Connect the AC adaptor . You can use the computer when the indicator light is orange. If
you do not have an AC adaptor, save your data and power off your computer. After
replacing the battery pack with a fully charged one, turn your computer on.
Quickly save your data and power off your computer . Remove the battery pack and disconnect the AC adaptor , then connect them again.
If the problem persists, contact your technical support office. Possible failure in
failure in the battery pack or charging circuit.
Battery cannot be recharged temporarily because the internal temperature of the battery
pack is outside of the acceptable temperature range for recharging. Once the allowable
range requirement is satisfied, char ging begins automatically. Your computer can be used
normally in this state.
Sound
W hen starting Sound Recorder, it displays the message: “Ther e was an error
updating the registry.”
Sound Recorder displays this error message when started by a user with a limited account
if the user’s language setting is different to that of the user with administrator authority
which last started it .
This will not affect the operation of the computer .
20
 Loading...