

Panasonic CF-45DJXXXXX, CF-45MJXXXXX, CF-45RJXXXXX, CF-45EJXXXXX User Manual

95
®
Personal Computer
Reference Manual
CF-45 Series
Contents
Key Combinations............................................. 2
LED Indicators...................................................3
Suspend/Hibernation Functions ...................... 4
Security Measures ............................................ 7
Computing On the Road ................................ 11
Battery Power ................................................. 13
Using PC Cards .............................................. 15
Adding Memory .............................................. 17
Port Replicator................................................ 18
Using a Printer................................................ 19
Using an External Display ............................. 20
Using USB Devices................................................. 21
Infrared Data Communications.......................... 22
Hard Disk Drive............................................... 23
Setup Utility .................................................... 24
Technical Information .................................... 29
Computer Diagnosis ...................................... 32
DMI Viewe r ...................................................... 33
Dealing With Problems................................... 34
NOTE: NOTE provides a useful fact or helpful information.
CAUTION: CAUTION indicates a condition that may result in minor or moderate injury.
WARNING: WARNING indicates a hazard that may result in moderate or serious injury.
[Start]-[Shut Down]: This illustration means to click [Start], then to click [Shut Down].
(For some applications, you may need to double-click.)
Enter : This illustration means to press the [Enter] key.
Fn + F5 : This illustration means to press [Fn], and while holding down on [Fn], to press [F5].
: This illustration means to refer to the Operating Instructions
We recommend that this Reference Manual be printed out.
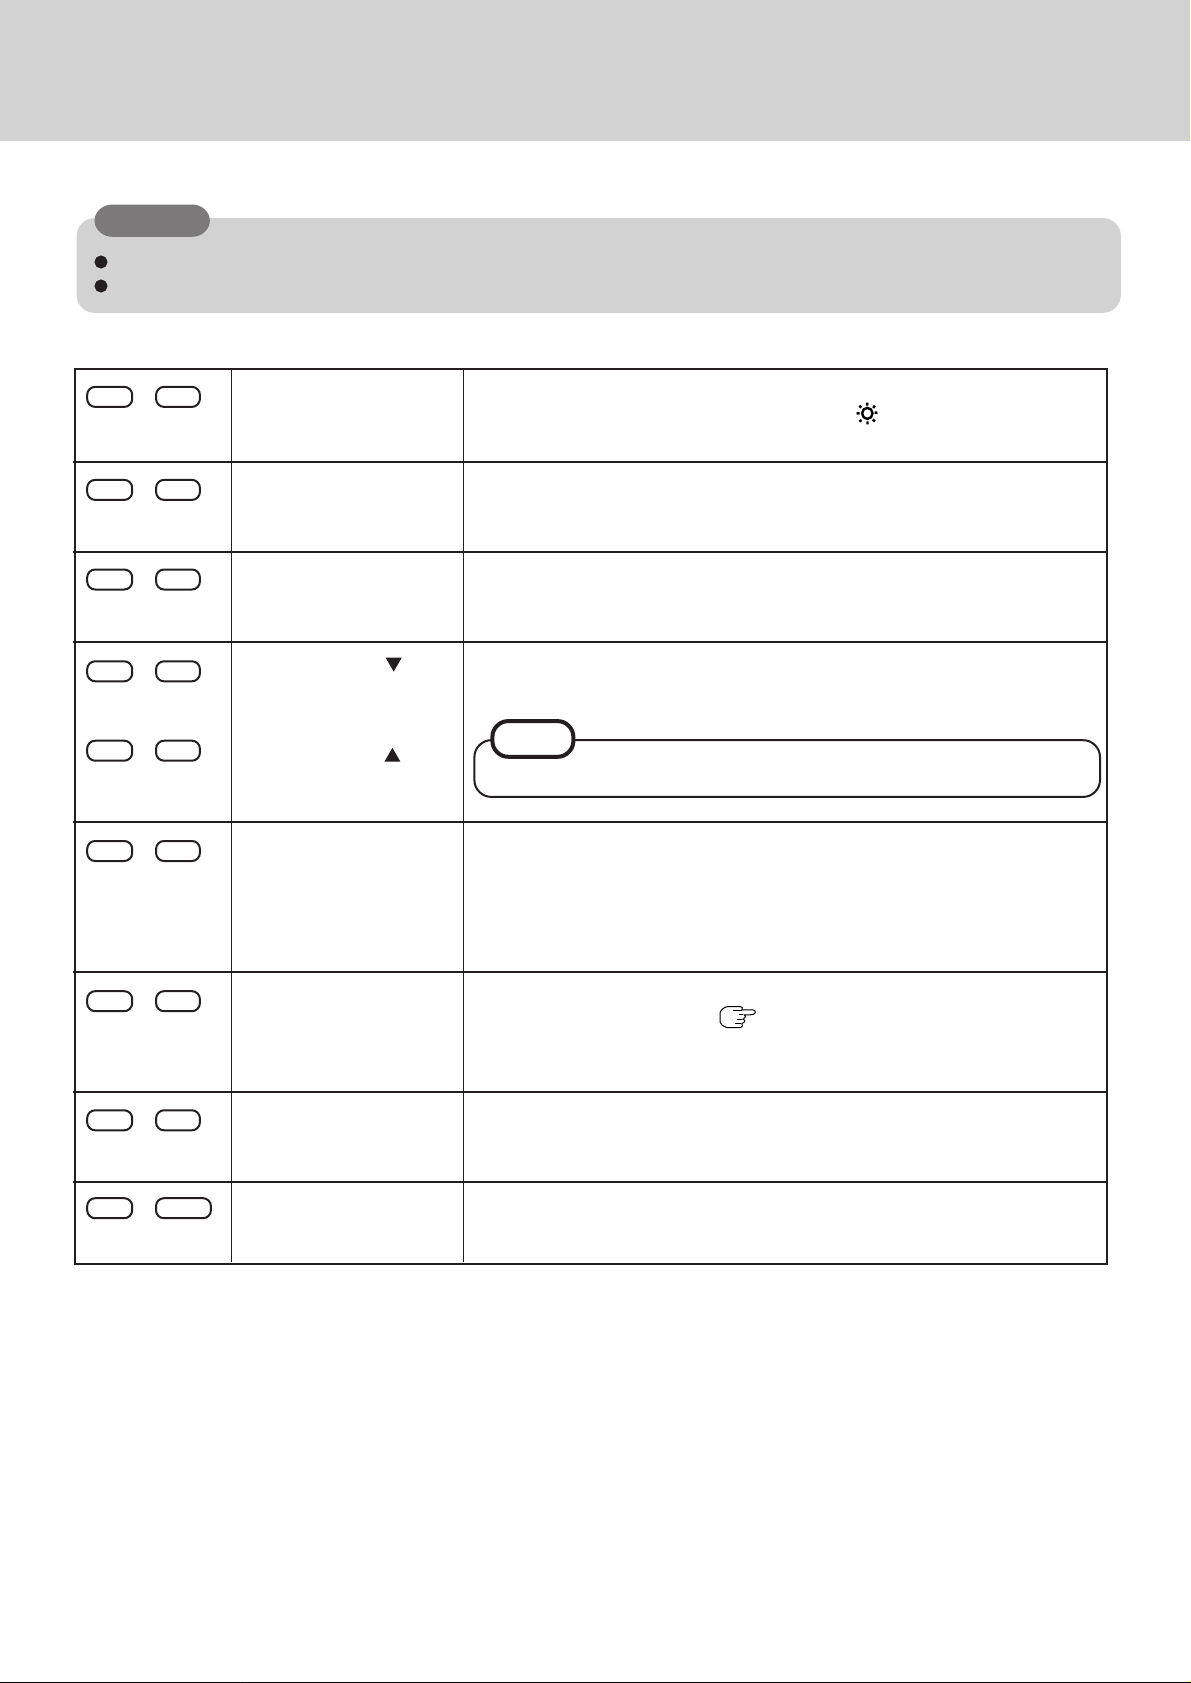
Key Combinations
CAUTION
Do not press the following key combinations repeatedly in (quick) succession.
Do not press the following key combinations while using the trackball (mouse) or other keys.
2
Fn + F2
Fn + F3
Fn + F4
Fn + F5
Fn + F6
Fn + F7
Fn + F8
Fn + F9
LCD brightness control
Display change
Speaker on/off switch
Volume contr ol ( down)
V olume control ( up)
Power off using the suspend function
Power Management
enable/disable switch
Remaining capacity of
the battery pack
Hold down the Fn key and press F2 to change the brightness.
(When the brightness is at its maximum value, is displayed.)
By pressing this key combination, you can select either an external display,
LCD or simultaneous.
Pressing this key combination turns off audio from the internal speaker and
headphone jack. Pressing it again turns audio back on.
Pressing this key combination adjusts the volume of the internal speaker and
headphone jack.
NOTE
This key combination cannot be used to adjust the volume of the beep sound.
Pressing this key combination causes the current screen on the display to be
saved to memory, and powers off the computer. When the computer is powered on again, this same screen will be displayed. (The computer must be
plugged into the AC adapter or have a battery pack with sufficient remaining
power installed.)
Pressing this key combination temporarily disables the power management
feature of the Setup Utility. ( page26) Pressing it again, or powering the
computer off and then back on enables the power management feature of the
Setup Utility.
Pressing this key combination displays the remaining battery capacity on the
screen.
Fn + F10
Standby mode
for conserving power
Pressing this key combination cuts off power to the LCD display until operation is resumed by pressing any key.

LED Indicators
3
Caps Lock
NumLk (Numeric key)
ScrLk (Scroll lock)
KeyPad (Arrow key)
CD-ROM status
Floppy disk status
This indicator lights green when Caps Lock is pressed. Subsequent non-shifted
input is capitalized.
These indicators light green when NumLk is pressed and then KeyPad is pressed
while holding down the Fn key. This causes a portion of the keyboard to function as a numeric keypad. Depending on the application, the [Enter] key may
function differently than normal.
This indicator lights green when ScrLk is pressed. Scroll lock functions differently depending on the application.
This indicator lights green when KeyPad is pressed while holding down Fn.
When the indicator is not lit, a portion of the keyboard functions as arrow keys.
Depending on the application, the [Enter] key may function differently than
normal.
This indicator lights when the CD-ROM drive is accessed.
This indicator lights when the floppy disk drive is accessed.
Hard disk status
Battery pack status
Power status
This indicator lights when the hard disk drive is accessed.
Not lit : AC adapter not connected or charging not being
performed.
Lit constantly orange : Charging in progress.
Lit constantly green : Charging finished.
Lit constantly red : Battery is low (remaining battery capacity is approx.
9% or less).
Flashing red : Battery pack or charging malfunction.
Flashing orange for 5 seconds after the AC adapter is connected :
Charging on standby. (The ambient temperature is
outside the allowable range.)
Not lit : Power off
Lit constantly green : Power on
Flashing green : Suspend mode

Suspend/Hibernation Functions
Starting Up Your Computer Quickly
If you want to immediately start up and continue an application after shutting down your computer, you can do so by using the suspend or hibernation function.
Differences between the suspend function and hibernation function
4
Function
Where data is saved to
Speed
Requires power supply
Suspend function Hibernation function
Memory Hard disk
Fast Somewhat slow
Yes (if power is cut, all data is lost) Power not required to maintain data
Setting the Suspend or Hibernation Function
Run the Setup Utility ( page 24)
1
Using and , select [Power Management], then press
2
Enter
Using and , select [Power Switch], set [Suspend] or
3
[Hibernation] with , then press Esc
Close the Setup Utility ( page 24)
4
Shutting Down Using the Suspend or Hibernation Function
The computer should be set for suspend or hibernation ( see the above procedure).
Power off your computer
(Do not touch the power switch while your
computer is entering the hibernation mode.) Suspend Mode
Hibernation Mode
CAUTION
If the power switch is held for over four seconds at the ON position, the power goes
OFF without activation of the suspend or hibernation function.
Do not slide the power switch and hold it for more than four seconds.
If the computer will not be operated for an extended period of time, it is recommended that hibernation mode is used instead of suspend mode.
or

Suspend/Hibernation Functions
Shutting Down Using the Suspend Function
Fn + F7 or select [Suspend] from the [Start] menu
NOTE
When you select [Suspend] from the [Start] menu:
[Suspend] is deleted from the [Start] menu by unchecking [Allow Windows to manage
power use on this computer.] in [Start] - [Settings] - [Control Panel] - [Power] or by
unchecking [Show suspend command on Start menu] in [Advanced].
5
Suspend Mode
Resuming Operation
Turn your computer on
If security indicator ( ) is displayed upon sliding the power switch, your password has
been set.
CAUTION
After the display returns, the computer needs a short period of time to reinitialize.
This takes about 15 seconds. Do not shut down or restart Windows during this time,
as this may subsequently cause Windows to operate abnormally.
Do not install or remove peripherals while your computer is in the suspend or hibernation mode; abnormal operation may result.
When operation resumes, serial devices such as a mouse or modem, or your PC Cards
may not work. In such cases, you will need to restart your computer or reinitialize the
individual devices.
Do not use the suspend or hibernation functions when using USB devices.
Set [USB Controller] of [Supervisor Setup] to [Disable] in the Setup Utility when
using the suspend or hibernation functions.

Suspend/Hibernation Functions
Precautions for Using the Suspend or Hibernation Function
CAUTION
Save all data before powering off your computer.
When restarting from or shutting down to the suspend or hibernation mode, do not touch
the trackball or move the mouse (serial or PS/2 type) if one is connected. There are cases
where these devices will fail to operate; you will have to restart your computer using the
keyboard.
Do not power off during the following periods (you may corrupt your data or file):
• While the FDD indicator ( ), HDD indicator ( ) or CD-ROM indicator ( ) is on.
• While playing/recording audio files.
• While communications software is being used.
Do not use the suspend or hibernation function when using an operating system other than
the one that comes with your computer, the diagnostics program (DIAG45), the Setup
Utility, or when experiencing static electricity or noise.
If you hold down on the Alt , Ctrl or Shift key to enter the suspend or
hibernation mode, after resuming operation, you must press the same key. For example,
if you hold down on the Shift key while sliding the power switch, upon resuming, if
you do not press the Shift key again, only capital letters will result from typing.
If your computer locks up, press the reset button. All data not saved is lost when this
button is pressed.
In the suspend mode, power is consumed. If PC cards (e.g., a modem card) are inserted,
more of that power is consumed. When all power has been consumed, all data at shutdown is lost since it is retained in memory. We therefore recommend plugging in the AC
adapter when using the suspend function.
Do not use the suspend or hibernation function during the following periods. The suspend or hibernation function, or peripherals may not work.
When a file in external devices such as a CD-ROM drive, external hard disk, or ATA
card is opened, the suspend or hibernation function may not work. In such cases, close
the file.
SCSI cards may not recover after entering the suspend or hibernation mode. If this
occurs, restart the computer.
6

Security Measures
To prevent unauthorized access of your computer, the various security measures are provided below.
Situation Function to use Reference
Y ou do not want your computer to be used without permission
Same as above, but while you’re away temporarily
Y ou want to prevent theft or damage to data by using a floppy disk
Y ou do not want your Supervisor Setup changed without permission
Y ou want to prevent theft of your computer
When you do not want your computer to be used without permission
Set the User Password.
Without the password, access to your computer is impossible.
When the User Password is set
Upon entering your User Password
and pressing Enter .
User Password below
Coffee break Password page 8
Prevent operation by using a floppy disk page 9
Supervisor Password page 9
Use a security lock
If the correct password is input,
7
Will Start
Over three incorrect attempts,
Will Not Start*
(Power off)
* If you are starting from the suspend mode, if after three attempts the
correct password is not input, or if no password is entered for about
a minute, the computer returns to the suspend mode.
Setting the user password (enabling, changing, disabling)
Run the Setup Utility ( page 24)
1
Using and , select [System Setup], then press Enter
2
Using and , select [User Password], then press Enter
3
4
To enable or change your password
Enter your password at the [Enter User Password], then press .
CAUTION
Y our password will not be displayed on the screen.
Please limit your password to seven characters. Note that there is no distinction between upper and lower case letters.
White colored keys can be used. Note that the space bar and function keys
cannot be used.
Do not input your password while holding down on Shift or Ctrl .
Use only the upper horizontal row of numeric keys to input your user password.
Do not forget your password. If a password is forgotten, you will be unable
to use your computer.
To disable your password
Using the and keys, select [Delete User Password], then press Enter .
Go to step 7.
5
Re-enter your password at the [Enter User Password Again]
(This is for confirmation purposes.)
Using and , select [Set User Password], then press
6
Enter

Security Measures
At the confirmation screen, press Enter
7
Press Esc to end the password setting procedure
8
Close the Setup Utility ( page 24)
9
CAUTION
T o prevent the changing of your password without permission
• When running the Setup Utility, do not leave your computer even for a short time.
• Set the User Password Protection option ( page10).
When you do not want your computer to be used without permission while away temporarily
Y ou should set the “Coffee break Password” (Note that you must first set the User Password).
When you input your selected key combination, the computer locks (key input, use of the trackball
and use of an external mouse are no longer possible).
When the coffee break password is set
When leaving your desk
Alt + Ctrl + F9
(Example of a selected key combination)
8
Input the correct password used at startup
and press Enter .
The computer
is locked
CA UTION
Do not leave your computer just after sensitive data had been shown on the screen.
It is impossible to lock your computer from an external device, such as a mouse
connected through the serial port or the USB device is used.
During the coffee break, is displayed on the screen. If the operations described below are performed during the coffee break, the indication may
disappear. In order to quit the coffee break and again begin using the computer,
input your password.
If a different popup window is displayed by using key combination.
If the computer is returned from the standby mode.
If the serial mouse is moved.
When an incorrect password is inputted,
Operation resumes
Operation does
not resume
Setting the Coffee break Passwo rd (enabling or disabling)
Set the User Password ( page 7 to 8, step
1
1
to 7 )
2
3
4
5
To enable the Coffee break Password
Using and , select [Coffee break Password], then set [Enable] with .
To disable the Coffee break Password
Using and , select [Coffee break Password], then set [Disable] with .
Go to step 4.
Using and keys, select [Key Combination for Coffee
break], then set your combination of keys with
Press Esc to end the password setting procedure
Close the Setup Utility ( page 24)

Security Measures
When you want to prevent theft of or damage to data by using a floppy disk
You may choose to protect the data on your computer from being accessed illegally or overwritten accidentally by using a floppy disk. You can also set your computer to be unbootable from
a floppy disk.
9
Preventing the use of a floppy disk
Even when one tries to access a
floppy disk,
This error message is displayed.
Procedure
1
Run the Setup Utility ( page 24)
Using and , select [Supervisor Setup], then press Enter
2
Using and , select [Boot Up Drive], then set either
3
[HDD FDD] or [CDD FDD HDD] with
CAUTION
When changing to the [HDD FDD] or [CDD FDD HDD] setting, to
continue read/write operations from a floppy disk and to use the hard disk drive or
CD-ROM to start, press Esc and go to step 5.
Using the and , select [Floppy Operation], set [Disable]
4
with , then press Esc
Close the Setup Utility ( page 24)
5
When you do not want your Supervisor Setup changed without permission
Set the Supervisor Password. After it has been set, no changes can be made to the Supervisor
settings unless the password is entered.
When the supervisor password is set
In the Setup Utility ( page 24),
if is displayed,
Input the correct supervisor password and press Enter ,
When the supervisor password is incorrect or when the user
password is entered, (Or, even when the correct supervisor
password is entered). page 36
NOTE
You may wish to protect the User Password ( page 10).
(There are cases in which the Supervisor Setup does
not appear on the main screen). page 24
Supervisor Setup
May be
Opened
Supervisor Setup
Can not be
Opened
Security Measures
Setting the Supervisor Password
(enabling, changing, disabling)
1
Run the Setup Utility ( page 24)
Using and , select [Supervisor Setup], then press Enter
2
Using and , select [Supervisor Password ], then press
3
Enter
10
4
5
To enable or change your supervisor password
Enter your password at the [Enter Supervisor Password], then press .
CAUTION
Your password will not be displayed on the screen.
Please limit your password to seven characters. Note that there is no distinction between upper and lower case letters.
White colored keys can be used. Note that the space bar and function keys
cannot be used.
Do not input your password while holding down on Shift or Ctrl .
Use only the upper horizontal row of numeric keys to input your user password.
Do not forget your password. If a password is forgotten you will be unable
to use your computer.
To disable your supervisor password
Using and , select [Delete Supervisor Password], then press Enter .
Go to step 7.
Re-enter your password at the [Enter Supervisor Password
Again]
(This is for confirmation purposes.)
NOTE
When you do not want the User Password enabled, changed, or disabled without permission,
use and to select [User Password Protection], then set [Enable] with
.
Using and , select [Set Super visor Pas sword] , then
6
press Enter
7
At the confirmation screen, press Enter
8
Press Esc to end the password setting procedure
Close the Setup Utility ( page 24)
9
Computing On the Road
Conserving Power
One of the main features of notebook-type computers is that you have the power of computing
away from your home or office. In the following, information is provided on how to maximize
use of the battery pack which is necessary for such computing.
Four Important Poin t s
11
POINT
POINT
POINT
POINT
1
Be sure to charge your battery before and after use.
2
To get the maximum use of your battery, set the power management mode.
3
Check to see that you have your AC adapter with you before
leaving your home or office.
Purchasing an extra battery (CF-VZS251AW*) and the optional battery
charger (CF-VCB251W or CF-VCB251AW) is highly recommended.
*
Do not use CF-VZS251W with this Computer.
4
Always watch your battery level!
Things to Remember
Leave your computer off when it is not in use ( )
Adjust the brightness (dark) with Fn + F2
By repeatedly pressing the keys to maximize the brightness ( will be displayed),
following this, if the keys are repeatedly pressed again, the brightness will be minimized,
thereby lowering the power consumption.
Before stepping away from your computer, press Fn + F10 to
put your computer in the standby mode
The standby mode helps you conserve power by cutting off power to the LCD. To resume,
you may press any key other than Fn or move the trackball.
In the power management mode, the setting of [Ad vanced] is
recommended
With the Setup Utility, you can set the [Advanced] mode. This mode allows you to
maximize power save regardless of whether you are using only the battery pack or the
AC adapter.
( page 12)
Setting the suspend/hibernation timeout ( page 12)
The suspend or hibernation function ( page 4) allows you to save power by automatically cutting off power when the computer is idle or there is no access to individual de-
vices for 4 or 16 minutes. If [Advanced] or [Standard (Battery/AC adapter)] is selected
for [Power Saving], the suspend / hibernation timeout function will go into effect for both
the battery pack and the AC adapter. If, however, [Standard (Battery)] is selected for
[Power Saving], it will go into effect only during operation by the battery. The standby
timeout function is automatically set when [Advanced] or [Standard] is set. Note that the
standby timeout precedes the suspend/hibernation timeout.
It should be noted that for some applications, the suspend/hibernation timeout will not
work properly.
NOTE
If you plan to use only the battery pack or set the power management, it is necessary to
check [Allow Windows to manage power use on this computer] in [Start] - [Settings]
- [Control Panel] - [Power]. If no check is added, the hibernation timeout will not occur.

Computing On the Road
Setting Power Management
(How to set [Advanced] and the suspend/hibernation timeout)
Run the Setup Utility ( page 24)
1
Using and , select [Power Management], then press
2
Enter
Using and , select [Po wer Saving], then set [Advanced]
3
with
(To avoid setting the suspend/hibernation timeout, press Esc and proceed on to step 6.)
Using and , select [P ower Switch], then set [Suspend] or
4
[Hibernation] with
Using and , select [Suspend/Hibernation Timeout], set
5
either [4 min] or [16 min] with , then press Esc
Close the Setup Utility ( page 24)
6
Power Management settings ( page 26)
Functions automatically
Power
Management
CPU Speed Change Mode
HDD Motor Timeout
CDD Motor Timeout
Standb y Timeout
CPU Speed Change Mode:
HDD Motor Timeout:
CDD Motor Timeout:
Standby Timeout:
CAUTION
When installed in a network environment.
Be sure to disable the suspend/hibernation timeout settings with the Setup Utility .
After resuming operation from the suspend or hibernation mode, the network connection may be
severed or the computer will not work properly.
When a device like a high-speed modem or ISDN terminal adapter is connected to the
serial port, etc.
There are times when high-speed communication is adversely affected if the power management function is enabled. Please confirm that is displayed by pressing
Fn + F8 to disable the power management function. After you have finished using
a communication device, you can enable the power management function by
pressing Fn + F8 .
Key operation and music playback.
When the power management function is running, you may feel that key and trackball (or mouse)
operations are sluggish. Furthermore, music may not be played back correctly when entering the
standby mode during playback.
Advanced Standard Standard OFF
set
Enable Enable Enable Disable
1 min 1 min 1 min Never
1 min 1 min 1 min Never
1 min 2 min 2 min Never
In this mode, the CPU is automatically stopped when there are no
operations.
When the hard disk drive is not accessed for more than a minute,
power to the motor is shut off.
When the CD-ROM drive is not accessed for more than a minute,
power to the motor is shut off.
When the computer is idle or a device is not accessed for one or two
minutes, the computer enters the standby mode.
(Battery/AC adapter)* (Battery)**
*
Setting at the time of purchase
**
Enabled only when the battery itself is being used.
12
 Loading...