

Page 1
®
Personal Computer
Supplementary Instructions
Model No. CF-28 Series
This Supplementary Instructions manual points out cases where the operation of the computer will differ from that in the Operating
Instructions.
Illustrations in this Manual
Windows 2000 : Information for Microsoft
Windows XP : Information for Microsoft
Single OS : Information for models on which either Windows 2000 or Windows XP is preinstalled.
Read Me First “OPERATING INSTRUCTIONS (page 7)”
®
Windows® 2000 Professional users.
®
Windows® XP Professional users.
Add the following.
When Disposing of or Transferring Ownership of This Device
When disposing of or transferring ownership of this device, completely erase all data on the hard disk in
order to prevent loss of hard disk data. Even if you delete data or initialize the hard disk through normal
Windows commands, data can still be read using special software. In order to completely erase data, either
have the data erased by a specialist (at a charge) or use special software (sold separately).
Also note that transferring ownership of this device without deleting software from the hard disk may
violate software user’s licenses.
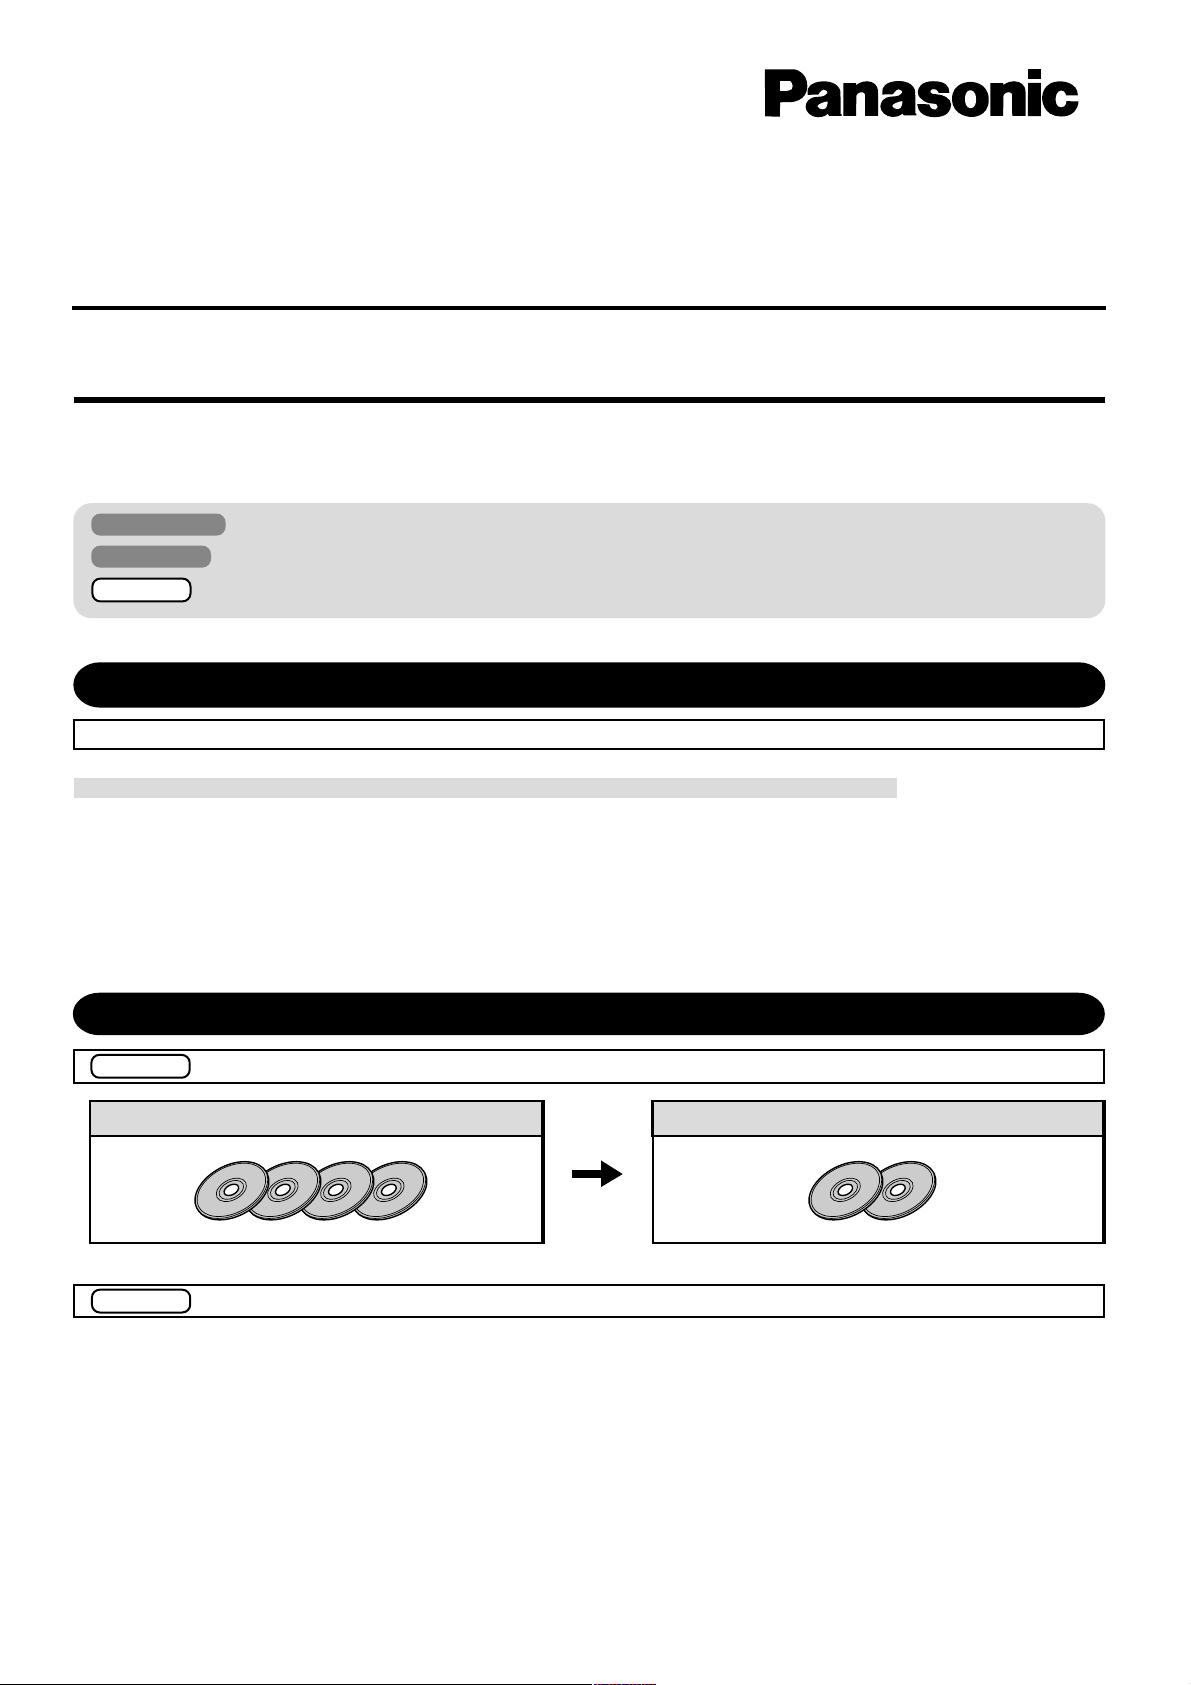
First-time Operation “OPERATING INSTRUCTIONS (page 9 )”
Single OS Replace as follows.
Product Recovery CD-ROM
Single OS
Step 7 is not necessary.
“OPERATING INSTRUCTIONS (page 9)”
Product Recovery CD-ROM
“OPERATING INSTRUCTIONS (page 11)”
Either Windows 2000 or Windows XP is preinstalled on this computer. You cannot select the operating system.
1
Page 2

Supplementary Instructions
Replace the “NOTE” at the bottom of the page for the following. “OPERATING INSTRUCTIONS (page 12)”
Information for Windows XP
You can select Classic view for the Control Panel or select the Classic Start menu.
You can also change the way a user logs on or off.
The procedure in this manual uses the method of the Windows XP default setting
(not Classic Start menu etc.).
Resetting the password
Windows XP has a function to reset a forgotten password.
To use this function, you need to create a password reset disk beforehand following
the steps below.
1 Select [Start] - [Control Panel] - [User Accounts] and select the account you
used to logon.
2 Select [Prevent a forgotten password] from the [Related Tasks] menu and create
a password reset disk following the on-screen instructions.
Store the password reset disk in a safe place.
NOTE
Only the logon password for each account can be reset.
The password set in the Setup Utility cannot be reset.
Depending on the Windows settings, installed applications, and drivers, menus and
other displays may differ, or some functions (such as use of the password reset disk)
may be inoperable. Check with your system administrator for details.
Starting Up/Shutting Down “OPERATING INSTRUCTIONS (page 15)”
Replace step 3 for the following.
3 Log on to Windows
Windows 2000
Wait for 10 seconds after confirming that the hard disk drive access has been completed,
input the user name and password, then select [OK]. Until the correct user name and
password are entered, the computer will not operate.
Windows XP
Wait for 10 seconds after confirming that the hard disk drive access has been completed,
select the user and input the password, then select . Until the correct password is entered, the computer will not operate.
List of Error Codes “OPERATING INSTRUCTIONS (page 19)”
Replace the error code 0232 for the following.
0232 Extended RAM Failed at offset : nnnn
Extended RAM Failed at address line : nnnn
Extended memory not working or not configured properly at offset or address line nnnn.
Dealing with Problems (Summary) “OPERATING INSTRUCTIONS (page 22)”
Add the following.
The screen does not fill up
the entire display (i.e., the
screen is shown in the center of the display)
2
If the resolution is set to 800 x 600 or less and the screen is set to simultaneous display, the
screen will not fill up the entire display. Also, if the screen is set to Extended Desktop, the
screen may not fill up the entire display.
Page 3
Reinstalling Software “OPERATING INSTRUCTIONS (page 24-25)”
Single OS Replace the “Reinstalling” for the following.
Reinstalling
CAUTION
If data on your hard disk is compressed, the data should
be uncompressed.
1 Turn the computer off and set the optional CD drive in the
multimedia pocket, and then turn the computer on.
2 When the message [Press F2 to enter SETUP] is displayed,
press F2 and then run the Setup Utility.
If the password has been set, enter the Supervisor Password.
3 Write down all of the contents of the Setup Utility and
then press F9 .
At the confirmation message, select [Yes] and press
Enter .
4 Select [Boot] menu, then select [CD Drive] and press F6
until [CD Drive] is at the top of the [Boot] menu.
5 Place disk number one of the recovery CDs into the CD
drive.
6 Press F10 .
At the confirmation message, select [Yes] and then press
Enter . The computer will reboot, and the License
Agreement screen should appear. Select [1. Yes, I agree to
the provisions above and wish to continue!].
8 Make a selection from the menu.
To restore all contents of the hard disk to factory default, including the partition setting(s): Select [1].
To reinstall Windows 2000/Windows XP to the first partition to factory default: Select [2].
In such cases, the initial partition size must be 4GB
or more of the hard disk size. Reinstallation cannot be performed with a small partition size.
NOTE
If "The program has detected an error 110 on the partition starting at sector xxxxxxxx on disk1." is displayed, select [Yes].
9 At the confirmation message , press Y .
The operation of reinstallation for the hard disk starts automatically.
When a message appears instructing you to insert the next
CD, insert the recovery CD showing the next number in
the sequence, and then select [OK].
NOTE
If the message “The media does not contain the correct file” appears, select [OK]. A message will appear instructing you to insert the next CD.
Confirm that the proper recovery CD has been inserted by opening the tray of the CD drive and then
close the tray, then select [OK].
7 This screen should appear.
Windows 2000
----------------------------------------------------------------
Select a number
----------------------------------------------------------------
1. Restore Windows(R) 2000 Professional to the whole HDD
2. Restore Windows(R) 2000 Professional to the first partition
3. End
----------------------------------------------------------------
Windows XP
----------------------------------------------------------------
Select a number
----------------------------------------------------------------
1. Restore Windows(R) XP Professional to the whole HDD
2. Restore Windows(R) XP Professional to the first partition
3. End
----------------------------------------------------------------
10 After the reinstallation procedure completes, the follow-
ing message will appear on the display. Remove the recovery CD, then restart the computer by pressing
Ctrl + Alt + Del .
Windows 2000
Windows(R) 2000 Professional install wizard will start after reboot.
Remove the Product Recovery CD-ROM, then restart the computer
by pressing
Ctrl + Alt + Del(Delete).
Windows XP
Windows(R) XP Professional install wizard will start after reboot.
Remove the Product Recovery CD-ROM, then restart the computer
by pressing
Ctrl + Alt + Del(Delete).
11 When the message [Press F2 to enter SETUP] is displayed,
press F2 and then run the Setup Utility.
If the password has been set, enter the Supervisor Password.
3
Page 4

Supplementary Instructions
12 Press F9 .
At the confirmation message, select [Yes] and press
Enter . (The Setup Utility settings will return to their
default values. Even the security settings with the exception of the password(s) will return to their default values.)
NOTE
If there are added functions that are not listed in the
Specifications of this Supplementary Instructions, we
recommend disabling their device settings. If the settings are enabled, additional operations may be necessary during the Windows setup procedure. (We also
recommend referring to the Supplementary Instructions for added functions, if they are included with
the computer.)
13 Using either or , select [Exit] and then select
[Save Current Values], then press Enter .
At the confirmation message, select [Yes] and press
Enter .
14 Turn the computer off by rotating the power switch, and
then turn the computer on.
15 Perform the setup procedure for Windows by following
the instructions on the screen.
(Refer to the Supplementary Instructions for added func-
tions, if they are included with the computer.)
Windows 2000 “Operating Instructions” (page 11)
Windows XP “Operating Instructions” (page 12)
16 Run the Setup Utility and change the settings where nec-
essary.
4
Page 5

Specifications “OPERATING INSTRUCTIONS (page 30-31)”
Replace as follows.
Main Specifications
Model No.
CPU
Memory (Expandable to)
Video Memory
LCD Type
Displayed Colors*
External Display
Hard Disk Drive
Keyboard
Floppy Disk Drive
Slots PC Card Slots
Allowable current
(total for two slots)
RAM Module Slot*
Interface Parallel Port
External Display Port
Serial Port
Microphone Jack*
Headphone Jack
Infrared Communication P ort
External Keyboar d/Mouse Port
Expansion Bus Connector
USB Port
Modem
Pointing Device
Microphone
Speaker
Sound
1
5
6
CF-28PTJAZQM CF-28PRJAZQM CF-28P3JAZQM
CF-28PTJAZDM CF-28PRJAZDM CF-28P3JAZDM
CF-28PTJAZKM CF-28PRJAZKM CF-28P3JAZKM
CF-28PMJAZQM
CF-28PMJAZDM
CF-28PMJAZKM
Mobile Intel® Pentium® III Processor-M 800 MHz featuring Intel® SpeedStepTM technology
L1 Cache Memory: 32 KB
L2 (Second) Cache Memory: 512 KB
256 MB (512 MB Max.)
UMA (32 MB Max.)
13.3 type (TFT) with
Touchscreen
256/65536/16M colors
(640 x 480 dots/800 x 600
dots/1024 x 768 dots)
256/65536/16M colors (640 x 480 dots/800 x 600 dots/1024 x 768 dots/1280 x
1024 dots)*
30 GB*
3
4
12.1 type (TFT)(Transflective*2)
with Touchscreen
256/65536/16M colors
(640 x 480 dots/800 x 600
dots)
13.3 type (TFT)
256/65536/16M colors
(640 x 480 dots/800 x 600
dots/1024 x 768 dots)
87 keys
720 KB/1.44 MB (two-mode)
Two T ype I or Type II, or one Type III
3.3 V: 400 mA
5 V: 400 mA
144-pin, 3.3-V, SO-DIMM, SDRAM, PC133 Compliant
Dsub 25-pin female
Mini Dsub 15-pin female
Dsub 9-pin male
Miniature jack, 3.5 DIA
Miniature jack, 3.5 DIA, Impedance 32 Ω, Output Power 4 mW x 2
IrDA 1.1 compliant
Mini DIN 6-pin female
Dedicated 80-pin female
4-pin (USB 1.1)
RJ-11 jack, Data: 56 kbps (V.90 & K56flex) FAX:14.4 kbps
Touch Pad, Touchscreen (Anti-Reflection, Touch Pad
Stylus (included) touch capable)
Monaural Microphone (built in)
Monaural Speaker (built in)
WAVE and MIDI playback
*1A 16M color display is achieved by using the dithering function. Windows XP : 256 color depth and the resolution of 640x480 are not
supported.
*2The TransflectiveLCD improves display under strong light by using the reflection of light as illumi-
nation in addition to the same backlight illumination as a general LCD.
The light sensor works to sense strong light so that the TransflectiveLCD will not require backlight
illumination, and to power off the backlight illumination to conserve energy.
*3Maximum resolution depends on the specifications of the external display. Windows XP : 256 color depth and the resolution of 640x480 are
not supported.
*41GB = 109 bytes
*5Only a RAM card designed for PC133 can be added.
*6Use only a monaural condenser microphone.
Sensor
5
Page 6

Supplementary Instructions
Main Specifications
Model No.
Battery Pack
Operating Time*
7
Charging Time*7Po wer On
Power Off
Clock Battery
AC Adaptor*8Input
Output
Power Consumption*
Environment In use
9
T emperature
Humidity
Not in use T emperature
Humidity
Physical Dimensions (W x H x D)
Weight (inc luding the carrying handle)
CF-28PTJAZQM/CF-28PTJAZDM CF-28P3JAZQM/CF-28P3JAZKM
CF-28PTJAZKM/CF-28PMJAZQM CF-28P3JAZDM
CF-28PMJAZDM/CF-28PMJAZKM
CF-28PRJAZQM/CF-28PRJAZDM
CF-28PRJAZKM
Li-ion 11.1 V, 5.4 Ah
Main battery: Approx. 3.5 hours - 5.5 hours
Main battery + Second battery: Approx. 6.5 hours - 10
Main battery: Approx. 5.5 hours
Main battery + Second battery: Approx. 9.5 hours
Main battery: Approx. 3 hours
Main battery + Second battery: Approx. 5.5 hours
Coin type lithium battery 3.0 V
100 V - 240 V AC, 50 Hz/60 Hz
15.6 V DC, 5.0 A
Approx. 35 W*10 / Approx. 55 W (maximum when recharging in the ON state)
5 °C to 35°C {41 °F to 95 °F}
30% to 80% RH (No condensation)
-20 °C to 60 °C {-4 °F to 140 °F}
30% to 90% RH (No condensation)
302 mm x 63.5 mm(at the rear)/65.5 mm(at the front) x 275 mm
{11.9 " x 2.5 "/2.6 " x 10.8 "} (excluding protrusion)
Approx. 4.2 kg {Approx. 9.3 lb.} Approx. 4.1 kg {Approx. 9.0 lb.}
hours
*7Varies depending on the usage conditions, CPU speed, etc.
*8The AC adaptor is compatible with power sources up to 240 V AC adaptor. The computer is supplied with a 125 V AC compatible AC cord.
*9Approx. 0.9 W when the battery pack is fully charged (or not being charged) and the computer is off.
*10Rated power consumption.
Software
Model No.
Operating System
Utility Programs
*11• The set-up utilities for both Windows® 2000 and Windows® XP operating systems are preinstalled on this system.
• When the system is initially started, you have the option of selecting operating system of your choice.
• Any operating system that was not selected initially will be deleted automatically.
CF-28PTJAZQM CF-28PTJAZDM CF-28PTJAZKM
CF-28PMJAZQM CF-28PMJAZDM CF-28PMJAZKM
CF-28PRJAZQM CF-28PRJAZDM CF-28PRJAZKM
CF-28P3JAZQM CF-28P3JAZDM CF-28P3JAZKM
Microsoft® Windows
2000 Professional with
Service Pack2*
Microsoft® Windows® XP
Professional*
11
11
®
Microsoft
2000 Professional with
Service Pack2
(NTFS File System)
®
Windows
®
Microsoft
®
Professional
(NTFS File System)
Windows® XP
(NTFS File System)
Setup Utility
DMI Viewer
®
Adobe
Acrobat® Reader 5.0
6
Page 7

Memo
7
Page 8

© 2002 Matsushita Electric Industrial Co., LTD. All Rights Reserved.
Printed in Japan
8
FJ0902-0
DFQX1420ZA
 Loading...