

Page 1
Quick Start for PalmTM In-car GPS Solution
!
bundle
This guide is designed to get your new GPS bundle up and
running quickly. For additional information, see the manual on
the Mapopolis CD-ROM included with your bundle.
Safety Warning:
Do not attempt to view the viewer handheld
while driving. Pull over to the side of the road to
view or modify maps.
1 Installing Map opolis & Maps on Your
Handheld
Place the Mapopolis CD-ROM into your
CD-ROM drive. The Map Loader software will automatically start.
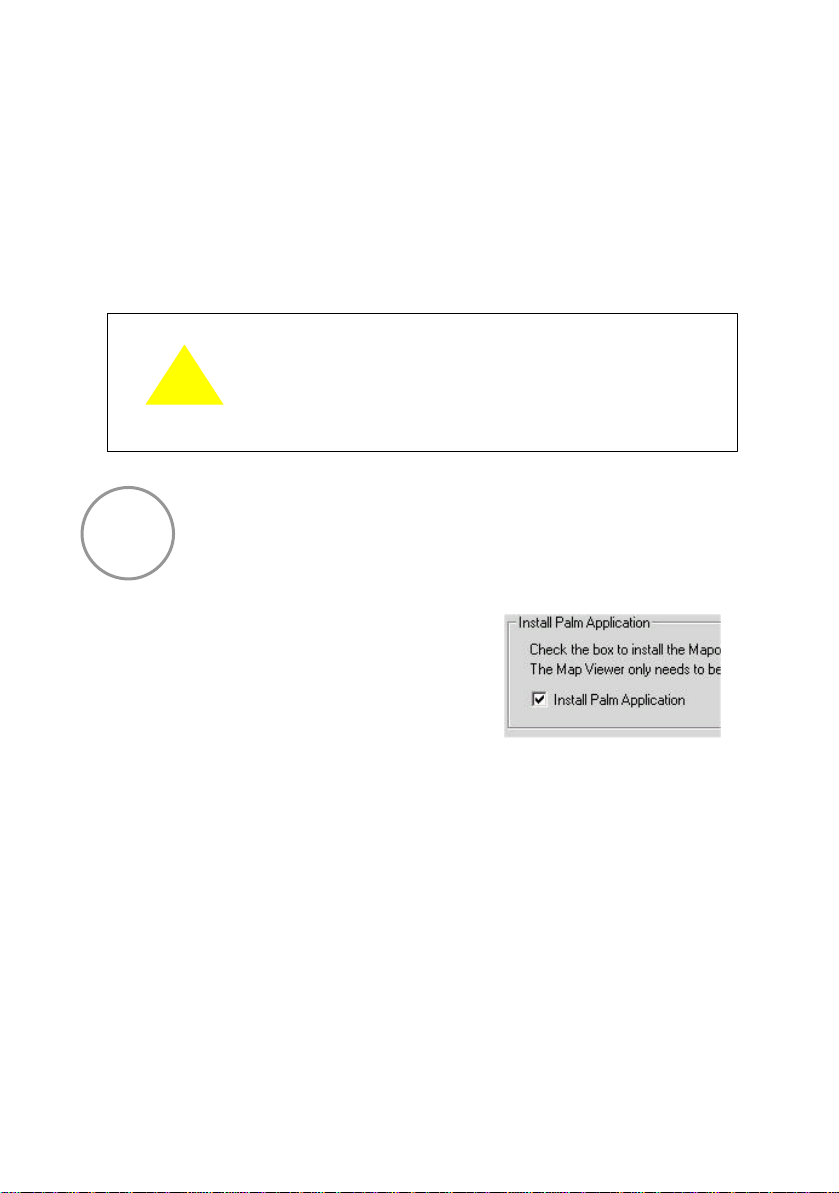
The first time that the CD is run, the “Install Palm Application”
check box will already be checked. If you ever need to re-install
the Mapopolis Map Viewer software on your handheld, simply
re-check this box.
Next, choose one or more maps, by choosing a state or province
and then searching for a place name or choosing a county. Click
on a county name to place th e map in the “Files to be installed”
list. If necessary, you can click on the map name in the “Files to
Install App Checkbox
Page 2
be installed” list to remove it. When you are done, click on the
“Install Files” button to begin the synchronization of the maps
and viewer to your ha ndheld.
2 Connecting Your GPS Device
QUICK TIP: Take the time to decide
where you will be placing the GPS
receiver, where your handheld will go,
and how you intend to route the cables.
Planning this out will prevent possible
frustrations while using the GPS
solution.
We recommend the GPS -antenna unit be placed on the roof (it
has a magnetic base) or on the dashboard for best satellitereception. Depending on the model of car that you have, you
may find that you are left with excess cable when the unit is set
up. We recommend tucking this into a corner of the dashboard
or using one of the included twist-ties to secure it.
We recommend using a window or dash mount to secure your
PalmTM handheld & position it for easy viewing.
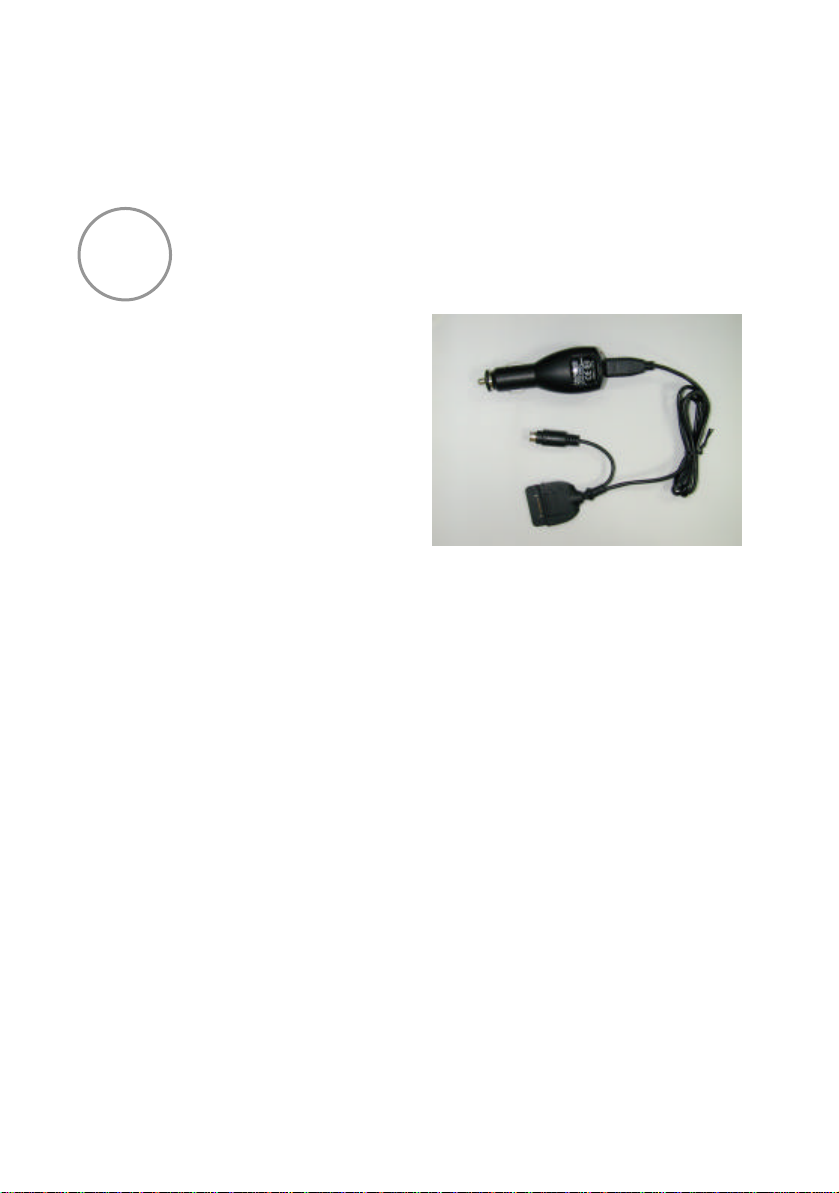
Your GPS unit consists of two pieces: a small box with a cable
(the GPS unit) and a cable with a cigarette lighter adapter. There
is a round connector on both the cable with the cigarette lighter
adapter and on the end of the gray box’s cable, line up the
arrows and connect the two connectors.
Lighter Adapter
To GPS
To PDA
Page 3

Next, plug the cigarette lighter adapter into your vehicle’s
cigarette lighter and then plug the flat connector into the serial
port on the bottom of your PDA.
3 Using GPS in your vehicle
We recommend that you configure your route before beginning
to drive and if you need to re-configure your route, you should
stop the vehicle before doing so.
Do not attempt to view the viewer handheld while driving. Pull
over to the side of the road to view or modify maps.
4 Configuring GPS in Mapopolis
Start Mapopolis by clicking the Mapopolis icon
from your Palm handheld’s launcher. If you have
installed maps, you will see a list of maps, choose
one and click view. If you did not install any maps,
you will need to install a map, as described in step two, before
proceeding. Click on the start button from the splash screen and
then click on the menu button (located on the far right of the
Mapopolis toolbar at the bottom of the screen to bring up the
Mapopolis menu).
Click on the GPS button on the
menu, and then click on the GPS
Settings button at the top of the
Menu Button
Page 4

GPS screen. Click on the downward-pointing arrow near the top
of the screen and choose “Use Serial Connection” from the droplist. Click Save.
5 Getting Started with Mapopolis & Your
GPS Device
The Mapopolis software included with your bundle allows you to
view maps and generate directions right on your Palm OS®
handheld. Once directions have been generated, you can view
them as either a te xt-list or displayed on the map. When they are
shown on the map, the current GPS position is displayed,
showing you your position along the route.
Mapopolis also contains a number of advanced features, that are
not discussed here, such as GeoMarks and Maplets. More
information about these can be found in the manual located on
the Mapopolis CD-ROM.
Loading A Map
To load a map, click on the menu button, and then click on the
maps button on the menu. Choose the map that you would like
to load, tap it (which will highlight it in blue) and click on view.
The appropriate maps must be loaded to generate directions.
Note that Mapopolis, by default, also loads all county maps
contiguous to the county that you have chosen.
Zooming & Scrolling The Map
Maps can be easily scrolled by dragging your stylus across your
PDA’s screen. The map will move as the stylus is moved.
The map can be zoomed in by clicking on the magnifying glass
with the plus sign next to it (on the far left of the menu bar). The
map can be zoomed out by clicking on the magnifying glass with
Page 5

the minus sign next to it (located adjacent to the zoom-in button).
The box button (third from the right on the menu bar) can be
used to zoom to a specific area of the map. Click on the box icon,
and then drag your stylus across the screen to create a box.
Mapopolis will zoom in to show the area you have selected.
Adding & Removing Detail
Mapopolis automatically adds additional detail (such as small
streets and location information to the map as it is zoomed in
and out. However, there may be times when you want to reduce
the level of detail shown to make the map easier to read or to
increase it in order to find a specific location. To add detail, click
the plus icon. Detail can be removed by clicking the minus icon.
When you have reached an extreme (such as the most, or least
amount of detail that can be shown), the corresponding icon will
disappear to let you know that you can not add or remove any
detail. Note that the amount of detail that can be
added/removed varies by zoom level. If you still can’t find what
you are looking for, try zooming in and clicking the add detail
button again.
Generating Directions
To generate directions, click on the menu button and then the
“Directions” button on the menu. You will be prompted first for
a start location and then for a destination. Enter the street
number into the left -most “number” box and the street name in
the “Street” box to the right of the number box. Note that
numbered streets should be entered as “E 93”, etc. If you are
unsure of the exact street name or spelling, enter a few
characters, all matching streets will be selected. Once you have
selected your start and destination locations, you can choose to
view the directions either as te xt or on the map.
Note that there are many advanced options with generating
directions, such as using a location or Palmtm Address Book contact
as your origin or destination. Please see the manual on the
Mapopolis CD -ROM for more information.
Page 6

6 Getting Support for the Palm In-car GPS
recommend that you view the
technical support please visit
support
solution bundle
If you are having problems
with the Mapping software:
For more information about
using the software, we
Mapopolis Manual, located in
the root directory of the
Mapopolis CD-ROM. To use
the manual, you will need
Adobe Acrobat Reader, which
can be downloaded at no
charge from
http://www.adobe.com/prod
ucts/acrobat/readstep.html.
If you are still experiencing
problems or can not find the
information you need. You
can reach Mapopolis support
at support@mapopolis.com.
Additional contact
information is located on our
website,
www.mapopolis.com.
If you are having problems
with the GPS hardware:
For more information or for
Holux Website:
www.holux.com.tw
For email support please
send questions to
info@holux.com.tw
For phone support please
call: (408) 262 - 8118
If you are having problems with your Palm handheld:
http://www.palm.com/support for Palm handheld
 Loading...