

Ozito PXCLMK-218EU Original Instructions Manual
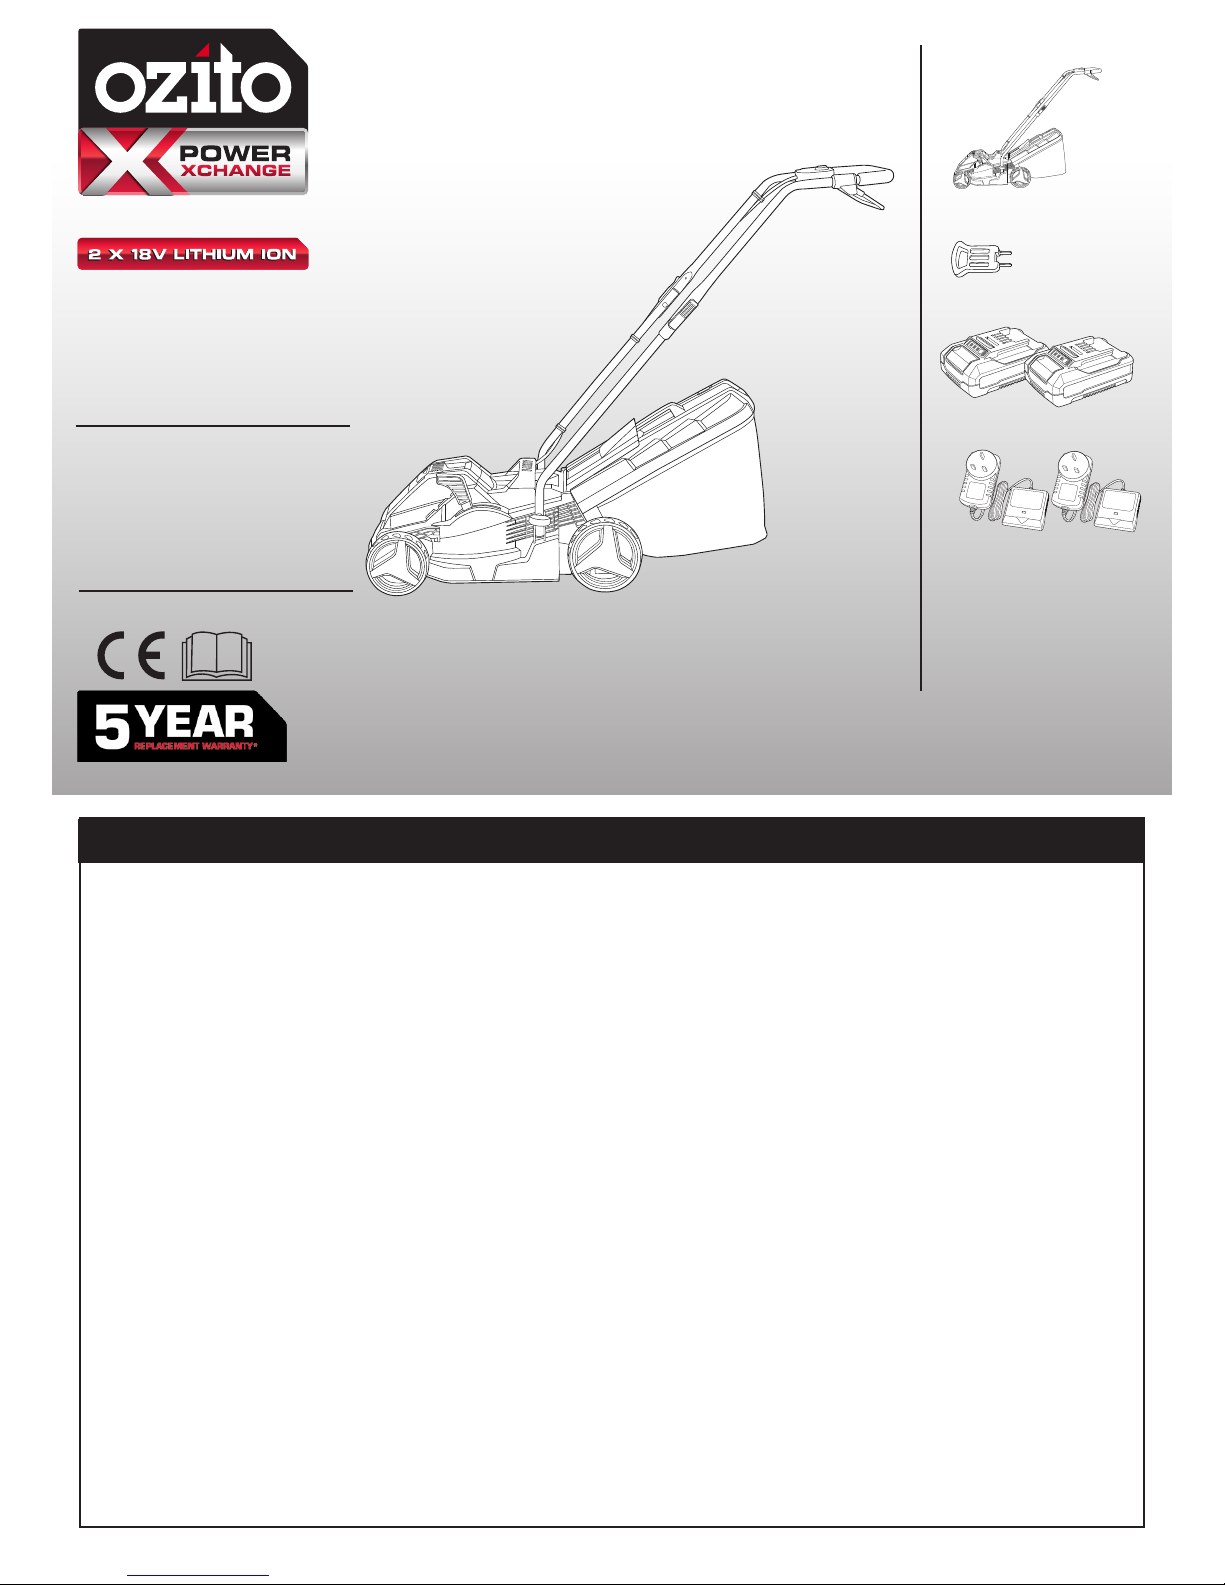
CORDLESS LAWN
MOWER KIT
ORIGINAL INSTRUCTIONS
SPECIFICATIONS
Voltage: 18V x 2
Cutting Diameter: 330mm
Cutting Heights: 25-65mm (5 position)
No Load Speed: 3,400/min
Grass Catcher: 30 litres
Charge Time: 2.5 hours
Weight: 11.85kg
PXCLMK-218EU
Cordless Lawn Mower
2 x 2.0Ah Batteries
ozito-diy.co.uk
Safety Key
2 x Eco Charger
WHAT’S IN THE BOX
WARRANTY
1017
OZITO UK Unit 9 Stadium Court, Wirral International Business Park, Plantation Road, Bromborough, Wirral, CH62 3QG
All of our products undergo strict quality checks to ensure that they reach you in perfect
condition. In the unlikely event that your device develops a fault, please contact our service
department at the address shown on this guarantee card. You can also contact us by
telephone using the customer service number shown. Please note the following terms under
which guarantee claims can be made:
1. These warranty terms regulate additional warranty services, which the manufacturer
mentioned below promises to buyers of its new products in addition to their statutory
guarantee claims are not affected by this guarantee. Our guarantee is free of charge to you.
2. The warranty services only covers defects due to material or manufacturing faults on
a product which you have bought from the manufacturer mentioned below are limited to
either the rectication of said defects on the product or the replacement of the product,
whichever we prefer.
Please note that our devices are not designed for use in commercial, trade or professional
applications. A guarantee contract will not be created if the device has been used by
commercial, trade or industrial business or has been exposed to similar stresses during the
guarantee period.
3. The following are not covered by our guarantee:
- Damage to the device caused by a failure to follow the assembly instructions or due to
incorrect installation, a failure to follow the operating instructions (for example connecting
it to an incorrect mains voltage or current type) or a failure to follow the maintenance and
safety instructions or by exposing the device to abnormal environmental conditions or by
lack of care and maintenance.
- Damage to the device caused by abuse or incorrect use (for example overloading the
device or the use or unapproved tools or accessories), ingress of foreign bodies into the
device (such as sand, stones or dust, transport damage), the use of force or damage caused
by external forces (for example by dropping it).
- Damage to the device or parts of the device caused by normal or natural wear or tear or by
normal use of the device.
4. Your Product is guaranteed for a period of 60 months from the original date of purchase
and is intended for DIY (Do It Yourself) use only. Lithium Ion batteries and chargers are
covered by a 12 month warranty. Warranty excludes consumable parts. Guarantee claims
should be submitted before the end of the guarantee period within two weeks of the defect
being noticed. No guarantee claims will be accepted after the end of the guarantee period.
The original guarantee period remains applicable to the device even if repairs are carried
out or parts are replaced. In such cases, the work performed or parts tted will not result
in an extension of the guarantee period, and no new guarantee will become active for the
work performed or parts tted. This also applies if an on-site service is used.
IN ORDER TO MAKE A CLAIM UNDER THIS WARRANTY YOU MUST RETURN THE PRODUCT TO
THE PLACE OF PURCHASE WITH YOUR REGISTER RECEIPT.
Please refer to the restrictions of this warranty concerning wearing parts, consumables and
missing parts as set out in the service information in these operating instructions.
CUSTOMER SERVICE HELPLINE
GB: 0151 294 4488
IRL: 1850 882711
Ozito-diy.co.uk
Dispose of batteries correctly
Guaranteed sound power level: 96 dB
Keep your distance
Read the directions for use before operating the equipment.
Caution: Sharp blades! Pull out the safety plug before carrying
out any repair work or if the power cable is damaged.
The blades will continue to rotate after the motor is switched off.
Safety class II
Protect the equipment from
rain and damp conditions
96
ONLINE MANUAL
Scan this QR Code with your mobile
device to take you to the online manual.
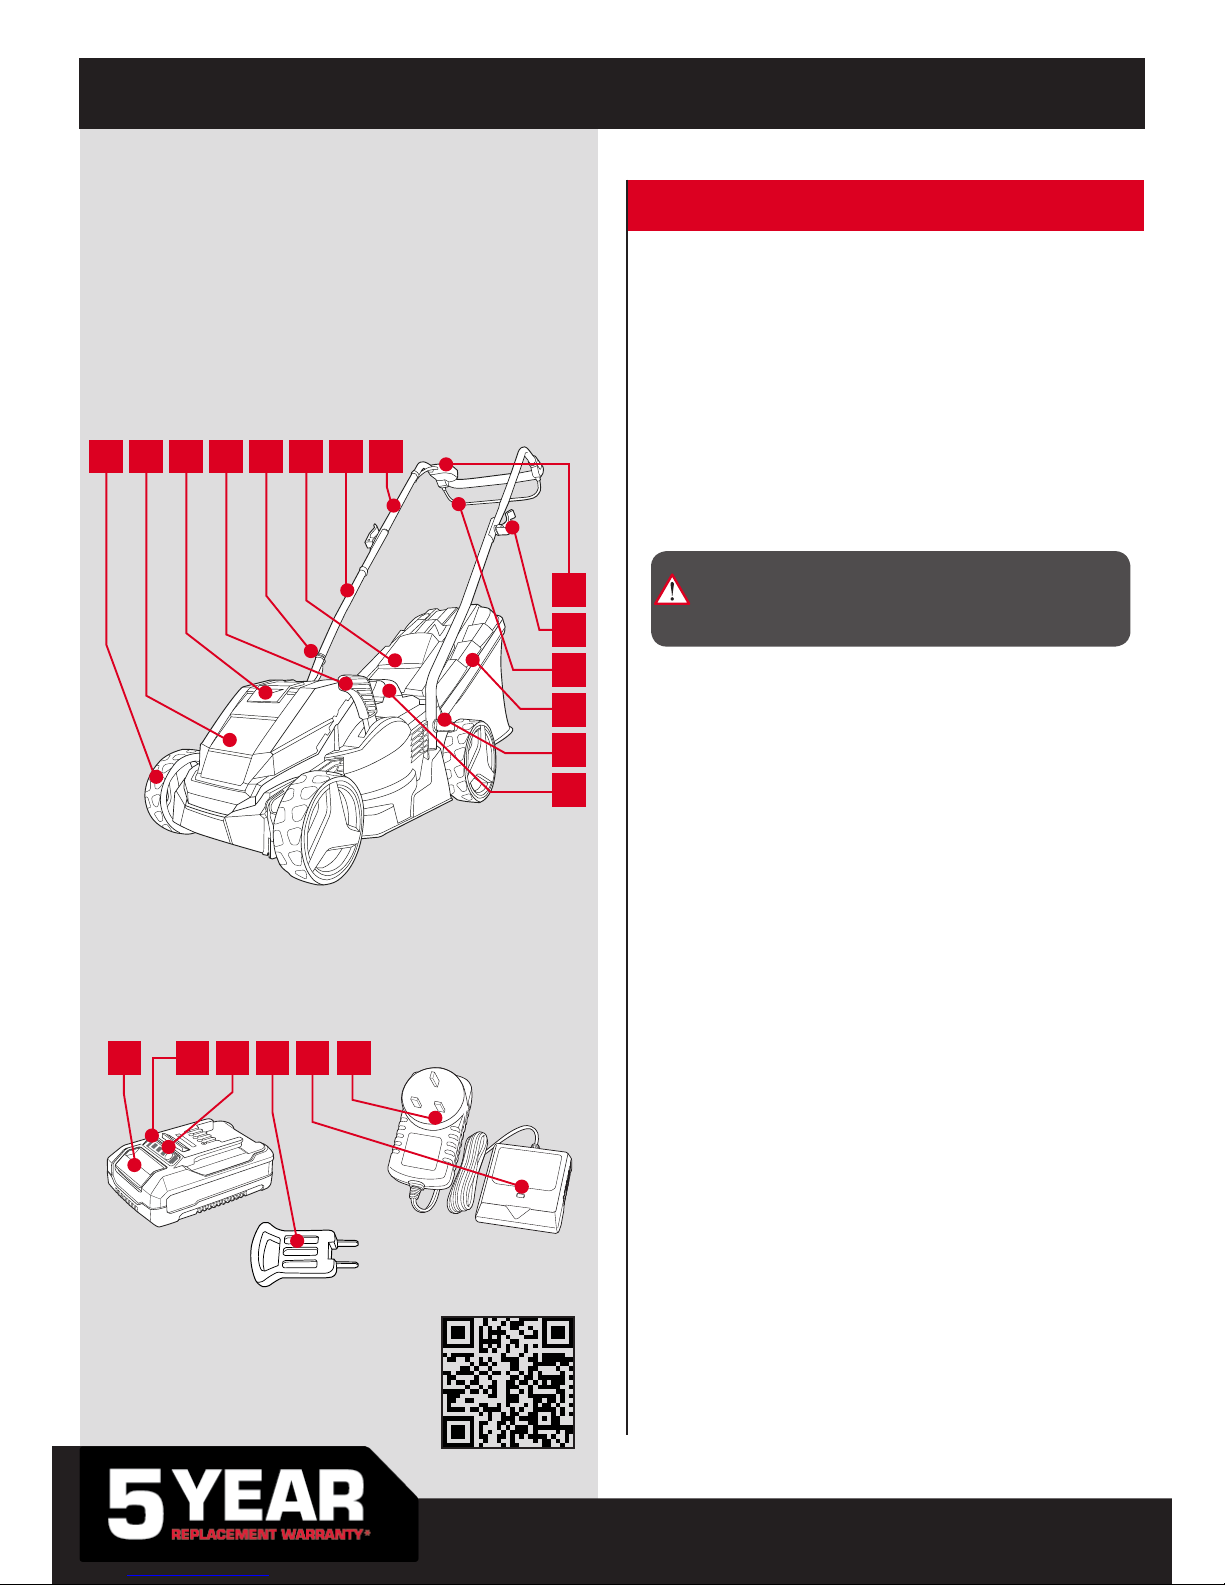
1. Wheels
2. Battery Cover
3. Battery Cover Securing Latch
4. Height Adjustment Lever
5. Cord Clips
6. Grass Catcher Flap
7. Lower Handle
8. Upper Handle
9. Lock-off Button
10. Handle Securing Lever
11. Start/Stop Lever
12. Grass Catcher
13. Handle Fastening Screw
14. Lifting Handle
CORDLESS LAWN MOWER KIT
KNOW YOUR PRODUCT
192103114125136147 8
1. BEFORE USE
Items Supplied
Please check that the article is complete as specied in the scope of delivery.
If parts are missing, please contact our service centre or the sales outlet
where you made your purchase at the latest within 5 working days after
purchasing the product and upon presentation of a valid bill of purchase.
Also, refer to the warranty table in the service information at the end of the
operating instructions.
¥ Open the packaging and take out the equipment with care.
¥ Remove the packaging material and any packaging and/or transportation braces (if
available).
¥ Check to see if all items are supplied.
¥ Inspect the equipment and accessories for transport damage.
¥ If possible, please keep the packaging until the end of the guarantee period.
DANGER! THE EQUIPMENT AND PACKAGING
MATERIAL ARE NOT TOYS. DO NOT LET CHILDREN
PLAY WITH PLASTIC BAGS, FOILS OR SMALL
PARTS. THERE IS A DANGER OF SWALLOWING OR
SUFFOCATION!
Proper Use
The lawn mower is intended for private use i.e. for use in home and gardening
environments.
Private use of the lawn mower refers an annual operating time generally not
exceeding that of 50 hours, during which time the equipment is primarily used
to maintain small-scale, residential lawns and home/hobby gardens. Public
facilities, sporting halls, and agricultural/forestry applications are excluded.
Important. Due to the high risk of bodily injury to the user, the lawn mower
may not be used to trim bushes, hedges or shrubs, to cut scaling vegetation,
planted roofs, or balcony-grown grass, to clean (suck up) dirt and debris
off walkways, or to chop up tree or hedge clippings. Moreover, the lawn
mower may not be used as a power cultivator to level out high areas such as
molehills.
For safety reasons, the lawn mower may not be used as a drive unit for other
work tools or toolkits of any kind, unless they have been expressly permitted
by the manufacturer.
The equipment is to be used only for its prescribed purpose. Any other use is
deemed to be a case of misuse. The user / operator and not the manufacturer
will be liable for any damage or injuries of any kind caused as a result of this.
Please note that our equipment has not been designed for use in commercial,
trade or industrial applications. Our warranty will be voided if the machine is
used in commercial, trade or industrial businesses or for equivalent purposes.
15. Battery Release Tab
16. Battery Charge LED’s
17. Battery Charge Indicator Button
18. Safety Key
19. Charger LED
20. Charger
ACCESSORIES
15 16 17 18 19
20
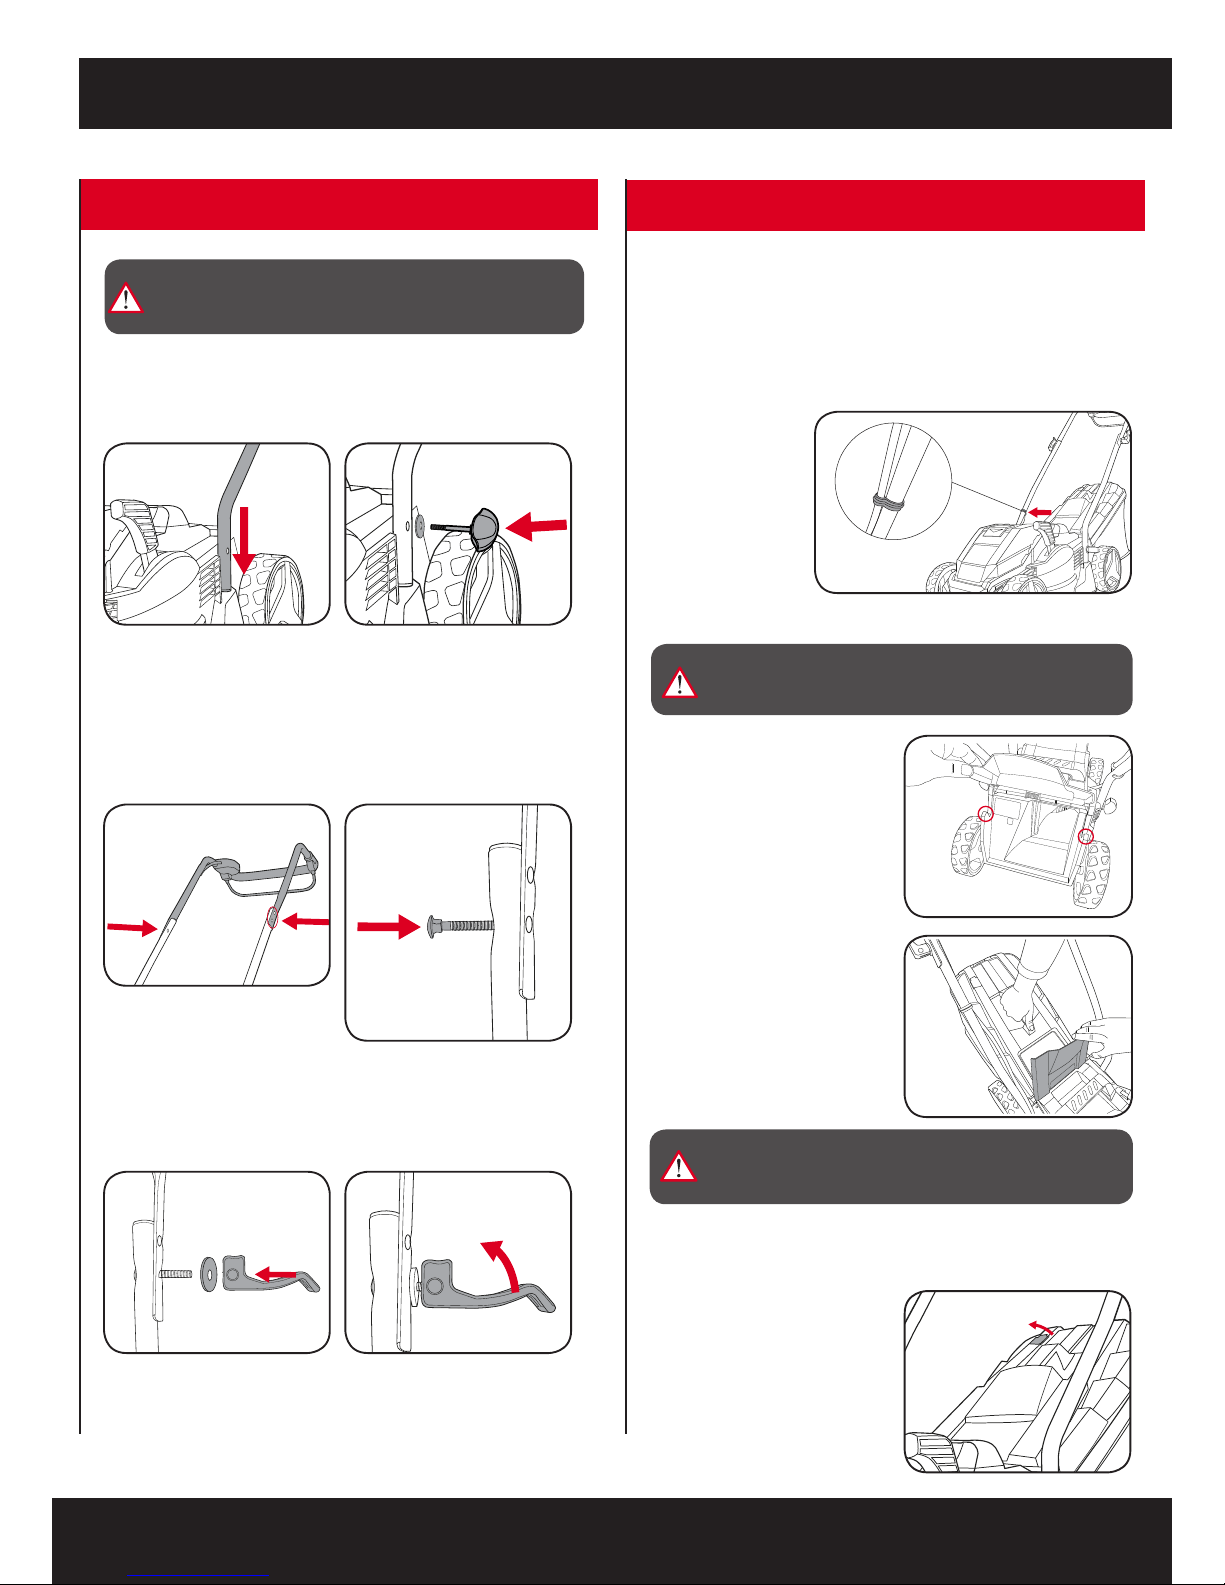
2. ASSEMBLY
SETUP & PREPARATION
1. Align the holes in the upper
handle and lower handle.
2. Secure the lower handle with a
washer and fastening screw.
1. Lift up the catcher ap with one
hand and guide the catcher with
your other hand over the two
hooks on the mower housing.
3. To remove, raise the ap and lift
the catcher out.
1. Place the lower handle into the
mount.
3. Repeat this process on the other side for the second lower handle.
2. Lower the grass catcher and
allow it to sit in place. Lower the
catcher ap.
Fitting the Upper Handle
Fitting the Lower Handles
Fitting and Removing the Grass Catcher
WARNING! WHEN FITTING THE GRASS CATCHER
AFTER EMPTYING, ALWAYS ENSURE THERE IS NO
BUILD UP OF GRASS IN THE GRASS CHUTE.
IMPORTANT! ONLY FIT AND REMOVE THE CATCHER
WHEN THE MOWER IS SWITCHED OFF AND THE
MOTOR HAS COME TO A STOP.
1. Locate cord on outside of handle. Push the supplied cord clip over the cord
and onto the lower handle to secure in place.
If the indicator ap is down while
operating then the grass catcher is full
and needs emptying.
Note: Care should be
taken not to
impinge cord
when folding
down the
handle.
Securing the Cord
Grass Catcher Indicator
Ensure the cord follows the handle smoothly from the switch to the body of
the mower.
The grass catcher is tted with an indicator ap at the rear of the catcher to
help identify when to empty.
WARNING! ENSURE THE TOOL IS SWITCHED OFF
AND BATTERIES ARE DISCONNECTED BEFORE
PERFORMING ANY OF THE FOLLOWING TASKS.
3. Place a washer and the handle
securing lever onto the bolt.
4. Lock the handle securing lever to
secure in place.
5. Repeat this process for the opposite side.
Note: There are 2 holes on each
end of the upper handle,
select the appropriate hole
for the height of the user.
2. Place the handle securing lever
bolt through the holes from the
inside.
 Loading...