

Ozito PSDW-350 Instruction Manual
SUBMERSIBLE
WATER PUMP
350W
INSTRUCTION MANUAL
SPECIFICATIONS
Motor: 350W
Max. Flow Rate: 7,000l/h
Max. Head 5m
Max. Immersion: 5m
Min. Suction Depth 50mm
Max Particle Size: Ø30mm
Water Temp.: 1°C - 35°C
Weight: 4.2kg
PSDW-350
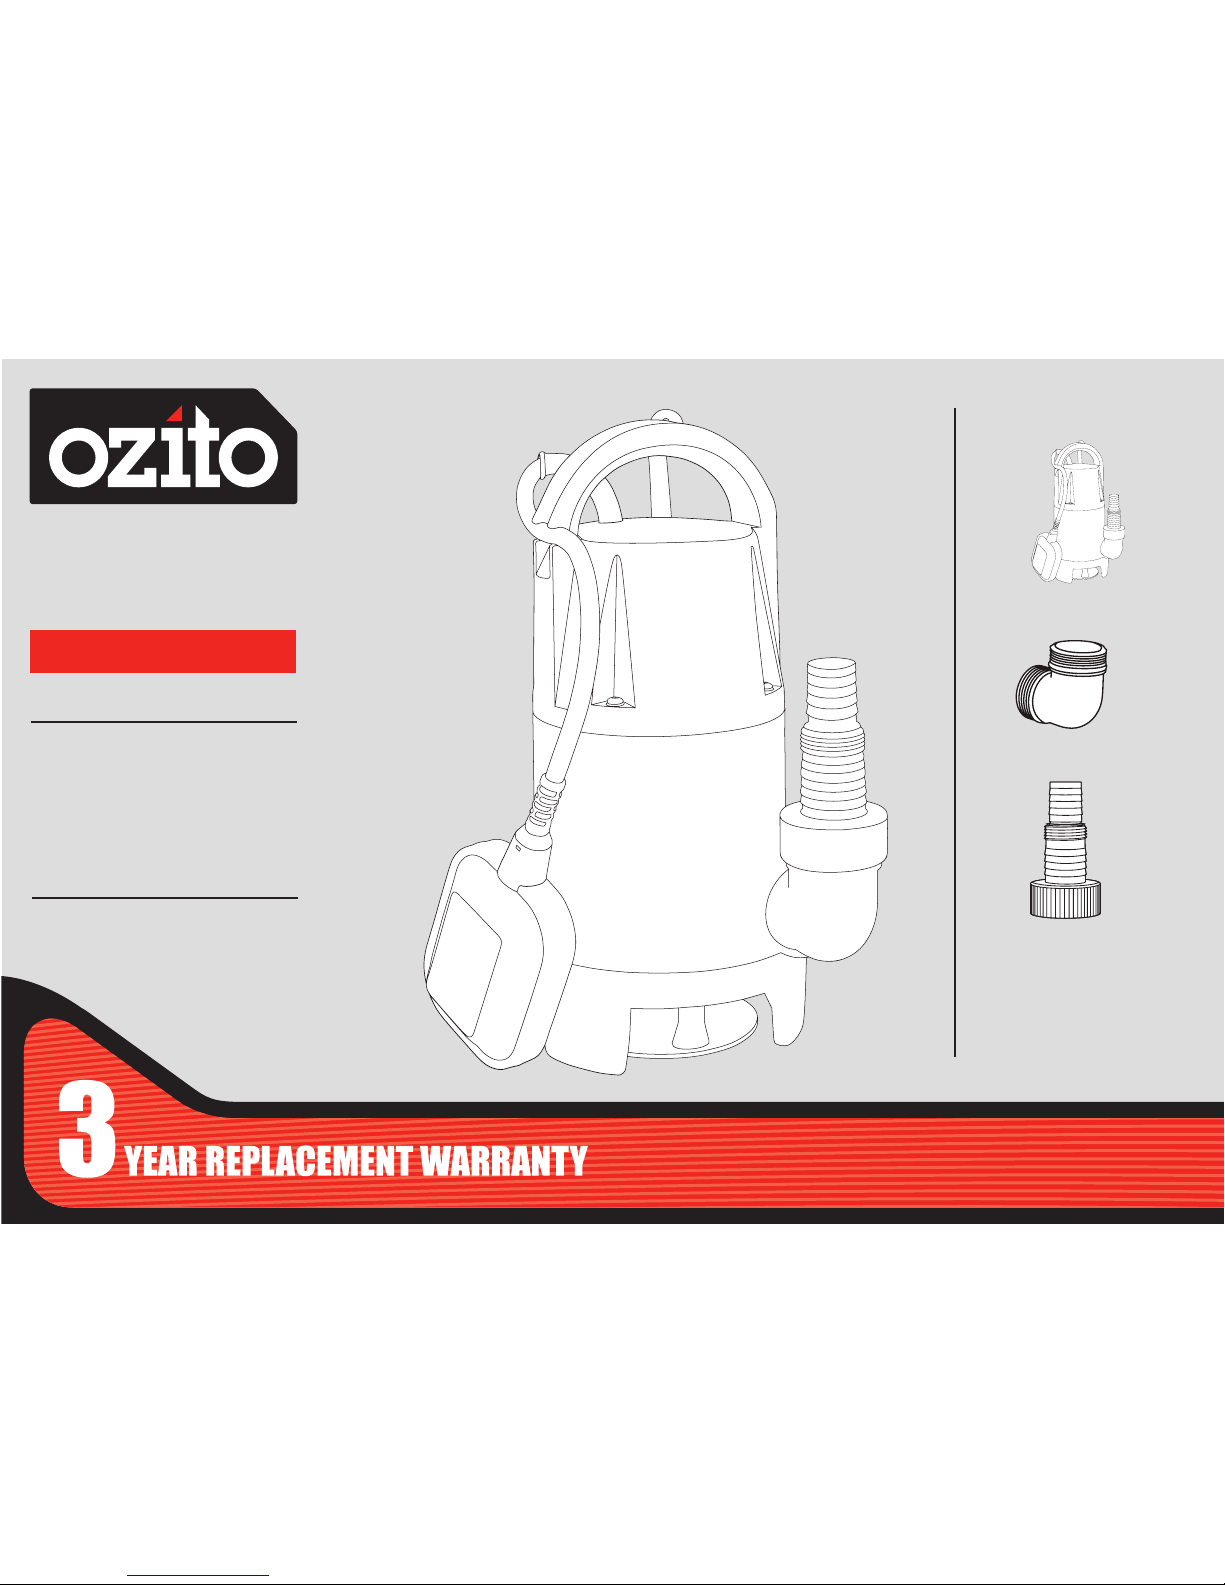
WHAT’S IN THE BOX
Submersible Pump
Universal Adaptor
ozito.com.au
L-Shape Connector
ONLINE MANUAL
Scan this QR Code with your
mobile device to take you to
the online manual.
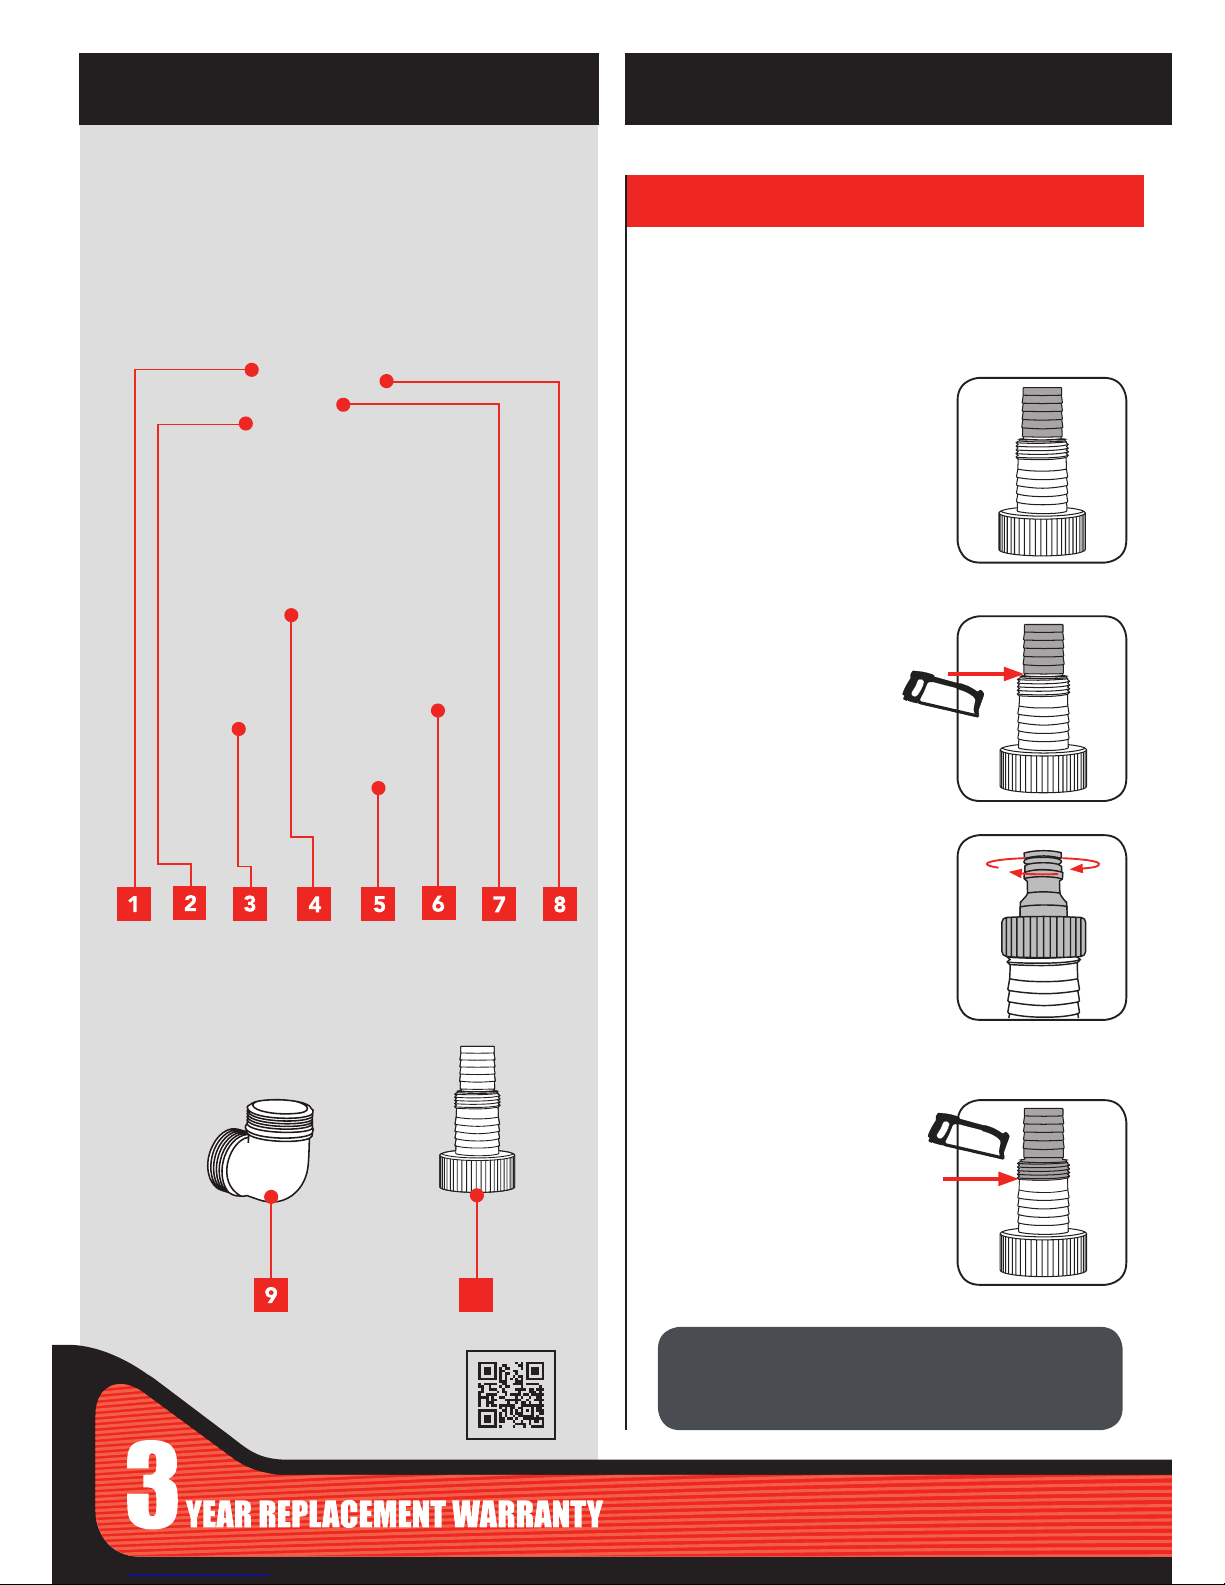
1. Float Switch Cable
2. Float Switch Adjustor
3. Float Switch
4 Pump Housing
5 Suction Base
6 Outlet
7 Power Cable
8 Handle
SUBMERSIBLE PUMP
KNOW YOUR PRODUCT
1. UNIVERSAL ADAPTOR
Preparing the Universal Adaptor
The universal adaptor is designed to t various sizes of pipes and
ttings.
9. L-Shape Connector
10. Universal Adaptor
ACCESSORIES
SETUP & PREPARATION
To t a 25mm (1’’) tap adaptor
(temporary application only)
1. Cut the universal adaptor using a
hack saw
2. It is now ready to be tted with a
25mm (1’’) screw on tap adaptor
(not included).
To t a 32mm (1¼’’)
rigid pipe or exible tubing
(temporary or permanent application)
. Cut the universal adaptor using
a hack saw. It is now ready to be
tted with a 32mm (1¼’’) rigid pipe
or exible tubing (not included).
To t a 25mm (1’’) rigid pipe or
exible tubing
(temporary or permanent application)
. No cutting of the universal adaptor
is required. It is ready to be tted
with a 25mm (1’’) rigid pipe or
exible tubing (not included).
Ensure the pump is disconnected from the power supply
before performing any of the following operations.
10
NOTE: TO USE THE PUMP IN PERMANENT
INSTALLATIONS WITH RIGID PIPES, INSTALL A
NON-RETURN VALVE TO AVOID THE FLUID BEING
RE-CIRCULATED ONCE THE PUMP HAS STOPPED.
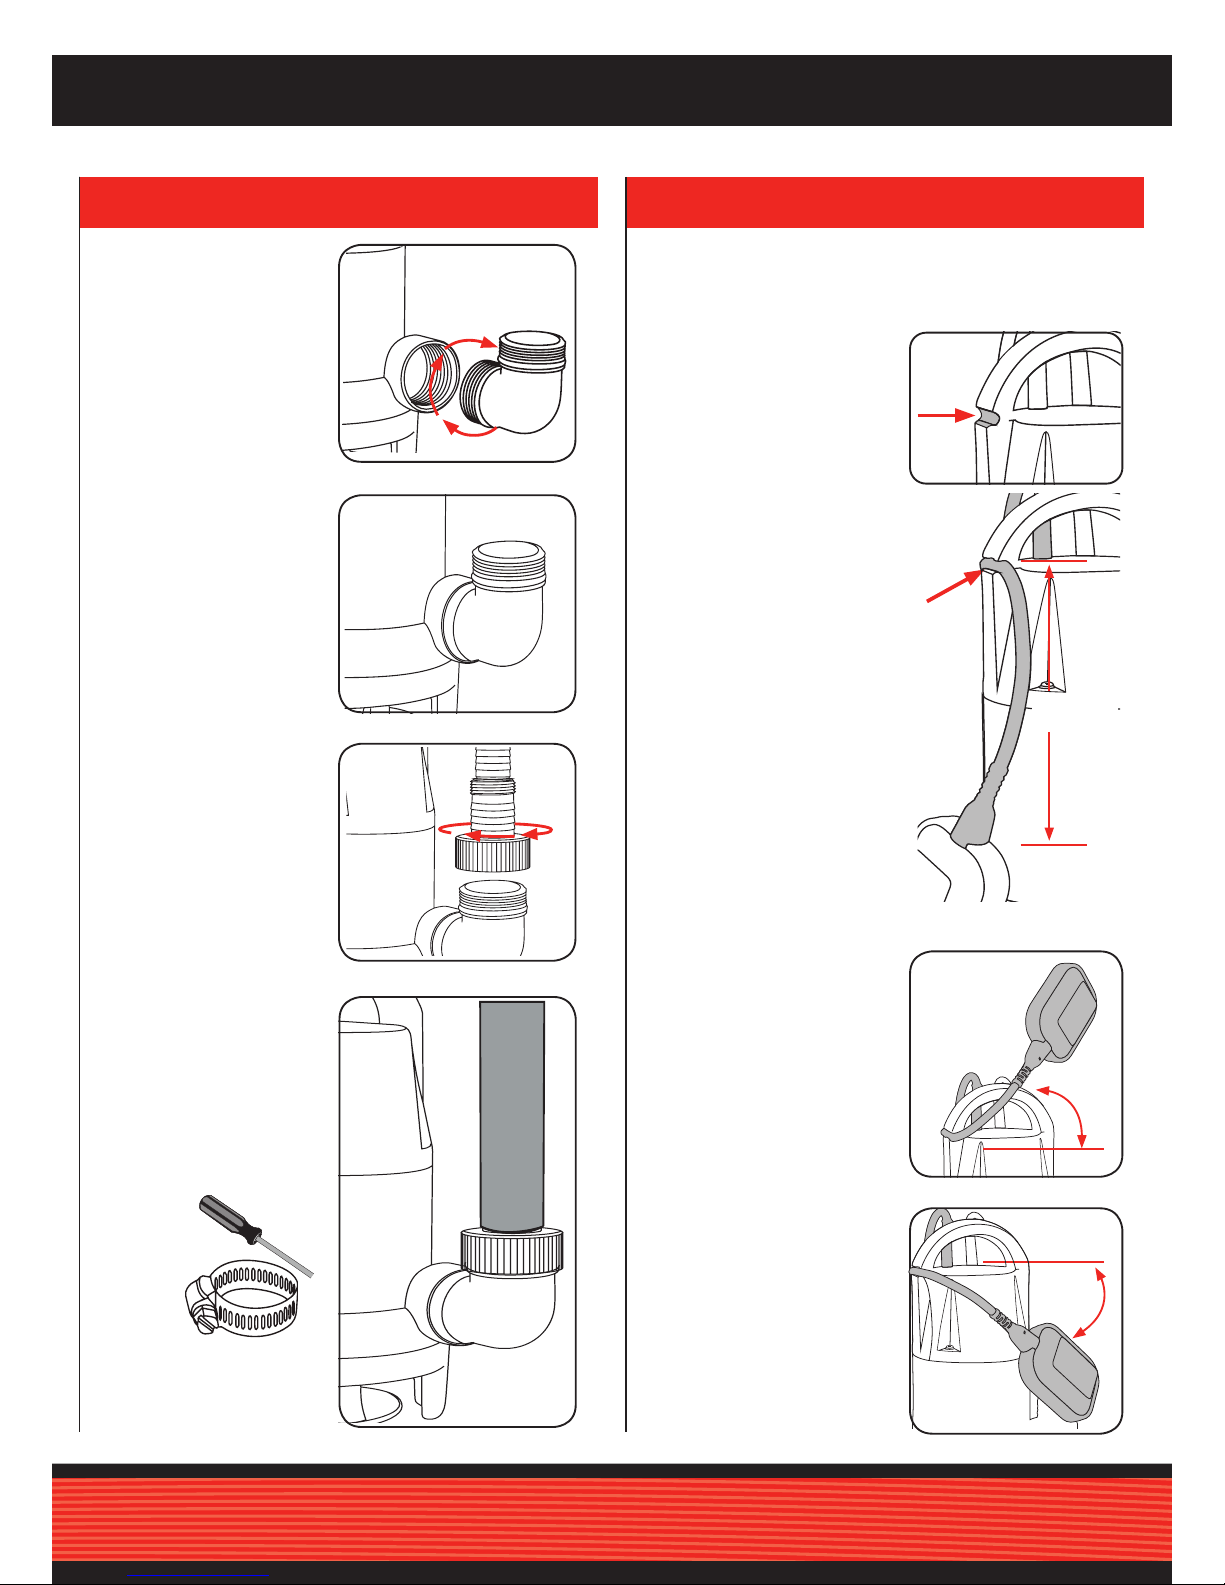
3. When the oat switch is
about 30° higher than
horizontal (start up level) or
above the handle, the pump
will turn ‘on’ and operate
(water depth of 500mm)
4. When the oat switch is 30°
lower than the horizontal or
below the handle, the pump
will turn ‘off’. (water depth of
approximately 150mm)
2. To set the pump to switch off
at a higher water level, insert
the oat switch cable into
the adjuster
NOTE: There must be a
minimum of 100mm of cable
from the adjuster to the oat.
1 When the oat switch cable
is able to move freely the
pump will function down to
a water depth of 50mm and
automatically shut off
2. L-SHAPE CONNECTOR 3.
FLOAT SWITCH
3. Screw the prepared
universal adaptor clockwise
onto the L-shape connector.
NOTE. The hose/tube/
tap adaptor should not be
connected at this stage.
4. Securely attach the hose/
tube/tap adaptor to the
universal adaptor, t hose
clamps if you are using
exible hose or tube, and
tighten well.
2. Make sure the L-shape
connector is rmly
tightened so that the
O-ring is compressed
between the pump
housing and the
L-shape connector.
This ensures no leakage
will occur at this point.
OPERATION
The pump is tted with a oat switch, which controls how
the pump switches on and switches off.
1. Screw the L-shape
connector into the pump
housing by rotating in a
clockwise direction.
PUSH
100mm
minimum
30°
30°
 Loading...