

Page 1
DIY Self Adhesive Wall Clock
Quick Start Guide
Sticker Installation
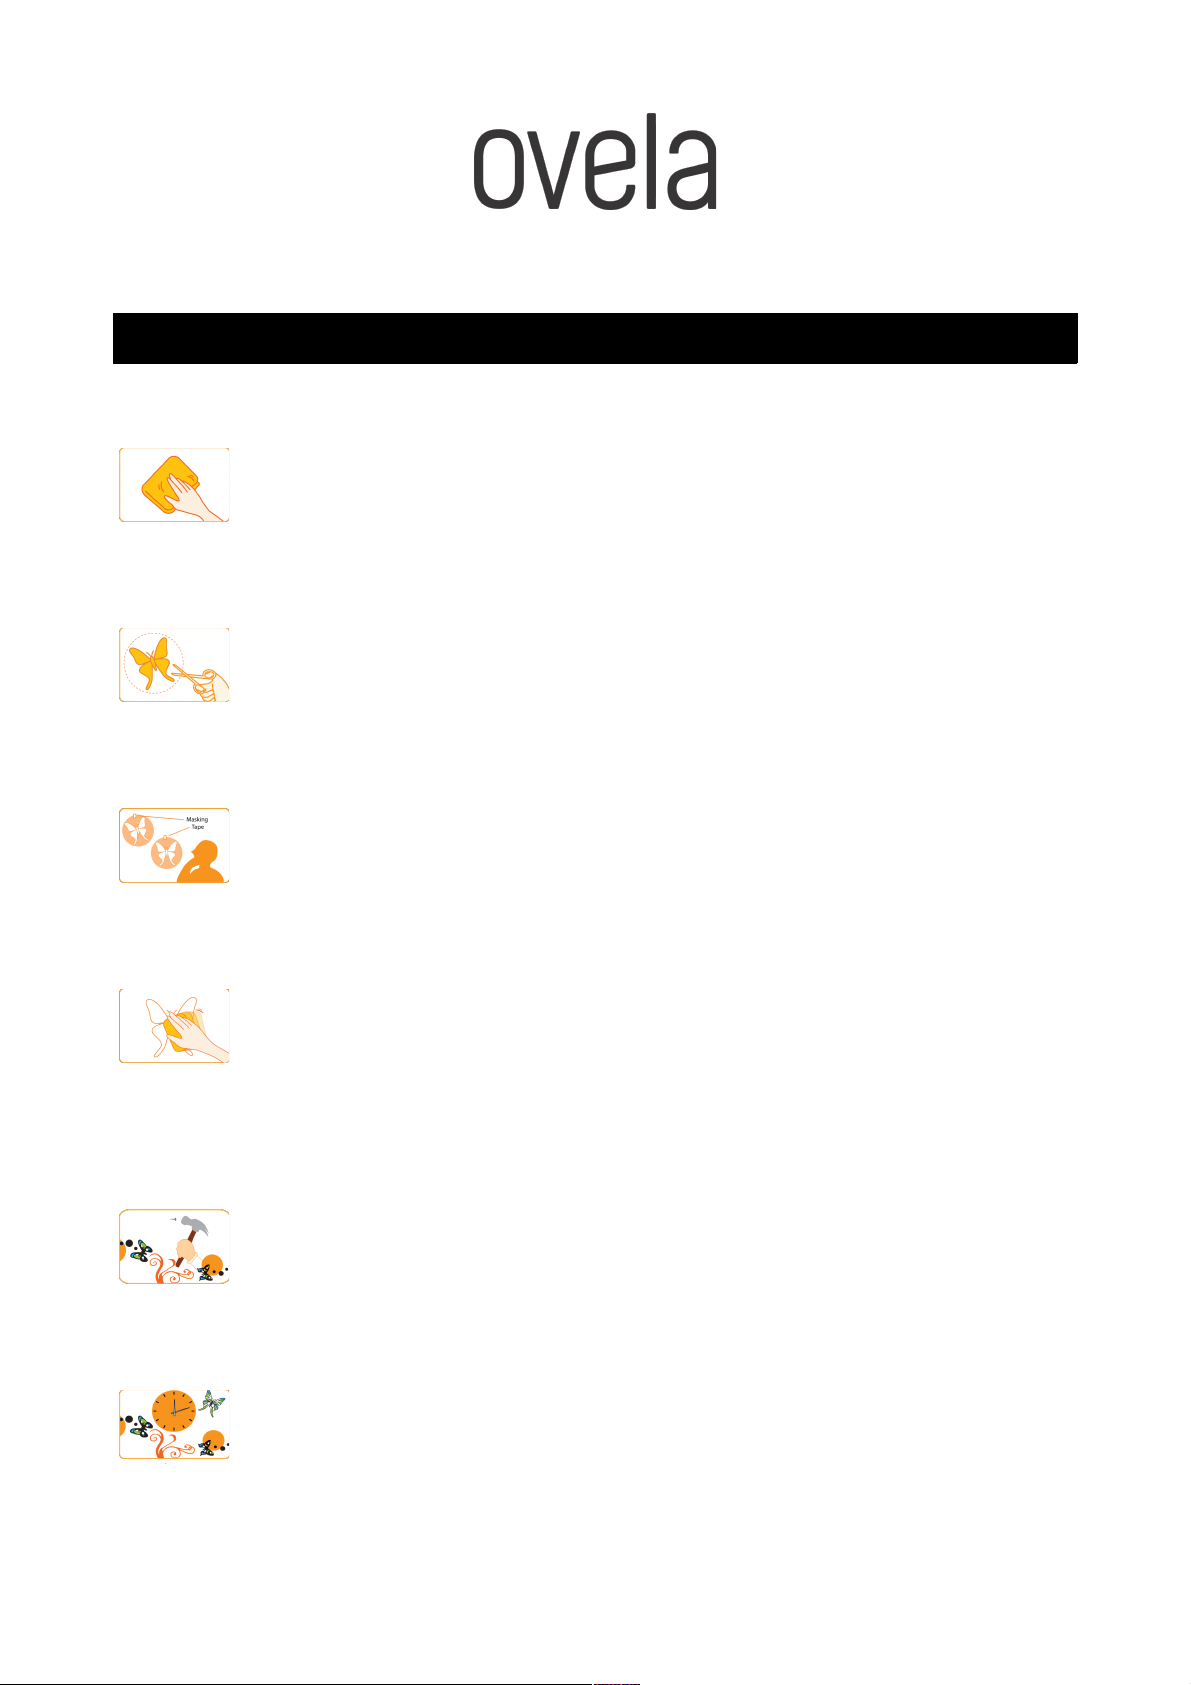
Step 1 : Cleaning
Remove all dirt and dust from the surface that you wish to use, and
ensure the surface is clean and dry. Textured walls may not work
well.
Step 2 : Cutting
Cut loosely around each sticker piece for the purpose of planning the
entire design layout on the wall so that it will not be stuck to an
undesirable location.
Step 3 : Thinking
Plan the design layout in any way you like. Temporarily stick the wall
stickers to the wall with masking tape without removing the backing
so you can see the full layout.
Step 4 : Pressing
Once design is confirmed, you can start application. Remove the
temporary masking tape and peel off the backing and stick to the
wall surface. Rub the stickers flat, pressing firmly down especially
around the edges. If there are any bubbles, remove them by rubbing
the air towards the edge or poking the bubbles with a needle.
Step 5 : Nailing
Put a small nail into the wall, or affix a small 3M hook at the position
that you want to mount the clock.
Step 6 : Enjoy!
Now you can hang the clock to complete the creation of the
wallsticker and clock design on your wall.
 Loading...