

Outdoor Great Room 1224 User Manual
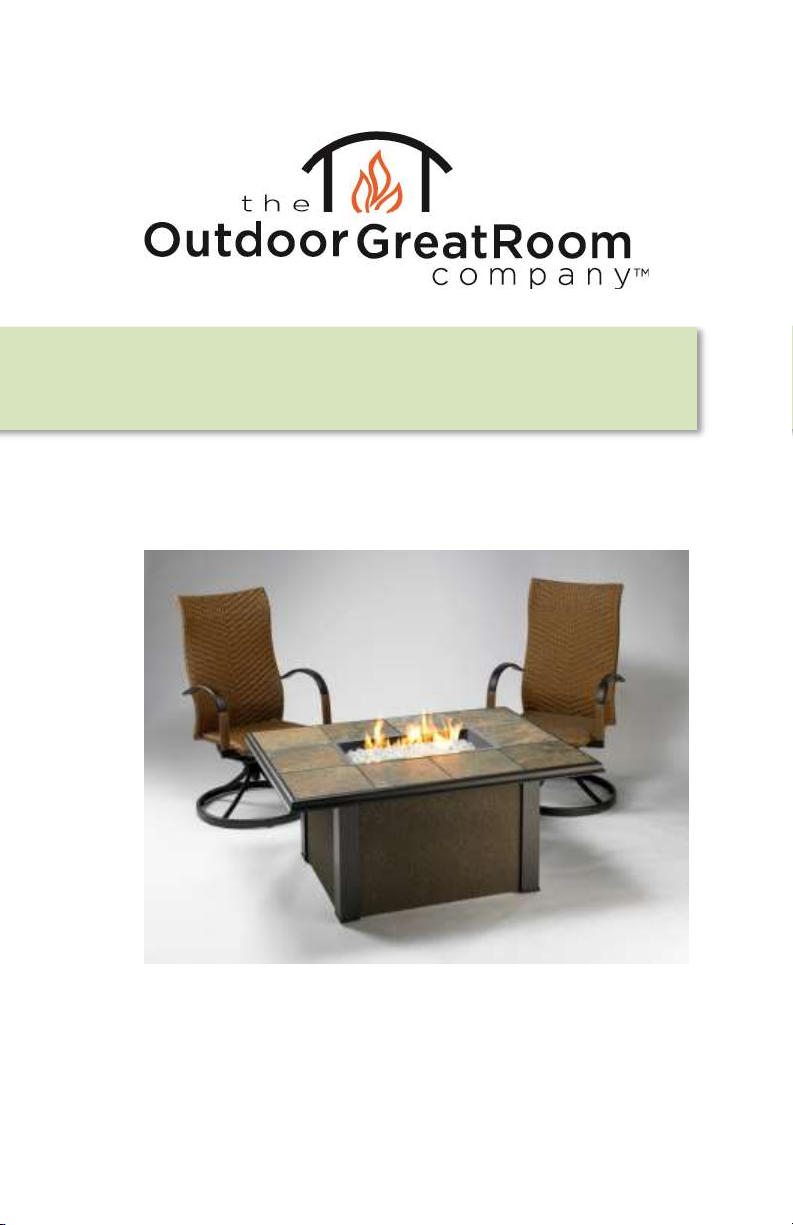
Napa Valley Fire Pit Table
Installation Instructions
For Models:
NAPA-VALLEY-1224-K, NV-1224-BRN-K, NV-1224-BLK-K, NV-1224-GRY-K,
NV-1224-BLK-W-K
1 | P a g e

Contents
90221:D 4.28.2014
Contents……………………………………………………..2
Required Tools…………………………………………..3
Placing and Assembling the
Table…………………….………………………………………4
Gas Connection………………………….…………….5
Igniter Installation…………….………………………...6
2 | P a g e

Required Tools
Tabletop frame Base Tiles (x10)
Bracket (x4)
Screw (x16)
Utility Knife
To cut and remove packaging
2 Open Ended Wrenches
To make gas connections
Leather Gloves
To protect hands from rough edges found on the coffee
table.
One (1) AAA Battery (not included)
Required for piezoelectric igniter installation.
Electric screw gun with Phillips tip
Included:
3 | P a g e

Placing and Assembling the Fire Pit table
4. Line top up with base as shown.
Place brackets in locations shown (red
arrows below) and insert 4 screws
into each bracket.
3. Place top on base
as shown, making
sure it is centered in
both directions.
5. With top securely fastened to
base, set tiles into place.
1. Remove all components from packaging and
inspect for damage or missing parts.
2. Move the base to desired location and set into
place.
When locating your coffee table, refer to the
Crystal Fire manual and maintain clearance to
combustibles.
4 | P a g e
 Loading...