

Page 1
INSTRUCTION MANUAL
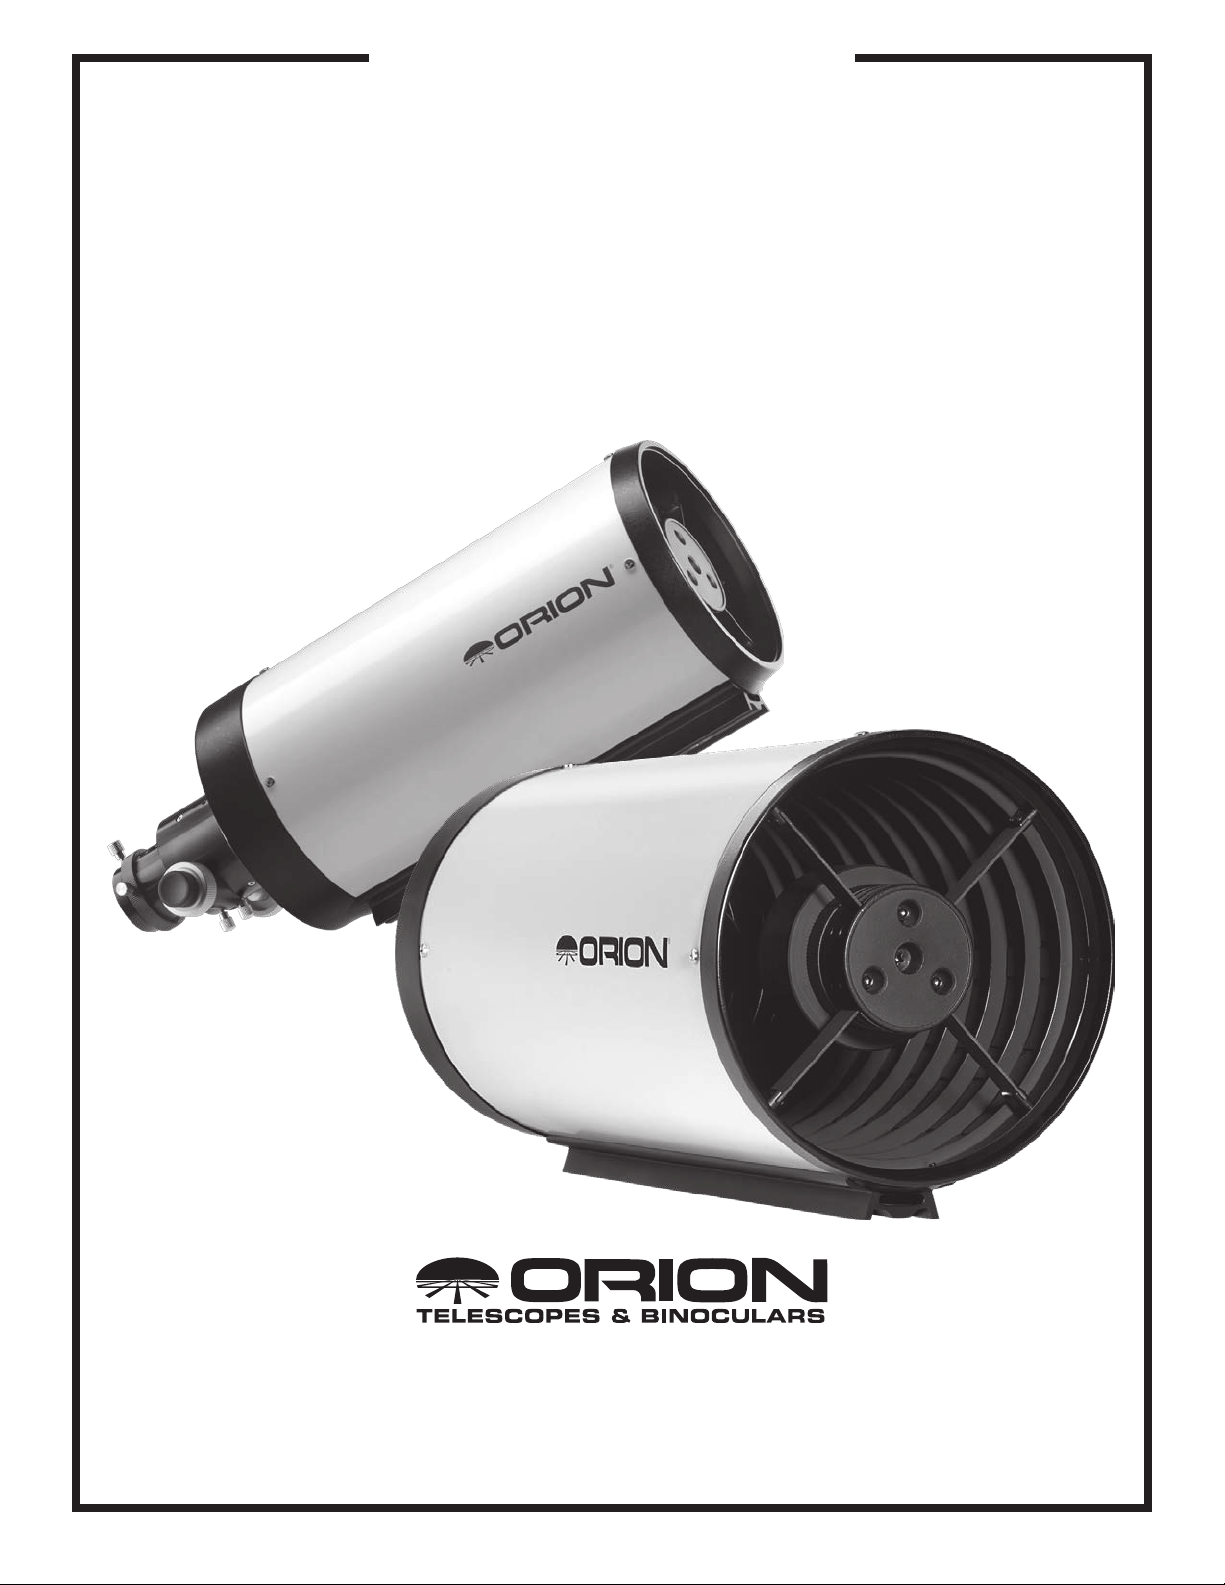
Orion® Ritchey-Chrétien
Astrographs
#8956 6" f/9 Ritchey-Chrétien Optical Tube Assembly
#8958 8" f/8 Ritchey-Chrétien Optical Tube Assembly
#8956
#8958
Providing Exceptional Consumer Optical Products Since 1975
OrionTelescopes.com
Customer Support (800) 676-1343 • E-mail: support@telescope.com
Corporate Offices (831) 763-7000 • 89 Hangar Way, Watsonville, CA 95076
IN 361 Rev. A 9/09
Page 2
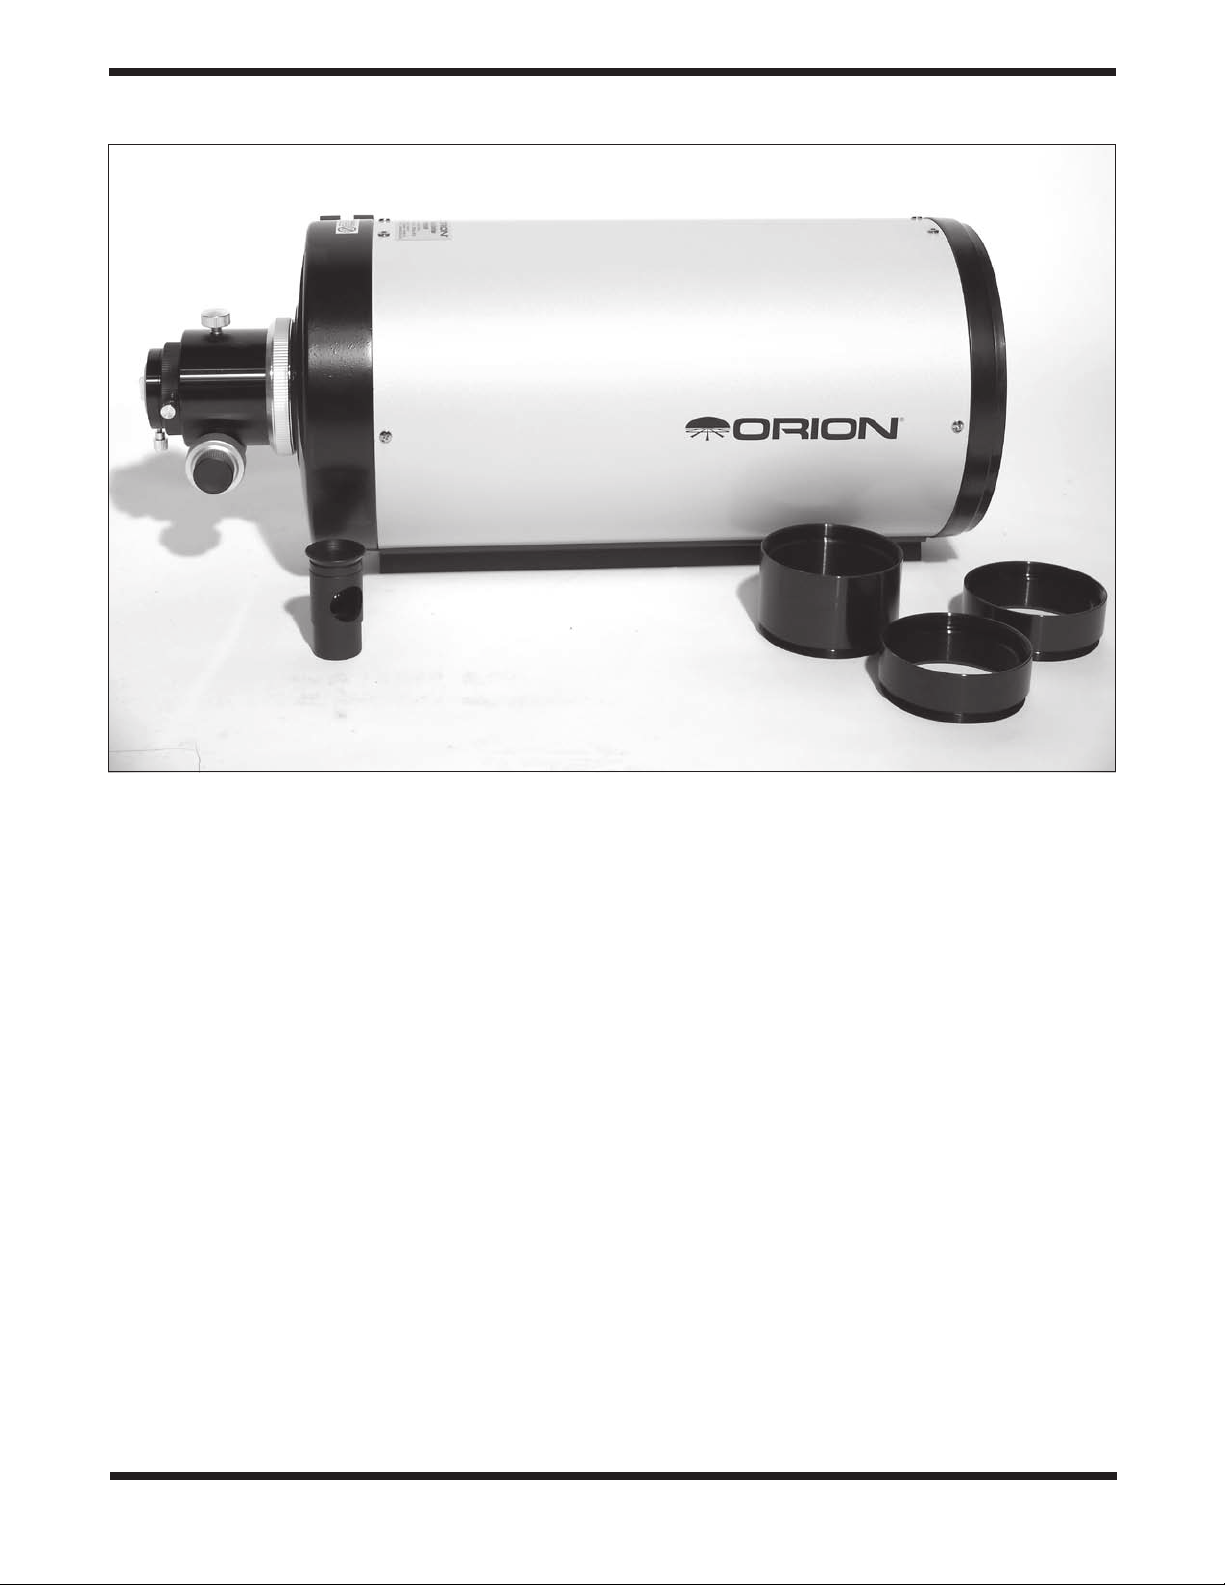
Optical tube
Collimating eyepiece
Figure 1:
The Ritchey-Chrétien Optical Tube (6" shown)
Congratulations on your purchase of an Orion
Ritchey-Chrétien astrograph! Astroimaging
demands high contrast and center to edge image
sharpness. The Ritchey-Chrétien optical system features precision hyperbolic mirrors with an
impressive reflectivity rating of no less than 94%.
These highly corrected optics offer virtually comafree performance; and multiple knife-edge baffles
provide images with superb contrast. These design
features will offer a lifetime of outstanding performance for imaging and visual applications. The
Ritchey-Chrétien is a member of the Cassegrain
family of telescopes. This unique design offers
large-diameter optics while maintaining very short
tube lengths, making them extremely portable and
versatile.
Parts List
1 Optical tube assembly
1 2" Extension ring
2 1" Extension rings
1 Collimation eyepiece
Extension rings
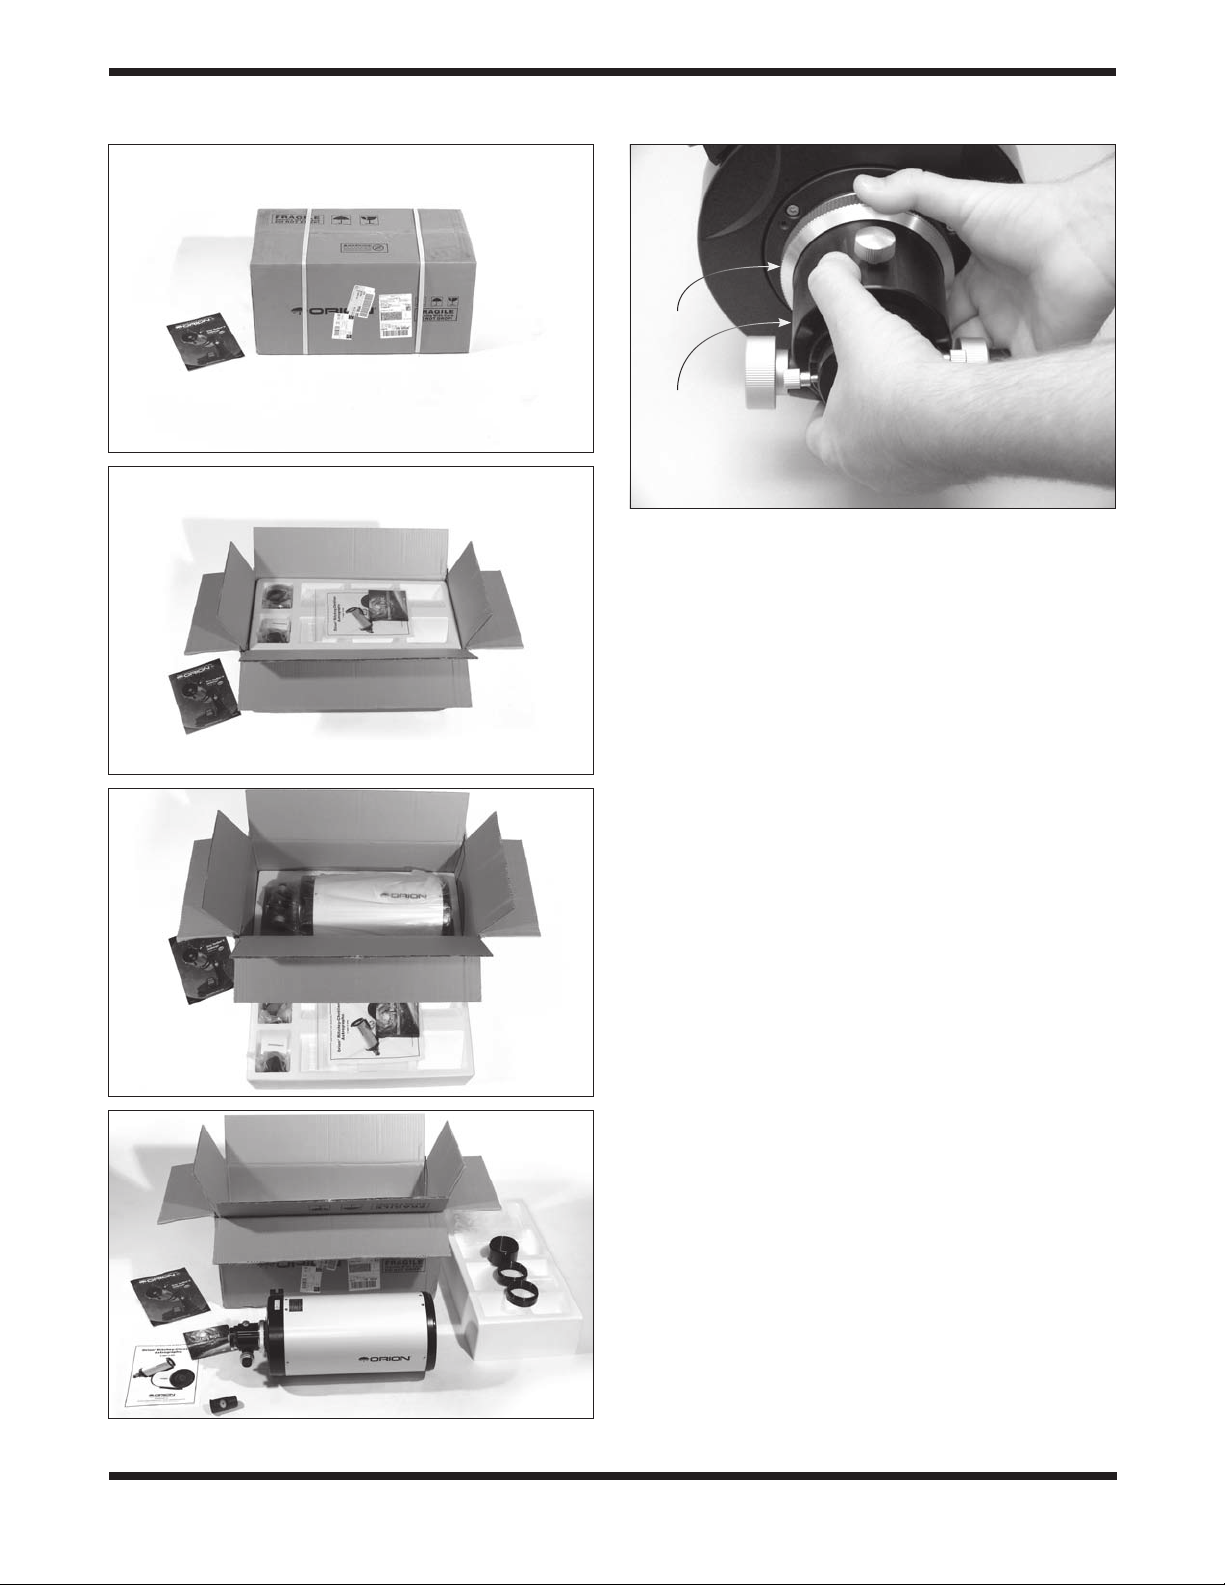
Unpacking Your Telescope
Use care when unpacking the shipping carton. We recommend keeping the boxes and all original packaging materials. In the event that the telescope needs to be shipped to
another location, or returned for warranty repair, having the
proper packaging will ensure that your telescope will survive
the journey intact. Returns for refund or exchange will not be
accepted without all of the original packaging.
Your new telescope arrives double-boxed (Figures 2a-d). Make
certain you are opening from the top of the box to access the
accessories packaged in the Styrofoam shell. To access the
optical tube simply grasp the Styrofoam piece and lift it out of
the box and set it aside for the time being. Once all items have
been removed from the box take a moment to confirm that all
pieces are present and intact. Refer to the Parts List to aid in
identifying the various pieces.
Setting Up Your Telescope
Your Ritchey-Chrétien optical tube comes ready to use right
out of the box. The focuser is attached to the optical tube and
ready to accept either visual or photographic accessories.
Also included are three individual extension rings (Figure 1).
These extension rings are provided to allow multiple visual or
photographic accessories to reach focus. These are designed
2
Page 3
2a
2b
2c
2d
Grip-ring
Focuser
body
Figure 3:
Removing the focuser.
to thread directly onto the optical tube. It may be useful to
experiment with different combinations during the day before
heading out into the field. Choose a target over ½ mile away
to ensure you are simulating distant focus.
If the focuser drawtube is fully extended and you are still
unable to achieve focus you will need to install one or more
of these extension rings. They are to be installed in-between
the focuser and optical tube. In order to install the necessary
extension ring(s) you will need to first remove the focuser from
the optical tube. Be careful not to cross-thread these pieces
when re-attaching adapters.
1. Remove the focuser by holding the focuser body with one
hand while gently turning the knurled silver grip-ring with
the other (Figure 3). Turn counter-clockwise to loosen.
2. Attach the extension ring of choice to the back end of
the tube. The optical tube has external (male) threads.
Subsequently you will use the end of the ring with internal
(female) threads to attach.
3. The exposed threads on the back of the extension rings
match that on the OTA to install additional extension rings
or to reattach the focuser.
4. Once you have added the desired number of extension
rings re-attach the focuser by aligning the silver grip-ring
over the exposed extension ring threads and tighten by
carefully turning clockwise (Figure 4a-d).
The wide variety of astronomical equipment available will
require that you add or remove some or all of the extension
rings. Individual setups will require different combinations of
extension rings be used. In general, visual applications will
require further extension than imaging. The examples listed
and pictured below are of common scenarios. Some setups may require combinations different from those shown in
Figure 4.
To set up any Orion StarShoot Deep Space imagers use all
three (1 x 2" and 2 x 1") of the supplied extension rings to
reach focus. For DSLR and most visual applications use 3" of
Figures 2a-d: Unpacking the Optical Tube.
3
Page 4

T-ring 2” camera
adapter
2” camera
adapter
StarShoot CCD
Imager
Focuser
2” extensionFocuser 1” extension
2” extension 1” extension
Focuser
(w/ 1.25” adapter)
Diagonal
Eyepiece
2” extension 1” extension
1” extension
Optical tube
Optical tube
Optical tube
DSLR
camera body
DSLR Camera
Configuration
StarShoot Deep
Space Imager
Configuration
Standard Visual
Configuration
4a.
4b.
Off-axis guiderStarShoot CCD
Imager
Focuser 2” extension
Optical tube
StarShoot with
Off-Axis Guider
Configuration
4c.
4d.
Figure 4a-d: Typical visual and imaging configurations for the Ritchey-Chrétien optical tube.
4
Page 5

Collimation
adjustment
push-pull screws
Knurled
silver
grip-ring
Coarse
focus
knobs
Focus
tension knob
Focus
lock
knob
10:1 Fine
focus knob
Figure 5: Details of the linear bearing Crayford focuser.
Finder scope
dovetail holder
Metal
thumbscrew
Figure 6:
Finder scope dovetail base.
extension (1 x 1" and 1 x 2"). Larger 2" eyepieces may only
require two inches of extension.
Focusing the Telescope
One of the exciting new features of the Orion RitcheyChrétien optical tubes is the inclusion of the new linear bearing Crayford focuser. Instead of the traditional Crayford-style
focuser — which uses a roller tensioned against the drawtube
— the new linear bearing focuser has a track on the drawtube with beveled edges and rollers within “grooves” along the
edges. This allows you to more effectively lock down the focuser with heavy payloads such as a large eyepiece, a DSLR,
or a large CCD Imager. Image shift is reduced by stabilizing
the drawtube within the focuser housing.
For astronomical viewing, out-of-focus star images are very
diffuse, making them difficult to see. If you turn the focus knob
too quickly, you can go right through focus without seeing the
image. To avoid this problem, your first astronomical target
should be a bright object (like the Moon or a planet) so that
the image is visible even when out of focus. There is also a
10:1 fine focus adjustment. Every 10 turns of the small knob
equals a single turn of the large knob to enable the microadjustment necessary for the sharpest images possible. Use
the coarse focus knob to adjust the telescope until your object
is as close to focus as possible, then make fine adjustments
with the black outside knob
Attaching a Finder Scope
A finder scope is a small, wide-field instrument used to help
locate and center objects in the main field of your telescope. A
finder scope usually has a built-in crosshair reticle that shows
the optical center of the finder’s field of view. On some models
the center is indicated with an LED display.
A finder scope dovetail base has been pre-installed on your
Ritchey-Chrétien optical tube assembly making it easy to use
any Orion finder and many others using a similar bracket.
Installing a finder scope is very simple:
1. Loosen the metal thumbscrew on the side of the dovetail
base.
2. Insert the bracket into the dovetail from the back of the
telescope, until it stops.
3. When the finder bracket is securely in place retighten the
metal thumbscrew.
Inserting a Star Diagonal
A star diagonal is a prism that diverts the light at a right angle
to the light path of the telescope. This allows you to observe
in positions that are physically more comfortable than if you
looked straight through the scope. Your telescope is equipped
with a 2" focuser and includes a 1.25" adapter, allowing
maximum versatility when choosing accessories. To insert an
optional diagonal simply loosen the knurled thumbscrew on
the side of the focuser drawtube and insert the chrome barrel
of the diagonal, then re-tighten the thumbscrew. The built-in
brass compression ring will provide uniform tension on the
diagonal and prevent marring of the chrome surface.
Inserting an Eyepiece
An eyepiece magnifies the image focused by the telescope.
The eyepiece fits into either the focuser directly or a star diagonal. Eyepieces are commonly referred to by focal length and
barrel diameter. The focal length of each eyepiece is printed
on the eyepiece body. The longer the focal length (i.e., the
larger the number) the lower the eyepiece magnification, the
shorter the focal length (i.e., the smaller the number) the higher the magnification. Generally, you will use low to moderate
powers when viewing. Use the following formula to calculate
magnification:
Magnification =
Focal Length of Telescope (mm)
Focal Length of Eyepiece (mm)
To install an optional eyepiece:
1. Loosen the setscrew on the star diagonal until the tip no
longer extends into the inner diameter of the eyepiece
end of the diagonal.
5
Page 6

Secondary
mirror
collimation
adjustment
screws
Do not
adjust center
screw.
Figure 7: The secondary mirror collimation adjustment screws.
Collimation
Optical
axis
Figure 8
to show the three sets of optical axis adjustment screws. For
illustration only: do not remove the focuser when performing
collimation.
: The Ritchey-Chrétien with the focuser removed
adjustment
push-pull screws
2. Slide the chrome portion of the eyepiece into the star
diagonal.
3. Tighten the setscrew on the star diagonal to hold the
eyepiece in place.
To remove the eyepiece, loosen the setscrew on the star
diagonal and slide the eyepiece out. You can replace it with
another eyepiece (purchased separately).
Image Orientation
The image orientation changes depending on how the eyepiece is inserted into the telescope. When using the star diagonal, the image is right side up but reversed from left to right
(i.e., mirror image). If inserting the eyepiece directly into the
focuser without the star diagonal, the image is will be upsidedown and reversed from left to right (i.e., inverted). This is
normal for the Ritchey-Chrétien design.
Collimating the
Ritchey-Chrétien
The optics in your new Ritchey-Chrétien optical tube have
been aligned at the factory. However, rough handling during
transit may require periodic re-adjustments. We have centermarked the secondary mirror and included a collimation eyepiece to aid in this process.
Using the Collimating Eyepiece
This is the recommend procedure for most users. Set up
your telescope in a well-lit room with the telescope pointed
horizontally. It is best to remove the lens cover and point the
telescope at a white (or light colored) wall. Remove all of the
extension rings and attach the focuser directly to the optical
tube. Insert the collimation eyepiece into the focuser using the
1.25" eyepiece adapter. When peering through the collimation
eyepiece you should see a small black dot centered within a
donut-like ring (Figure 9). The central black dot is the mark of
the collimation eyepiece and the ring is the center target on
the secondary mirror. The big white circle outside that is the
reflected surface of the collimation eyepiece and the larger
black circle outside that is the secondary holder. The optical
axis is denoted by a thin white circle on the outer edge. You
can disregard that for the time being; it will be covered in the
following section. If this is aligned as in Figure 9a, no further
adjustments will be necessary. If it appears as in Figure 9b
— with the dot of the collimation eyepiece not centered in the
secondary center mark — adjust the three collimation screws
at the front of the secondary mirror holder. This will adjust the
tilt of the secondary changing the relative position of the secondary mark when peering through the collimation eyepiece.
Secondary Adjustment
NOTE: Only adjust the three screws around the perimeter
of the holder. Do not adjust the center screw. Adjusting
the center screw can cause the secondary mirror to fall
off and will not be covered under warranty (Figure 7).
A 4mm hex key is required to perform collimation on the secondary mirror. When adjusting one of these screws you will
need to make equal counter-adjustments to the other two.
Therefore, if you are tightening one screw you will need to
loosen, by an equal amount, the other two. When the process
is complete you should have tension against all three screws.
Adjust the screws by no more than ¼ turn at a time. Only
minor adjustments should be required to achieve collimation.
This will also aid in the prevention of accidently putting the
telescope grossly out of collimation. Experiment with different
combinations until the collimation eyepiece mark is centered
in the center ring of the secondary mirror. The correct alignment of the secondary mirror is critical in determining if the
optical axis requires alignment. Be certain you have properly
aligned the secondary mirror before proceeding to the next
step.
6
Page 7

Figure 9a-c:
Collimation
eyepiece
mark
Secondary mirror
center mark
Secondary
mirror holder
Reflective surface of
collimating eyepiece
Spider
vanes
Optical
axis
Border
9a 9c
9b
Out of collimation Collimated
identified. Figure 9b shows the secondary out of alignment. Figure 9c shows the optical axis out of alignment.
Optical Axis Adjustment
These adjustments will require a 3mm and 2.5mm hex key.
There are three sets of “push-pull” screws on the back-end
of the optical tube where the focuser attaches (Figure 8). The
optical axis is denoted by a thin outline of light around the
perimeter of the view through the collimating eyepiece. Each
set consists of a smaller black screw and a larger chrome
screw; these must be adjusted in tandem. Loosen one and
tighten the other to make changes to the optical axis. This
will adjust the tilt of the optical axis in relation to the secondary mirror. If the optical axis is not aligned, the entire image
through the collimating eyepiece will appear as if it is tilted to
one side (Figure 9c). When properly aligned you will see a
very thin concentric outer white circle around the perimeter
of your view through the collimation eyepiece. This procedure
will require only micro-adjustments, if any.
Star Testing
An optional star test can be performed to confirm the collimation accuracy of the telescope. The adjustment procedure on
the telescope is the same as using the Collimation eyepiece;
testing, however, will be done in the night sky. This method is
more difficult as you will need to keep your target star centered in your field of view. Furthermore, seeing conditions will
affect the end result. Keeping the star precisely centered in
the field of view is critical to avoid false negatives. It is sug-
The view through the collimating eyepiece (not to scale). Figure 9a shows the Ritchey-Chrétien aligned with all components
Figure 10: An unfocused view of a bright star through
the eyepiece. Proper collimation will show a symmetrical
diffraction pattern such as the one on the right. If the circles are
unsymmetrical the scope needs collimation.
gested that you choose a star close to the zenith (straight
overhead) rather than at the horizon to minimize atmospheric
distortions. Using Polaris as your target star can be helpful as
minimal drift adjustments will be required.
Center a bright star in your field of view using moderate to
high magnification. Place your eyepiece directly into the focuser. Do not use a star diagonal while performing this procedure. In a well collimated telescope, a defocused star image
should appear symmetrical, with the dark central obstruction
centered in the star’s ring pattern (Figure 10).
7
Page 8

Care and Cleaning of
the Optics
Do not disassemble the Ritchey-Chrétien for any reason,
including to clean the mirror. A small amount of dust and particulates on the mirror’s surface will not affect performance. In
the event internal cleaning is necessary the telescope should
be shipped to Orion Telescopes and Binoculars for service.
This telescope does not contain user-servicable parts and
disassembly of the components will void the warranty. When
not in use, please use the supplied dust cap(s) to keep dust
and particulates out of the tube and off the optics.
Specifications
6" f/9 Ritchey-Chrétien
Optical configuration Ritchey-Chrétien
Figure Hyperbolic
Mirror material BK-7
Mirror Coating Enhanced, no less than
94% with SiO
Focuser Machined Aluminum
Dual-Speed (10:1) Linear
Bearing Crayford
Accessories Accepts 2" & 1.25"
Baffles 8 knife-edge baffles
Optical Tube Steel
Aperture 150mm (6”)
Focal Length 1370 mm
Focal Ratio f/9
Secondary Mirror Minor Axis 67mm
Length 406mm
Diameter 193mm
Weight 12.4 lbs.
Overcoat
2
Specifications:
8" f/8 Ritchey-Chrétien
Optical configuration Ritchey-Chrétien
Figure Hyperbolic
Mirror material BK-7
Mirror Coating Enhanced, no less than
94% with SiO
Focuser Machined Aluminum
Dual-Speed (10:1) Linear
Bearing Crayford
Accessories Accepts 2" & 1.25"
Baffles 10 knife-edge baffles
Optical Tube Steel
Aperture 200mm (8")
Focal Length 1600mm
Focal Ratio f/8
Secondary Mirror Minor Axis 90mm
Length 476mm
Diameter 230mm
Weight 15.9 lbs
Overcoat
2
8
Page 9

One-Year Limited Warranty
The Orion Ritchey-Chrétien Astrographs are warranted against defects in materials or workmanship for
a period of one year from the date of purchase. This warranty is for the benefit of the original retail purchaser only. During this warranty period Orion Telescopes & Binoculars will repair or replace, at Orion’s
option, any warranted instrument that proves to be defective, provided it is returned postage paid to:
Orion Warranty Repair, 89 Hangar Way, Watsonville, CA 95076. Proof of purchase (such as a copy of the
original receipt) is required.
This warranty does not apply if, in Orion’s judgment, the instrument has been abused, mishandled, or
modified, nor does it apply to normal wear and tear. This warranty gives you specific legal rights, and you
may also have other rights, which vary from state to state. For further warranty service information, contact: Orion Customer Service (800) 676-1343; support@telescope.com.
Orion Telescopes & Binoculars
OrionTelescopes.com
89 Hangar Way, Watsonville CA 95076
Customer Support Help Line (800) 676-1343
9
 Loading...