

Page 1
INSTRUCTION MANUAL
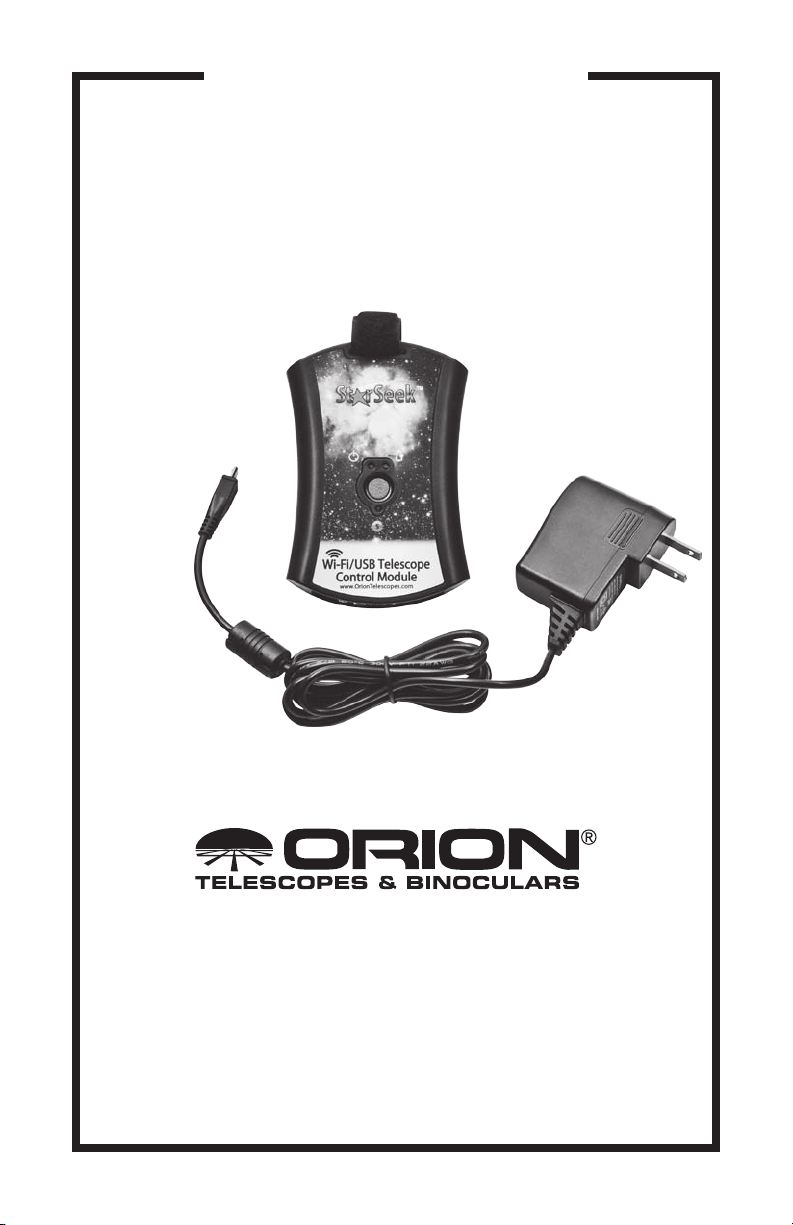
Orion® StarSeek™ Wireless
Telescope Controller
#6001
Customer Support:
www.OrionTelescopes.com/contactus
Corporate Offices:
89 Hangar Way, Watsonville CA 95076 - USA
Copyright © 2016 Orion Telescopes & Binoculars
All Rights Reserved. No part of this product instruction or any of its
contents may be reproduced, copied, modified or adapted, without the
prior written consent of Orion Telescopes & Binoculars.
IN 568 04/16
Page 2

This next-generation version of the Orion StarSeek Wireless Telescope
Controller “module” enables control of an Orion GoTo or computerized
“push-to” mount from an iOS or Android phone or tablet running Orion’s
StarSeek astronomy app. You simply connect the StarSeek module to your
mount’s serial or USB port using the serial or USB cable that came with
your telescope or mount. The StarSeek module works by creating its own
local wireless network, leveraging the Wi-Fi capability built into iPhones,
iPads, and phones and tablets running the Android operating system.
When coupled to the serial or USB port on your telescope's GoTo mount,
the module converts the Wi-Fi signal from the mobile device into serial
commands used by the mount to drive the telescope automatically to any
of more than 31,000 celestial objects in the StarSeek app's database.
The StarSeek Wireless Telescope Controller module works with all Orion
motor-driven GoTo telescopes, including the Atlas and Atlas Pro, Sirius
and Sirius Pro, StarSeeker GoTo and both SkyQuest XTg and XXg GoTo
Dobsonian lines, as well as with many other GoTo telescope brands having RS-232 or USB ports. It also works with Orion IntelliScope "push to"
scopes (requires #5222 IntelliScope to PC serial cable, sold separately).
USB
DB9 (Serial port)
port
Power input jack
Figure 1. The USB and DB9 serial
ports, and the power input jack (microUSB) are on the bottom of the StarSeek
module.
2
Power
LED
Data/Communication LED
(also low battery indicator)
Charging
LED
ON/OFF
button
Figure 2. The center ON/OFF button
is flanked by three LED indicator lights.
The Data LED blinks when the mount is
under active control by the app, and when
telescope control is disconnected it will
blink if there is less than 25% charge on
the internal battery.
Page 3

I. Included Parts
• StarSeek Wireless Telescope Controller module
• AC charging adapter
• Hook-and-loop hang strap
II. Charging the StarSeek Module
The Wireless Telescope Controller module has an internal, rechargeable lithium
ion battery to supply power for operation. You should make sure the battery is fully
charged before each use. Battery life is 4-8 hours depending on usage. You can
also run the StarSeek module continuously from AC power by plugging the charging adapter into a household 110V AC outlet.
To charge the StarSeek module:
1. First make sure there are no RS232 or USB cables connected to the
StarSeek module.
2. Plug the charging adapter into a power outlet and the small end into the
micro-USB “Power” port located on the bottom of the module (Figure
1). The charging LED (upper right of red center button) should turn ON,
indicating the module is charging. If the LED is OFF, it means the device is
already charged.
3. Charge the module until the charging LED turns off, at which time the
module is fully charged.
When the internal battery is under 25% of full power, the data LED (below the
center button) will blink. Plug in the charger to recharge the battery to avoid losing
power. NOTE: To check battery power, communication with the telescope must be
disconnected in the StarSeek app, because in the connected state the data LED
blinks by default.
Refer to Figure 2 for the positions of the three LED indicator lights and center
Power button.
III. Configuring the StarSeek Module
1. Power ON the module by pressing red center button for at least 1 second,
then release it. The power LED (upper left of center button) should turn on.
2. Use your tablet or phone to check for available Wi-Fi networks (make sure
Wi-Fi is turned on).
3. Connect to the “StarSeek” network. This network requires no password.
4. Open a web browser on the tablet or phone that is connected to the
“StarSeek” network.
5. Browse to the following address: http://10.0.0.1.
3
Page 4

6. Once the page completely loads, you should see the module’s status page.
Use the navigation menu at upper right and tap on Wireless (You’ll also see
links to Serial and Firmware settings.). On the Wireless screen, change the
Device Name (SSID) and set a Password of at least eight characters. Doing
so adds a layer of security. If another person in close proximity were to use
the same network name, it may conflict with yours, and they may be able to
connect with (and control!) your hardware.
IV. Connect to Your Telescope
All Orion GoTo and computerized push-to telescopes and mounts are equipped
with a serial port, which is located on the hand controller next to the port for the
coil cable that connects the hand controller to the mount. (On other brands of telescope or mount, the serial port may be on the hand controller or the mount itself.)
You will connect the StarSeek module to the hand controller’s serial port with an
RS-232 serial cable -- DB9 female to RJ11 male; most Orion GoTo telescopes and
mounts come with this serial cable included (Figure 3). Call Orion if you need to
purchase a replacement cable.
For the Orion IntelliScope, you will need a #5224 IntelliScope to PC RS-232 cable,
which is sold separately.
For non-Orion telescopes, you will need to use the serial or USB cable recommended by the manufacturer for a particular telescope. Make sure you know the
exact cable that’s required. Just because a serial cable fits physically into a telescope’s serial port, that doesn’t necessarily mean it is the right cable.
Figure 3. Orion GoTo telescopes and
mounts come with a serial cable like this
one that is needed to couple the StarSeek
module to the mount for wireless telescope
control from a mobile device.
4
RJ11
plug
DB9
plug
Serial
port
Figure 4. Connecting the StarSeek
module to the SynScan hand controller.
The RJ11 plug on the serial cable
connects to the serial port on the SynScan,
which is right next to the larger RJ45 port
for the coil cable.
Page 5

1. Make sure the StarSeek module’s serial settings match those required for
your telescope/mount. If you’re not sure, just proceed using the default
settings in the StarSeek module’s “Serial” screen.
2. Power up your telescope or mount and perform any alignment routine that
you would normally perform, as outlined in the telescope/mount’s user
manual.
3. Connect the large DB9 end of the serial cable to the DB9 port on the
StarSeek module, and connect the RJ11 plug to the mating receptacle on
the hand controller, as shown in Figure 4. For USB-interface telescopes,
use a standard USB cable to connect the StarSeek module’s USB (Figure
1) port to the telescope’s USB port.
4. Now turn on your tablet or phone that has the Orion StarSeek app installed,
and join the StarSeek module’s Wi-Fi network.
IMPORTANT: Do not connect the StarSeek module to the AUX port, hand
controller port, autoguider port, or any port on your telescope (or its hand
controller) other than its RS-232 serial port! Doing so may the damage
StarSeek module and/or your telescope hardware. Make sure you know
where the RS-232 serial port on your telescope is located, and only connect
the StarSeek module to that port.
V. Control Your Telescope
To activate telescope control:
1. In the StarSeek app, Go to Settings > Telescope Setup, then select the
correct telescope type and mount type.
2. Enter the StarSeek module’s IP address and port number, if they are not
already entered. By default, these are 10.0.0.1 and 4030. Tap the Done
button to accept changes and return to the main sky chart view.
3. Tap the Scope icon on the bar below the sky chart view.
4. Tap Connect to establish communication with your telescope. If successful,
you’ll hear a “ping” and the telescope’s position should appear as a bulls-eye
on the star chart. Once communication is established, the data LED will flash
continuously.
Now you’re on your way!
5. When you’re finished, tap Disconnect on the scope control screen of the
StarSeek app to terminate communication with your telescope.
6. To power off the StarSeek module, press the center button for at least 1
second, then release it. The power LED should now be off.
5
Page 6

VI. Resetting the StarSeek Module
Should you ever need to reset the StarSeek module to default settings, follow this
procedure:
1. Check to see that the power LED is ON.
2. Press and HOLD the center button.
3. The data LED will blink slowly, indicating that the module is preparing to
reset its internal settings.
4. After 5 seconds the data LED will blink rapidly, indicating that the module
has reset its internal settings.
5. Release the center button.
6. The power LED should turn OFF. The next time the module is powered ON it
will start with default settings.
Specifications
Operating system compatibility iOS, Android
Mount/telescope compatibility Most GoTo models and brands that have
RS-232 or USB communication ports;
see OrionTelescopes.com for list
Housing material ABS plastic
Battery type Lithium ion
Battery capacity 2200mAh
Power input 5V DC, 1 Amp
Wi-Fi range 100 ft.
Communication ports DB-9M (serial), USB
Dimensions 4.5"x3”x7/8"
Weight 4.1 oz.
6
Page 7

7
Page 8

One-Year Limited
Warranty
This Orion product is warranted against defects in materials or workmanship for
a period of one year from the date of purchase. This warranty is for the benefit of
the original retail purchaser only. During this warranty period Orion Telescopes &
Binoculars will repair or replace, at Orion’s option, any warranted instrument that
proves to be defective, provided it is returned postage paid. Proof of purchase
(such as a copy of the original receipt) is required. This warranty is only valid in
the country of purchase.
This warranty does not apply if, in Orion’s judgment, the instrument has been
abused, mishandled, or modified, nor does it apply to normal wear and tear.
This warranty gives you specific legal rights. It is not intended to remove or
restrict your other legal rights under applicable local consumer law; your state
or national statutory consumer rights governing the sale of consumer goods
remain fully applicable.
For further warranty information, please visit www.OrionTelescopes.com/
warranty.
Orion Telescopes & Binoculars
Corporate Offices: 89 Hangar Way, Watsonville CA 95076 - USA
Customer Support: www.OrionTelescopes.com/contactus
Copyright © 2016 Orion Telescopes & Binoculars
All Rights Reserved. No part of this product instruction or any of its contents may be reproduced,
copied, modified or adapted, without the prior written consent of Orion Telescopes & Binoculars.
8
 Loading...