

Page 1
CU710
Guide
1.0 Getting started
The CU710 baby unit (camera) suits SC710 Premium Digital Baby Monitor. Up to 4 baby units (cameras) can be
registered to one parent unit.
1.1 Power Supply
(1) Connect the small plug of the power adaptor to the baby unit (camera) and the other end to the electrical mains
power outlet.
(2) Switch the unit to the ON position. The power LED will light up.
(3) To switch off the camera/ baby unit, slide the power switch to the OFF position.
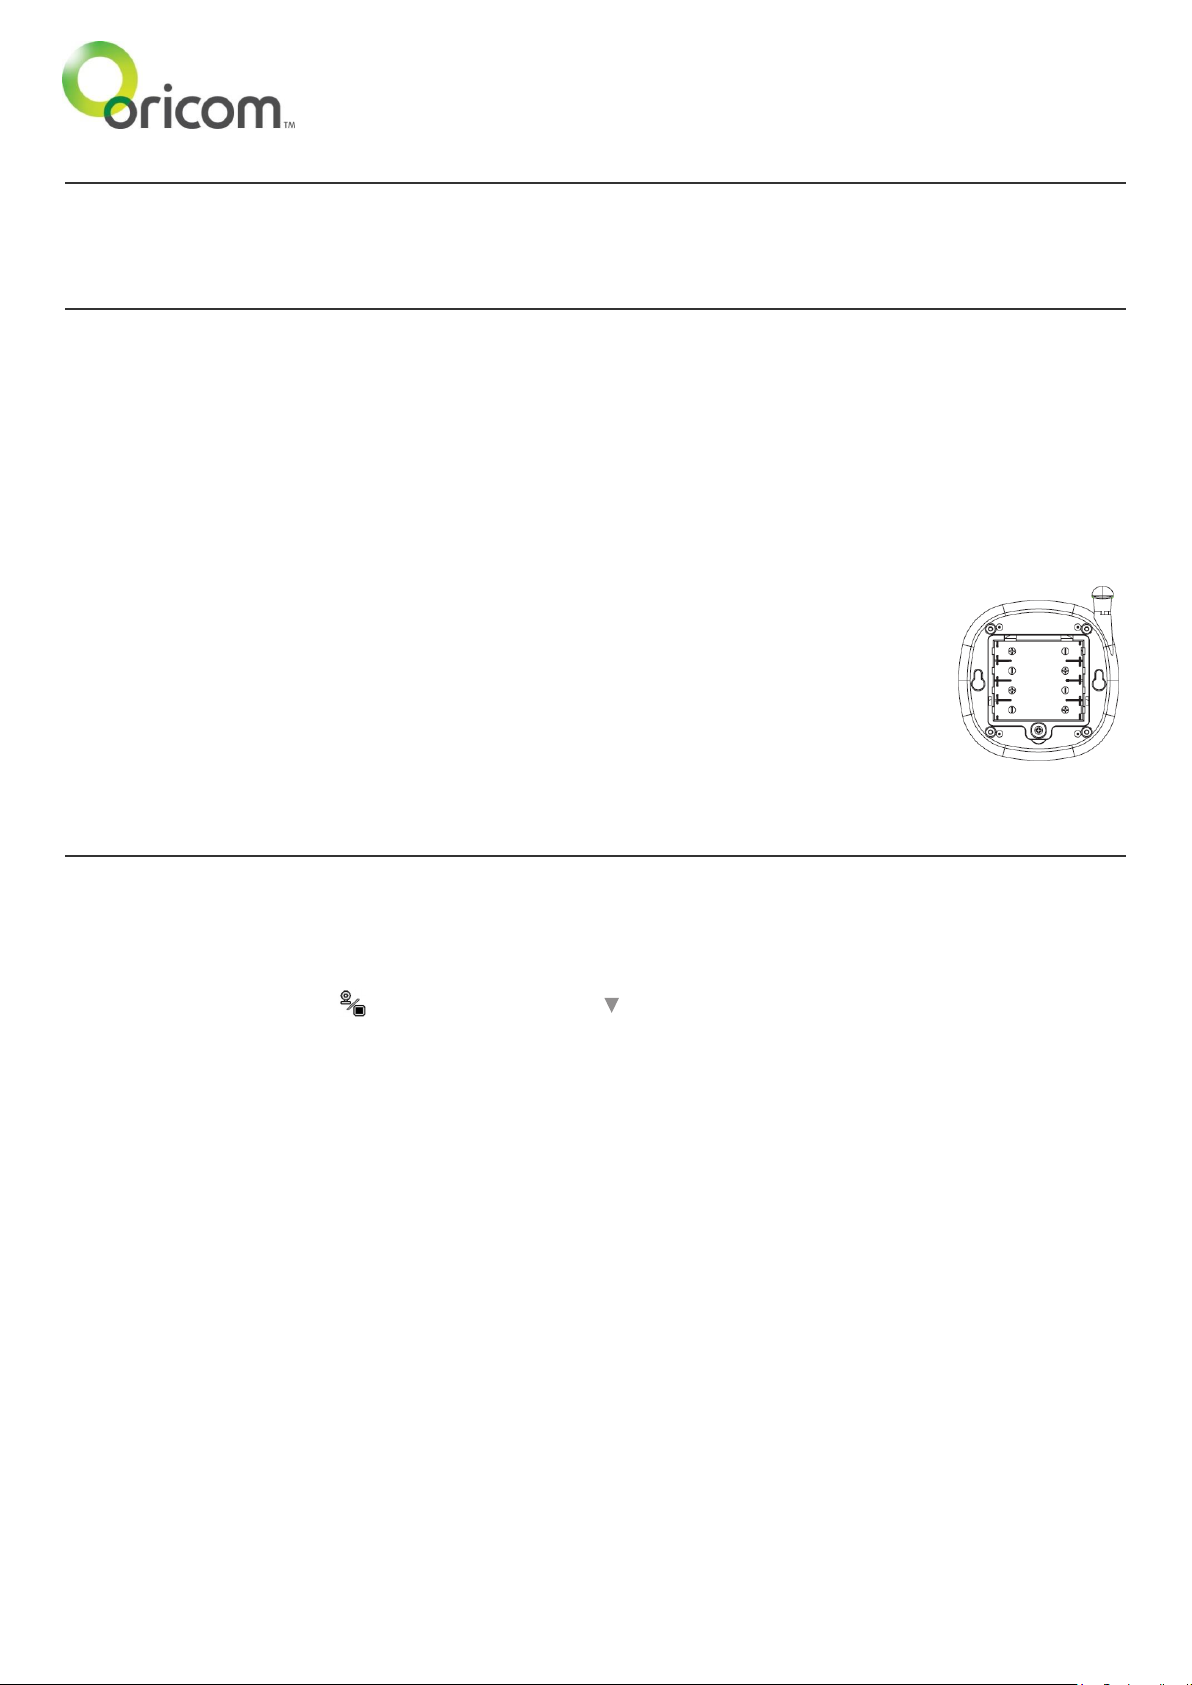
1.2 Baby Unit (camera) Batteries
In the case of power failure the baby unit (camera) can be fitted with 4 x AAA Alkaline
Batteries (not supplied).
To install the batteries use a small screwdriver to open the battery compartment on the
underside. Insert the batteries observing the correct polarity. Refer to the diagrams in the
battery compartment. Close the battery compartment again.
Please check and replace these batteries after each power failure or every 12 months
2.0 Registering the Baby Unit (Camera)
2.1 Re-registeing your baby unit (camera), or registering a new baby unit
(1) Switch on the parent unit.
(2) On monitor mode, press and hold <Camera> key for 5 seconds, it will switch to registration mode.
(3) After registration icon [ ] appears, press <▲> or < > to select
the camera channel [C1] or [C2] or [C3] or [C4] that you want the baby unit to pair with.
(4) Press and release <Menu> key to confirm which camera number to be registered.
(5) The Link LED then flashes rapidly for 10 seconds.
(6) Switch the baby unit ON. Press the pair key once (at the back of the camera).
(7) If registration is completed, camera video appears on LCD screen and returns to normal mode. The baby unit
will also return to normal mode.
(8) If the registration time is expired or registration fails, [Out of Range] appears on LCD.
NOTE:
If a channel has a camera already registered then registering another will overwrite the existing camera registration.
FOR ALL OTHER INSTRUCTIONS, PLEASE REFER TO YOUR
SC710 USER GUIDE.
CU710 2013-04-30
 Loading...