

Page 1
Vision Security System
OWNER MANUAL V-LED1
Congratulations on your purchase of the OPTEX Vision security system. Vision is an
advanced microprocessor based alarm system which provides fire and burglar protection.
This manual provides simple operation instructions which will help you to enjoy the greatest
benefit from your security system with the least difficulty. Please read this manual before
operating the system.
Vision is a versatile system and some of the functions explained in this manual may not have
been included in your system. Please ask your security company if there are features
mentioned in this manual which you would like to add to your system.
Page 2
SYSTEM REFERENCE GUIDE
System Information
Central Station Phone Number
Central Station Account Number
Service Call
Arming
Your system is programmed -
Zone Type Arming Area Group Arming Mode Arming
Delay Times
Exit Delay Time sec. Exit Delay Time 2 sec.
Entry Delay Time sec. Entry Delay Time2 sec.
Pre-Alarm Delay Time sec.
Optional Functions
Arming
User Code Arming User Code Bypassing Exit Delay Timer2 Final Door
Force Arming Silent Keypad Keyswitch Arming Auto Arming
DIsarming
Pre-Alarm Delay Time Entry Delay Timer2 Silent Keypad Quick Exit
-0.0019 Tc0.0537 Tw[(-0.F)61 294.23 l20BION ZONE INFORMAION
Number Type/Area Location
1.
2.
3.
4.
5.
6.
7.
8.
Page 3
Basic Operation
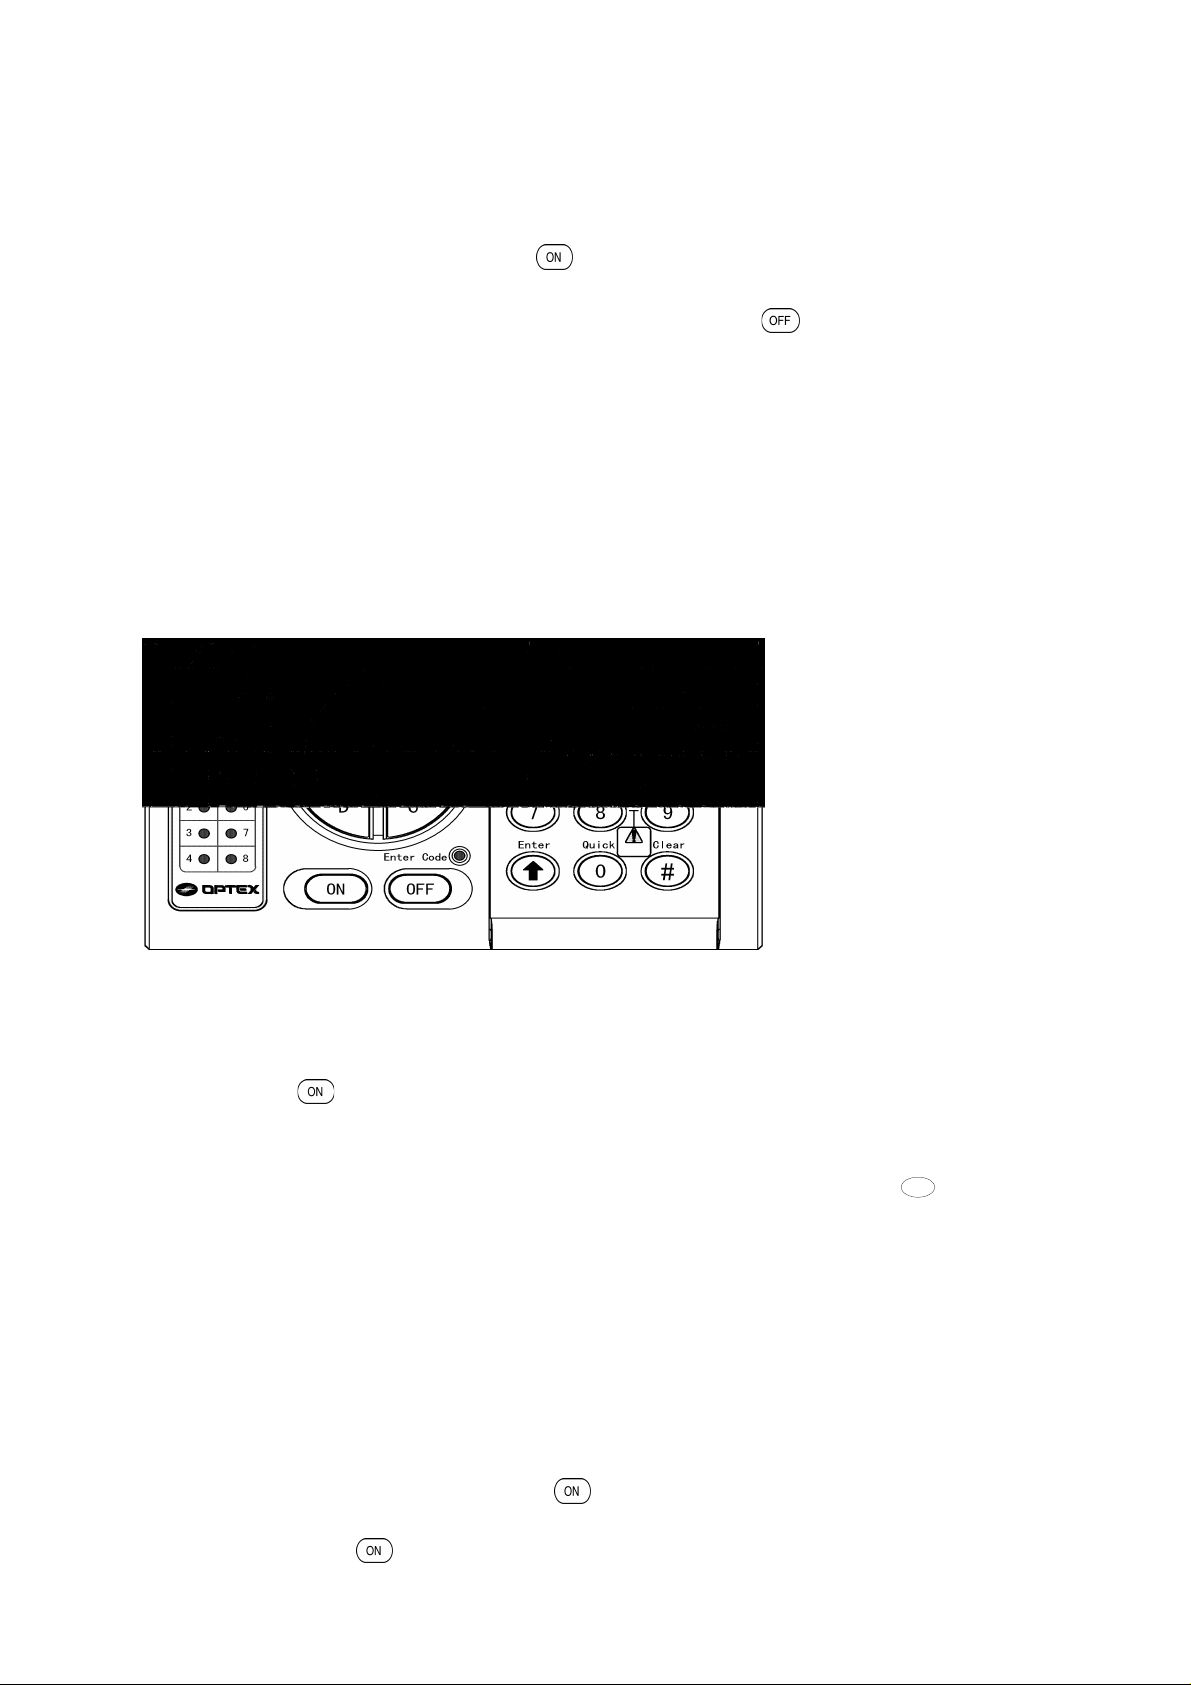
Vision’s ‘Point & Click’ control makes operating your security system quick and
easy . For most day to day operations you can simply select the area you wish to
secure (A, B, C, or D) and press . If your security system is ‘On’ (armed),
entering a valid User PIN turns-off (disarm) the entire system. If the entry delay
buzzer is sounding during the disarming process, the button can be pressed
before your User PIN to temporarily silence the buzzer .
While this is all that’s necessary for day-to-day operation of your Vision Security
system, please read on to learn more about special features of your system and
familiarize yourself with operating instructions you might need during special
situations.
Quad Keys
TM
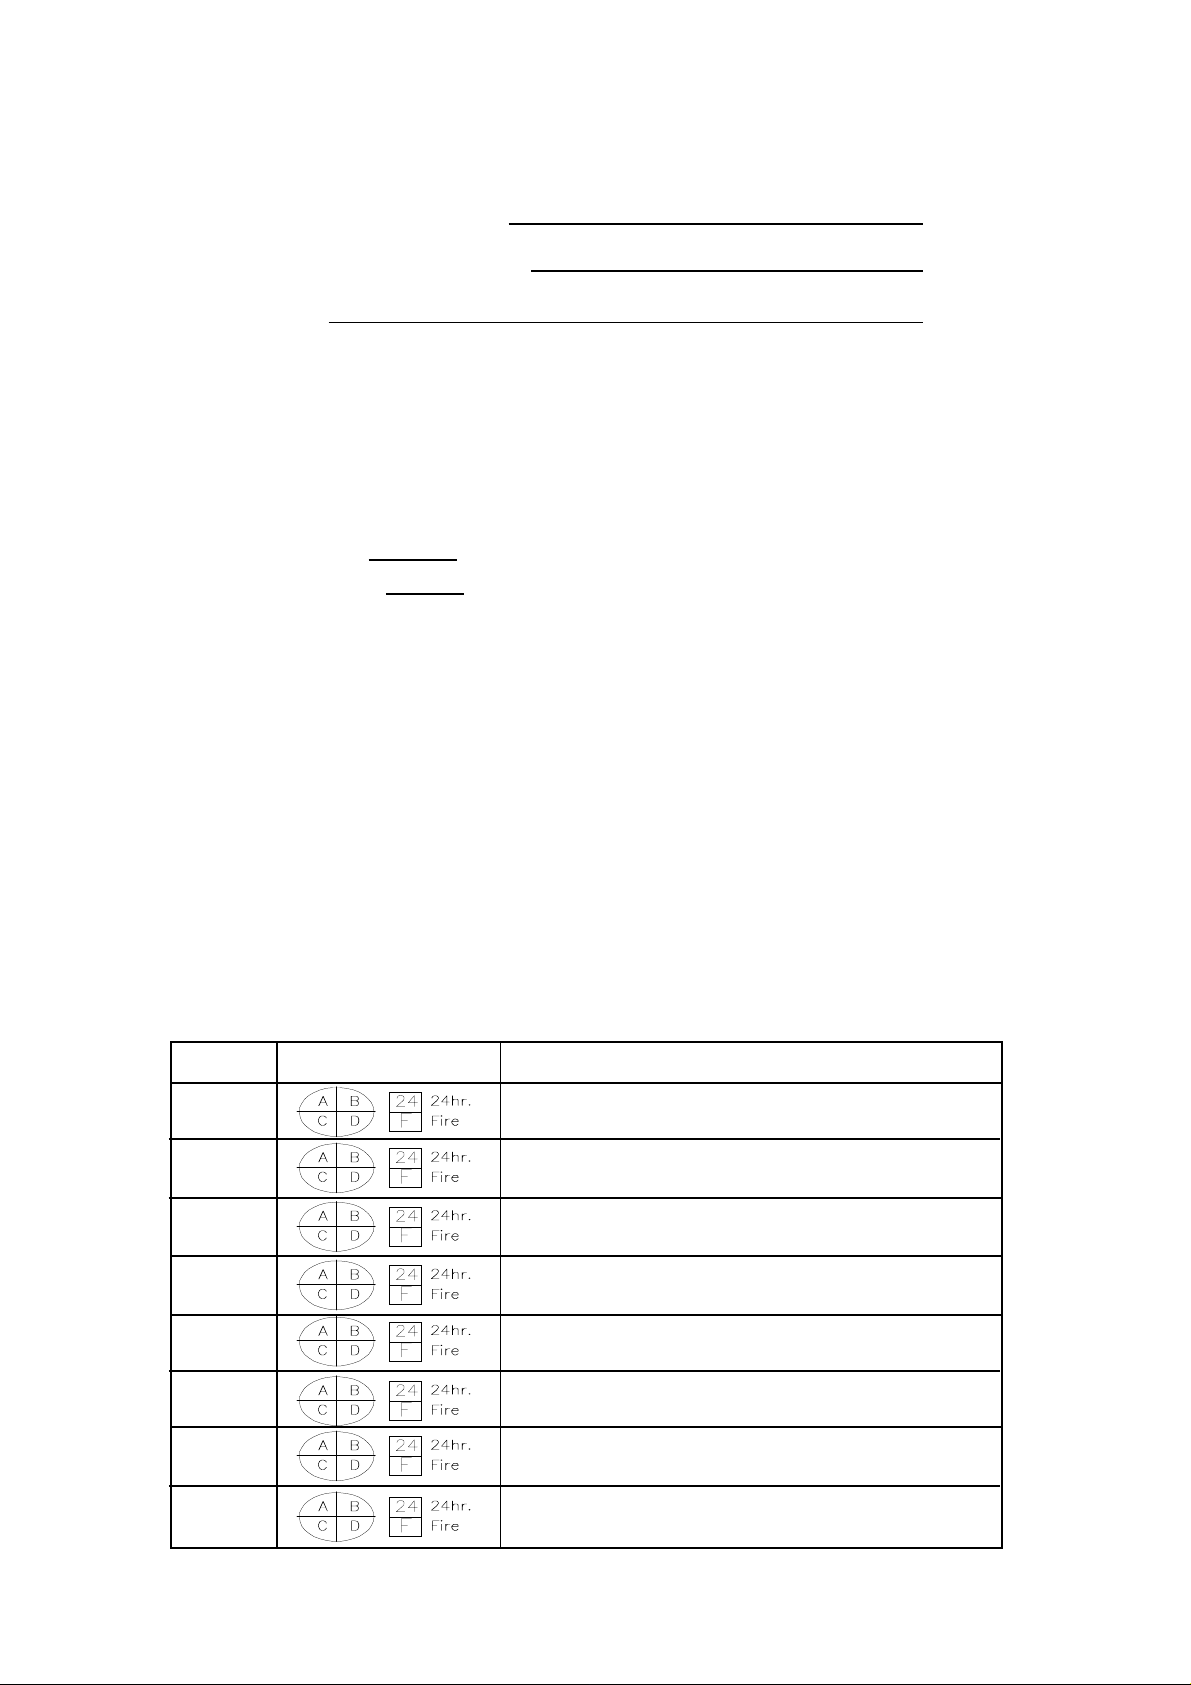
Quad Keys activate preassigned zone groups or preconfigured arming modes.
Turn on the security system by
selecting the appropriate
button and pressing ‘On’.
Each Quad Key TM button on your system represents Detection Areas of your
security system (doors, windows, garage, exterior, etc…) or Custom Arming
TM
Modes (Away, Home, Night). By selecting the appropriate Quad Key
and
pressing the button, users can easily select the level of security they desire.
TM
If you would like to deselect a Quad Key
second time. Then, either select another Quad Key
before arming, press the key a
TM
or press to reset the
Clear
#
system to it’s ‘Home’ Mode.
If your Quad Keys control Arming Modes, only one mode may be used at a time.
To shift from one mode to another , enter your code to disarm and then re-arm
with the mode you desire.
If your Quad Keys control Detection Areas, you may select more than one area
at a time. Additional areas can be added at anytime by pressing the appropriate
TM
Quad Key
button and pressing . To turn off detection areas, enter your
PIN number to turn-off all detection areas. Then select any areas you wish to
rearm and press .
3
Page 4

System Operation
The green ‘Ready’ light indicates that all detectors are secure and ready to arm.
If the ‘Ready’ light is not on, one or more detectors are activating (open) and are
not ready to be armed. Depending on your system’s design, this may or may not
prevent your system from arming. Vision’s Zone Indicator lights display which
zone(s) have detectors which are in alarm (or open). Check the detector(s) on
the zone(s) and arm your system. If you are unable to reset the detectors and
return to ‘Ready’ mode, call your security company for assistance.
After pressing to begin arming, keypads will beep slowly during the exit delay
period (if applicable). The tempo increases for the last ten seconds of the exit
delay period and a sustained tone indicates that the delay period has expired
and arming is now complete. After the arming process has been initiated, a valid
user PIN must be entered to cancel arming.
Additional Arming Options
Utility
Quick
9
0
- Arm without entry delay: press + during Exit Delay period.
- Arm without exit delay: press + during Exit Delay period.
- Your entire security system can be turned on by pressing the button for
approximately two seconds.
- A PIN number can be required before pressing to turn on the system. Ask
your security company if you would like this feature activated.
4
Page 5

User Functions
Vision allows system users to control many advanced features. This provides quick
service, greater convenience, and lower operating cost. Access these features by pressing and the feature number.
[1] Chime
[2] Smoke Detector Reset
[3] System Walk Test
[4] Viewing Alarm Memory
[5] Viewing System Trouble
[6] Bypassing Zones
[7] Installer Programming
[8] User Programming
[9] No Entry Delay Arming/Utility Output
[0] No Exit Delay Arming/Quick Exit
[1] Chime + 1
If your system is equipped, specified detectors can ring a chime tone from the keypads while
the system is disarmed. This chime can be turned on or off by pressing + 1 while the
system is disarmed. Two short beeps indicate that the Chime has been turned on, one long
beep indicates that the Chime has been turned off. The chime feature is automatically turned
off everytime you arm your system. Ask your security company if you would like the chime to
turn on automatically everytime you turn off your security system.
[2] Smoke Detector Reset + 2
If your system has smoke detectors, press + 2 to reset the smoke detectors after an
alarm
[3] System W alk Test + 3
T est your system monthly to ensure proper operation Follow this recommended procedure:
· Call your monitoring company to let them know you are testing your system.
· Confirm that all zones are ready (Green ready light is On).
· Press + 3 to initiate ‘Walk Test Mode’. All zone indicators will blink except for FIRE
zones and other 24Hr. zone types (these zone type must be tested by the security com pany).
· Activate each detector to confirm proper operation. The indicator for each zone will go out
as each zone is activated (check each detector seperately if there is more than one detec
tor on a zone).
· If operating the detector does not cause the indicator light to go out, test the detector
again. Contact your alarm company if a detector or zone does not operate properly.
5
Page 6

[4] Viewing Alarm Memory + 4
A blinking Memory LED or Zone Indicator LED while the panel is armed, or a lit Memory
LED while the system is disarmed, indicates that an alarm occured during the most recent
arming period. Press + 4 while the system is disarmed to view the first alarm of the
arming period. Press 4 again to view each additional alarm of the arming period. A long
beep tone indicates there were no additonal alarms. Press to clear the memory or
arm and disarm the system. Press to return to the system’s HOME Mode.
Clear
#
[5] Viewing System Trouble + 5
AC LED indicator will light if AC power to the security system is lost. The AC indicator
can help users recognize and repair accidental AC power losses themselves, without service calls. UL requires back-up battery power of at least 4 hours. Short power outages
normally will not affect your system and do not require service from your security company .
Other system troubles are indicated by a blinking Trouble Indicator and beeping from the
keypad.Press or to silence the beeping. Press + 5 to view the cause of the
Clear
#
trouble condition. Call your security company to discuss the trouble condition and recommended course of action. The trouble Indicator will remain lit until the trouble condition is
resolved.
Zone LED Trouble Cause
1 Low Battery
2 Box Tamper System control box opened or damaged.
3 Bell Fault
4 Bus Failure
5 Communication
Failure
6 Real Time
Clock Loss
Battery voltage is below acceptable level.
Battery wiring trouble or broken fuse delate.
Call security company for service
Call security company for service
The security system was unable to report to the monitoring
company. Call your security company for service.
The system’s clock needs to be reset.
See page 10 for instructions.
7 T elephone Line
Loss
8 AC Failure
Fire LED
(Slow
blinking)
NoteNote
Note
NoteNote
Smoke Detector
Trouble
If there is no trouble on the system, a long beep sounds after + entry.
T elephone line or circuit trouble.
Call security company for service
Trouble with smoke detector wiring.
Call security company for service.
6
Trouble
5
Page 7

[6] Bypassing Zones + 6
Zones can be manually excluded as you arm your security system (if they are inoperable or
if they would conflict with a planned activity). To enter Zone Bypass Mode, press + 6 .
The green ‘ready’ LED will blink to indicate bypass mode. Press to scroll upwards to the
desired zone, or enter the zone number (01, 02, 03, etc...). The LED of the selected zone will
light and its status wil be displayed:
Zone Status LED Status
Normal Zone LED + Ready LED
Open Zone LED only
Trouble Zone LED + T rouble LED
Bypass Zone LED + Bypass LED
Press to bypass the selected zone or to remove bypass. After adjusting the zone,
press to move to the next zone or to return to Zone Bypass Mode. Press a
Clear
#
Clear
#
second time to exit Zone Bypass Mode.
Zone bypass is erased every time you disarm. If you bypass zones regularly, ask your
security company about programming Quad Key buttons to automate this process for you.
A PIN number can be required before pressing 6 to bypass zones. Ask your security
company if you would like this feature activated.
[7] Installer Programming
This area is for security company use only.
[8] User Programming + 8 + User PIN
System Users with appropriate authority can set User PINs, system time, auto-armimg
time, and other advanced features in this section. Only User PINs with authority levels 01
and 02 can access this area. See below for instructions regarding User Programming.
[9] No Entry Delay Arming & Utility Output + 9
During the exit delay period, enter + 9 to arm your system without entry delays. All armed
zones will create an alarm instantly . Anyone entering through a protected door will cause an
immediate alarm because the entry delay has been cancelled. This is sometimes used to
increase security after everyone has arrived home for the evening.
If your system is equipped to operate auxilliary devices, such as an electronic or magnetic
door lock, entering + 9 + Utility PIN will activate the device. Ask your security company
for additional information about adding or operating this feature.
7
Page 8

[0] No Exit Delay Arming & Quick Exit + 0
During the exit delay period, enter + 0 to arm the system immediately . This will cancel
the remainder of the exit delay .
While your system is armed, press + 0 to bypass the entire system for two minutes. Y ou
may enter or exit freely until the system automatically returns to its prior armed status at the
end of the two minute period. Press to abort this timer and return the system to its
armed state.
User Programming
System Users with appropriate authority can set User PINs, system time, autoarmimg time, and other advanced features. Only User PINs with authority
levels 01 and 02 can access this area.
Entering User Programmming + 8 + PIN
While the system is disarmed, press + 8 + PIN to enter User Programming.
When the system is in User programming’s ‘Home’ Mode, the Ready and Fire
LEDs are lit and the Memory LED blinks.
Carefully follow the appropriate programming sequence listed below. If
necessary, press once to return (escape) to the ‘Home’ Mode for User
Programming, or twice to return to the system-wide ‘Home’ Mode.
[1] User PINs 1 +
Press [1] + to enter User PIN Programming. Then press the address of the PIN you wish
to program [01, 02...08] and press . Now enter the 4 digits you wish to use for the PIN
number, press , set the two digit authorization level and press . Either continue
entering codes and authorization levels, or press two times to exit User PIN programming. (see below for more information regarding User PIN Authorization Levels)
Clear
#
Clear
#
8
Page 9

If you continue, Vision will automatically advance to the address of the next PIN and wait for
a four digit code + + two digit autorization level , etc..and automatically return to
‘Home’ of User Programming after the eigth user PIN is programmed. At any time, can
be pressed once to return to ‘Home’ of User Programming; press a second time to
Clear
#
Clear
#
return to system-wide ‘Home’.
NoteNote
Note
NoteNote
User PIN 01 cannot be erased and must have Authority level 01
Complete sequence to program a User PIN
+ 8 + PIN + 1 + + PIN address (02, 03, 04, etc...) + + New 4 digit code +
+ 2 digit Authorization Level +
(#, # to exit programming)
PIN Authorization Levels
Each user PIN must be assigned a two digit authorization level:
01 All system operation and programming
02 All system operation and programming, except PIN programming
03 System operation only , no programming
04 System arming only , no disarming, bypassing, or programming
Changing/Deleting User PINs
During the sequence shown above, when you are requested to enter a 4 digit PIN number,
you can change a PIN number by entering the new 4 digit PIN over the old PIN. T o delete a
PIN number, press instead of entering a 4 digit code. Proceed to press and set a
Authorization Level to finish the programming sequence.
[2] Temporary PIN (automatically cancelling) 2 +
User PIN 08 can be programmed to automatically expire. Set the PIN’s duration (in days)
here. Select a value between 01 and 98 days; or, 99 for a permanent PIN.
Complete sequence to set duration of temporary PIN
+ 8 + PIN + 2 + + days +
(#, # to exit programming)
[3] Utility PIN 3 +
User If your system is equipped to operate auxilliary equipment (such as an electronic or
magnetic door lock), the code used to activate this feature can be programmed here.
Complete sequence to program the Utility PIN
+ 8 + PIN + 3 + + 4 digit PIN +
(#, # to exit programming)
9
Page 10

[4] Set System T ime Clock 4 +
Many important Vision features utilize an internal clock to operate. Set, or reset, the
clock here. Set hours and minutes (HH:MM) using 24 hour format (1330 = 1:30pm) and
press . Then set month and day (MMDD), press , year (YY) and .
Complete sequence to set the system clock
+ 8 + PIN + 4 + + HHMM + + MMDD + + YY +
(#, # to exit programming)
[5] AM/PM or 24 Hour Clock 5 +
If your Vision keypad displays the system time clock, you may select AM/PM or 24 hour
display here.
Complete sequence to AM/PM or 24Hr . clock display
+ 8 + PIN + 2 + + days +
(#, # to exit programming)
[6] Auto Arm 6 +
Your Vision security system can automatically arm itself at the same time every day. Use
this programming area to control Auto Arming. After pressing 6 and Enter, use the 1 button
to turn Auto Arming On or Off (LED 1 lit for Auto Arm On and off for Auto Arm Off) then enter
an arming time (using 24Hr . format) and press . Press twice to exit programming.
Complete sequence to set Auto Arming
+ 8 + PIN + 6 + + 1 (to select Auto Arm On or Off) + +
Time (24Hr . format) +
(#, # to exit programming)
Clear
#
10
Page 11

User Activated Alarms
Keypad Alarms
If equipped, your Vision keypad can be used to report alarms to the monitoring company.
Press 2 & 3 for approximately 2 seconds for emergency P ANIC alarm ( ).
Press 5 & 6 for approximately 2 seconds for emergency FIRE alarm ( ).
Press 8 & 9 for approximately 2 seconds for EMERGENCY alarm ( ).
Duress Alarm
If equipped with this special user PIN, your security system will send an EMERGENCY
HOSTAGE SITUATION alarm to the monitoring company whenever it is used to arm or
disarm your security system.
11
 Loading...