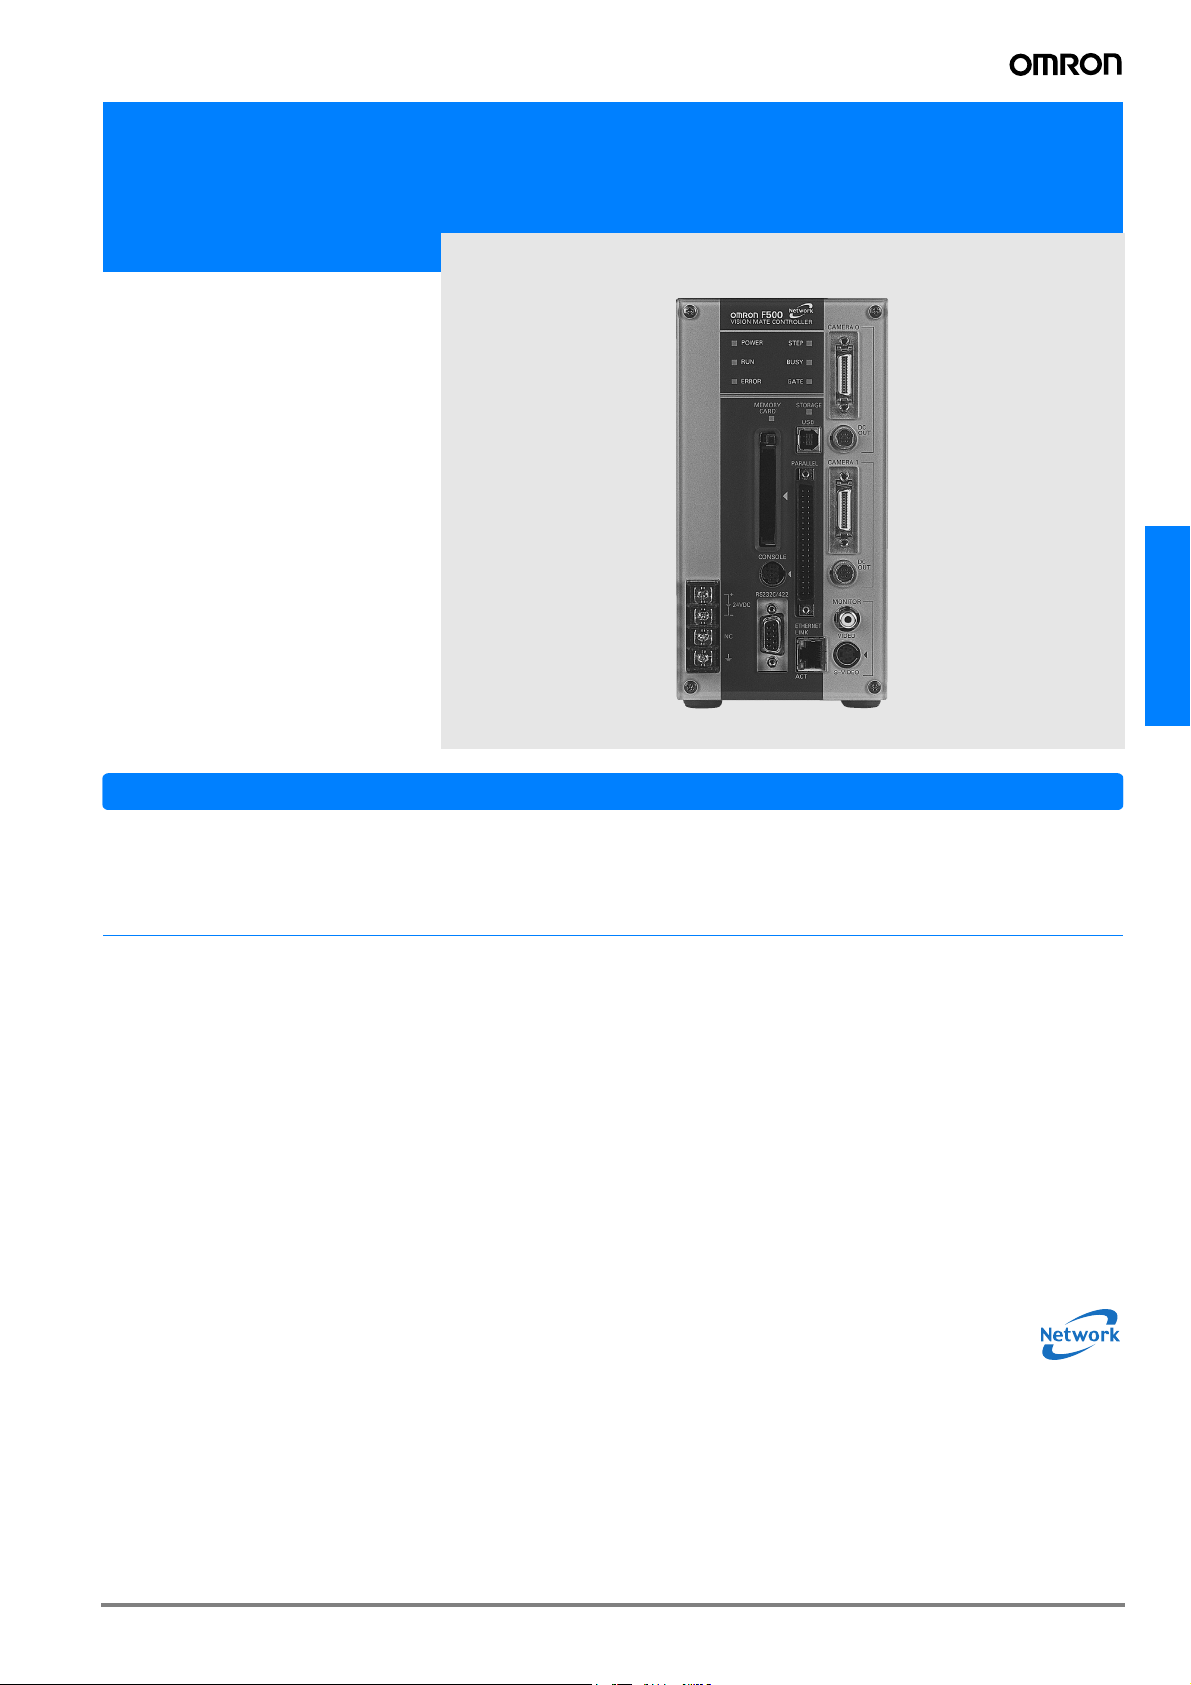
Omron F500 DATASHEET

Vision Sensor
F500
Network-compatible
Sensor supports
everything from highprecision detection to
production and
quality control
F500
Features
The F500 enables high-precision inspections and measurements in the factory and then goes
further to support easy construction of a production and quality control system for quality
traceability.
High-precision Sensing
1-million-pixel Digital Interface Camera
Clear images are obtained by greatly reducing noise in highresolution video signals.
User Customization for Even Simpler Operation
Various applications are supported through features like flow
menus that flexibly handle even complicated applications and
macros that enable user programming.
A Wealth of Algorithms to Achieve High-precision
Measurements
High-precision measurements are achieved through original
algorithms ideal for lowcontrast mark positioning, minute defect detection, and much more.
terface changes, measurement condition changes, and much
more. Macros can be easily programmed using a simple text
editor.
Storage for Production and Quality Control
Store inspection and measurement data for safe keeping.
Provide feedback to quality control data, or analyze the data
to improve quality. The stored data can be used in many
ways.
Large Storage Capacity
Approximately 200 images minimum can be stored right in the
Controller. Measurement images are stored without alteration
for future use, such as repeating measurements to check
measurement accuracy or attaching images to reports.
Remote Access and Operation
Applications Software
Build Flexible Applications
The F500 provides OMRON's new menu system called Flow
Menus, which enable flexible measurements through menu
settings including multiple filtering operations and conditional
branches based on measurement results.
Easier to Use, Easy to Program
A Macro programming feature is provided to support measurement functions by enabling screen customization, I/O in-
across a Network
Easily achieve a production and quality control system using
an IT environment that provides easy access to the production
site and operating status.
Remote Access and Operation
Data such as the operating status of the Vision Sensor and
images resulting from inspections can be remotely accessed.
Measurements, storage, and communications can be executed independently so that measurements will not stop even
during random remote access.
C-55F500

Flexible User Customization for Any
Purpose
Benefits of Increased Resolution
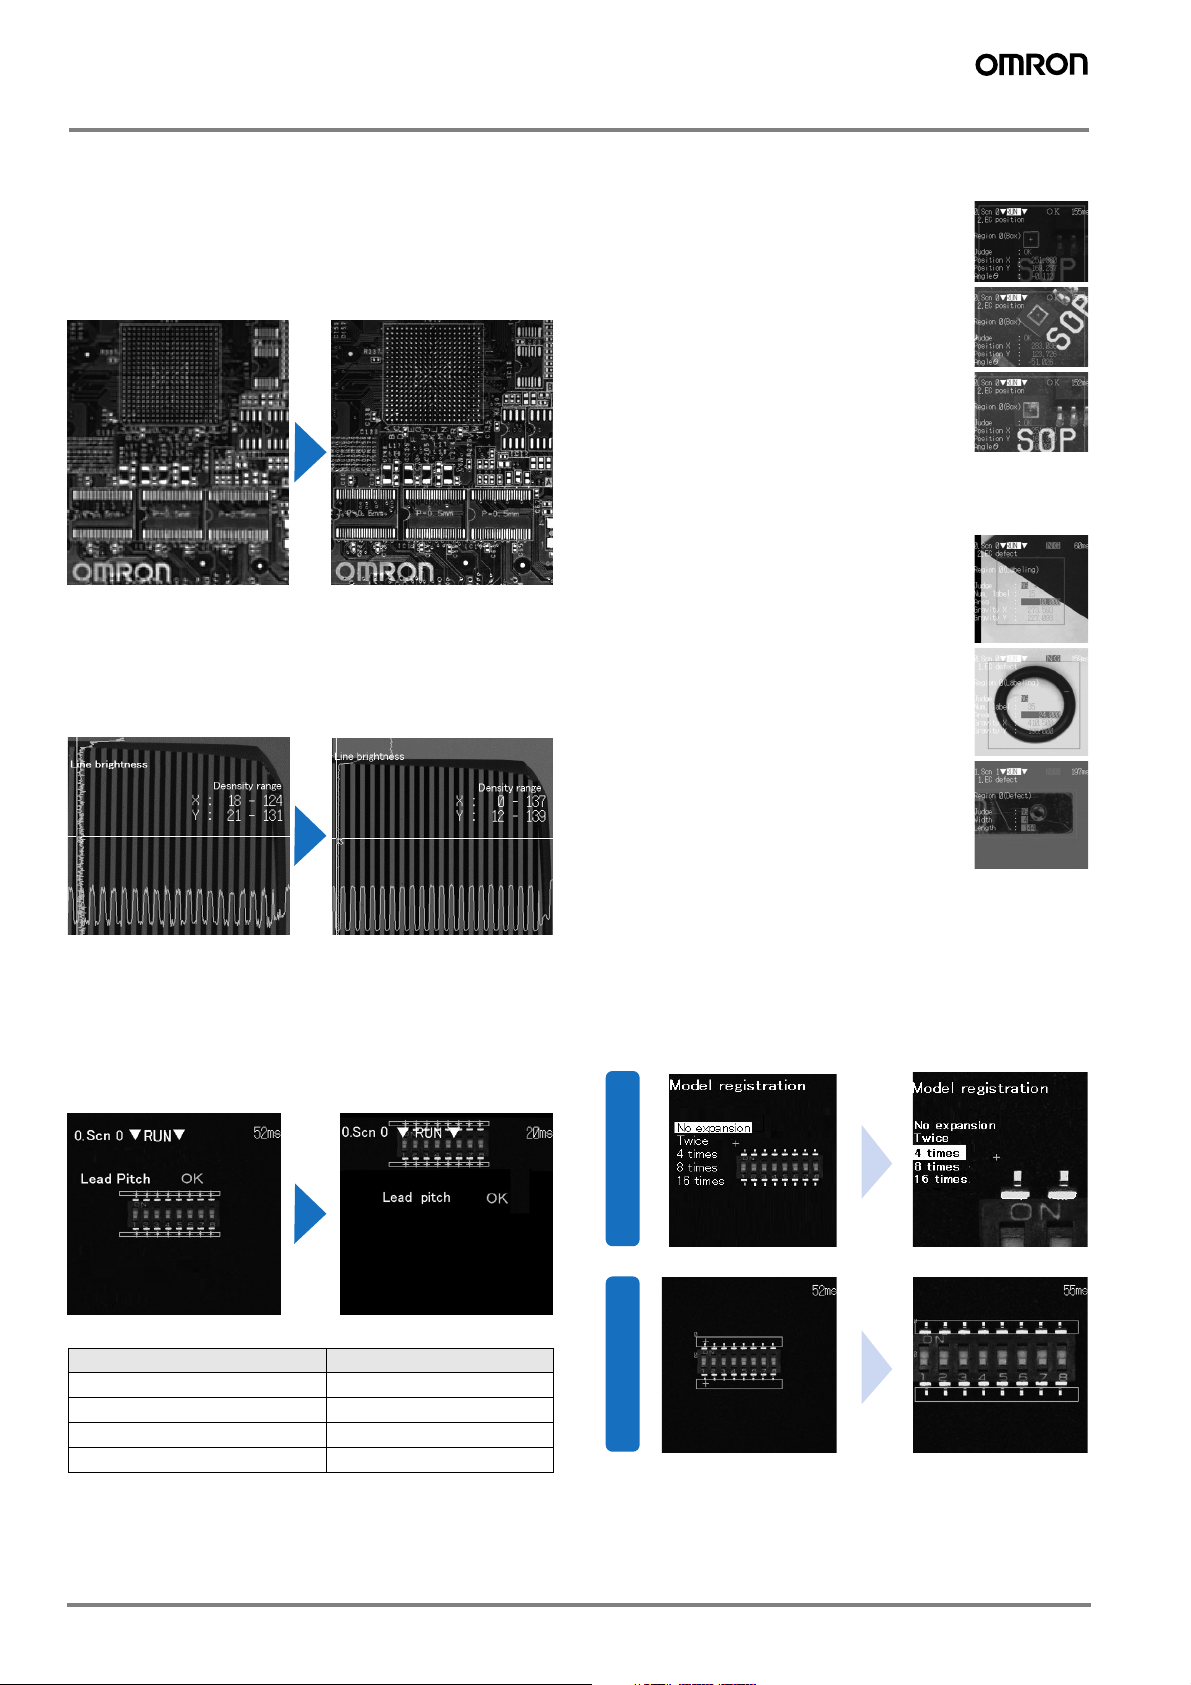
Doubling the horizontal and vertical resolutions increases total resolution by a factor of four, enabling clear images for
small or complicated workpieces.
250,000 pixels (previous systems) 1 million pixels
1-million-pixel Camera with Digital Interface
The video signal noise that hurt measurement precision has
been greatly reduced to enable inspections of minute foreign
matter or damage as well as highprecision positioning.
Line Brightness Image from an
Analog Interface Camera
Partial Scan Function
Partial scans can be used to reduce the image reading time,
which is often the bottleneck in measurement processing
time.
Line Brightness Image from a
Digital Interface Camera
Advanced Algorithms for High-precision Measurements
Positioning
ECM Searches
Edge code models are used for pattern
searches. ECM searches are not easily affected by deformation and dirt, and can thus
be very effective with low-contrast workpieces.
EC Positioning
Model registration is not required for EC posi-
tioning. Searching is possible with shape information, such as "circle," "rectangle," or
"intersection." This achieves higher precision in measurements than conventional pattern matching methods.
Reference data: Repeatability is within 1/20 pixel (OMRON test data)
Appearance Inspections
EC Defect
Geometric information is used to measure
minute defects or lowcontrast scratches in
the measurement object at high precision.
Stable detection is possible for applications
like measuring deformation in O-rings.
EC Circle Count
Circles are searched for based on a circle of
a specified size. Stable detection is possible
without undue influence by deformation or
dirt.
EC Circle Defect
Defects in circles, such as depressions and
scorching in molded items, can be easily
measured at high precision. The defect in the circle can be extracted even with a patterned background.
Reduced Work with Simple Operations
Zoom Function for 1-million-pixel Images
Zoom in to see detail clearly for easier setting and adjustment
(display enlargement supported).
ZOOM
Setting Screen
Full Frame Reading
Number of Pixels read Reading time
1,024 x 1,024 pixels 48.3 ms
1,024 x 512 pixels 27.6 ms
1,024 x 256 pixels 16.3 ms
1,024 x 128 pixels 10.7 ms
Partial Reading
Entire Screen Display
ZOOM
Measurement Screen
Enlarged Display
High-speed Serial USB Interface
A USB interface simplifies high-speed communications between the Vision Sensor and a computer. Communications
can be used to handle measurement data, setting data, system data, image data, and more.
C-56 Vision Systems

Networking to Access, Save, View and Edit Data
Batched Access and List Viewing of Logged Images
1
Batch File Uploading
1
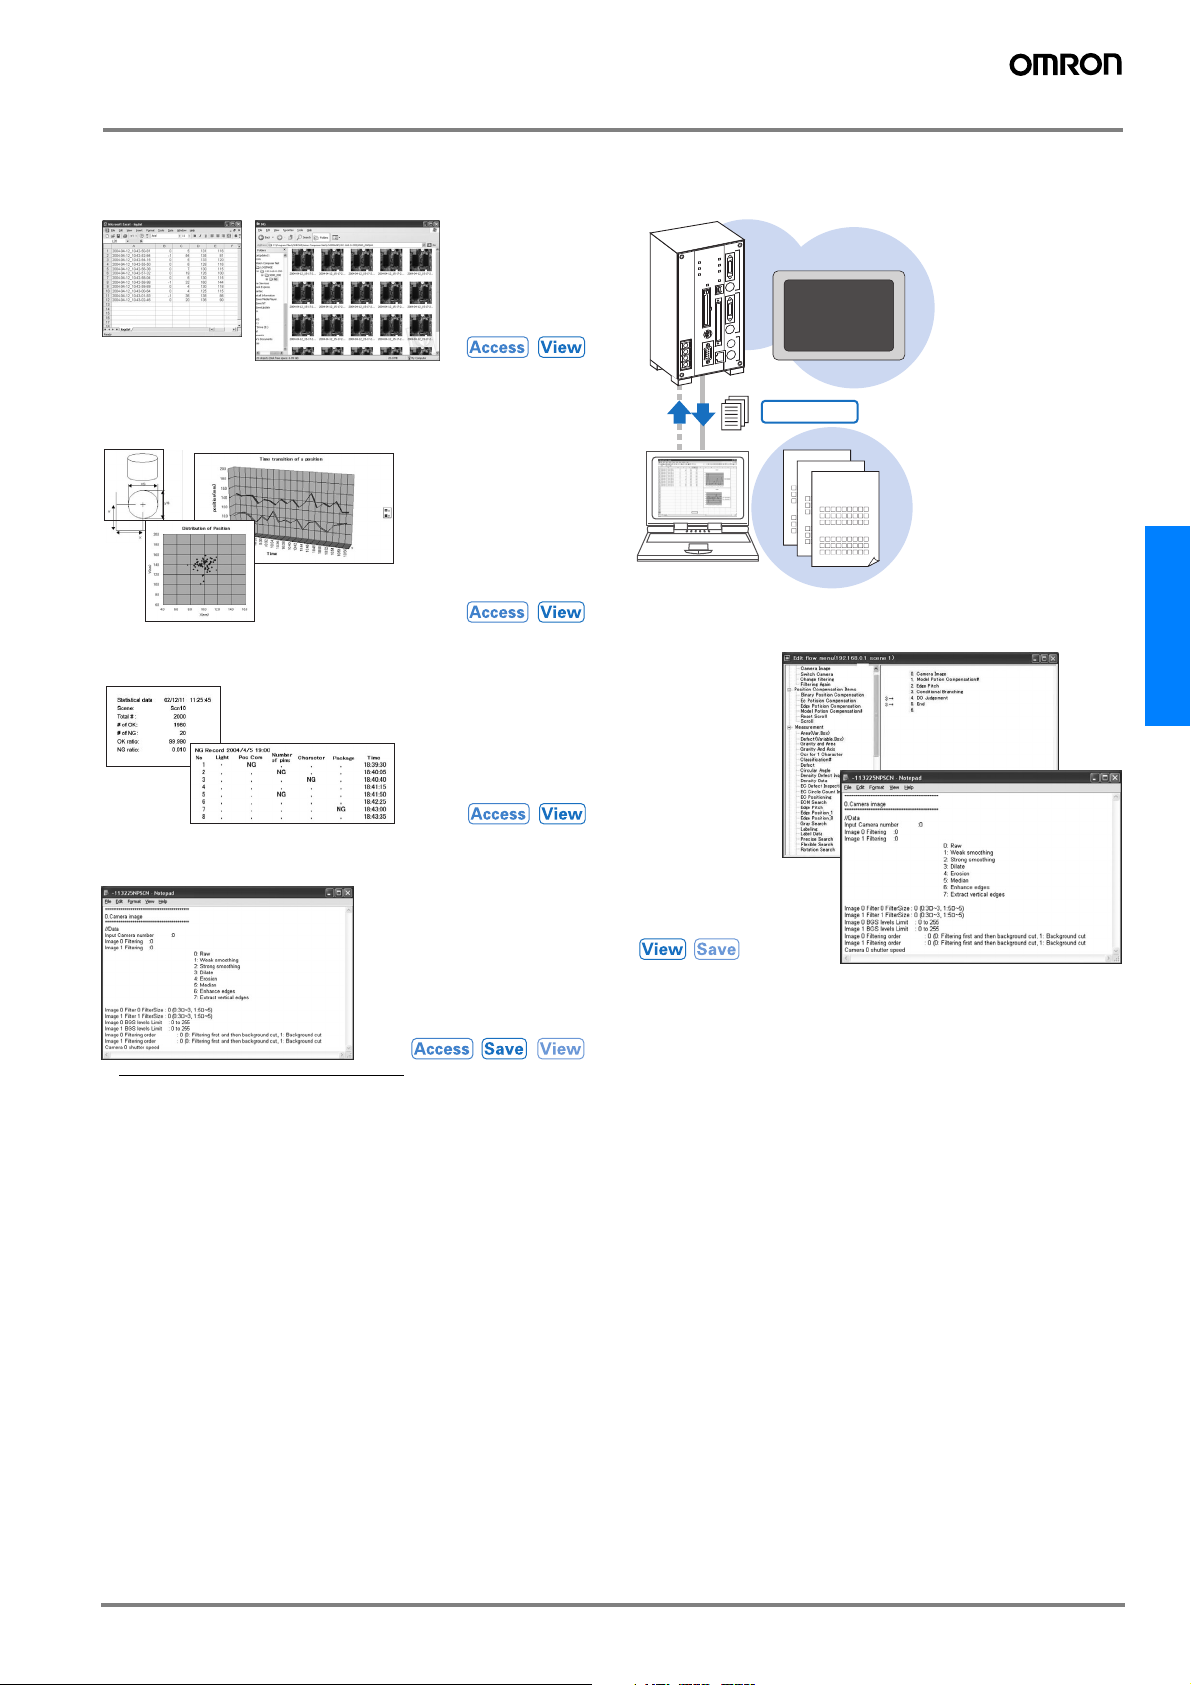
The data stored in
the Controller can
be displayed in
lists.
Batched Access and List Viewing of Measurement
1
Data
Links can be created to
spreadsheet software to
statistically process
measurement results or
display graphs. All
measurement data can be
saved for feedback to trend
management or to monitor
variations in measurement
data.
Log Production and Quality Control Information
Macros can be used to total production
quantities, production information such as fault
rates, or NG products
according to the type of
inspection.
1
Production 15400 pcs.
Good products 14890 pcs.
NG products 610 pcs.
Batch Transfer
Daily Report
Date:
Daily Report
Production quantity
Date:
Daily Report
Date:
Production quantity
Production quantity
Rate of operation
Rate of operation
Rate of operation
Display and Edit Scene Data
Scene data set in
Vision Sensors
connected to the
network can be
viewed and edited.
The scene data
displayed on the
computer can also
be printed.
The data saved in the Controller can be transferred
to a computer as a batch
upload. This function is
useful when determining
judgement values for initial settings or to back up
data.
And because measurements and communications are executed independently, files can be uploaded without affecting the
Vision Sensor's measurement operation.
1
F500
Managing and Transferring Setting Data
Files containing Vision Sensor
setting data (such as scenes
and system data) can be sent
and received.
The software version of the
Vision Sensor can also be
easily upgraded.
1
Scheduled for release soon.
1
C-57F500
 Loading...