

Omega K9-Sombra Installation Manual

Page 1
Owner’s Guide
Low Battery Warring ....................................................................................... 1
RFID ................................................................................................................ 2
System Armed & Activated ............................................................................. 2
Arming the System ......................................................................................... 3
Disarming the System .................................................................................... 4
Emergency Override ....................................................................................... 4
Anti-Carjacking .......................................................................................... 5 - 6
Valet Mode ...................................................................................................... 7
LED Status Indicator ....................................................................................... 7
Auxiliary Sensor & Prewarn ............................................................................ 8
How To Program Remote Controls ................................................................ 8
How To Program Features ............................................................................. 9
Programmable Features .......................................................................... 9 - 10
Installation Instructions
How To Program Remote Control .................................................................. 8
How To Program Features ............................................................................. 9
Programmable Features .......................................................................... 9 - 10
Wiring Diagram ............................................................................................. 11
Door Lock/Unlocking Systems ...................................................................... 12
This device complies with part 15 of the FCC Rules. Operation is subject to the following two conditions, (1) This
device may not cause harmful interference and, (2) This device must accept any interference received, including
interference that may cause undesired operation.
The manufacturer is not responsible for any radio or TV interference caused by unauthorized modifications to this
equipment. Such modifications could void the user's authority to operate the equipment.
When the Remote Control’s battery voltage is depleted to less than 2.8V , the
system will have the siren emit a series of 8 chirps to alert you that it’s time
to change the battery. This alert will take place when:
a. Approaching the vehicle with the remote control (RFID “On”)
b. During auto lock.
c. When turning vehicle’s ignition “On”.
d. When turning vehicle’s ignition “Off”.
- The alarm will also disable Anti-car-jacking when remote battery is low.
Table of Contents
IMPORTANT !!! (Low Battery Warning)
Page 2
This unit is equipped with a very convenient auto operation mode called RFID.
If selected ON, this feature will Arm & lock the vehicle as you walk away and
Disarm & unlock as you return. It works through constant communication between the remote control & the main module in the vehicle. The operating
distance will vary by type & shape of the car in which the alarm is installed.
This RFID feature also makes the programmable Anti-Carjacking system the
most secure and easiest to use in the industry. This is explained in the AntiCarjacking section.
- The RFID feature can be turned ON & OFF by the remote control:
- If while RFID in On, the control experiences no movement for 10 minutes, it
will go into sleep mode to save battery. Will wake up the instant it is moved.
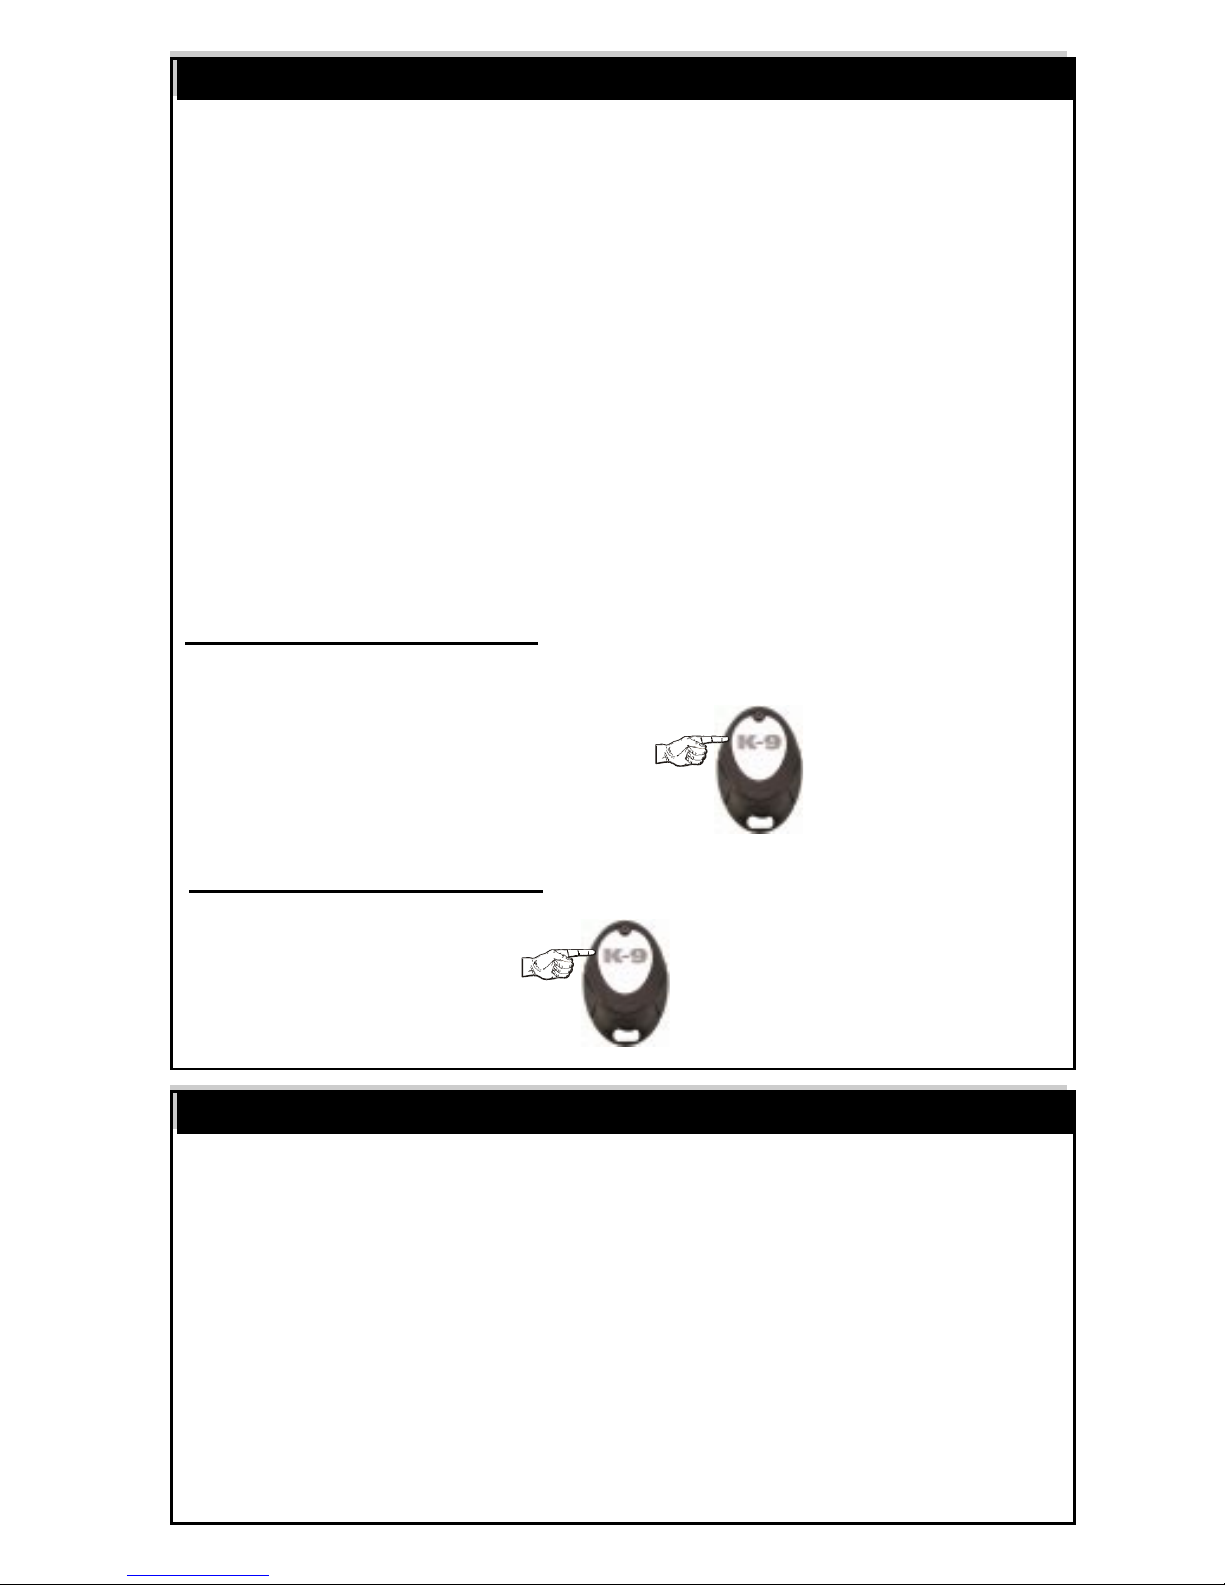
To turn “On” RFID feature: Press & Hold the button on the remote
control for 2 seconds, until the LED on the remote flashes twice.
To turn “Off” RFID feature: Press & Hold the button on the remote
control for 2 seconds
Regardless of method used to Arm the alarm, it will monitor all protected zones,
and if an intrusion attempt is detected it will activate, or “trigger”.
An activation consists of the following:
• The electronic siren, or optionally the vehicle’s horn, will start sounding.
• The exterior parking lights will flash on and off repeatedly.
An activation has a 30 second duration unless the system is disarmed using the
remote or the Valet /Override switch. If all protected zones are secure at the end
of the activation, the system will stop and rearm itself to detect further entry
attempts. If a protected zone is still open at the end of the activation cycle, the
system will continue to reactivate itself for up to six activated cycles before it
resets itself and ignores the violated zone.
System Armed & Activated
RFID
When RFID is ON
LED will flash every 3 seconds
Page 3
The system may be "Armed" by one of 3 methods:
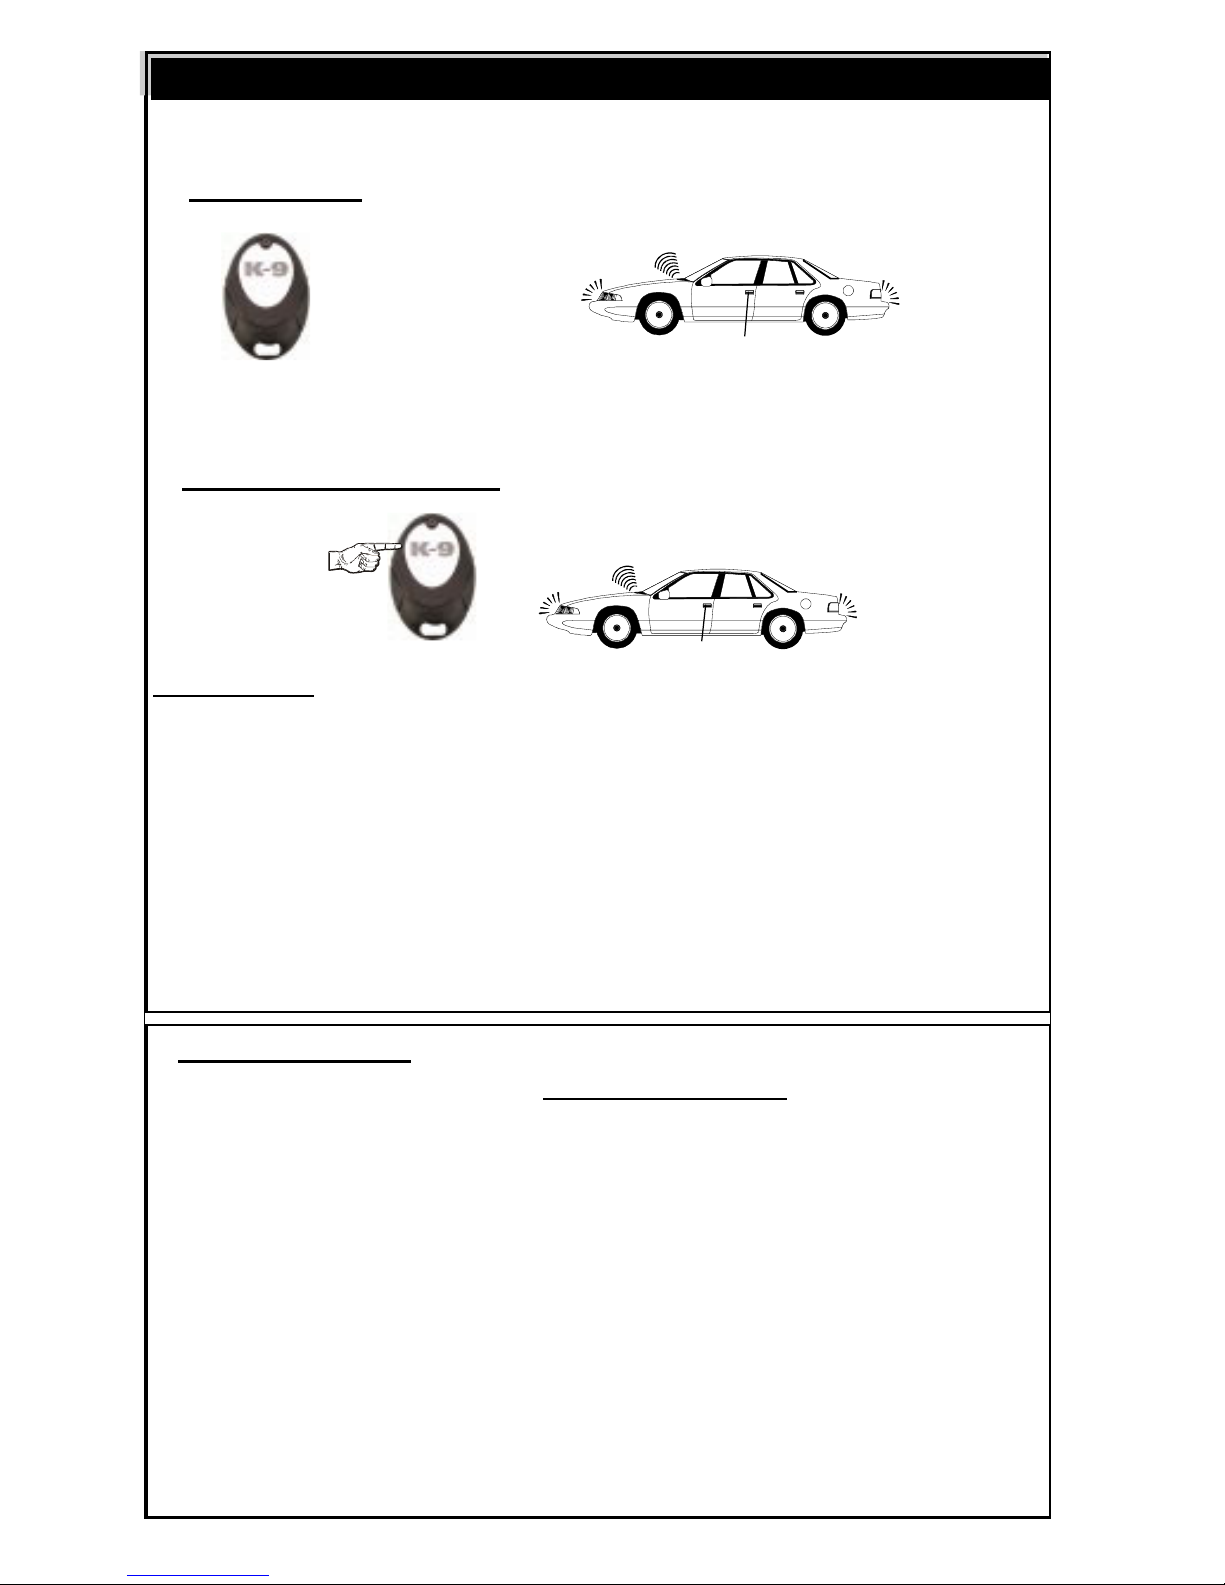
1) RFID Arming: Walk away from vehicle with the Remote Control
- Once the Remote is 2-5 meters from the vehicle the unit will Arm.
- RFID Arming will override Last Door Arming (aka: Passive arming)
THE SIREN WILL
CHIRP ONCE
THE PARKING LIGHTS
WILL
FLASH ONCE
THE DOORS WILL LOCK
(IF
CONNECTED)
THE SIREN WILL
CHIRP ONCE
THE PARKING LIGHTS
WILL FLASH ONCE
THE DOORS WILL LOC
K
(IF
CONNECTED)
Arming the Alarm
2) Remote Control Arming: Press & Release the button on the Remote
Upon Arming: • The siren will chirp one time.
• The parking lights will flash once.
• The doors will lock. (If an optional interface is connected)
• The starter interrupt will engage.
• The LED Status Indicator will begin to flash slowly.
- If a zone is open , (for example a car door), when arming, the alarm will still arm
(parking lights will flash 3 times and siren will chirp 3 times), but will bypass the
open zone until the zone is secured.
- If the remote Arms/Disarms the alarm, the RFID feature will be turned off for 1
minute to prevent unit from Re-Arming/Disarming in case remote is still in range.
3) To Passively Arm: Turn Ignition Off, Then Close all Doors.
Automatic “Last Door Arming” is a programmable feature which allows the alarm
to arm itself and, if desired, lock the doors upon arming.
If on, anytime that the ignition is turned off, and then a door is opened & closed:
• The LED Status Indicator will begin to flash rapidly. Thirty seconds later:
• The siren will chirp & the lights will flash once.
• The LED Status Indicator will begin to flash slowly.
• The starter interrupt will engage.
The alarm is now fully armed. The doors will lock at this time, if programmed to
do so, and if the vehicle is equipped.
The system can not Last Door Arm if a protected zone is open. Should a vehicle
door be opened during the arming countdown, the countdown will stop and start
over again when the door is closed. “Automatic Rearming” will re-Arm the
alarm if it is Disarmed as long as a car door is not opened.
...... 2-5 meters ..........
RFID must be “On”
(see previous page)
Page 4
The system may be "Disarmed" by one of 3 methods:
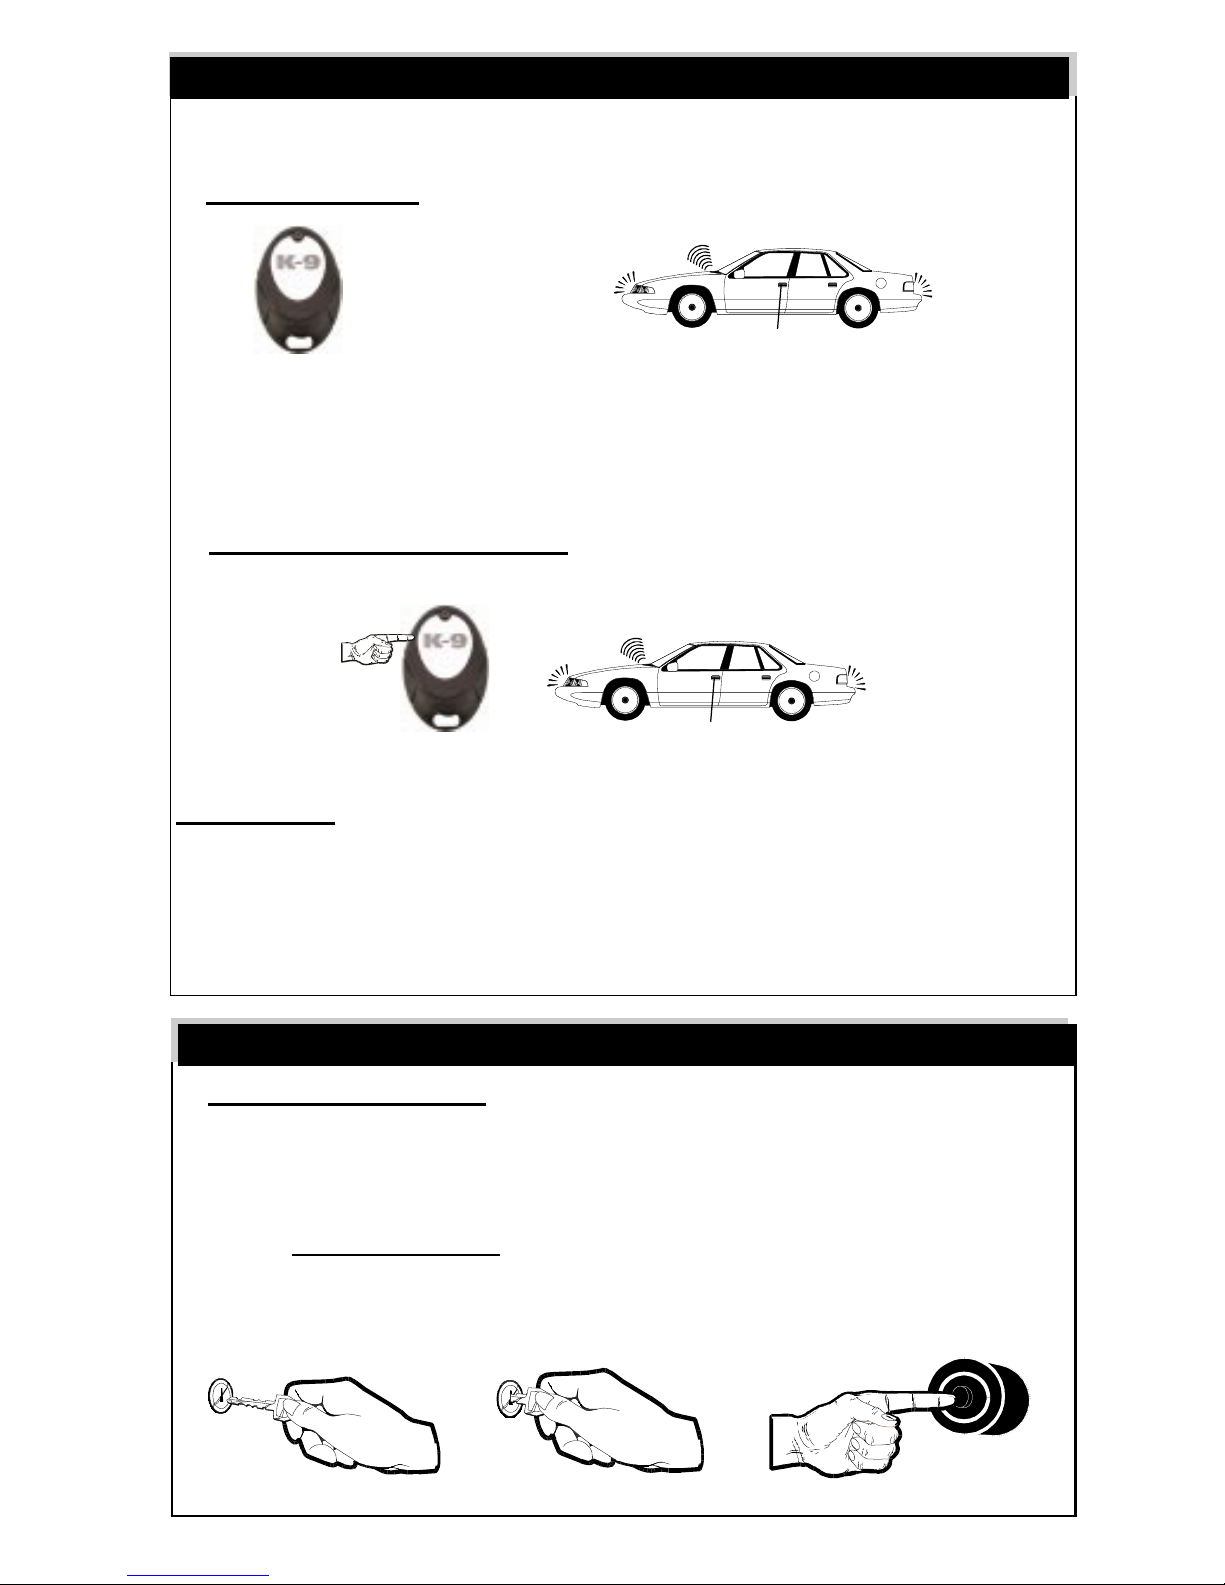
1) RFID Disarming: Approach the vehicle with the Remote Control
- Once the Remote control is 2-5 meters from the vehicle the alarm will Disarm.
2) Remote Control Disarming: Press & Release the Button on
the Remote Control
Upon Disarm: • The siren will chirp twice. (4 chirps if alarm has activated & reset)
• The parking lights will flash twice. (4 times if alarm has activated)
• The doors will unlock. (If an optional interface is connected)
• The starter interrupt will disengage.
• The LED Status Indicator will turn “Off”, or begin flashing rapidly
if the Automatic Rearming feature is programmed on.
3) Emergency Override: (Disarming the alarm without the Remote)
Step 1: With the system in the armed condition, enter the vehicle via the driver's
door (be aware that the alarm will activate when the door is opened).
Step 2: Using your key, turn the vehicle’s ignition to the "On" position.
Step 3: Within 20 seconds, enter your PIN code (1-12) by Pressing the Valet/
Override Switch. (i.e.: if pin code is 8, press valet switch 8 times)
-The activated system will disarm one second after code is entered.
THE SIREN WILL
CHIRP TWICE
THE PARKING LIGHTS
WILL FLASH TWICE
THE DOORS WILL UNLOCK
(IF CONNECTED)
THE SIREN WILL
CHIRP TWICE
THE PARKING LIGHTS
WILL FLASH TWICE
THE DOORS WILL UNLOCK
(IF CONNECTED)
Disarming the Alarm
THEN WITHIN
20 SECONDS
Emergency Override
...... 2-5 meters ..........
RFID must be “On”
(see page 2)
ENTER PIN-CODE

Page 5
The alarm is equipped with an incredibly complete, programmable, AntiCarjacking system. The Anti-Carjacking operation may be activated by the
ignition, or a combination of the ignition and a car door. Once activated, the
alarm will use its RFID capability (if RFID is “On”) to verify if you are still in the
vehicle, or require manual input from the driver trough the use of the Valet
button.
If the programmable Anti-Carjacking feature is “On”:
- the system will initiate the Anti-Carjacking sequence every time the vehicle’s
ignition is turned “On”.
- the system will initiate the Anti-Carjacking sequence every time a vehicle door
is opened or closed while the vehicle’s ignition is “On”.
NOTE: If RFID is On, then all Anti-Carjacking operations will be done by the
remote control, without any need for the user to do anything.
IMPORTANT: IF RFID IS “ON”, IT IS VERY IMPORTANT THAT THE
DRIVER KEEP THE ALARM’S REMOTE CONTROL ON THEIR BODY, NOT
TOGETHER WITH THE CAR’S KEYS! THIS WAY IF YOU ARE FORCED
OUT OF THE VEHICLE, THE ANTI-CARJACKING SEQUENCE WILL BEGIN
ONCE THE REMOTE CONTROL LOSES CONTACT WITH THE CAR.
Anti-Carjacking sequence:
STAGE 1: For the first 45 seconds after the sequence has started, the LED
will blink fast.
IF RFID IS “On”: Within this period, If RFID is “On”, the remote will auto-
matically signal the alarm that you are still in the vehicle and turn Off the
sequence. The alarm will then quietly continue to monitor that you are
still there while the door is open, and continue for 3 minutes after the
door is closed. If during this search time, the alarm losses contact with
the remote control, the Anti-Carjacking sequence will restart.
IF RFID IS “Off”: Within stage 1, If RFID is “Off”, the alarm will be looking
for a manual input press of the Valet button, or a press of the remote
control’s button. Once this input is received, the alarm will cancel the
Anti-Carjacking sequence. If the door is closed after receiving input, the
sequence will restart and require another V alet/Remote control input.
NOTE: Depending on how long the vehicle’s door is open, it may be neces
sary to press the V alet button, or the remote control’s button while the door
is open, and again after it is closed, because the alarm will start to search
for input again once door is closed. This is to protect against the car-jacker
driving away with the door open thinking that it will not trigger the system.
- If vehicle’s ignition is turned “Off ” during these 45 seconds, The alarm will
stop Anti-Carjacking sequence temporarily. Once the ignition is turned “On”
again, the alarm will continue the countdown where it left off until it receives
user input or goes on to next stage.
Programmable Anti-Carjacking Protection

Page 6
ST AGE 2: If the alarm has not made contact with the remote (if RFID is “On”),
or received a V alet/Remote button press input from driver it will enter the
second stage of Anti-Carjacking sequence. Stage 2 starts at 46 seconds
after the sequence has started through 75 seconds. During this stage,
the LED will blink fast and the siren will chirp once per 1 second.
IF RFID IS “On”: By this time the remote control should have established
contact with the alarm and stopped the Anti-Carjacking sequence, but will
quietly continue to monitor that you are still there while the vehicle’s door
is open, and for 3 minutes after the door is closed. If during this search
time, the alarm losses contact with the remote control, the it will restart
Anti-Carjacking sequence.
IF RFID IS “Off”: W ithin this period, If RFID is “Off”, the alarm will still be
looking for a manual input press of the Valet button, or a press of the
remote control’s button. Once this input is received, the alarm will cancel
the Anti-Carjacking sequence. If the door is closed after receiving input,
the sequence will restart and require another V alet/Remote control input.
NOTE: Depending on how long the vehicle’s door is open, it may be neces-
sary to press the V alet button, or the remote control’s button while the
door is open, and again after it is closed, because the alarm will start to
search for input again once door is closed. This is to protect against the
car-jacker driving away with the door open thinking that it will not trigger
the system.
- If vehicle’s ignition is turned “Off” during stage 2, The alarm will Arm
itself.
STAGE 3: If the Alarm has not received an RFID signal or manual input from
the driver after 75 seconds, Anti-Carjacking mode will enter Full Trigger.
The siren will sound and the parking lights will flash continuously . Once
the vehicle’s ignition is turned “Off”, the unit will activate the starter
disable.
TO DISARM ANTI-CARJACKING FULL-TRIGGER:
First Step: T urn the vehicle’s ignition “Of f”.
Second Step: T urn the vehicle’s ignition back “On”.
Third Step: Within 20 seconds enter your PIN code using the Valet/Override
Switch or Press the button on the Remote control.
- If the remote control battery is low, the alarm will disable Anti-car-jacking.
THEN WITHIN
20 SECONDS
ENTER PIN-CODE

Page 7
Valet Mode
Valet Mode can be entered to only when the alarm is Disarmed.
Valet Mode turns off all of the alarm’s security features, (including Anti-Carjack).
Valet Mode is designed for situations in which it is not convenient for the alarm
portion of the system to be operational; for example during extended stopovers
for vehicle servicing, loaning others your vehicle, maintenance, valet parking,
washing, etc. The convenience features such as keyless entry will still operate.
To Enter Valet Mode (System MUST be Disarmed):
Press & Hold the Valet Switch for 3 Seconds.
- The siren will chirp and the LED Status Indicator will light solid Red to confirm Valet Mode. Now the system cannot become armed.
The vehicle's ignition may be "On" or "Off" when entering Valet Mode.
To Exit Valet Mode: Simply Press & Release the Valet Switch.
- The LED Status Indicator will turn off to confirm that the system has exited
V alet Mode and returned to a “standby” mode. Normal arming operations may
be resumed.
Again, the vehicle's ignition may be "On" or "Off" when exiting Valet Mode.
The Red LED Status Indicator visually shows the status of the system and also
provides a high level of visual deterrence. The Red LED Status Indicator Light
is normally mounted in a location where it can be easily seen by the driver, as well
as from outside the vehicle.
Security System Status: The primary function of the Red LED Status Indicator
Light is to indicate the normal operating status of the security system:
Off = The system is disarmed and not performing any automatic functions.
On Constant = The system is in the Valet Mode.
Flashing Slow = The system is fully Armed.
Flashing Fast (while Disarmed) = Last Door Arming or Automatic Rearming.
Flashing Fast (while Armed) = The alarm has been triggered.
Automatic Transmitter Verification: For the first 90 seconds after the vehicle’s
ignition is turned "On", the LED Status Indicator will flash a number of times equal
to the number of remote control transmitters which are programmed to operate
the alarm. This indication can be from 1 Flash /pause up to 3 Flashes /pause, as
the system can be operated by just one, or as many as 3 remote transmitters.
The LED Status Indicator
 Loading...