

Page 1
GE Infrastructure
Sensing
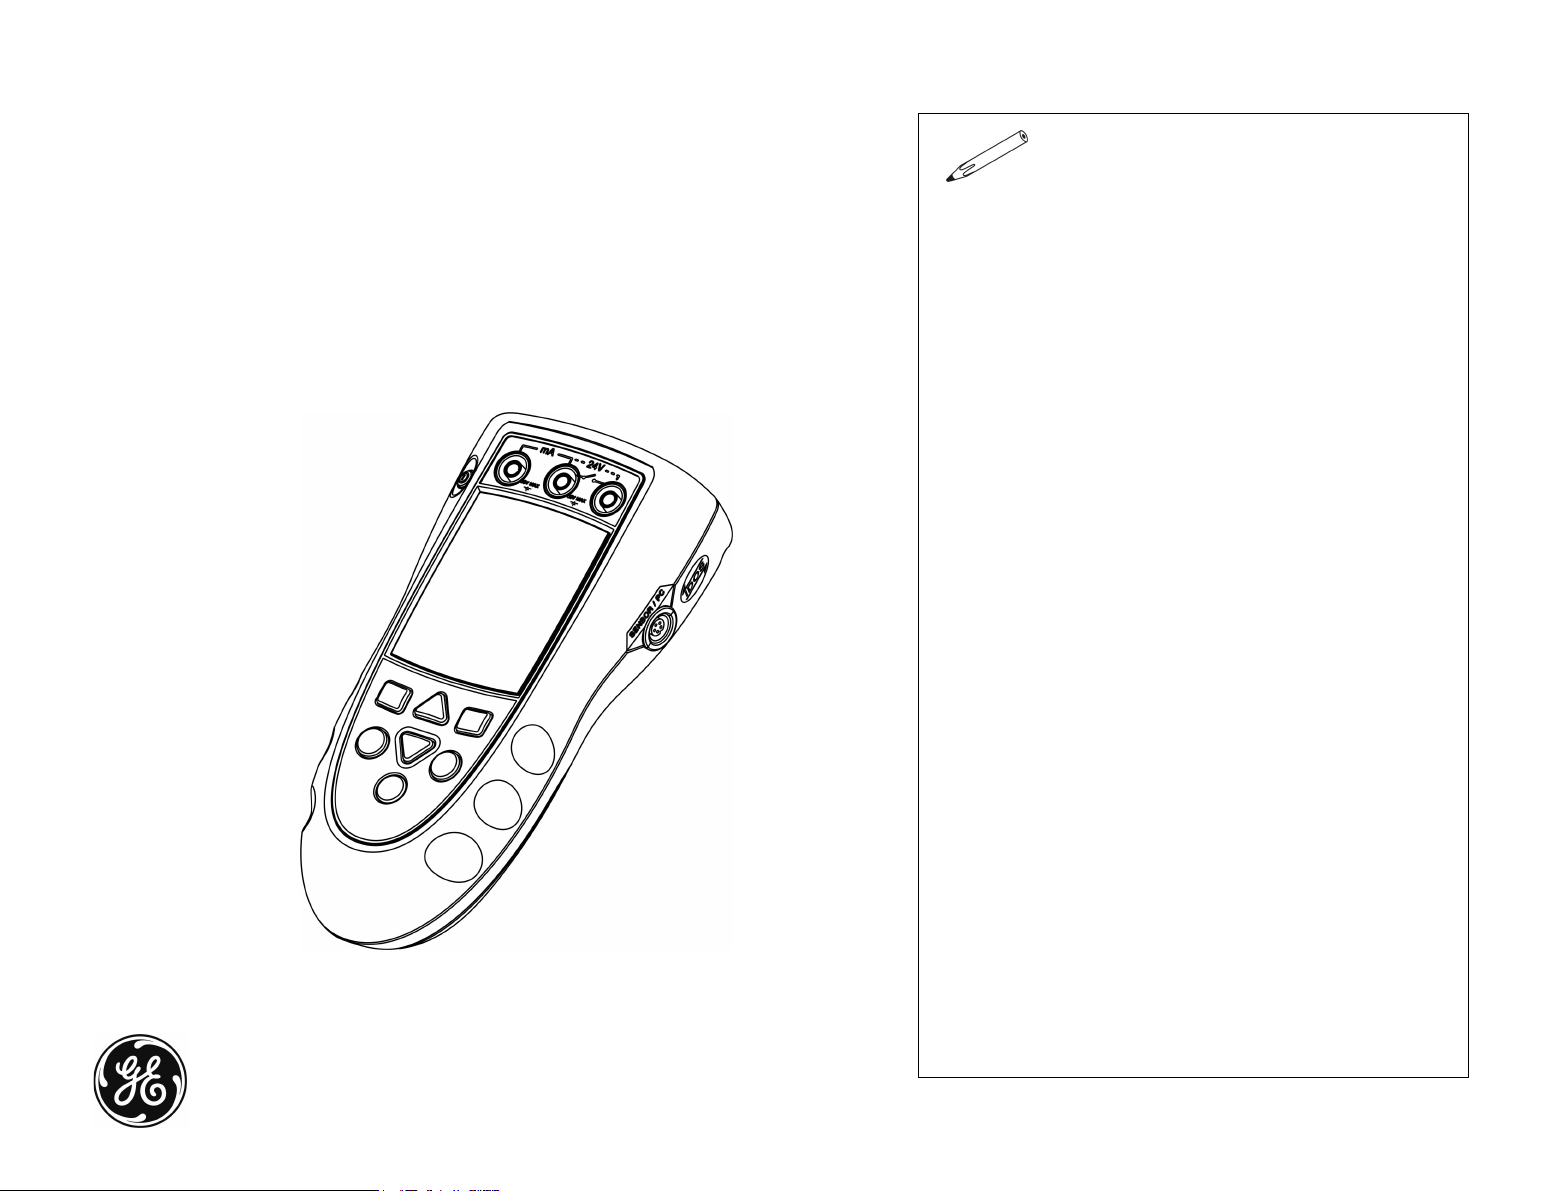
Druck DPI 800 series
Data logging upgrade kit
User manual - K397
Page 2
A1
B1
1
123 3a3b
...
B1 B2
A 2
3
1b
2
A2.1 A2.2
4
5
1a
✓ XX
B2
12
▲
▼
345
▲
6
8
7
▼
✓
▲
▼
K397 Issue 1
Page 3
Introduction
The data logging upgrade kit lets you add Snapshot to a
Druck DPI 800 series instrument (Note: Snapshot is a
standard part of the DPI 820 - Thermometer).
The upgrade gives the instrument these additional
functions:
Function
Record up to 1000 displays with a date/time stamp
Read the data back on the instrument display
Transmit the data to a printer or a PC
Safety
Before you use the instrument, make sure that you read
and understand all the related data. This includes: the
instructions supplied with the original instrument, and this
publication.
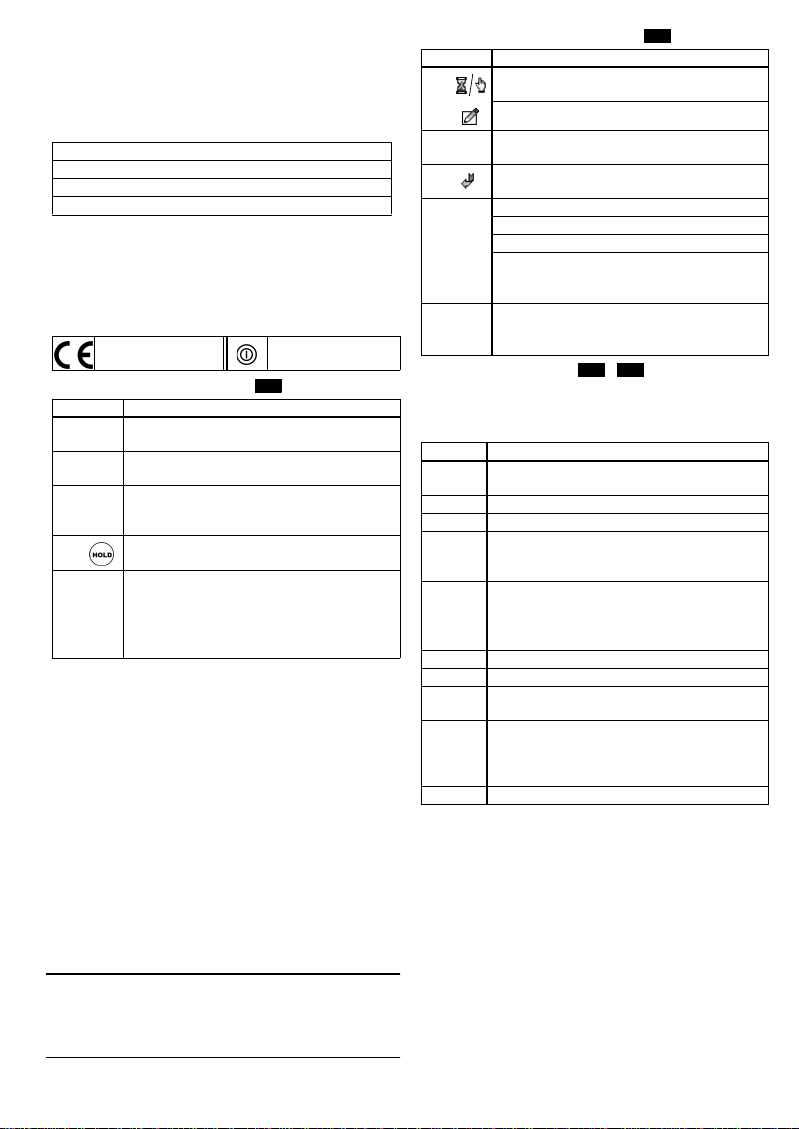
Safety - Marks and symbols
Complies with Euro pean
Union dire ctives
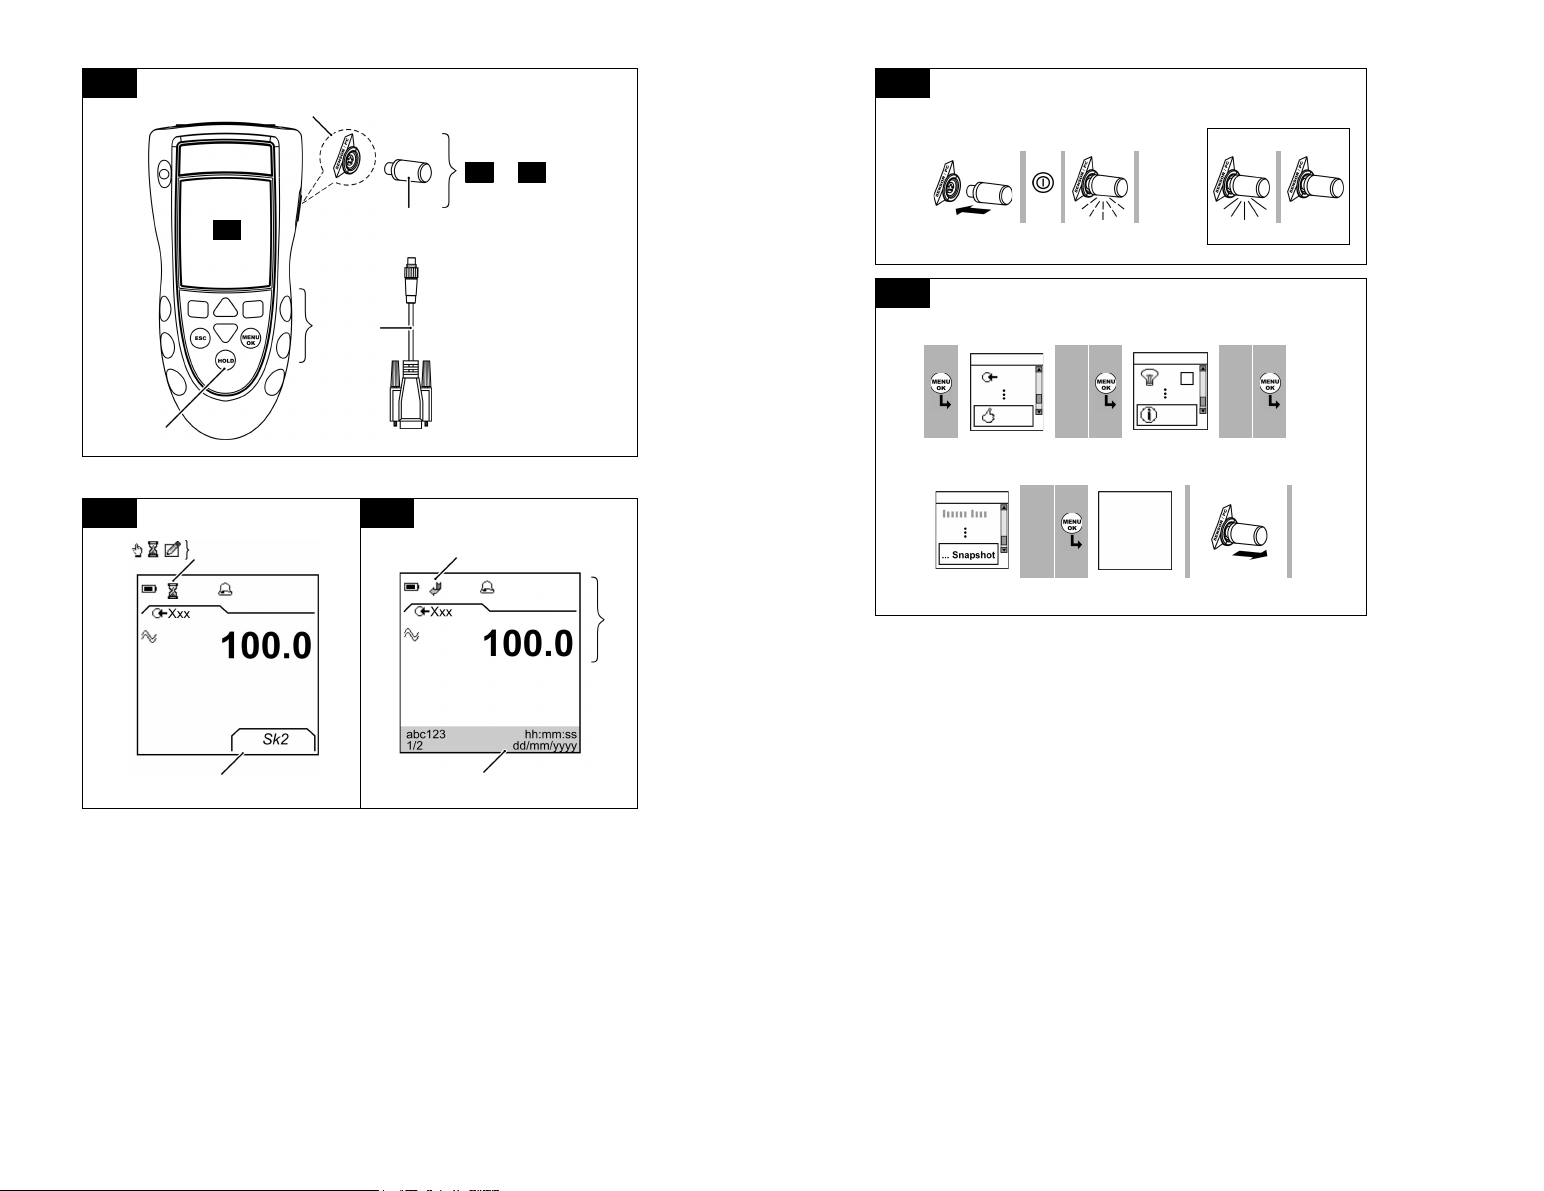
Snapshot - Location of items
Item Description
1.
1a. Software key. The software key can do one Snapshot
1b. Part No. IO800D: RS232 cable (5-pin to 9-pin D type
2. If Snapshot is on (Item 4): HOLD records the data on
3. All other button functions:
Communications port. Use to connect the software
SENSOR
/ PC
key [1a] and the RS232 cab le [1b].
installation (T able 1).
connector). Use to copy the snapshot records to a PC
or to a printer. Refer to “Snapshot - Operation”.
the display.
■ ■ (left-hand/right-hand soft-key),
ESC, MENU/OK, ▲▼,HOLD
Refer to the user manual supplied with the original
instrument.
ON/OFF
A1
Snapshot - Items on the display
Item Description
4. The Snapshot function is set up to record the data on
5.
6. The display is showing data from one of the Snapshot
7. Data to identify the Snapshot file:
hh:mm:ss
dd/mm/yyyy
8. All other symbols on the display:
Snapshot - Installation …
the display (Periodic or Keypress) - Table 4
Snapshot is writing data to a specified file.
A soft-key function. To select an available function,
Sk1/2
press the soft-key below it. Example: Sk2 = Sto p Log
files.
abc123
Tag name: A specifed name for the file (Table 4).
1/2
The display sequence (Example: one of two)
Shows the time and date for each display.
Example format: hours:minutes:seconds
and day/month/year
Refer to the user manual supplied with the original
instrument.
B1 B2
A2
This section shows how to install Snapshot. Before you
start: Read and understand the “Safety” section.
Table 1: Installation procedures for Snapshot
Step Procedure
B1: 1 Attach the software key (A1 - Item [1a]) to the
B1: 2 Press the on/off button to supply power.
B1: 3 If the software key is operational, it flashes.
B1: 3a If the software key shows a continuous light, it has
B1: 3b If the software key shows no light, make sure that the
B2: 1 Select Set up
B2: 2 Select Status
B2: 3 Select Enable Snapshot. The display shows the
B2: 4 When the installation is complete, the power goes off
B2: 5 *Discard the used software key.
* Use an applicable recycling facility.
communications port (A1 - Item [1]).
already done one installation. *Discard it and use a
new key.
power is on and the batteries are in a good condition.
If there is no change, the key is defective. *Discard it
and use a new key.
applicable instructions to complete the installation.
and Snapshot is ready to use.
After a successful installation, Enable Snapshot is
removed from the Status list of menu options.
© 2005 General Electric Company. All rights reserved.
Trademarks
All product names are trademarks of their respective companies.
[EN] English - 1K397 Issue 1
Page 4
To start
To start - Set up the basic operation
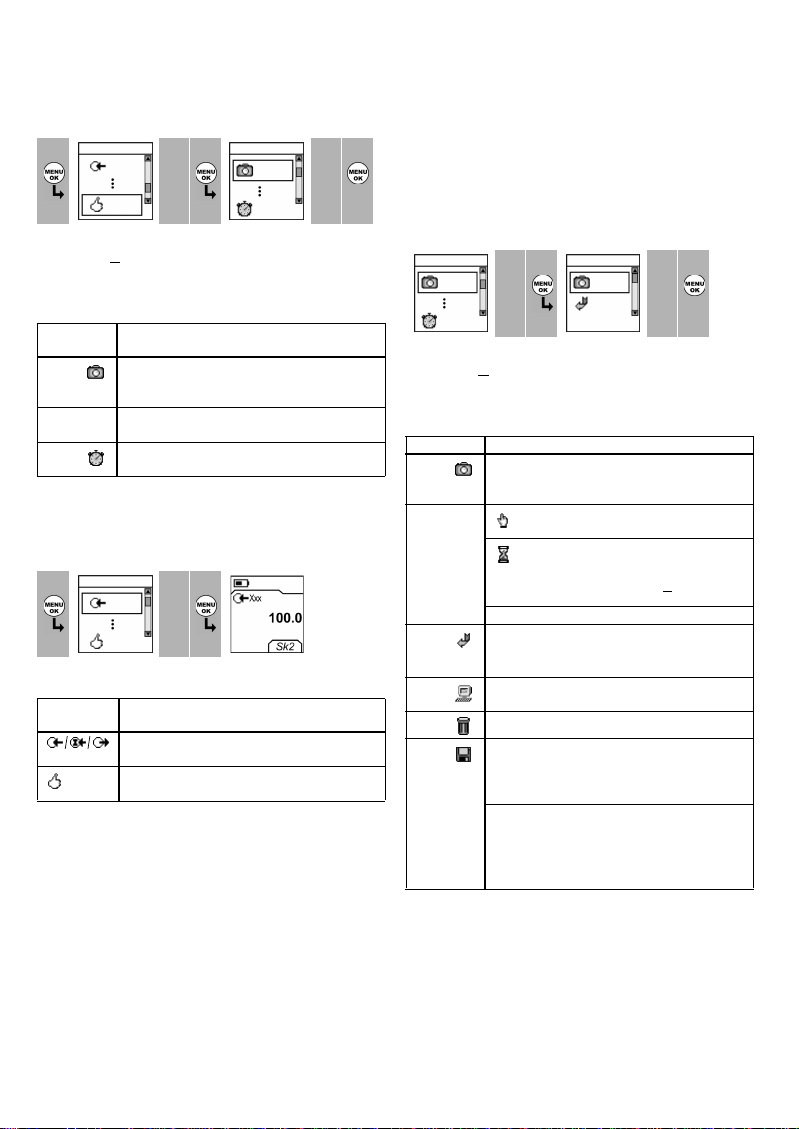
When the installation is complete, use the Set Up menu to
set up the basic operation of the instrument.
Menu:
1
Select Task
(Table 3) (Table 2)
23
▲
▼
If there is additional data for a menu option, select
Settings (■■
) to see the values that are set up. If
necessary, adjust the values.
Table 2: Menu options - Set Up
Options
(If applicable)
Description
To set up and use the Snapshot functions.
Additional data: Refer to “Snapshot - Operation”
(Table 4)
... Other menu options: Refer to the user manual
supplied with the original instrument.
To set the time + date. Snapshot adds a date/time
stamp to each display.
To start - Select a task
When the instrument is set up (Table 2), use the Select Task
menu to select the applicable task.
Menu:
1
Select Task
(Table 3) Sk2 = Settings
23
▲
▼
Table 3: Menu options - Select Task
Options
(If applicable)
Description
Other menu options. Refer to the user manual
supplied with the original instrument.
To set up the way the instrument works.
Additional data: Refer to: Set Up (Table 2).
Menu:
Set Up
Display:
Xxx input
45
▲
▼
Snapshot - Operation
When the installation and start procedures are complete,
use this section to use the Snapshot functions. Before you
start:
• Read and understand the “Safety” section.
• Do not use a damaged instrument.
Operation - Use the Snapshot functions
Use Snapshot to record up to 1000 displays then examine
the results on the display (Figure A2.2), or transmit all the
data to a PC or printer (Figure 1).
Menu:
Set Up
(Table2) (Table4)
23
▲
▼
If there is additional data for a menu option, select
Settings (■■
) to see the values that are set up. If
necessary, adjust the values.
Table 4: Snapshot functions
Options Description
Use Snapshot Setup to set up a file name and to
select the Snapshot method. Refer to “Snapshot Setup”.
Use this option to record an individual display
each time you press HOLD.
Use this option to record the displays at
specified intervals of time. Press HOLD to
start.
Additional data: Select Settings (■ ■)
Off - Snapshot is off
To show the available Sn apshot data on the
display (Figure A2.2). Use these keys:
▲, ▼, MENU/OK
To transmit all the Snaps hot data to a PC or a
printer (Figure 1).
To erase all the Snapshot data.
To show the amount of memory used (%).
Total memory = 12 288 bytes
Capacity ≈ 1000 displays (one measurement)
Capacity ≈ 750 displays (two measurements)
Example:
One file ≈ 96 bytes (no Settings )
For each display in the file:
Date/Time = 8 bytes; Each value = 4 bytes
One display (One measurement) = 12 bytes
Menu:
Snapshot
45
▲
▼
2 - [EN] English K397 Issue 1
Page 5
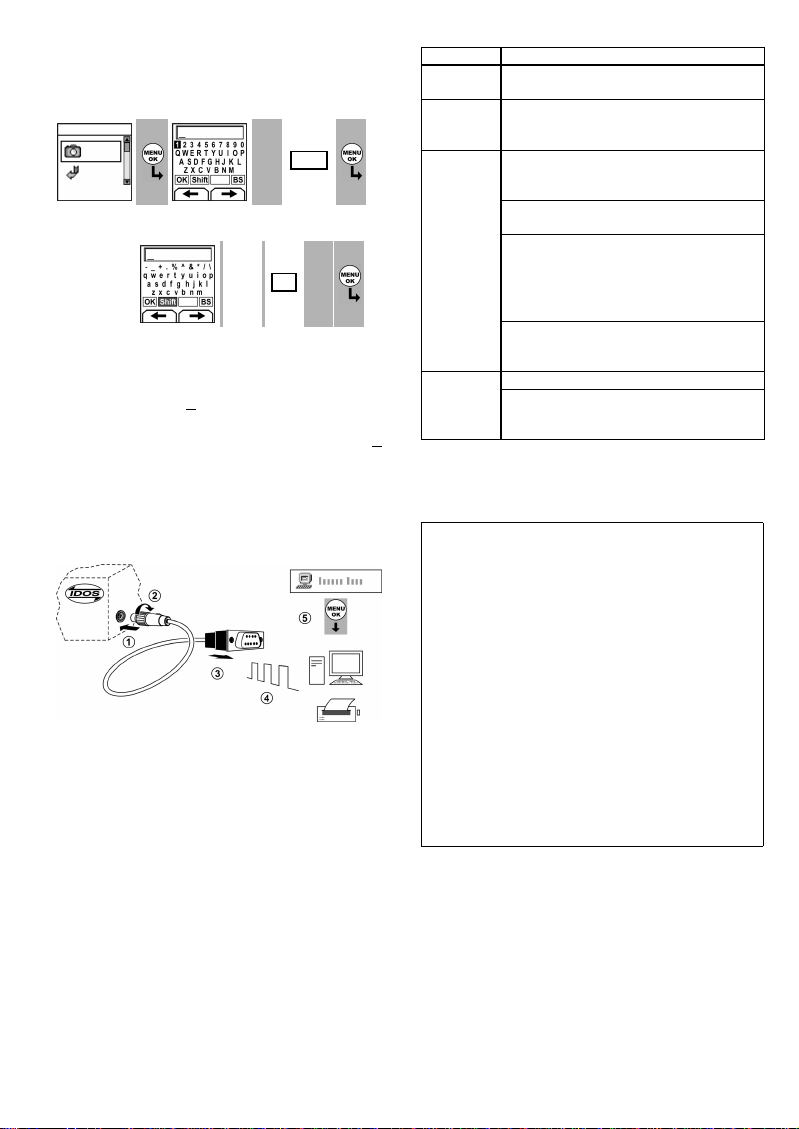
Snapshot - Setup
When you select Snapshot Setup (Table 4):
1. Set up a tag name for the Snapshot file. Example = abc
Menu:
Snapshot
(Table 4)
1 Edit 2 Edit 3
▲
Shift
▼
■ ■
Edit ... Edit 45
abc_
▲
OK
▼
■ ■
2. Select the applicable Snapshot method (Table 4).
3. Record the applicable data (Figure A2.1):
Press HOLD: To record the display data.
Select Stop Log (■■
): To set Snapshot - Off
Snapshot - Use the Snapshot data
When you have sufficient records, select Stop Log (■■).
You can then read the data back on the display or transmit
it to a PC or printer (Table 4).
Snapshot - Communications port connections
Use the communications port (A1 - item [1]) to transmit all
the Snapshot data to a PC or a printer.
Figure 1: (Part of figure) Procedure to transmit the Snapshot
data
Step Procedure
➀, ➁
➂
➃
Data format
➄
A1 - Item [1b]: Connect the 5-pin connector to the
IDOS instrument.
A1 - Item [1b]: Connect the 9-pin connector to the
serial port on the PC or to a serial printer (refer to
the PC or printer instructions).
PC: Make sure th at Windows® HyperTerminal or
similar program is set up to use the specified data
format (refer to your PC on-line Help).
Serial printer: Make sure that the printer can use
the specified data format.
Baud rate: 19200
Parity: None
Software handshake: Xon/Xoff Flow Control.
ASCII format text; Comma delimited
ASCII Setup: Make sure that the ASCII Receiving
option is set to “Append line feeds to incoming line
ends”
Transmit the data to the PC or printer (Table 4).
PC: Use Windows® HyperTerminal or a similar
program to make a text file. You can then import
the text file into a spreadsheet.
Data bits: 8
Stop bits: 1
Figure 1: (Part of figure) Procedure to transmit the Snapshot
data
Snapshot - Contents of the Snapshot data
Model 820
Serial No 8200000001
Calibration
due
Tag H2O-1
Task Id 110
T1 in
Date Time °C K T1
08/07/2004 12:06:44 27.6
08/07/2004 12:06:46 27.2
Tag B145
Task Id 164
T1 In Tare On
T2 In Filter On Tare On
Date Time °C K T1 °C K T2
08/07/2004 14:41:36 32.5 32.4
08/07/2004 14:41:38 32.5 32.4
08/07/2004 14:41:41 32.4 32.5
01/01/2004
Figure 2: Example Snapshot data
[EN] English - 3K397 Issue 1
Page 6

4 - [EN] English K397 Issue 1
Page 7

Customer Service
Visit our web site: www.gesensing.com
 Loading...