

Page 1
ES3640 MFP Roadmap
Introduction
The ES3640 MFP from Oki Printing Solutions
prints, scans, and copies excellent color documents
for a wide variety of applications, from general
business to professional level graphic arts. This
booklet gives you some guidelines for getting the
best results for your particular situation. It also
points you to portions of the documentation suite
that provide details on specific topics covered here.
Setup and Installation
These documents tell you how to assemble the
MFP, install software, and configure the network
connection:
•The MFP Technician’s Installation Guide,
printed, included with the printing unit
•The MFP Software Installation Guide, printed,
included with the printing unit
•The EFI
an Adobe
Documentation CD
•The EFI Configuration Guide, for network
configuration, an Adobe
Documentation CD.
®
User’s Software Installation Guide,
®
pdf file located on the
pdf file located on the
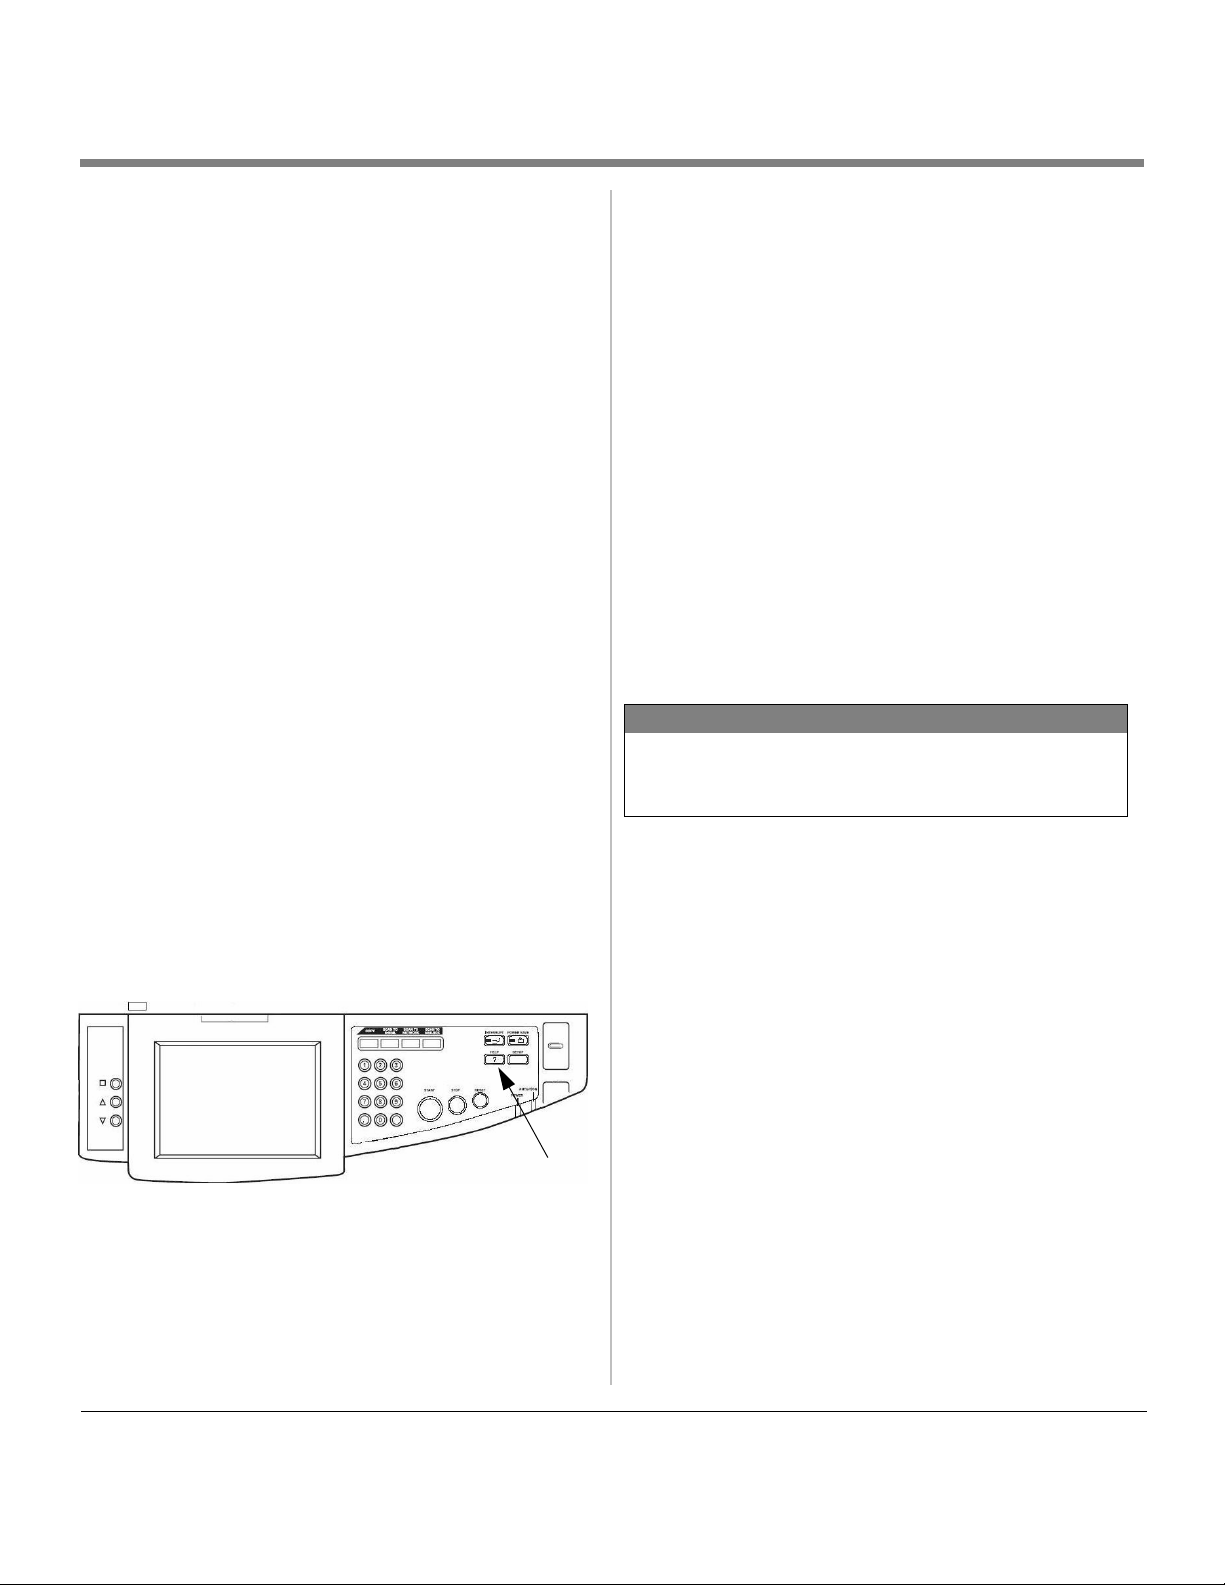
Copying and Scanning
For instructions on how to perform copying and
scanning functions, press the HELP button on the
scanning unit’s control panel. You’ll see a list of
topics. Touch the topic you want to learn about,
then touch GOTO. The screen shows step-by-step
directions.
Printing
There are two sources of information about the
hardware aspects of the printing unit:
•The Handy Reference Guide, attached to the
side of your printing unit
®
.
pdf file
•The MFP User’s Guide, an Adobe
located on the Documentation CD.
Both of these explain how to use the printing unit’s
control panel, select and load paper, order and
install consumables, and solve simple problems.
For quick information, use the Handy Reference.
For more details, go to the MFP User’s Guide.
For paper jams and certain other problems, you
can also press the HELP button on the printing
unit’s control panel for quick information.
General Business Use
For most purposes, use the PostScript® (Fiery®)
driver. It produces the best color quality and prints
superior graphics. It also has special settings that
optimize printing from PowerPoint
NOTE
For details on working with color in office
applications, see chapter 3 of the EFI Color
Reference Guide.
Setting up the Fiery Driver
The Fiery driver sends a print file to a queue. For
business use, configure the driver to send to the
Direct queue (see the EFI Configuration Guide).
This prints the file and discards it.
Don’t use the Print queue or the Hold queue. These
queues leave the file on the server, which takes up
space and could present security problems if you’re
printing sensitive files. They also require an
administrator to control printing and deleting files.
See chapter 3 of the EFI Configuration Guide for
information on the queues.
For more information, check these sources:
•The Handy Reference Guide, attached to the
side of your MFP
•The MFP User’s Guide, an Adobe
located on the Documentation CD
•The EFI Printing Guide, an Adobe
located on the Documentation CD.
Oki ® Oki Electric Industry Company, Inc.
Adobe, PostScript ® Adobe Systems, Inc.
EFI, Fiery, ® Electronics for Imaging, Inc.
HP, PCL, PCL6 ® Hewlett-Packard Company.
PowerPoint ® Microsoft Corporation.
pdf file
pdf file
59384401
Page 2
Using the Fiery PostScript Driver
The Fiery driver includes advanced features and
utilities. Many of these are designed for use in
professional graphics environments. Normally
they’re only used by a system administrator who
controls printing by all users on a network. You
don’t need to use them when printing most
business documents.
NOTE
To administer printers on a network, you can use
Oki Job Accounting or PrintSuperVision. See the
Utilities Guide for more information.
A Quick Tour of the Fiery PostScript
Driver
Although the Fiery PostScript driver looks different
from most drivers, it does basically the same
things—and more. You can get to the driver in the
normal way: From your application, click
File → Print → Properties. Then click the Fiery
Printing tab.
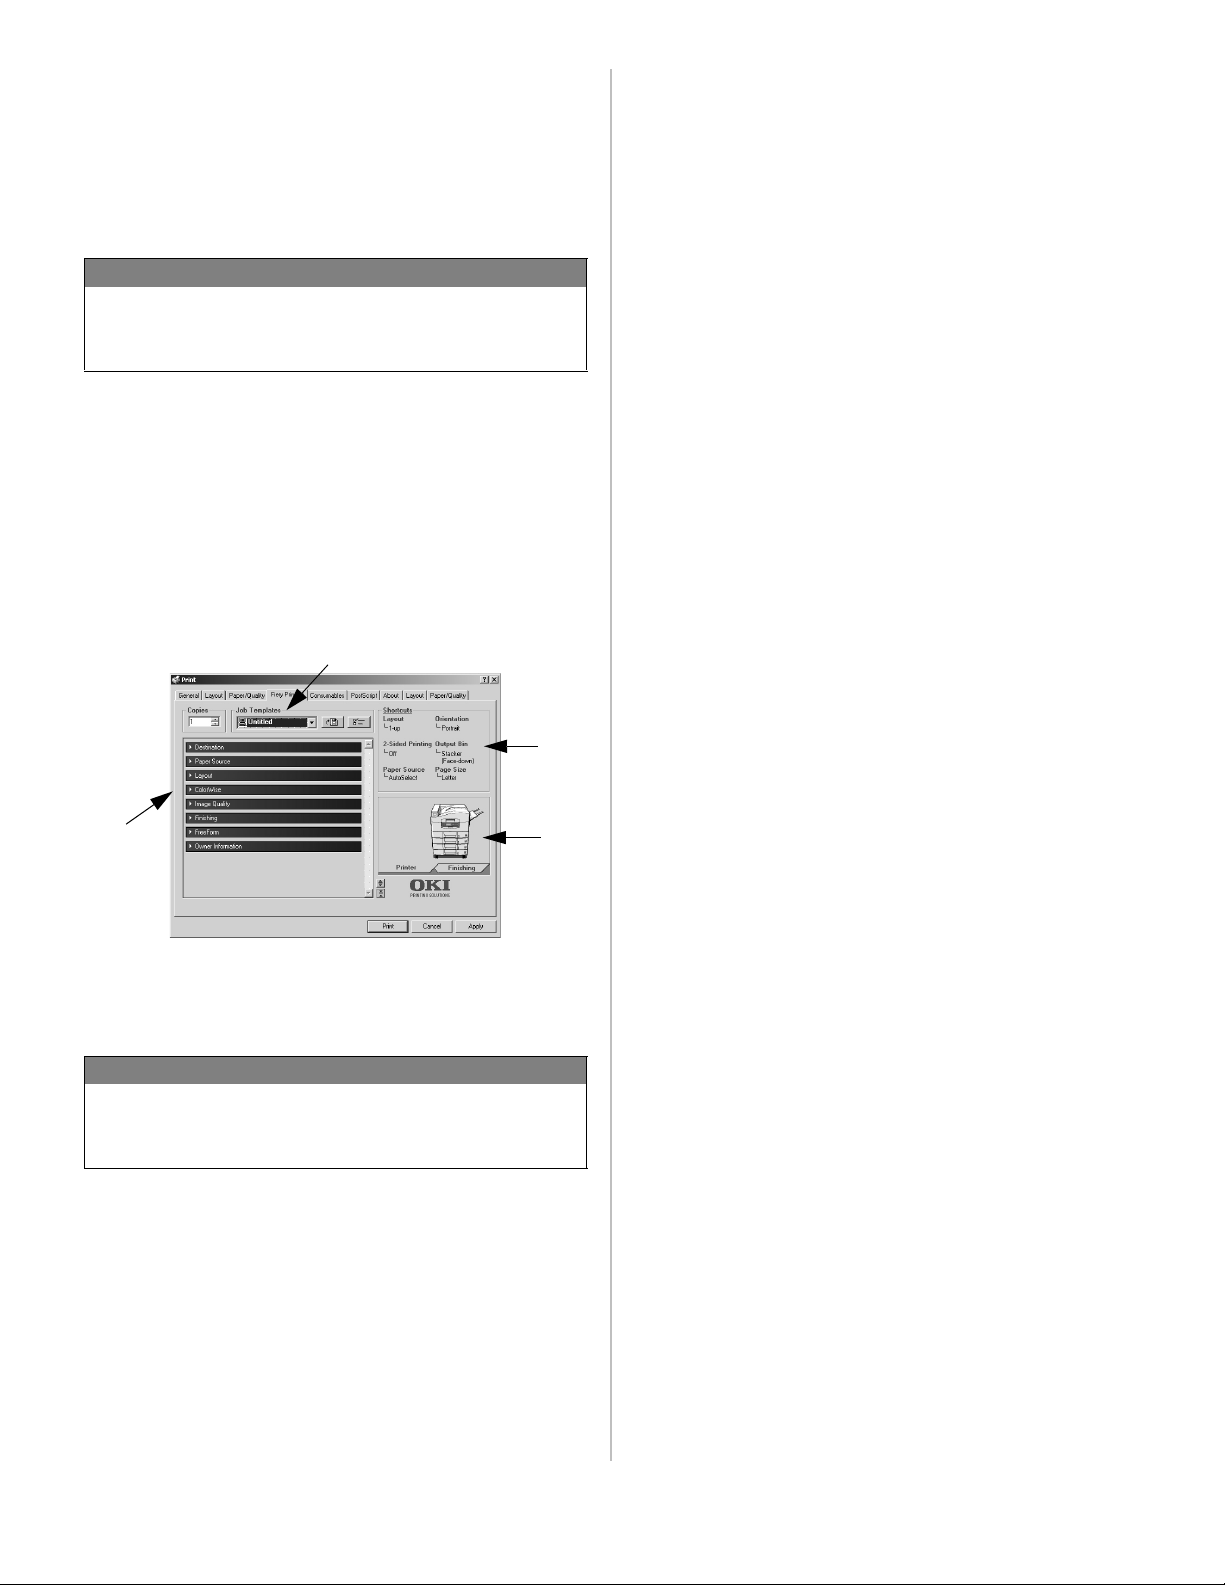
The Fiery driver window looks like this:
4
For details on the Fiery driver interface, see the EFI
Printing Guide, Chapter 1.
A Note on the PCL Drivers
PCL® and PCL6® printer drivers are included with
your printer. These are provided mainly for HP
compatibility and for use with legacy systems. For
details on using them, see the MFP Printing Guide.
®
Graphic Arts Use
Most graphic arts environments are on a network.
The graphic artist as end user uses the Fiery driver
to print either to the Hold queue or the Print queue.
An Administrator uses Command Workstation
(Windows) or Command Workstation LE (Mac) to
administer the flow of files from the queue to the
printer and to control printer settings as needed.
The Fiery controller built into your MFP gives you a
wide range of capabilities for professional level
graphic arts applications. These features are
detailed in a series of electronic documents on the
Documentation CD.
Here is a brief outline of the EFI Fiery documents,
what they contain, and whom they are intended for.
Keep in mind that the amount of control end users
have over their print jobs depends on how the
workflow is set up in a particular organization.
Therefore you may need to refer to other
documents as well.
3
1
1. Print features. Click on the bar to expand selections
for each category. Hold the cursor over a bar to see the
features in each category.
2
NOTE
“Destination,” “FreeForm,” and “Owner
Information” are used in networked graphics
environments
2. Click [Printer] to see the printer configuration. Click
[Finishing] to see a representation of page formats
(e.g., 2-up, landscape, mirror image).
3. Shortcuts. Click a feature name to go directly to the
bar controlling that feature so you can change it. Click
[Shortcut] to change the features listed in this area.
4. Job Templates. Use this area to name and save a
collection of settings so you can use it again for simi lar
documents.
For the Graphic Arts End User
• EFI Printing Guide: This explains how to print
using the Fiery driver in Windows the Mac OS,
and UNIX. It describes the user interface and
how to customize it for your individual
preferences.
• EFI Color Reference Guide: This provides a
general overview of color management for
printing, including a glossary of color terms. It
also gives some guidelines for color printing
with specific applications.
For the Graphic Arts Administrator
• EFI User’s Software Installation Guide:
Explains how to install and configure Fiery
software.
• EFI Configuration Guide: This explains Fiery
setup on a network and how to configure the
Fiery components. It also describes Fiery
administrative features on a network.
• EFI Job Management Guide: This explains how
to use the tools provided for Fiery job
management. It includes details on Command
Work Station, the Administrator’s primary tool
for controlling workflow.
• EFI Color Guide: This gives details on
ColorWise Pro Tool, a set of features and
utilities that help the administrator manage
color printing. It includes Profile Manager,
Color Editor, and Spot-On (GA version only).
59384401
Page 3

New Features
Support for Fixed Full-duplex mode
You can now specify Full-Duplex or Half-Duplex as
well as speed when you set Ethernet transmission
speed in the Network Setup menu. (See the EFI
Configuration Guide, Chapter 4: Network Setup
Options, "Port Setup Options.")
The available settings under Ethernet Speed are
now:
•Auto Detect (default)
• 100Mbps Full-Duplex
• 100Mbps Half-Duplex
• 10Mbps Full-Duplex
• 10Mbps Half-Duplex
Generally, we recommend the default, "Auto
Detect," for most situations. If you experience
network printing problems, such as slow printing,
or network disconnections, check the settings on
your network hub and set the Ethernet Speed to
match the hub.
Keep in mind that a mismatch between the setting
of your MFP and the network hub causes
communication problems.
Additional Security Options in LDAP
Mode
Several additional choices have been added to the
LDAP Settings portion of the Administrator Setup
menu. (See the MFP User's Guide, Appendix F:
Administrator Setup.) The additions are:
• Under LDAP Settings/Authentication, the
setting "LDAP + SSL" has been added. When
you choose this setting, authentication by
User ID and password encrypts the
communication.
NOTES
The following LDAP servers are supported under
the "LDAP + Simple" setting:
•Lotus Domino R6.5
• Microsoft Exchange 2000
• Microsoft Active Directory.
The LDAP server's SSL must be configured
properly. This function uses server certificate
only.
• Under LDAP Settings, "LDAP User Mode" has
been added. The choices are:
- "Enable": All users must enter a User ID and
PIN in order to access the Scan to E-mail
main screen.
- "Disable": Anyone can access the Scan to Email main screen without entering a User ID
and PIN.
NOTE
The user's name and e-mail address must be
registered in the LDAP server.
• Under LDAP Settings, "LDAP User Mode
Logout" has been added. The choices are:
- "Convenience": After sending the e-mail,
the system returns to the Scan to E-mail
main screen without logging out.
- "Security": After sending the e-mail, the
system automatically logs out.
Copy Restrictions in Job Accounting
When you set printing restrictions for a user in Job
Accounting, the same restrictions apply to copying.
The following settings apply to both printing and
copying:
• "Disable Printing": blocks printing and copying
• "Disable Color Printing": allows only black/
white printing and copying (the color icon is
grayed out)
• "Printed Sheets": restricts the total number of
printed and copied pages
• "Fees": restricts the total value of printed
pages and copies
• "Printer Use Time": restricts the amount of
time the user can use the MFP for printing and
copying.
For details on setting up these restrictions for
printing, see the Job Accounting Utility section of
the MFP Utilities Guide, "Account IDs, Adding" and
"Account IDs, Restricting Usage."
In order to access the Copy screen, the user must
enter a valid User ID and PIN. For details on using
the Copy screen, see the Copying section of the
MFP User's Guide.
NOTES
The restrictions apply to both printing and
copying combined; you cannot apply them to
only one type of operation.
The restrictions are in effect when the "Access
Control" item in the MFP's Administrator Setup
menu is set to "Enable." (A valid User ID and PIN
must be entered.) If it is set to "Disable," all
functions are available without restriction, and no
login is required.
59384401
Page 4

© 2006 Oki Data Americas, Inc.
59384401
 Loading...