

Page 1
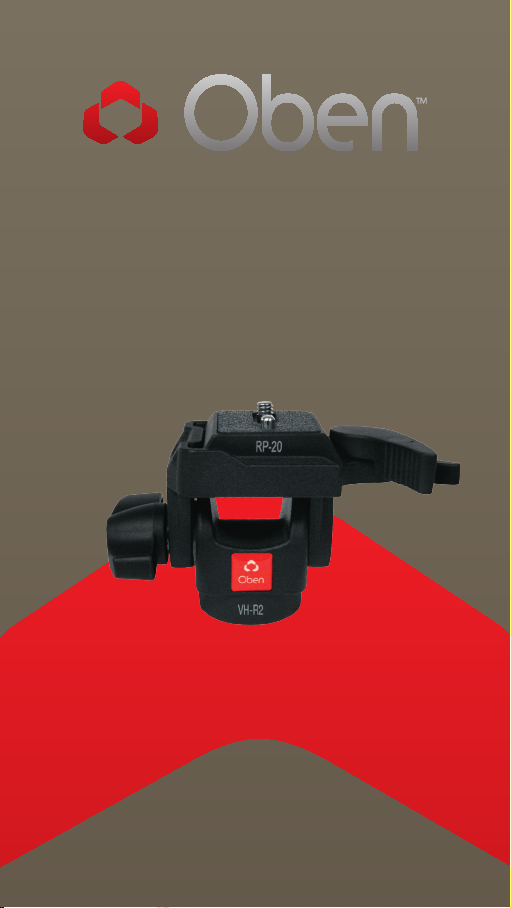
VH-R2
Tilt Head
You’re on steady ground
1
™
Page 2

IntroductIon
Thank You for choosing Oben!
This st ur dy Oben VH-R2 T ilt H ead p rov ides smo oth,
acc urate, a nd quick ope rat ion f or a 18 0° ve rt ica l ti lt.
The quick-release latch f eat ur es a locki ng pin to
prevent accidental cam era release .
Inc lud ed wi th the Ti lt He ad is a snap-in q uickrelease plate for r apid mou nting a nd dism ounti ng of
the c am era , an d a reducer bushing to ensu re a prope r
fit to your m ono pod or tripod.
Note: When using monopods with a large diameter top
plate, a full 180° tilt range may not be possible.
Please read this entire manual before using the VH-R2
Tilt Head.
Note: Images are for illustrative purposes only. Actual
product may vary.
2
Page 3

tABLE oF contEntS
Key Features 4
Mount Tilt Head To Monopod 5
Converting Mounting Thread 5
Tilt Locking Knob 5
Dual-Locking Quick Release 6
Mount Quick-Release Plate 6
Mount Camera 6
Warnings 7
3
Page 4

KEY FEAturES
D
A
Quick-Release Plate
C
A
B
B
Dual-Locking Quick Release
C
1/4”-20 UNC Mounting Screw
D
Tilt Locking Knob
4
Page 5

oPErAtIon
1. Mount Tilt Head To Monopod
To mo unt t he head on a monopod ,
first tighten the t ilt locking kn ob
on th e hea d. T hen, being carefu l to
properly align t he monopod st ud
wit h the head’s mo untin g hol e to
avoid da magin g them, r otate the
head clockwise onto t he monopod
and hand-tighten.
2. Converting Mounting Thread
For monopods w ith a 1/4″ thre ade d
mou nting stud: in sert th e suppli ed
reducer b ushing into th e th rea ded
mou nting h ole of the h ead t o
ena ble a prop er fit .
3. Tilt Locking Knob
The tilt locking kn ob locks
and unlocks th e hea d, whic h
allow s you t o tilt the hea d 180
deg rees ver tical ly. Turn the k nob
cou nterclock wi se to u nlock the
head, a nd cl ock wise to lock it . Af ter
positioning th e hea d, m ak e sure to
fir mly t ighten the knob.
Warning: Always use one hand to
secure the camera while adjusting
the head, and ensure that the lock
is engaged before letting go of the
camera.
5
Page 6

oPErAtIon
4. Dual-Locking Quick Release
The VH-R 2 Tilt Head is designed
wit h a dual-l ockin g quick-release
latch to keep the ca mera sec urely
in pl ace on th e head.
To un lock the qu ick-rel ease,
press th e small latch while
pulli ng outw ard on the ma in
latch at the sa me time.
5. Mount Quick-Release Plate
Mou nt the quic k-release plate
to th e threaded h ole on th e
base of your ca mera. The p late
uti lizes a 1 /4″-20 screw t hat
will fit m ost cam eras. A fter
tighten ing the screw, fold th e
thu mbscr ew flat against t he
bot tom of the quick-release pl ate.
5. Mount Camera
Af ter mou nting t he quick-re lease
plate to your c amera , ensure th at
the t ilt loc king knob on the V H-R2
hea d is securely tightened.
To mo unt the c amera to the head,
first in sert the side of the quic krelease plate th at is opposite t he
qu ick-rele ase latch. T hen, press
dow n on the si de of the q uickrelease plate nearest th e quic krelease latch. The quick-release
latch wi ll automat icall y lock int o
pla ce when th e plate is pus hed
into the groove .
6
Page 7

Warnings:
• Do not exceed the head’s maximum load
!
capacity of 11 lb (5 kg).
• Ensure that all appropriate locks are
engaged when necessary.
• The VH-R2 head should only be used in
temperatures ranging between -4° and 158°
F (-20° and 70°C).
• Do not operate in saltwater. Dry head if it
becomes wet.
• Remove the camera from the head during
setup or transport.
• Avoid long-term exposure to sunlight.
• Keep out of reach of children .
Visit our website at ObenSupports.com
for more Oben products.
oPErAtIon
7
Page 8

© Copyright 2013 The Gradus Group
All other trademarks are the property of their respective owners
www.obensupports.com
8
 Loading...