

Page 1
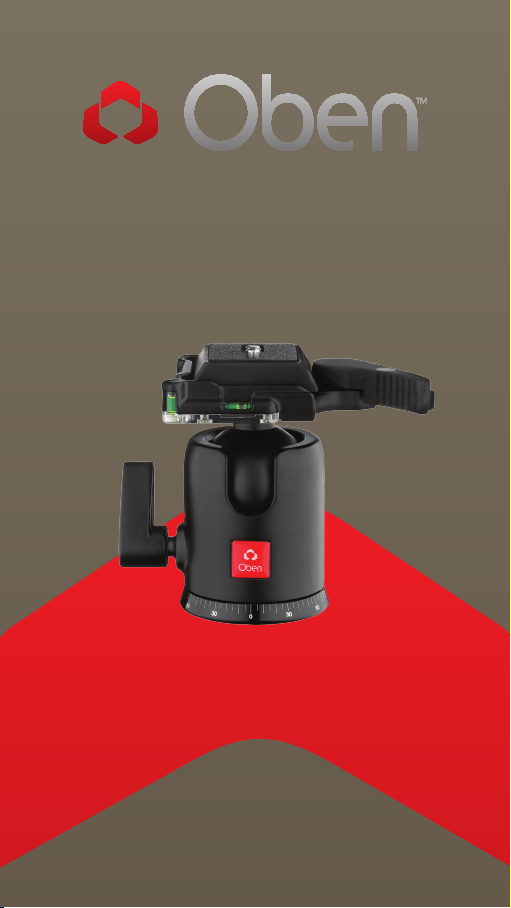
BA Series
Single Action Ballhead
You’re on steady ground
1
™
Page 2

INTRODUCTION
Thank You for choosing Oben!
This Oben BA S eri es ba ll head is a compa ct and
lightweight hea d that provides n im ble , relia ble
operation. The single lo ck make s it easy to rapid ly
adjust t he ba ll a nd cali brated base. A snap-in q uickrelease plate is i ncluded for eor tless mounting
and dis mou nting of the c amera . The dua l-locking
qu ick-r elease k eeps the camera se curely attach ed
to th e ballhead and prevent s the cam era f rom being
accidenta lly r ele ased. Fo r add itiona l secur ity, the
bal lhead i s con struc ted w ith e xt ra te nsi on to o er
greater cont rol when r epositioning t he came ra.
Integr ated bub ble l eve ls en su re accurate align men t
of th e camera wit h the hor izo n. T he ca libra ted base
of th e ballhead allow s for f ul l 360 ° panning, as we ll
as pr ecise placement of the cam era .
Please read through this entire manual before using the
BA series ballhead.
Note: Images are for illustrative purposes only. Actual
product may vary.
2
Page 3

TABLE OF CONTENTS
Key Features 4
Mount Ballhead To Tripod 5
Converting Mounting Thread 5
Main Locking Knob Operation 5
Calibrated Base 6
Dual-Locking Quick-Release 6
Mount Quick-Release Plate 6
Mount Camera 7
Warnings 7
3
Page 4

KEY FEATURES
F
C
D
A
G
A
Quick-Release Plate
B
Dual-Locking Quick-Release
C
Single Lock
B
E
D
1/4 ″-20 UNC Mounting Screw
E
Base With 360° Markings
F
Bubble levels
G
90° Groove
4
Page 5

OPERATION
1. Mount Ballhead To Tripod
To mo unt t he ballhe ad on t he
tripod , first ti ghte n the lockin g
knob on the head. The n, being
car ef ul to prop erly a lign the
tripod stud a nd the ba ll head hole
to avoid damagi ng them , rot ate
the b al lhead clockwise onto the
tripod , and tighten it by ha nd .
2. Converting Mounting Thread
For tripods w ith a 1 /4″ th rea ded
mou nting stud: in sert th e
supplied Reduce r Bushi ng into
the t hread ed mo unt ing hole of th e
head to en able a proper fi t.
3. Main Locking Knob Operation
The single Locking K nob locks
and unlocks th e ballhead, wh ich
allow s you t o chang e the position
of th e camera. W hen c ha nging
cam era p osition usi ng th e Loc ki ng
Knob, a lways keep one hand
on th e camera. T ur n the kno b
cou nterclock wi se to u nlock the
head and cloc kw ise to loc k it.
Ensur e that th e knob is fi rm ly
tighten ed before letting go of t he
camera.
5
Page 6

OPERATION
4. Calibrated Base
The base o f the bal lh ead c an
be rotate d a fu ll 360° a nd
is controll ed by t he singl e
locking kn ob on t he side of
the b al lhead . Tw ist the k nob
cou nterclock wi se to u nlock
the b ase . Rotate t he base to
the d esi red p osition, and lock
the b ase b y tu rn ing the k nob
clockwise. Ca li brated degree
marki ngs o n the base of the
bal lhead m ark the posit ion o f
the c am era precisel y.
5. Dual-Locking Quick-Release
The BA series is desig ned w ith
a dua l-locking q uick-relea se
latch to keep the ca mera
secure ly in p lace on the head.
To un lock the qu ick-r elease,
press th e sma ll latch whi le
pulli ng outward o n the mai n
latch at the sa me time .
6. Mount Quick-Release Plate
Mou nt the Qu ick-Release Plate
to th e th rea ded h ole on the
base of your ca mera. T he plate
uti lizes a 1 /4″-20 sc rew t hat
will fit m ost cameras. Afte r
tighten ing the s cre w, fol d the
thu mb screw fla t aga in st the
bot tom of the quick-release pl ate.
6
Page 7

7. Mount Camera
Af ter m ounti ng the qu ick-rele ase
plate to your camera , ensur e that
the l ock ing knob on the ba ll hea d
is secur ely t ight ene d. To mou nt
the c am era to the b al lhead , fir st
insert the side o f the QuickRel eas e Plate that is oppo site t he
qu ick-r elease l atch. Then , press
dow n on the side of the quic krelease plate nearest th e qu ickrelease latch. T he quick-release
latch wi ll autom atica lly l ock i nto
pla ce when th e plate is p ush ed
into the groove .
Warning: Always use one hand to
secure the camera while adjusting
the ballhead, and ensure that the
lock is engaged before letting go of
the camera.
Warnings:
• Do not exceed the ballhead’s maximum
!
load capacity (see packaging for details).
• Ensure that all appropriate locks are
engaged when necessary.
• Ballhead should only be used in
temperatures ranging between -22° and
140° F (-30° and 60° C). Do not operate in
saltwater. Dry ballhead if it becomes wet.
• Remove the camera from the ballhead
during setup or transport.
• Keep out of reach of children .
OPERATION
Visit our website at ObenSupports.com
for more Oben products.
7
Page 8

© Copyright 2014 The Gradus Group
All other trademarks are the property of their respective owners
www.obensupports.com
8
GG1
 Loading...