

Page 1
Khaos
User’s manual
Page 2

Page 3

NZXT. 1
Thank you.
Dear valued customers,
Thank you for purchasing our product. We are thankful to all our
fans for the continuing support, after just four years since entering the
computer chassis market with the Guardian in 2003, NZXT is now an
established gaming brand and manufacturer of quality hardware in the
market today. Since then, we have stayed true to our goal, which was to
continuously provide innovative next generation products. With every
product, we are still breaking more boundaries and limits. Once again, thank
you and all NZXT fans for the support and we hope to bring more amazing
products in the coming years.
After you complete your installation, please come by our community forums
at www.nzxt.com/forum
and voice your opinions with thousands of NZXT
fans from around the world
Sincerely,
NZXT Team
Page 4

NZXT. 2
Khaos Specifications
Features
:: Breakthrough Design: Following the success of the Lexa chassis,
the NZXT aimed to design a ultra premium chassis based on the
theory of “Perfect Symmetry”, matching curves and mirrored design
makes the Khaos a major design feat.
:: Thick aluminum build: Built completely with 2mm and 3mm thick
aluminum, the NZXT Khaos is made to last. durable high quality
craftsmanship is infused throughout this chassis
:: Three channel cooling: The Khaos features two 120mm fans for
intake over 8 HDDs, additionally; a unique three 120mm bracket is
placed exactly before the video card and motherboard to ensure
steady airflow.
:: Dual power supply support: built to last for future components
and higher power demands, the NZXT Khaos supports dual PSU,
allowing the user to split the power usage between major
components like the video cards and cpu with other components
such as the hard drive, motherboard and floppy
:: Maximized expandability: the Khaos allows a large array of
space for 5.25” drives such as cd-roms, temperature displays, and
multi-format readers. A total of 11 5.25” bays are provided.
:: Rubber finished wheels: the NZXT Khaos comes standard with
mounted wheels for moving the chassis around the home, a handle
is mounted at the back for comfort during movement.
Detailed specifications
Material: aluminum
Dimensions (WxHxD): 225mm x 612mm x 597mm
Net weight: 15.7 kg
Cooling system:
2 x 120mm front(included)
3 x 120mm mid
1 x 120mm rear(included)
1 x 140mm top(included)
7 expansion slots
Page 5

NZXT. 3
Table of Contents
Thank you. ..................................................................................... 1
Khaos Specifications ...................................................................... 2
Before Beginning.. ......................................................................... 4
Getting starting ............................................................................... 4
PSU Installation ............................................................................. 5
Using the motherboard tray installation ......................................... 6
LED, Power and Reset Installation ................................................ 8
Installing external 5.25” devices and 3.5” devices ....................... 11
Internal 3.5” drive bay Installation & front 120mm fan installation12
Triple 120MM mid fan installation ................................................ 14
Travel ........................................................................................... 15
Support and Service .................................................................... 17
Page 6
NZXT. 4
Before Beginning..
For safety issues, it is highly recommended that all users wear
gloves during installation. Also, if you have any questions during
installation, please send an email to service@nzxt.com
before
proceeding. Thank you.
Getting starting
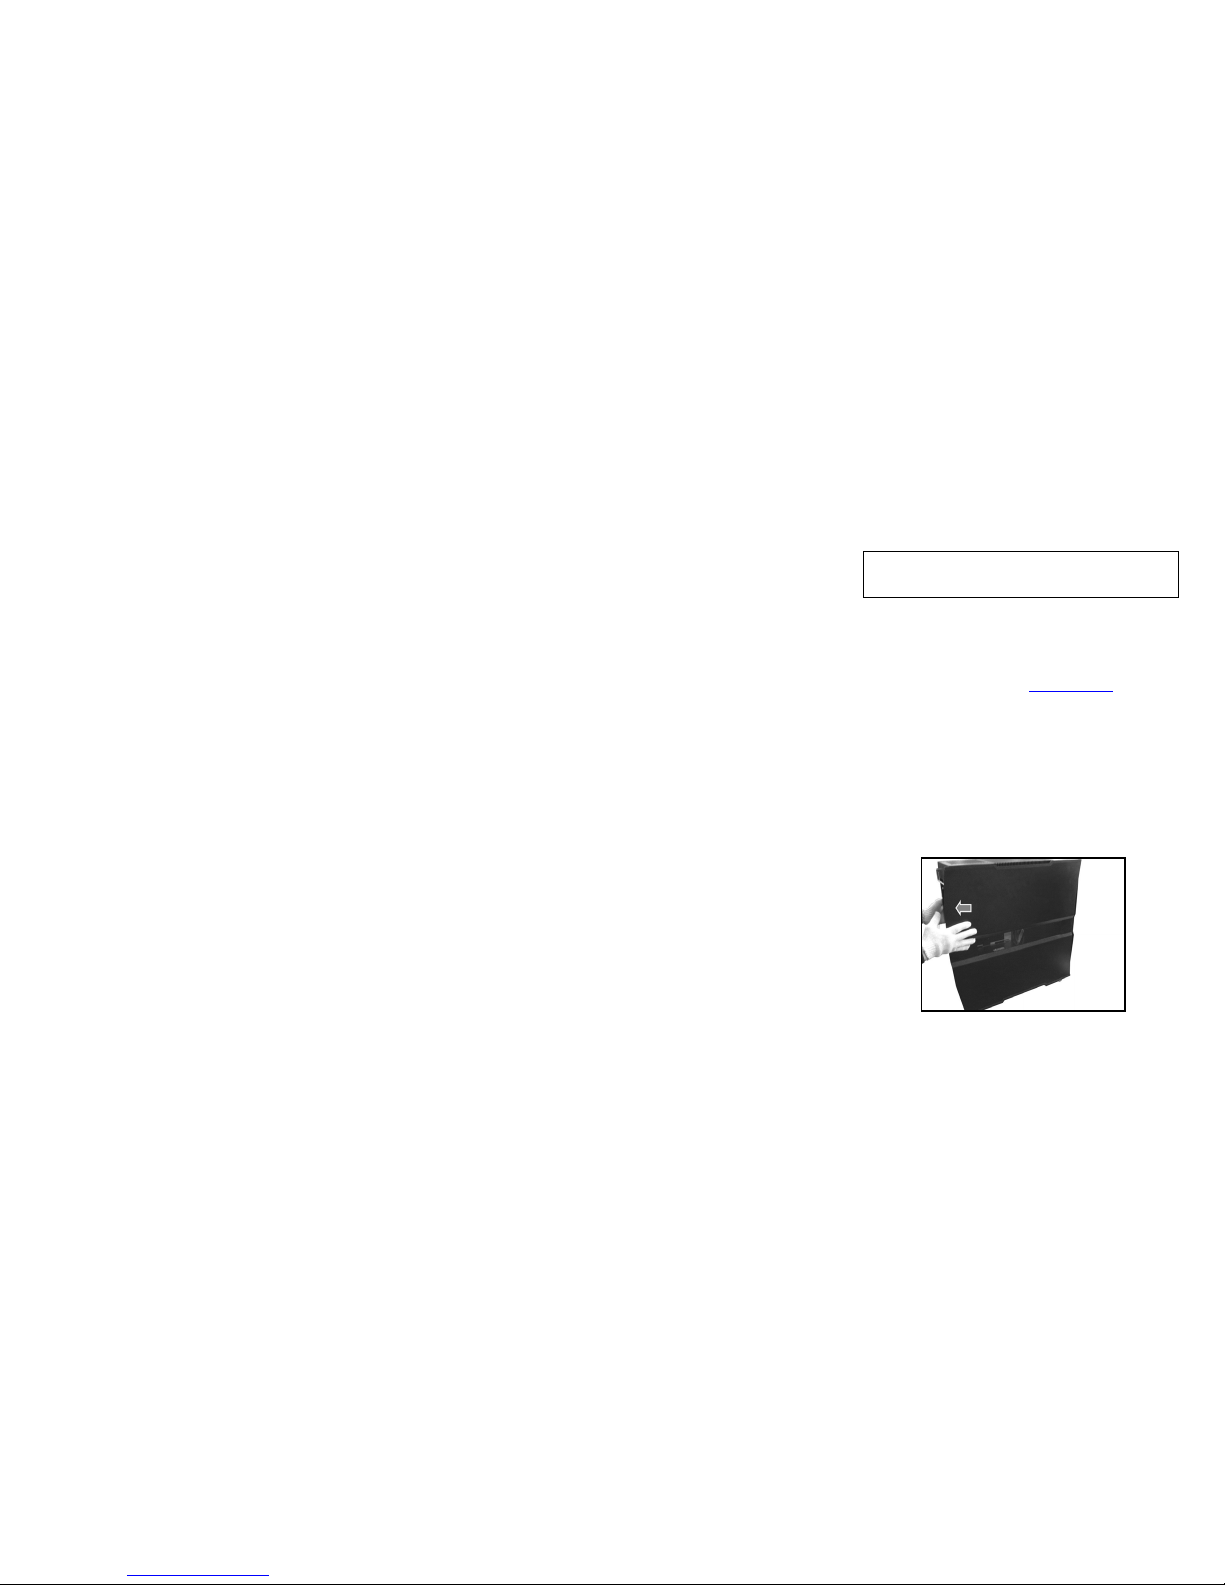
For users building a new system, it is recommended that the side
panels are removed before beginning the installation. The following
steps will outline the steps to remove side panels.
1. Remove the screws at the rear securing the side panels.
2. Slide the side panel backwards, and then tilt the panel to
remove it. The same method can be applied to both sides.
Opening the side panel
NOTE: CPU, RAM and any peripheral installation are not
included in this manual. Please refer to your motherboard manual
for related mountin
g
instructions and troubleshooting.
Page 7

NZXT. 5
PSU Installation
The NZXT Khaos supports up to two power supplies in a dual boot
fashion, a dual PSU booting cable is included in the packaging.
1. Remove the PSU bracket by unscrewing a total of 6
screws.
2. Secure the PSU(s) onto the PSU bracket. If you wish to
install a second PSU, the PSU cover must first be
removed.
3. Slide the PSU back into the chassis and secure the
bracket onto the case.
Page 8

NZXT. 6
4. Use the 24pin connector and attach the side with two 24
pin cables to the power supplies, route the cable through
the routing hole and connect to the motherboard.
Using the motherboard tray installation
The NZXT Khaos allows the MB tray to be tilted out for easier
installation, follow the instructions below about usage.
1. Remove the screw behind the motherboard and the four
thumbscrews located at the rear of the case.
Page 9

NZXT. 7
2. Slide and tilt the motherboard tray to lay it out.
Page 10

NZXT. 8
3. Match the motherboard form factor ( ATX, M-ATX, Mini-
ATX ) with the holes on the motherboard tray.
4. Secure the standoffs onto the holes which match your
motherboard.
5. Lay the motherboard onto the standoffs and then
continue to secure the motherboard with the screws
provided.
6. Reinstall the motherboard tray onto the chassis.
LED, Power and Reset Installation
Please refer first to your motherboard manual to locate where the
power switch and reset pins are located on the motherboard. The
power and reset buttons are located at the top of the chassis. The
colors following each instruction designate the color of the wires.
Page 11

NZXT. 9
USB, Audio ports, E-SATA, Reset, and Power buttons
1. Connect the reset switch (labeled RESET SW) by
connecting to your motherboard RESET connector. Make
sure you always attach the white wire to ground.
(Purple/White +/-)
2. Connect the power switch pin (labeled POWER SW) to the
PWR connector on the motherboard. (Yellow/White +/-)
3. Connect the HDD LED (labeled H.D.D LED) to the
appropriate headers on your motherboard. The HDD LED
located on the top panel should flash green when there is
activity in the hard drive. (Green/White, +/-)
4. Connect the power LED (labeled PLED+, PLED-) to the
appropriate headers on your motherboard. The Power LED
located on the top panel should power on blue. (Blue/White,
+/-)
All White and Black Pin Connectors correspond to ground.
USB Installation
1. The USB is located of the top on your front panel.
2. Refer to your motherboard manual and match the labels on
the USB port connectors with your motherboard in order to
install.
Page 12

NZXT. 10
Audio Port Installation
1. Please first refer to your motherboard manual and match the
labels on the audio wires with your motherboard pins.
2. The green input is the speaker input and the pink input is the
microphone input.
Case Pins Signal Description ASUS© Pins
MIC-IN Front Microphone input Signal MIC2
MIC-POWER Front Microphone Power MICPWR
GROUND Front Audio Ground AGND
L-OUT Front Left Channel Audio Signal Line out_L
R-OUT Front Right Channel Audio Signal Line out_R
L-RET Rear Left Channel Audio Signal
BLINE Line
out_L
R-RET Rear Right Channel Audio Signal
BLINE Line
out_R
ASUS© Motherboard Pin Assignment
Page 13

NZXT. 11
Installing external 5.25” devices and 3.5” devices
Please follow the directions below to install the 5.25” and 3.5”
devices into the NZXT Khaos.
1. [Note: This step is not required if you are not using the 5.25”
Stealth CD-ROM covers] Remove the front panel by
removing the six screws securing the front panel of the case.
2. Remove the drive bays covers by unscrewing the screw
from inside the case.
Page 14

NZXT. 12
3. Slide the device in from the front panel. If you are using the
stealth CD-ROM covers, slide in the drive before attaching
the front panel.
4. If you wish to install a 3.5” external device, use the 5.25” to
3.5” plastic bracket provided
5. Secure the devices and reattach the front panel if applicable
Internal 3.5” drive bay Installation & front 120mm
fan installation
The NZXT Khaos comes standard with dual 4HDD cages, please
follow the instructions below for installation:
1. Unscrew the screw from inside to release the cage.
Page 15

NZXT. 13
2. Pull the cage out from the front of the case
3. Use screws to secure the hard drive.
Page 16

NZXT. 14
4. If you wish to install a new 120mm fan, remove the mesh
also at this step.
5. Return the cage into the chassis and secure it.
Triple 120MM mid fan installation
NZXT Khaos supports triple 120mm fans, installing these fans will
help move air at the center of the chassis immensely.
1. Remove the bracket by first unscrewing it from behind (
right side of the chassis )
2. Install the fans onto the bracket.
Page 17

NZXT. 15
3. Reinstall the bracket onto the case.
Travel
Congratulations, you have completed the installation of your next
enthusiast rig. The NZXT Khaos has rubberized wheels and a
handle for travel. Please refer to the photo below for the
recommended method of usage.
Page 18

NZXT. 16
Page 19

NZXT. 17
Support and Service
If you have any more questions or have problems with the
NZXT product you purchased, please don’t hesitate to contact
service@nzxt.com
along with a detailed explanation of your problem
and your proof of purchase. You may inquire about replacement
parts at rma@nzxt.com
.
Thank you again for purchasing an NZXT case. If you have
any more comments or questions. Please visit our website or send
us an email.
NZXT Website: www.nzxt.com
Email our design team: designer@nzxt.com
 Loading...