

Page 1
NZXT. CRAFTED GAMING ARMOR.
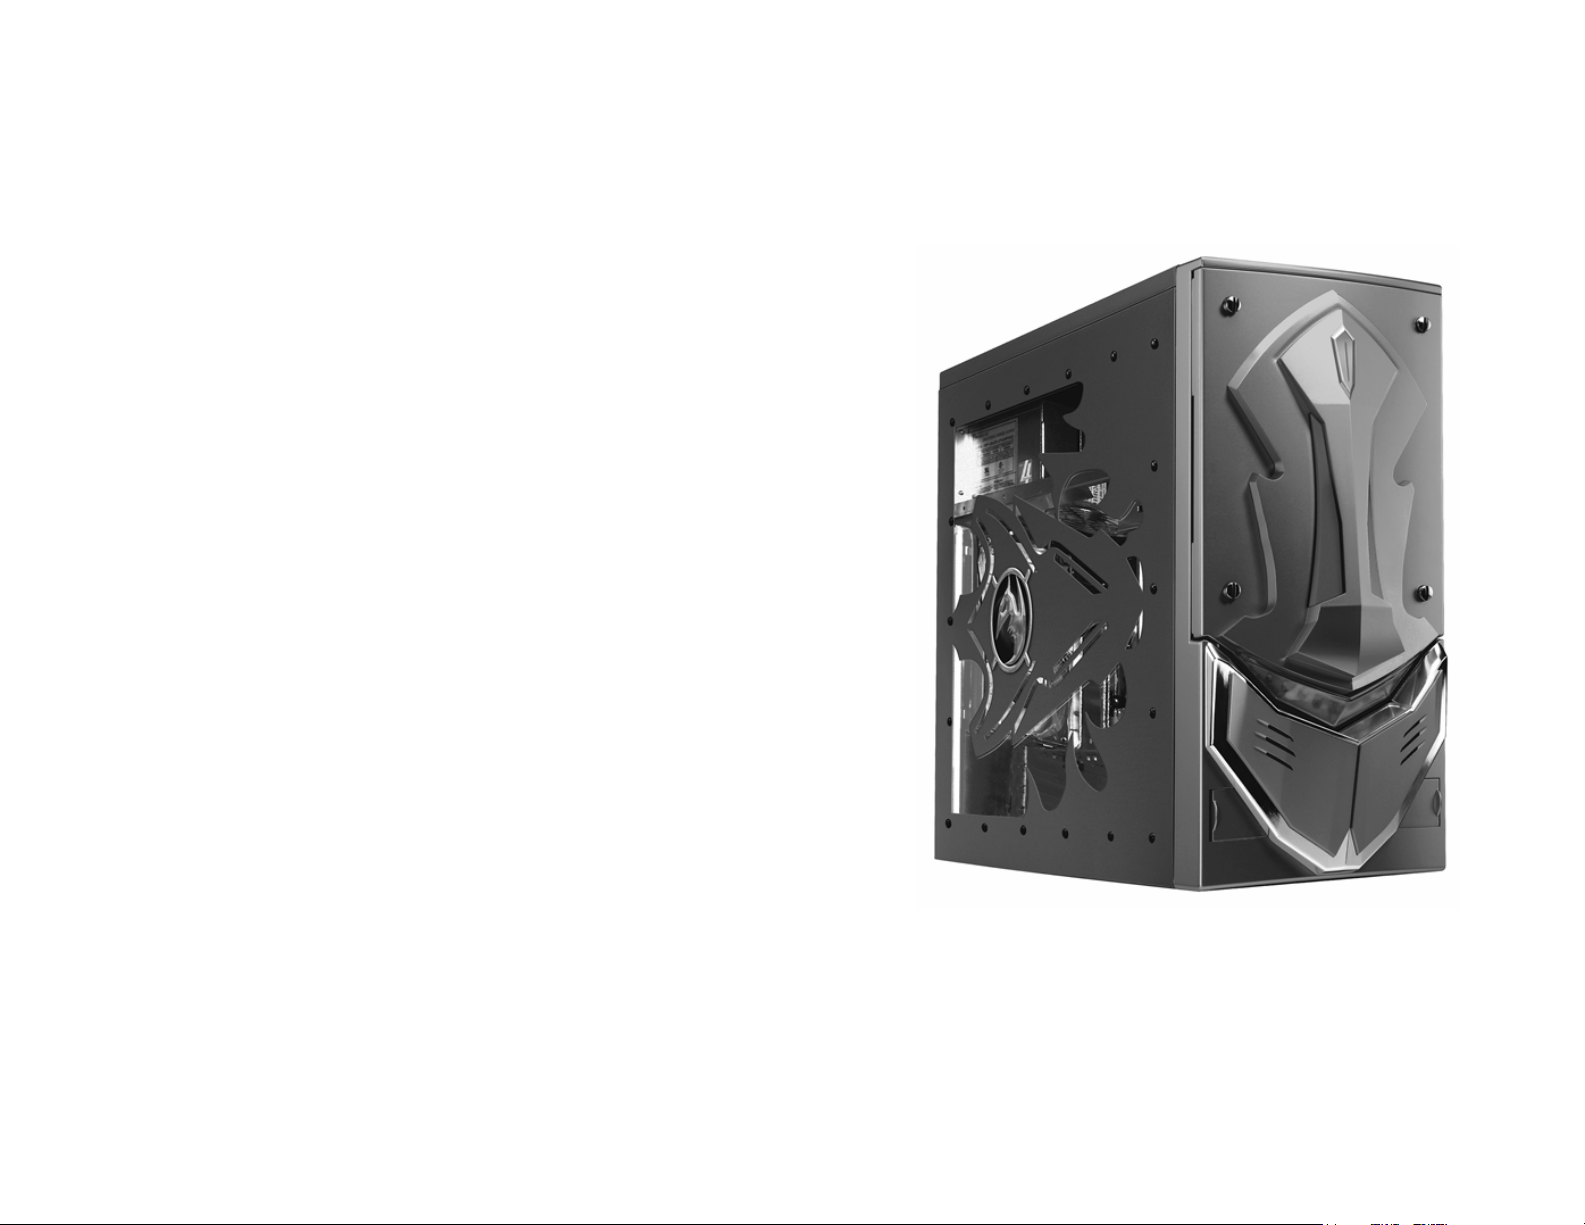
GUARDIAN
User’s manual
NZXT. 1
Page 2

Letter to User
Dear Valued Customers,
On Behalf of NZXT Team, thank you for purchasing our
product. With the booming of the gaming market and computer
cases, NZXT would like to differentiate ourselves from other
case companies by continuously providing high quality and
innovative next generation cases. If you have any critiques or
comments, please feel free to send us an email. After all, we are
designing the cases for you. Thank you again for purchasing an
NZXT case. We hope to serve you again in the future.
Sincerely,
NZXT Designer
Johnny H.
NZXT. 2
Page 3

Power Supply Installation
Please refer to the case interior infrastructure and secure the power
supply at the back of the case by using the screws provided.
NOTE: CPU, RAM and any peripheral installation are not
included in this manual. Please refer to your motherboard manual
for related mounting instructions and troubleshooting.
Motherboard Installation
Your Guardian supports the following motherboard: ATX, BABY AT,
MINI ATX, and MICRO ATX. The Index for the standoff holes are as
follows. ( Imprinted on the motherboard tray are serial numbers that
match certain motherboards )
A1~A9 ATX
B1~B9 BABY AT
M1~M9 MINI ATX
U1~U7 MICRO ATX
In order to install your motherboard go through the following steps:
1. Lay your case down so you can see the drive cages and the
standoff holes on the motherboard tray.
2. Take your motherboard and match the standoff holes.
3. Remembering which standoff holes your motherboard
needs, go ahead and screw the brass standoffs onto the
motherboard tray. ( Note: If you find that some holes are
unused, this is normal, this case is made to support for many
motherboard sizes )
4. Place your motherboard on top of the brass standoffs and
attach it to the tray using screws provided.
5. Connect the 20-pin ATX power connector from your power
supply (and AUX or +12V connectors if appropriate) to your
motherboard.
NZXT. 3
Page 4

Power and Reset Switch Installation
Please refer first to your motherboard manual to find where your
power switch and reset connectors are located.
1. Connect the Reset switch (labeled RESET SW) by
connecting to your motherboard RESET connector. Make
sure you always attach the black wire to ground.
2. Connect the Power Switch (labeled POWER SW) to the
PWR connector on the motherboard.
3. Connect the Power LED (labeled POWER) and HDD LED
connectors to the appropriate headers on your motherboard.
The Guardian Eye LED
This LED motion is unique and pending patent, we want to ensure
you guys are the only ones on the block with this innovative design.
In the future, we might even give you guys the ability to change your
motion and color, keep updated on our website!
1. The Guardian goes into motion from startup and continues
for 10 minutes. After that time, the guardian will go into a
rest mode for 40 minutes with all the LEDs on to avoid
causing for some users who place the computer on top of
their table. This process repeats itself after the end of the 40
minute rest period.
2. In order to install the Guardian Eye LED, simply connect the
power connector from the front panel to one of the
connectors from the power supply.
USB & Audio Installation
USB Installation
1. Facing your GUARDIAN, open the sliding door located at the
bottom left to find the two USB connectors.
NZXT. 4
Page 5

2. Refer to your motherboard manual and match the labels on
the USB port connectors with your motherboard in order to
install.
Audio Port Installation
1. Facing your GUARDIAN, open the sliding door located at the
bottom right to find the two audio connectors.
2. Refer to your motherboard manual and match the labels on
the audio port connectors with your motherboard in order to
install.
3. The green input is the speaker input and the pink input is the
microphone input.
Drive Bay Installation
1. Your GUARDIAN comes with a lock on screw less drive
cage design so you can easily pull out and replace drives.
For the 5.25” devices, match the screw hole of your drive
with the drive bay holder and make sure the device is where
you want it.
2. Lock and secure the drive in by pushing the lock towards the
front of the case and then pushing the other button
downwards. Refer to the figure below for more explanation
on the motion.
NZXT. 5
Page 6

Step 1. Push to the Right
Step 2. Push towards the bottom to secure
3. Repeat the same motion for your 3.5” floppy drives and hard
drives.
Fan Installation
The case features space for two 80mm fans (includes standard x 1)
in the back of the case under a plastic enclosure and one 80mm fan
in the front of the case. You will also have another tri color fan on the
side panel with our own custom fan grill.
Rear Fan Installation
1. In order to install the rear fans, you must first detach the
plastic fan enclosure. Unscrew the enclosure from the back
of the case and proceed to unclip the plastic enclosure out.
2. Go ahead and install the fan by locking it in, make sure your
power cables come through the small opening at the side of
the enclosure. Refer to the figure below for more detail.
NZXT. 6
Page 7

Fan Figure. One of the two fan power connectors exit here
3. If you have a second fan, repeat the same step.
4. Connect the power connection with the power supply
connector.
Using the Card fasteners
1. Your GUARDIAN comes with card fasteners for securing
your peripherals during movement.
2. Push down on the lock from the inside of the case.
3. After you have installed your card, go ahead and secure
your card by pushing the lock back in. Please refer to the
figure for more information.
Fastener Figure. Push down here to flip back the fastener
NZXT. 7
 Loading...