

Page 1
AIR SCALER
M4
AS2000
OM-T0150E
002
B2/B3
CAUTIONS IN HANDLING
• Read these cautions carefully to correctly follow the intended use.
• Safety instructions are intended to avoid potential hazards that could result in personal injuries or damages to the device. Safety instructions
are classified as follows in accordance with the seriousness of the risk.
Class Degree of Risk
WARNING
Existence of a hazard that could result in bodily injury or damage of the device, if the safety instructions are not followed.
CAUTION
Possibility of a hazard that could result in light or middle degree of bodily injury or damage of device, if the safety
instructions are not followed.
WARNING
• Do not exceed the recommended air pressure at the back end of the scaler. Excessive air pressure might cause the scaler tip to
accidentally break while in use.
• The oscillation of the tip could exceed 200 μm amplitude at the recommended air pressure. Caution is requested not to harm the patient.
• Do not use a tip on which rust is found. It may break while in use at where rust grew.
CAUTION
• Place the most priority of the patient’s safety.
• For professional use only. Do not make incorrect use of the handpiece.
• Do not exceed 0.28 MPa (2.9kgf/cm
• If any abnormalities are found in use, stop using immediately and contact your dealer.
• Do not disassemble, nor alter the air scaler.
• Do not drop, hit, or subject to excessive shock.
• Check the vibration, noise and overheating outside of the patient’s mouth before initial use. If any abnormalities are found in use, stop using
immediately and contact your dealer.
• Be sure to stop the air supply, and replace the tip or the coupling joint.
• Watch out the sharp point of the tip.
• Do not use a spray lubricant. Limited air discharge orifice size of the scaler forces the propellant pressure to build up inside, and the scaler
may fly off.
• Do not clean or wipe the scaler with highly oxidized or acid water or sterilizing solution.
2
) when setting the air pressure at the dental unit.
1. Specifications
Model
AS2000
Max. Recommended Air Pressure
0.28 MPa (2.9 kgf/cm
2
)
Air Consumption
25 ~ 35 L/min
Frequency
5,600 ~ 5,850 Hz
Weight
M4 … 67g
B2/B3 … 64g
2. Installation and Supply Air Pressure
Connect air scaler to the handpiece hose.
In case the supply air pressure at the connection (where the scaler is
connected to the handpiece hose) is set at the recommended
0.28MPa(2.9kgf/cm
2
), the air scaler is readily usable.
WARNING
• Set the supply air pressure at 0.28MPa (2.9kgf/cm2) at the connection where the scaler is connected to the handpiece hose, as
shown by the arrow in Fig.1.
• Higher air pressure may cause higher tip oscillation, which could damage the tooth surface and may cause pain to the patient. It also
may shoten the tip life and premature failure or breakage of the tip.
• The amplitude may exceed 200μm, even at the recommended air pressure, care should be exercised not to harm the patient.
CAUTION
The proper air pressure for the air scaler is approximately 0.03MPa higher than the proper air pressure for an air turbine handpiece
because of difference internal structure.
Fig. 1
3. Use Dry, Clean Air
Moisture and debris in drive air may cause the air scaler to malfunction. It is important to drain the air compressor on a regular basis, even
though an air filter or air drying device is provided in the air line.
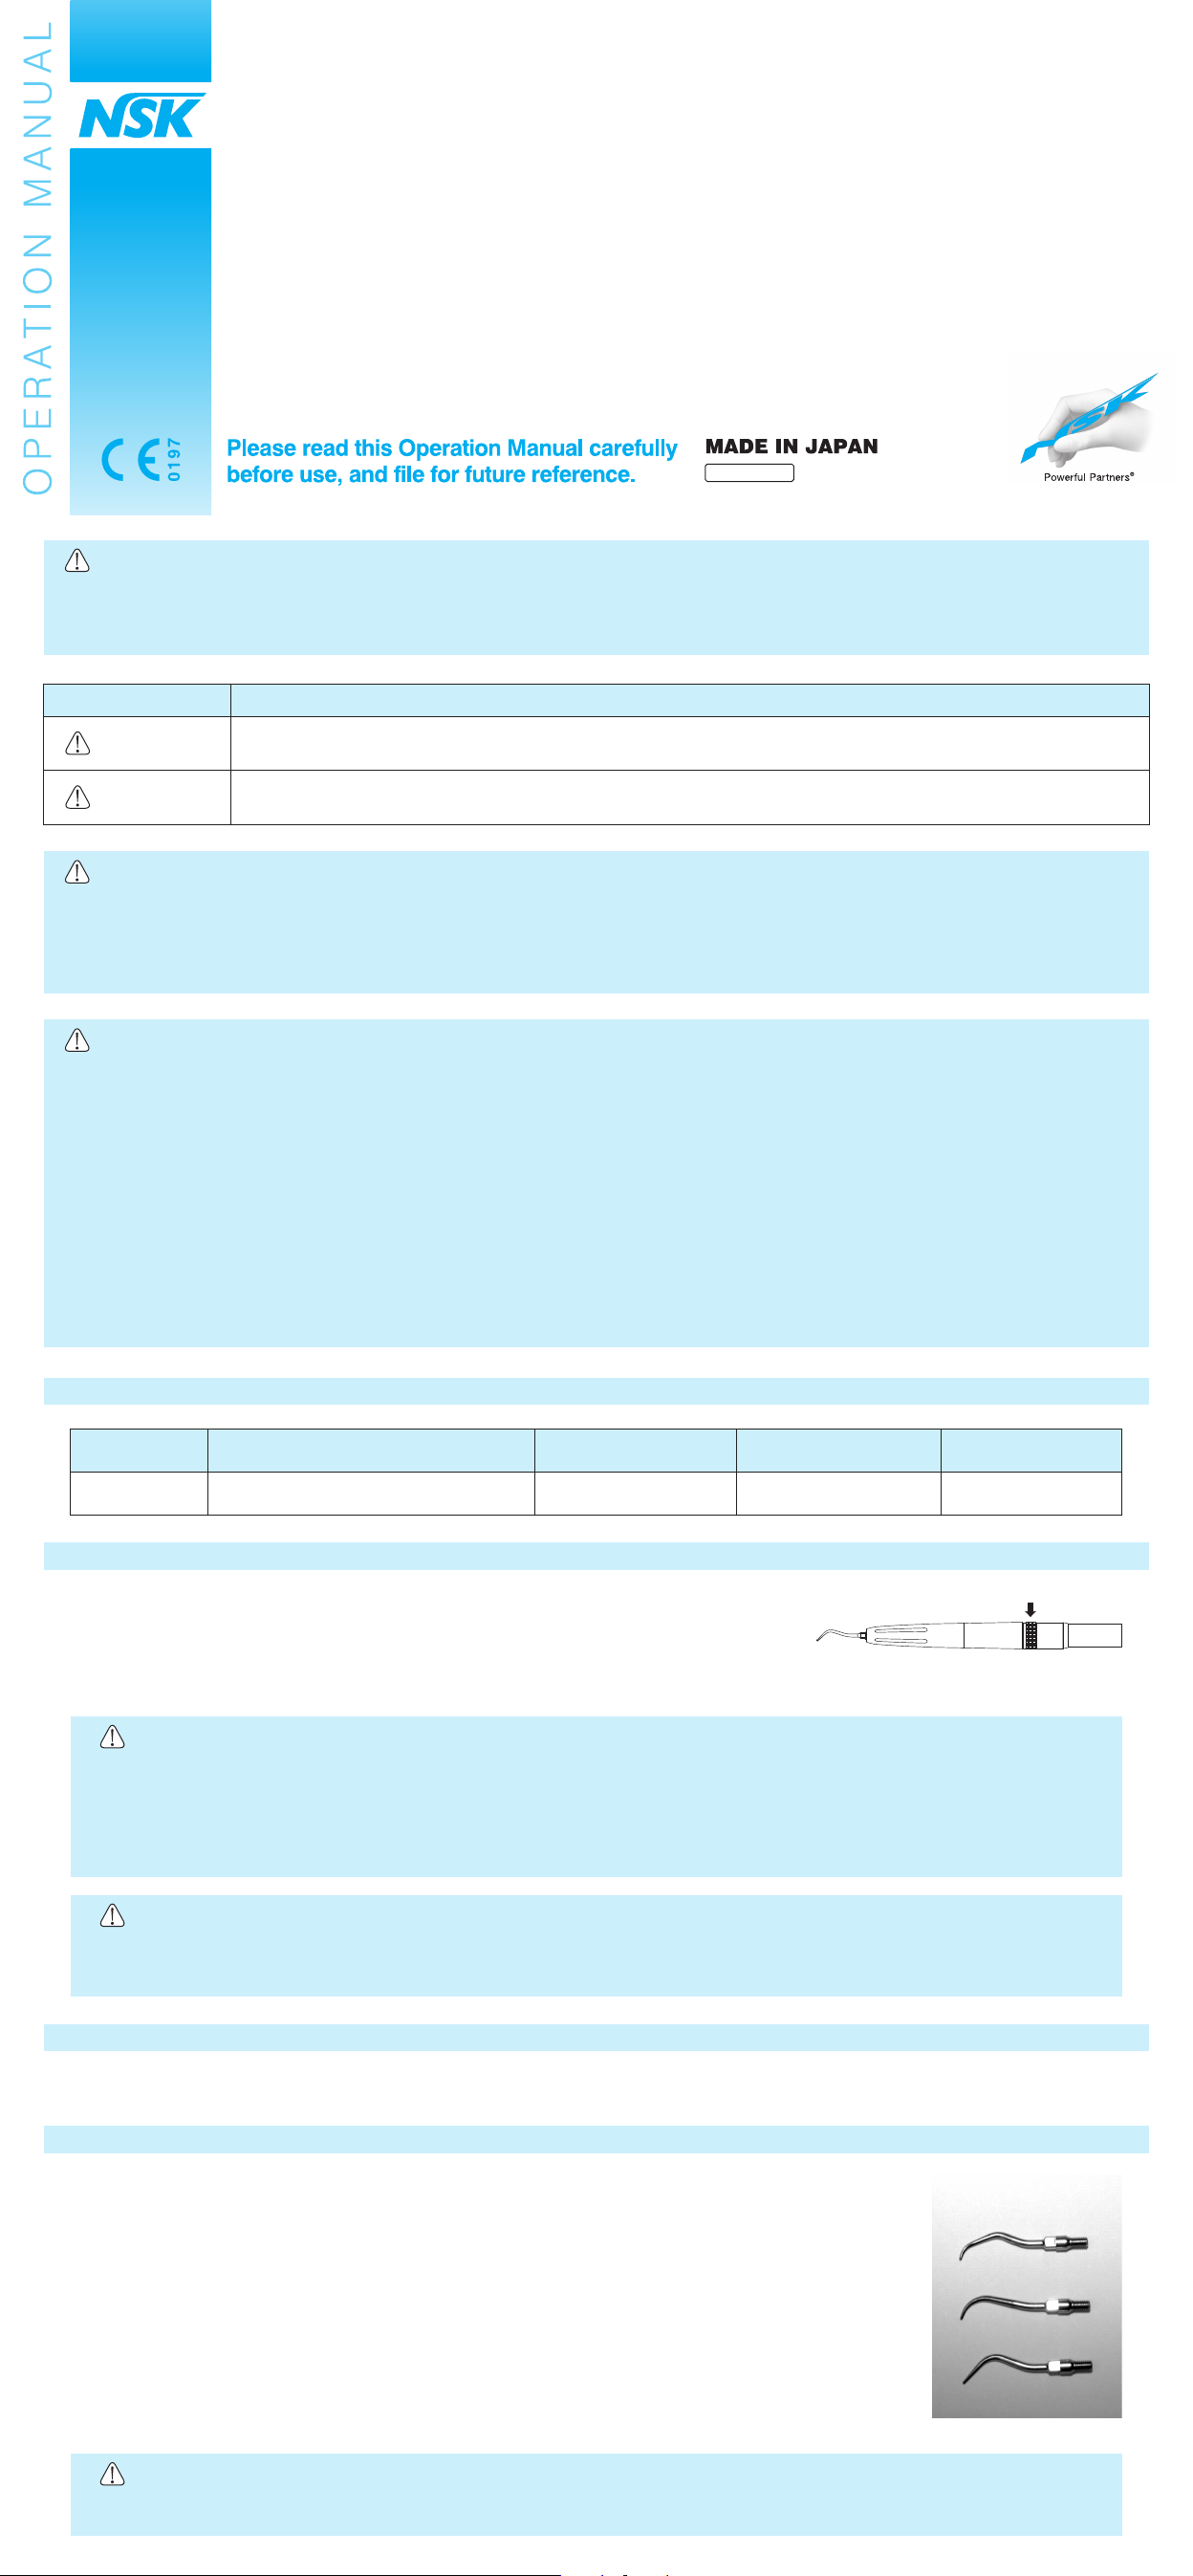
4. Scaler Tips
Three types of scaler tips as shown in Fig.2 are supplied as accessory items to the scaler.
Typical applications are explained below:
Type S1 … Universal Type (Reorder number: Z252-411)
Curved surfaces, exposed anterior root surfaces, posterior teeth with excessive
lingual tipping, etc.
Type S2 … Sickle Type (Reorder number: Z252-413)
Mandibular anterior teeth, lingual surfaces, hard thick-walled calculus firmly
adhered to a tooth, etc.
Type S3 … Perio Type (Reorder number: Z252-412)
Subgingival and supragingival calculus, tar-like deposit, etc.
To avoid rusting, dry it by air syringe, after removing from the scaler body, immediately after use.
The irrigant port and the threads need to be kept dry.
S 1
S 2
S 3
CAUTION
Tips may rust. Poor drying could cause the tips to rust, which may result in premature failure and injury.
Fig. 2
Page 2
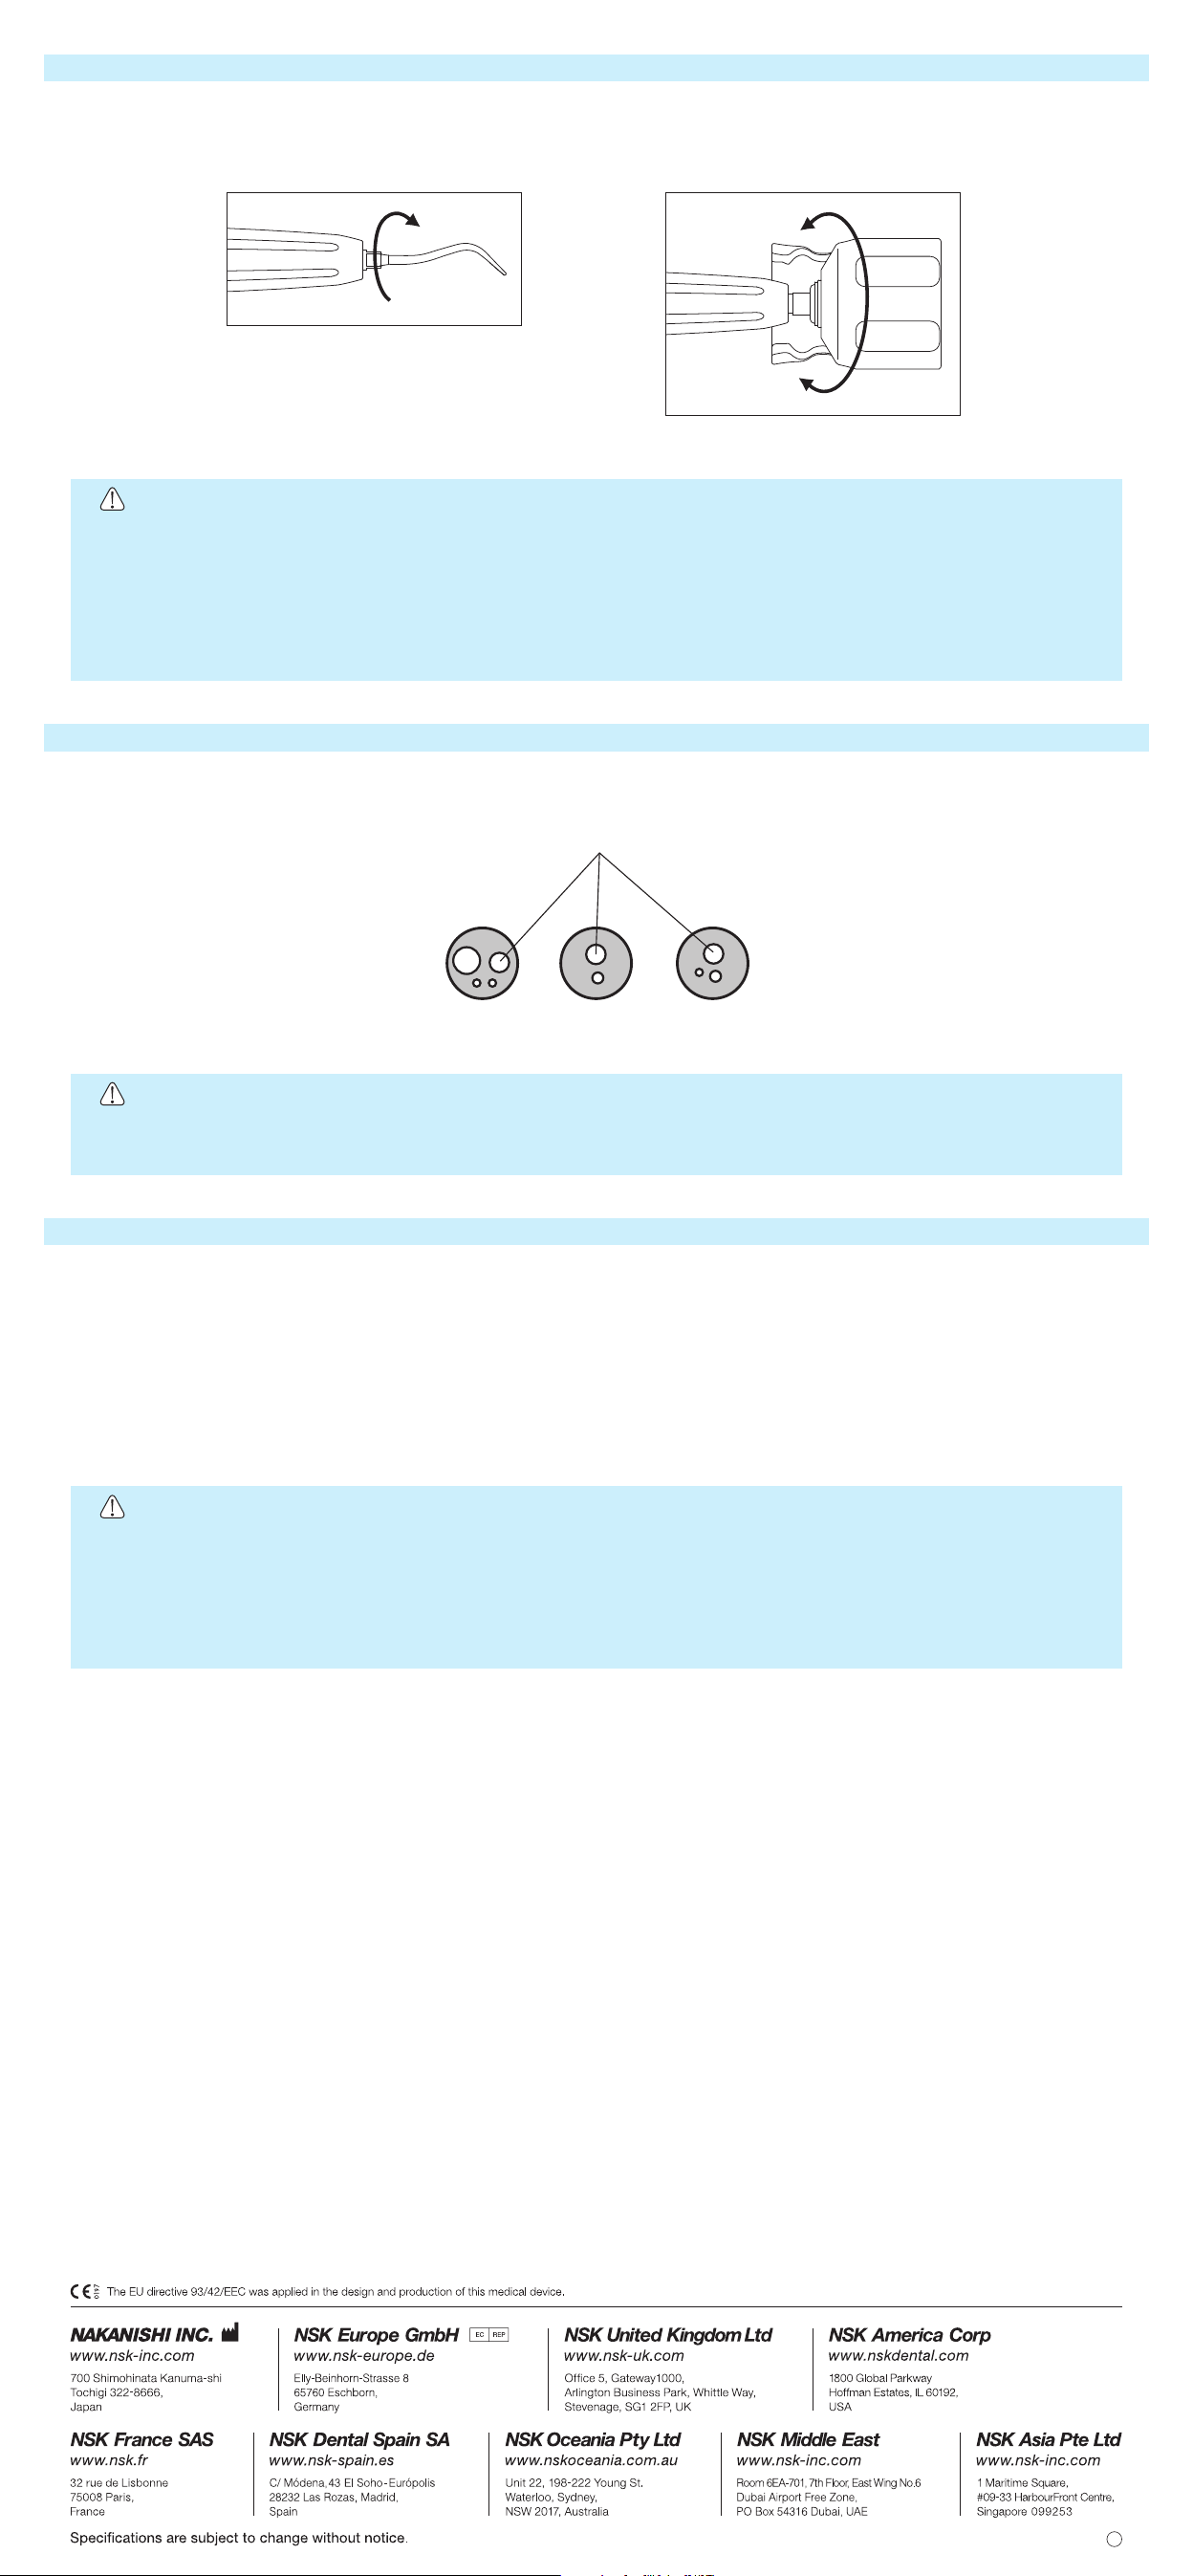
5. Changing Tips
Installation: Screw in the tip until finger tight. (Fig.3) Mount the supplied wrench tool over the tip, and align the square holes to mate with
counterpart on the tip. Turn the wrench firmly until two or three clicks are heard. (Fig.4) The clicking, or tripping, takes place when
the turning force exceeds the preset value. This wrench fastens the tip at the preset consistent force at all times.
Removal: Mount the wrench over the tip and turn it in the direction as shown in Fig.4.
Fasten
Fig. 3
Loosen
Fig. 4
WARNING
• Always use the wrench to securely tighten the tip. Loose tip may come off during use and cause injury.
• Do not use such tips as shown below. Tips are expendable items.
q Tips with worn and dull edges.
w Corroded or rusted tips.
e Deformed tips, as caused by impact or fall.
• Do not grind or polish for reuse.
• Watch out the sharp point.
6. Lubrication
Lubricate the scaler every three days. Use NSK Turbine Oil (Reorder number: Z016-112)
Remove the scaler from the handpiece hose, and supply 2-3 drops of oil to the drive air port of the handpiece as shown in Fig.5. Connect to
the handpiece hose and operate for 5 seconds.
Drive Air Tube
Midwest Borden 2 Hole Borden 3 Hole
Fig. 5
CAUTION
Do not use a spray lubricant. Limited air discharge orifice size of the scaler forces the propellant pressure to build up inside, and the
scaler may fly off.
7. Sterilization of Scaler
The manufacturer recommends Autoclave for sterilization.
Sterilization is required first time you use and after each patient as noted below.
Autoclaving Procedure
q Brush off debris and clean with alcohol-wet cloth. Do not use wire brush.
w Lubricate with turbine oil. See 6. Lubrication.
e Place in an autoclave pouch, and seal it.
r Autoclavable up to max. 135˚C.
ex.) Autoclave for 20 min. at 121˚C, or 15 min. at 132˚C.
t Keep the handpiece in the autoclave pouch to keep it clean until you use it.
Sterilization at 121˚C for more than 15 minutes is recommended by EN13060 or EN ISO17665-1.
CAUTION
• Always, where possible, place the scaler in the middle or upper tray, as most sterilizer have heating elements in the bottom of
chamber and that local temperature may exceed 135˚C(275˚F).
• Do not sterilize the scaler mixed with other instruments if chemicals are not sufficiently removed from them. Chemicals could cause
the plating to chip off and discolorate, or penetrate into the fiber bundles and to the internal components. Keep any chemicals off the
sterilizer.
• Do not clean or wipe the scaler with highly oxidized or acid water or sterilizing solution.
2012.09.20 005 S
2013.02.20 01 S
 Loading...