

Page 1
60°F
60°F
SPECIFICATIONS
Range: –58 to 2000°F (–50 to 1300°C)
Resolution: 1°
Accuracy: ±0.3% + 1°C
Probe: (2) Type-K thermocouple naked bead probe with 4' lead
Sampling Rate: 2.5 times per second
Display: 3½ digit LCD, 5/8 inches high (1.5CM)
Failsafe: Low battery indicator
Power: 9 volt alkaline battery
Accessories: 12 inch Velcro wrist strap, rubberized cover and a flip-out stand
FRONT PANEL QUICK REFERENCE
ON - Turns power on
OFF - Turns power off
MAX - Records and updates maximum values
HOLD - "Freezes" the display
F/C - Selects the temperature to be displayed
in either Fahrenheit or Celsius
T1 - Displays temperature reading from probe 1
T2 - Displays temperature reading from probe 2
T1/T2 - Displays the difference in temperature
between probe 1 and probe 2
OPERATION
Insert the probe plugs into the receptacles located on the front of the thermometer.
The plugs and receptacles are keyed with small and large pins. Make certain that the
plugs are inserted correctly, do not force them.
NOTE: Only one probe is required for normal operation.
Press the ON button to turn the unit on.
Press the F/C button to display the temperature in Fahrenheit (°F will appear on the
display) or Celsius (°C will appear on the display).
Press the T1 button to display the temperature of probe 1
(T1 appears on the display).
Press the T2 button to display the temperature of probe 2
(T2 appears on the display).
Place the probe tip in contact with the material to be measured and read the
temperature on the display.
MAX MODE
In the MAX mode, the thermometer will display the highest temperature reading
achieved. It does not display the current temperature if it falls below the MAX reading.
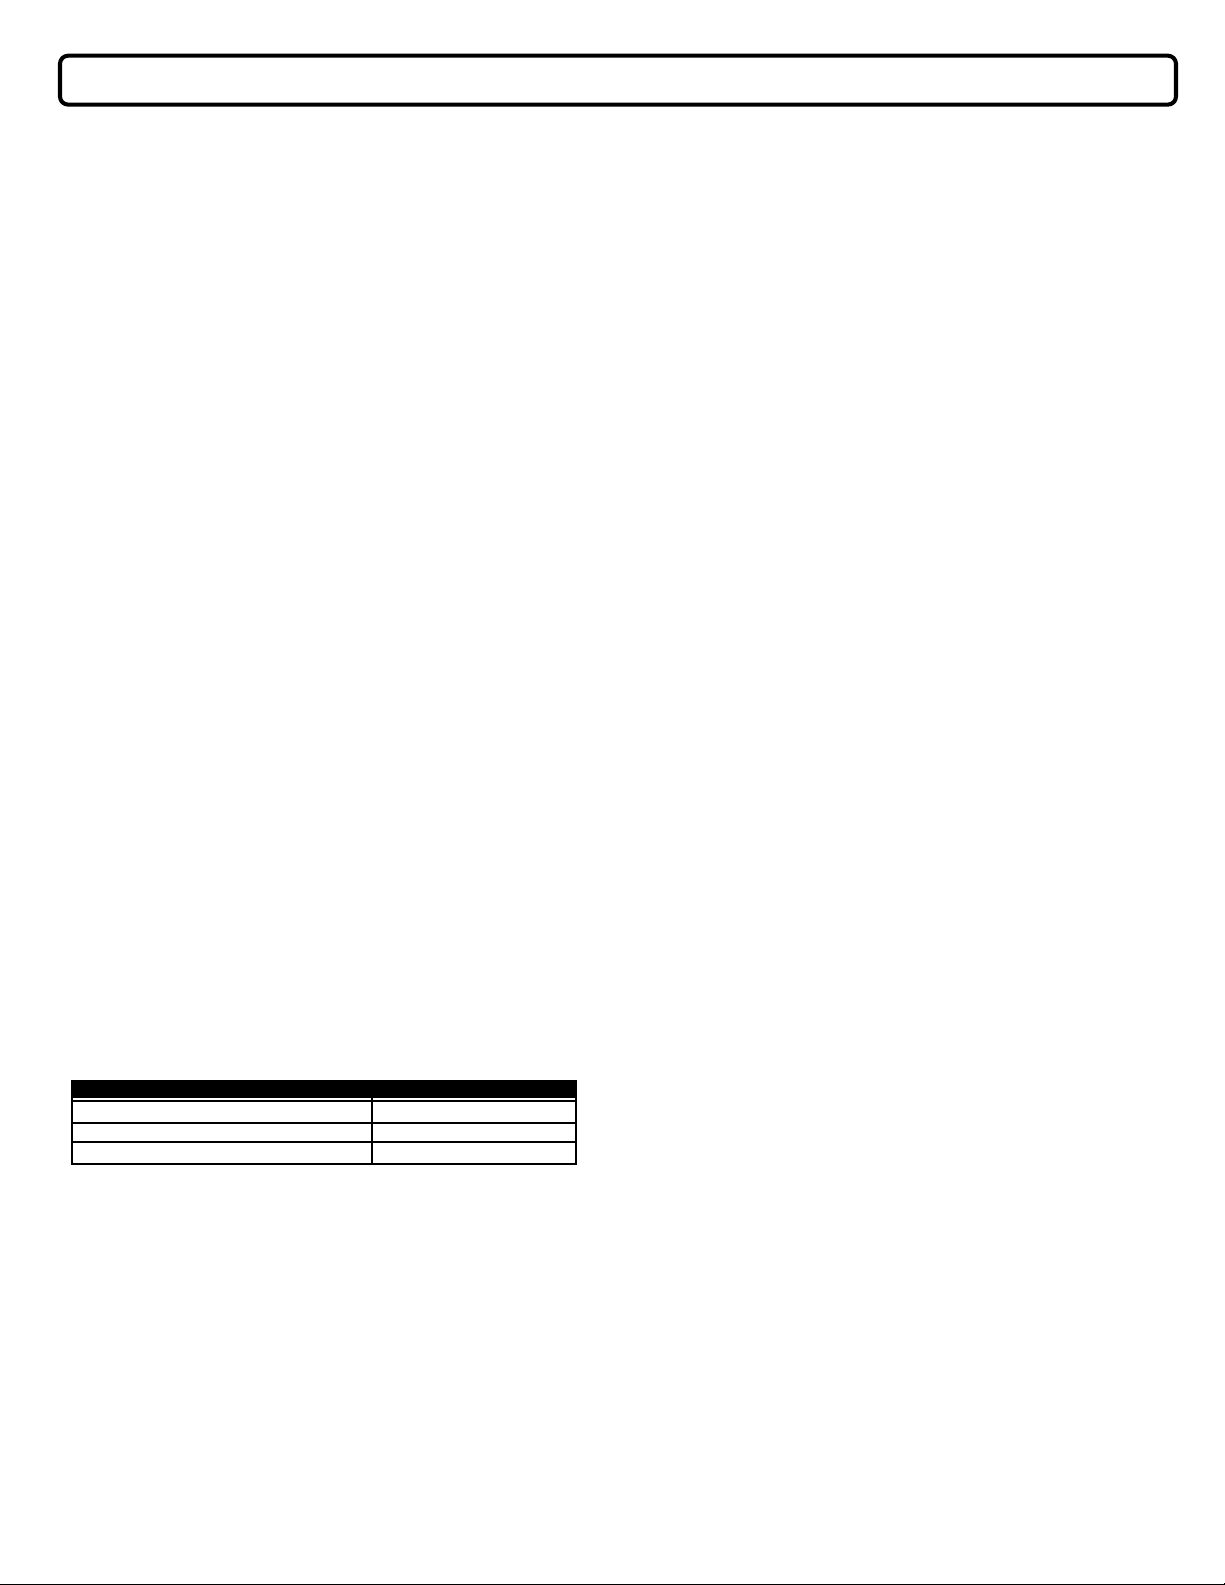
Example: In the MAX mode
If the current temperature is...
Select the desired input (T1, T2 or T1-T2) then press the MAX button (MAX will appear
on the display). The thermometer will display the maximum temperature reading on the
LCD display. Press the MAX key again to exit MAX recording mode.
HOLD
Press the HOLD key to "freeze" the display at the current T1, T2 or T1-T2 reading (DH will appear in the display). Press the HOLD key again to return to the current
reading.
TEMPERATURE DIFFERENTIAL T1-T2
Press the T1-T2 key to display the difference in temperature between probe 1 and
probe 2. This feature takes the temperature being measured at probe 2 and subtracts
it from the temperature being measured at probe 1 and displays the difference.
NOTE: Two probes must be connected to the unit to use this feature.
TRACEABLE® TWO-CHANNEL THERMOMETER INSTRUCTIONS
The display will read...
42°F
40°F
42°F
60°F
PROBES
The probes supplied are ultra-fast response Type-K thermocouple naked bead probes
with 4' leads and teflon insulation. Operating temperature range for these
thermocouples is or 500°F (260°C ).
An accessory stainless steel triple purpose probe with handle is available. An
accessory surface probe is also available (see accessories).
Longer leads and extensions may be used. The lead effect for 164 feet (50 meters) is
generally less than 0.2°C with a limit of error of 2.2°C. Type-K wire and Type-K
connectors must be used.
OFFSET ADJUSTMENT (Fine tuning)
The offset controls are set at the factory to allow for the variations found in standard
thermocouples. By adjusting the offset controls, found below the thermocouple plugs,
you can optimize measurement accuracy for a particular thermocouple (or pair of
thermocouples) at a particular temperature.
ADJUSTING FOR T1 OR T2 MEASUREMENTS
1. Plug in the T1/T2 thermocouple and turn the thermometer ON. Press the
appropriate T1/T2 key to display reading.
2. Place the thermocouple in a known stable temperature environment at or near
the temperature you wish to measure. Allow the reading to stabilize.
3. Slowly adjust the T1/T2 OFFSET control that corresponds to the selected input
until the thermometer reading matches the temperature of the known
environment. (Allow sufficient time between adjustments to allow for
measurement lag).
4. The calibration of the thermometer-thermocouple combination is now optimized
(fine-tuned) for measurement near the temperature used in step 2.
ZERO ADJUSTMENT FOR T1-T2 MEASUREMENTS:
1. Plug in both the T1 and T2 thermocouples.
2. Turn the thermometer on and press the T1-T2 button.
3. Place the thermocouples in a known stable temperature environment at or near
the temperature you wish to measure and allow the reading to stabilize.
4. Slowly adjust either T1 or T2 (but not both) of the OFFSET controls until the
thermometer reads "0". (Allow sufficient time between adjustments to allow for
measurement lag).
5. The thermometer-thermocouple combination is now set for differential
temperature measurement near the temperature used in step 3.
WRIST STRAP AND STAND
The unit is supplied with a Velcro wrist strap that attaches through the two slots in the
back of the rubberized casing. Remove the rubberized cover and slip the end of the
strap through the slots, Velcro side out, fasten at the buckle.
A bench stand is also supplied with this unit and is part of the rubberized case. Locate
the rectangular opening at the back of the unit. Place your fingernail under the opening
and flip the stand out. To close the stand, simply snap it shut.
Traceable® is a registered trademark of Control Company ©2008 Control Company. 92-4135-00 Rev. 2 052008
Page 2

ACCESSORIES
Control Cat. No. 4014—
Stainless Steel Triple Purpose Probe, probe diameter 1/8" (0.32cm), probe length 6"
(15.2cm), overall length 9" (22.9cm), cable length 50" (127cm).
Control Cat. No. 4008—
Surface Probe, flat disk on end has a diameter of 0.39" (1cm), overall length 9"
(23cm), cable length 36" (91.4cm).
Control Cat. No. 4028—
Ultra-fast response, naked bead thermocouple. (identical to probe supplied with unit)
cable length 48" (122cm).
Control Cat. No. 8039—
Low-Temperature Probe - Stainless-steel with handle; triple purpose (liquids, air/gas,
and semi-solids), Dimensions: diameter 0.17 inch; stem length 12 inches; overall
length 17 inches.
Control Cat. No. 8613—
High-Temperature Probe - Ten-foot-long 0.19-inch diameter braided metal wire cable
with smooth tip measures -73 to 982°C continuous or 1093°C short-term use.
DISPLAY MESSAGES:
OL indicates that no probe is present.
indicates that the battery is low and needs replacement (see battery
replacement).
ALL OPERATIONAL DIFFICULTIES
If this thermometer does not function properly for any reason, please replace the
battery with a new high quality battery (see “Battery Replacement” section). Low
battery power can occasionally cause any number of “apparent” operational difficulties.
Replacing the battery with a new fresh battery will solve most difficulties.
BATTERY REPLACEMENT:
A " " symbol will appear on the LCD display when the battery needs replacement.
Before replacing the battery turn the unit off and unplug the probes. Slide the unit out
of its rubberized protective casing. Remove the three screws from the back of the
meter and lift off the front of the case. Remove the exhausted battery and replace it
with a new 9 volt alkaline battery. Replace the front of the meter, insert the screws and
slide the unit back into its rubberized casing.
WARRANTY, SERVICE, OR RECALIBRATION
For warranty, service, or recalibration, contact:
CONTROL COMPANY
4455 Rex Road
Friendswood, Texas 77546 USA
Ph. 281-482-1714 Fax 281-482-9448
E-mail sales@control3.com
www.control3.com
Control Company is ISO 9001 Quality-
Certified by DNV and ISO 17025 accredited
as a Calibration Laboratory by A2LA.
Traceable® is a registered trademark of Control Company ©2008 Control Company. 92-4135-00 Rev. 2 052008
 Loading...