

Page 1

IP Phone 2001 User Guide
BCM
Business Communications Manager
Document Status: Standard
Document Version: 03.01
Document Number: NN40050-106
Date: November 2006
Page 2

Copyright © Nortel Networks Limited 2006, All rights reserved.
The information in this document is subject to change without notice. The statements, configurations, technical data, and
recommendations in this document are believed to be accurate and reliable, but are presented without express or implied
warranty. Users must take full responsibility for their applications of any products specified in this document. The
information in this document is proprietary to Nortel Networks.
Trademarks
Nortel, the Nortel logo, and the Globemark are trademarks of Nortel Networks.
Microsoft, MS, MS-DOS, Windows, and Windows NT are registered trademarks of Microsoft Corporation.
All other trademarks and registered trademarks are the property of their respective owners.
Page 3

Contents
Chapter 1
Getting Started . . . . . . . . . . . . . . . . . . . . . . . . . . . . . . . . . . . . . . . . . . . . . . . . . 5
Introduction . . . . . . . . . . . . . . . . . . . . . . . . . . . . . . . . . . . . . . . . . . . . . . . . . . . . . . . . . . 5
IP Phone 2001 default buttons and descriptions . . . . . . . . . . . . . . . . . . . . . . . . . . . . . . 6
Telephone display . . . . . . . . . . . . . . . . . . . . . . . . . . . . . . . . . . . . . . . . . . . . . . . . . . . . . 7
Telephone setup . . . . . . . . . . . . . . . . . . . . . . . . . . . . . . . . . . . . . . . . . . . . . . . . . . . . . . 8
Display contrast level . . . . . . . . . . . . . . . . . . . . . . . . . . . . . . . . . . . . . . . . . . . . . . . 8
Language choice . . . . . . . . . . . . . . . . . . . . . . . . . . . . . . . . . . . . . . . . . . . . . . . . . . . 8
Ring type . . . . . . . . . . . . . . . . . . . . . . . . . . . . . . . . . . . . . . . . . . . . . . . . . . . . . . . . . 8
Chapter 2
Features and buttons. . . . . . . . . . . . . . . . . . . . . . . . . . . . . . . . . . . . . . . . . . . . 9
Basic call features . . . . . . . . . . . . . . . . . . . . . . . . . . . . . . . . . . . . . . . . . . . . . . . . . . . . . 9
External calls . . . . . . . . . . . . . . . . . . . . . . . . . . . . . . . . . . . . . . . . . . . . . . . . . . . . . . 9
External calls using the Line button . . . . . . . . . . . . . . . . . . . . . . . . . . . . . . . . . . . . . 9
Internal calls . . . . . . . . . . . . . . . . . . . . . . . . . . . . . . . . . . . . . . . . . . . . . . . . . . . . . . 9
Internal calls using the Line button . . . . . . . . . . . . . . . . . . . . . . . . . . . . . . . . . . . . 10
Answering calls . . . . . . . . . . . . . . . . . . . . . . . . . . . . . . . . . . . . . . . . . . . . . . . . . . . 10
Hold . . . . . . . . . . . . . . . . . . . . . . . . . . . . . . . . . . . . . . . . . . . . . . . . . . . . . . . . . . . . 10
Make or answer a second call . . . . . . . . . . . . . . . . . . . . . . . . . . . . . . . . . . . . . . . . 10
Time offset . . . . . . . . . . . . . . . . . . . . . . . . . . . . . . . . . . . . . . . . . . . . . . . . . . . . . . . . . . 10
Navigation buttons . . . . . . . . . . . . . . . . . . . . . . . . . . . . . . . . . . . . . . . . . . . . . . . . . . . . 11
Programmable memory buttons . . . . . . . . . . . . . . . . . . . . . . . . . . . . . . . . . . . . . . . . . 12
Programming memory buttons . . . . . . . . . . . . . . . . . . . . . . . . . . . . . . . . . . . . . . . 12
Contents 3
IP Phone 2001 User Guide
Page 4

4 Contents
NN40050-106NN40050-106
Page 5
Chapter 1
Getting Started
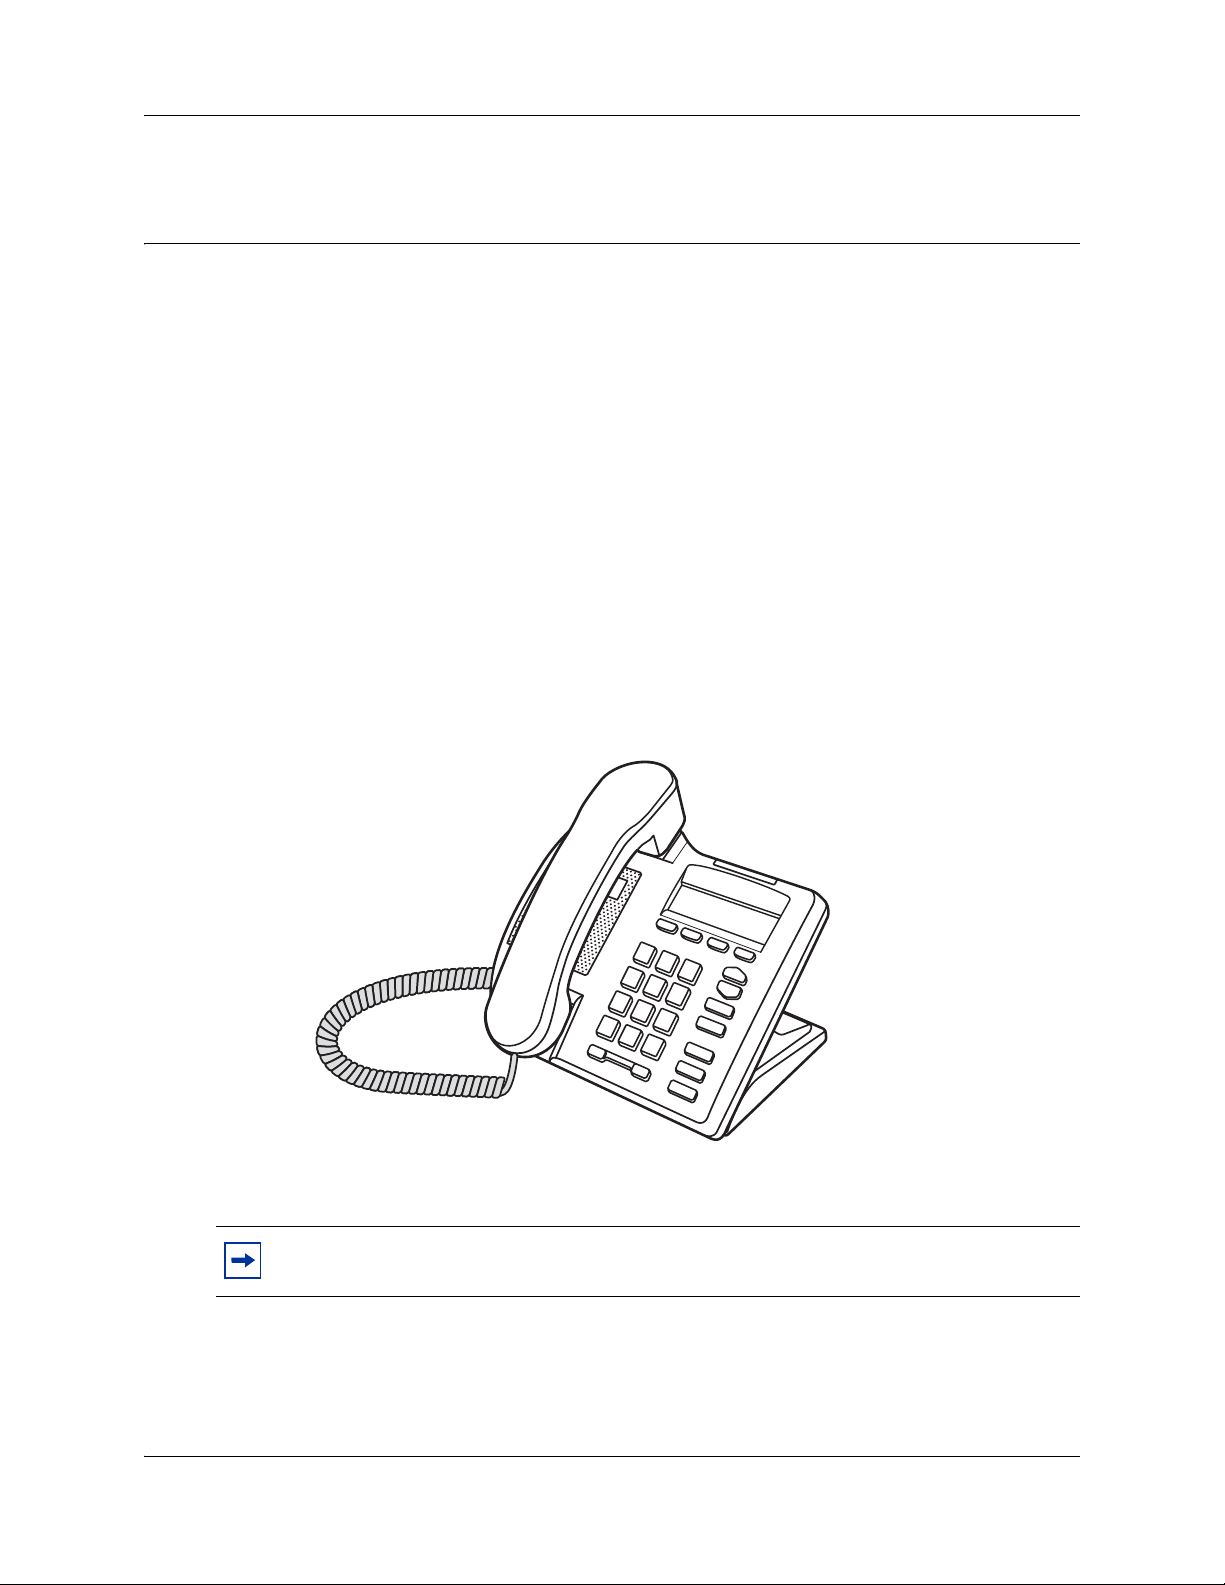
The IP Phone 2001 brings voice and data to your desktop.
Introduction
This guide contains information about:
• telephone buttons and lights
• telephone display
• telephone setup
• how to make and answer calls
• how to offset the time on your telephone display
• how to use the navigation buttons
• how to program memory buttons
5
IP Phone 2001
Note: For information on telephone features and how to use them, refer to the Telephone
Features User Guide.
IP Phone 2001 User Guide
Page 6

6 Chapter 1 Getting Started
IP Phone 2001 default buttons and descriptions
A
B
A
Telephone light
Flashes when a call rings at the telephone.
Lights up when Message for you appears on the display.
B
Feature button
Starts or ends a feature.
C
Display buttons
C
D
E
F
G
H
I J
D
E
NN40050-106NN40050-106
Shows feature options.
Navigation cluster buttons
Allows you to view items stored in your Call Log.
For more information on the Call Log feature, refer to “Navigation buttons” on page 11.
Services
Services button (programmable memory button)
or
Allows you to view the scrollable display menu for feature options (FEATURE *900),
including the hot desking feature.
For more information on hot desking and other IP feature options, refer to the Telephone
Feature User Guide.
Note: Feature options in this menu are configured by your system administrator.
Page 7

Chapter 1 Getting Started 7
R
F
Message button (programmable memory button)
Opens your mailbox on the internal voice message center.
For more information about mailbox options, refer to the documentation provided with the
internal voice message center.
G
Goodbye button
Ends an active call.
H
Hold button
Places an active call on hold
I
Line button (programmable memory button)
Allows you to make a call on an intercom line.
J
Volume bar
Adjusts the handset and ringer volume.
Telephone display
The following information appears on the display when the telephone is not in use:
or
or
Hold
Line
or
or
Message
Goodbye
- Set identification (number or name)
- Date and time
- Label for the
Feature button
The following information appears on the display when the telephone is in use:
- Set identification (number or name)
- Label for the
Feature button
- Call or feature information
- Labels for the display buttons
Button labels appear in capital letters directly above the display buttons. Button labels vary
depending on the type of call or feature in use.
Display area examples
idle Active - internal call
DN: 2245
2257
TRANSFE
Feature
DN: 2245
Feb 24 1:23 pm
Feature
IP Phone 2001 User Guide
Page 8

8 Chapter 1 Getting Started
Telephone setup
Basic telephone setup features are:
• Display contrast
• Language choice
• Ring type
Display contrast level
Adjust the contrast for the telephone display:
1 Press Feature
2 Press DOWN
3 Press OK
•‡.
and UP to view the levels.
to select a level.
Language choice
Select the Primary Language for the telephone display.
1 Press Feature
Select the Alternate Language for the telephone display.
1 Press Feature
Select the Alternate Language 2 for the telephone display.
1 Press Feature
Select the Alternate Language 3 for the telephone display.
1 Press Feature
•fi‚⁄.
•fi‚¤.
•fi‚‹
•fi‚›
.
.
Ring type
Select a different ring type for your telephone.
1 Press Feature
•
fl.
2 Press 1, 2, 3, 4, or NEXT
3 Press OK
NN40050-106NN40050-106
or to hear the different ring types.
to store the ring type.
Page 9

Chapter 2
Features and buttons
This section describes some of the IP Phone 2001 buttons and call features:
• Basic call features
• Navigation buttons
• Programmable memory buttons
Basic call features
There are many ways to make a call depending on your telephone programming and the type of
call.
External calls
9
1 Lift the handset.
2 Enter the external code (or line pool code) to access an external line.
3 Dial the external telephone number.
External calls using the Line button ( or )
1 Press or .
2 Enter the external code (or line pool code) to access an external line.
3 Dial the external telephone number.
4 Lift the handset to speak with the person you are calling.
Contact your system administrator to confirm what external code or line pool code to use on your
telephone.
Note: When entering a line pool access code on PRI lines you will not hear dial tone.
Line
Line
Internal calls
1 Lift the handset.
2 Dial the extension number.
IP Phone 2001 User Guide
Page 10

10 Chapter 2 Features and buttons
Internal calls using the Line button ( or )
1 Press or .
Line
Line
2 Dial the extension number.
3 Lift the handset to speak with the person you are calling.
Contact your system administrator for a list of extension numbers.
Answering calls
Lift the handset to answer a call when your telephone rings and the light flashes.
Hold ( or )
1 While on a call, press or .
2 To retrieve a held call, press or again.
Hold
Hold
Hold
Make or answer a second call
You can have two calls active at the same time. Use or to switch between calls.
Hold
To answer a second call while on another call:
1 Press or to answer the second call.
The first call is automatically put on hold.
To hold a call and make a second call:
1 Press or to put the first call on hold.
2 Dial the telephone number of the second call.
To return to the first call:
1 Press or again to return to the first call.
The second call is automatically put on hold.
Time offset
When your IP Phone 2001 is located in a different time zone from your system, the display shows
the system time not the local time. The Time Offset feature allows you to adjust the time that
appears on the display.
Before you begin, calculate the time difference, in hours, between the server time and local time.
Hold
Hold
Hold
NN40050-106NN40050-106
Page 11

Chapter 2 Features and buttons 11
To change the time that appears on your telephone display to
local time:
1 Press Feature •fi⁄‚.
2 Press CHANGE
3 Press • to switch between adding or subtracting time.
4 Using the dialpad, enter the number of hours between local time and system time.
Note: Press £ to enter half hour increments.
5 Press OK
Note: It may take up to one minute for the change to appear on the display.
.
.
Navigation buttons
Use the Navigation buttons to scroll through or make changes to your call log. Call Log displays
use the following special characters:
(underline) identifies a new item
1
¯ identifies answered calls
§ identifies long distance calls
/ identifies that the information has been shortened
To view your Call Log:
1 Press Feature °⁄¤.
2 Press
3 Press MORE
and to move through your items.
Press OLD
Press NEW
Press RESUME
or • to view old items.
or £to view new items.
or ‚ to return to the last viewed item.
or √ to view more information on an item.
IP Phone 2001 User Guide
Page 12

12 Chapter 2 Features and buttons
To erase a Call Log entry:
1 Press or while viewing an item.
Goodbye
To return a call from your Call Log:
1 Display the desired number on your telephone.
2 Edit the number, if required. You can add numbers for long distance dialing or line pool access
or remove numbers using TRIM
3 Lift the handset.
and BKSP.
Programmable memory buttons
There are three programmable memory buttons on your telephone. You can change the default
programming on these memory buttons with internal and external numbers or features
to give you one touch dialing or feature activation.
1
2
3
Programming memory buttons
You can program a memory button with a new number or feature.
3
Services button
Message button
Line button
NN40050-106NN40050-106
Page 13

External autodial
1 Press Feature •⁄.
2 Press a memory button.
3 Enter the external number.
Chapter 2 Features and buttons 13
4 Press OK
to store the number.
Internal autodial
1 Press Feature •¤.
2 Press a memory button.
3 Enter the extension number.
4 Press OK
to store the number.
Features
1 Press Feature •‹.
2 Press a memory button.
3 Press
4 Press OK
Feature and enter the feature code.
to store the feature code.
Erase memory buttons
1 Press Feature •⁄.
2 Press a memory button.
3 Press OK
to erase the button.
Note: For information on telephone features and how to use them, refer to the Telephone Features User
Guide.
IP Phone 2001 User Guide
Page 14

14 Chapter 2 Features and buttons
NN40050-106NN40050-106
 Loading...