

Page 1
P/N NSRX3C2MSX
USER GUIDE
WIRELESS MICROPHONE
BLUETOOTH
.
FCC ID:TNZNSRX3C2XXX
0678
Declaration of Conformity. We declare that product
NSRXRM3C2MSX conforms to the R&TTE Directive 1999/5/RC.
M
I
C
R
O
P
H
O
N
E
Page 2
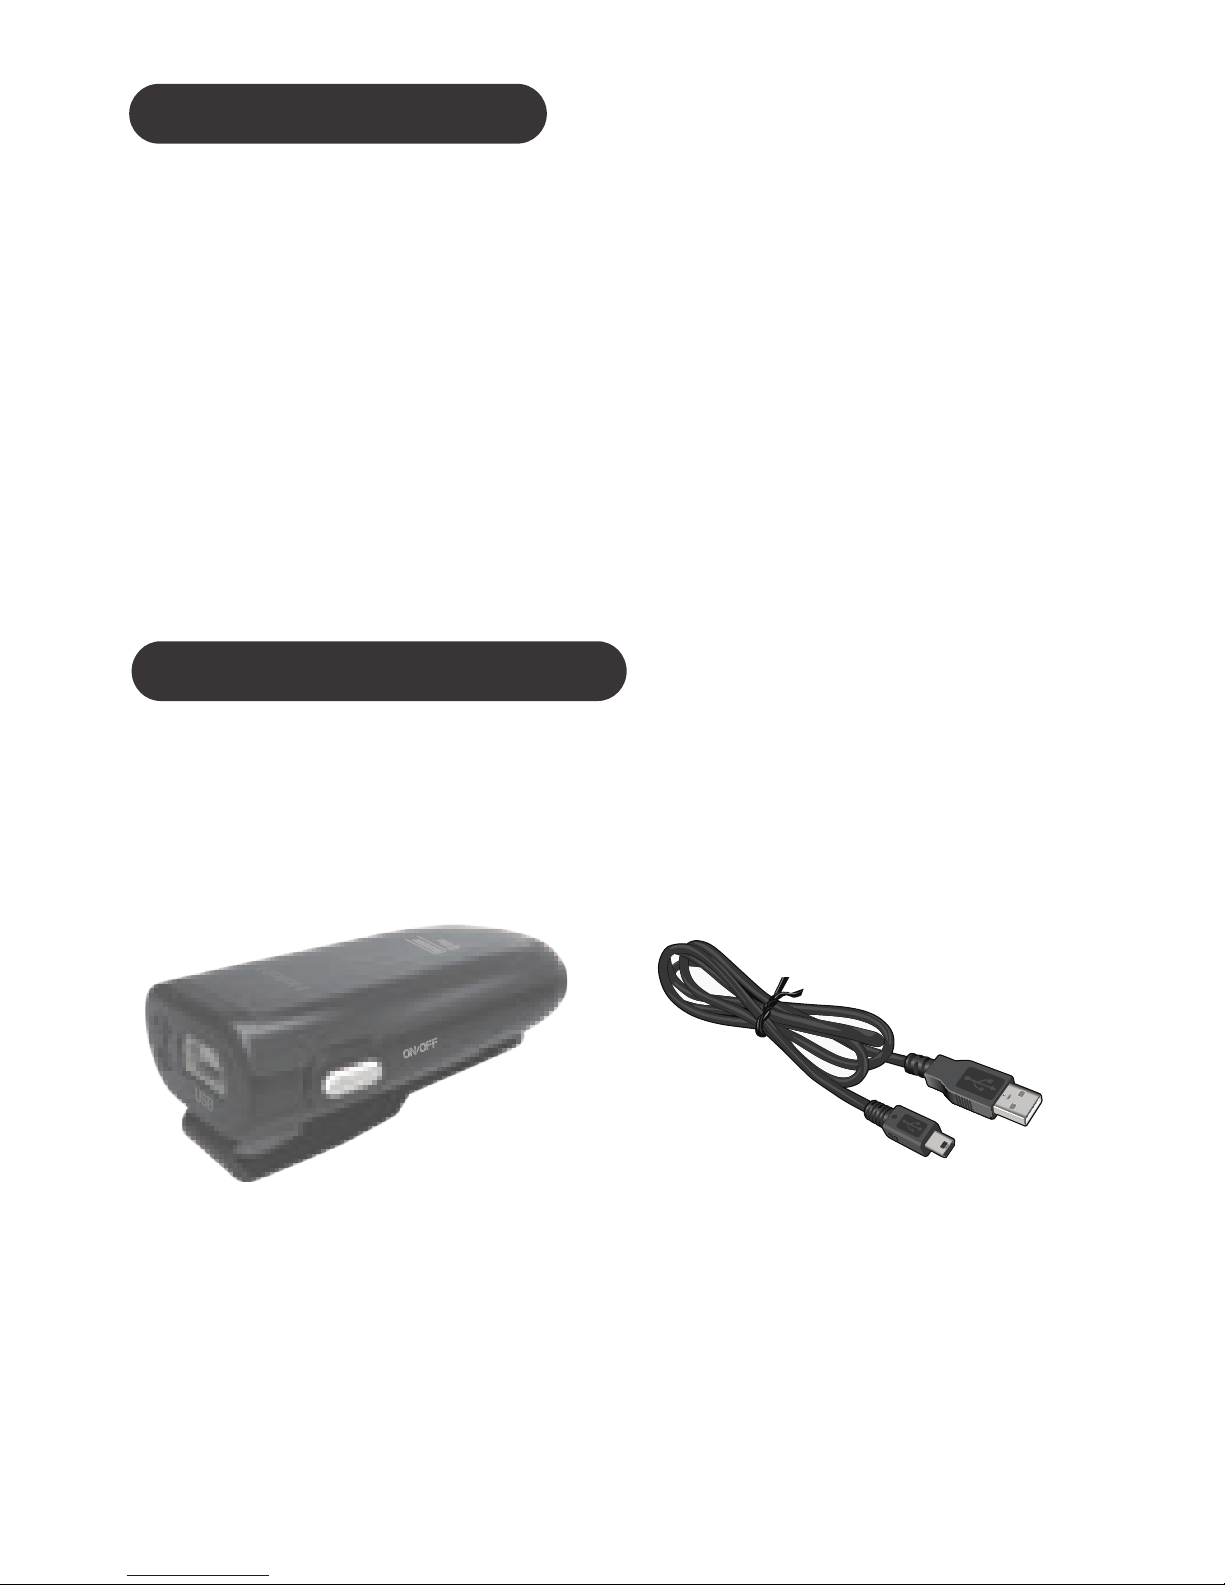
Please check the contents carefully and
contact your local dealer immediately if
anything is missing or damaged.
GETTING STARTED
Unpack the package carefully and confirm
that you have all of parts as shown below.
※
USB charging cableMicrophone
INTRODUCTION
The Bluetooth Wireless Microphone allows
capturing the source of audio wirelessly
and freely. Users can listen, capture or
record the audio/voice of subject with clarity
sound from Bluetooth wireless microphone.
Compatible stereo Bluetooth devices
must support the Bluetooth profile known
as A2DP, Headset/Handfree profiles.
Page 3
CHARGING
Before using the microphone, you must
charge it for approximately 2 hours. After
fully charged, it can provide up to 5 hours of
playing time and 100 hours of standby time.
PRODUCT OVERVIEW
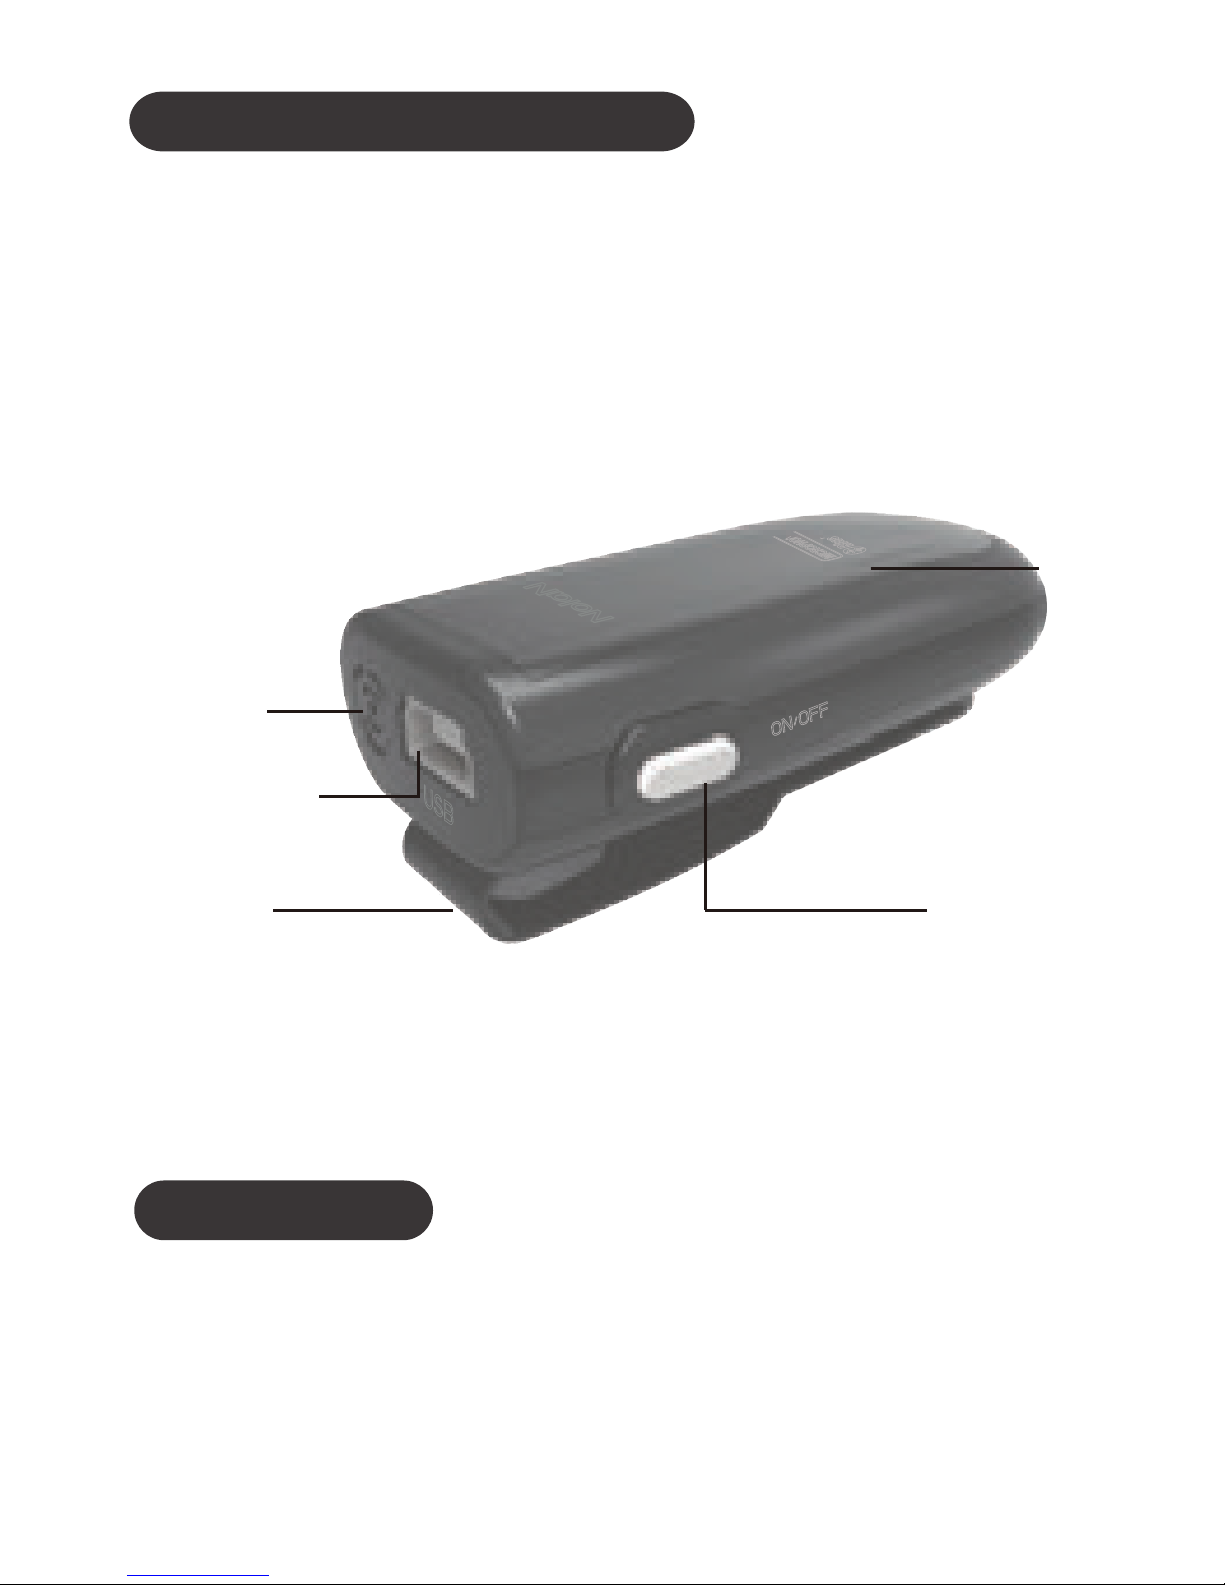
See image below. Please note some
models of microphone will differ slightly in
style, colour and the functionality may vary
according to their specifications.
Mic
Clipper
On/Off
/Volume
Button
USB Charging
Connector
LED
Page 4
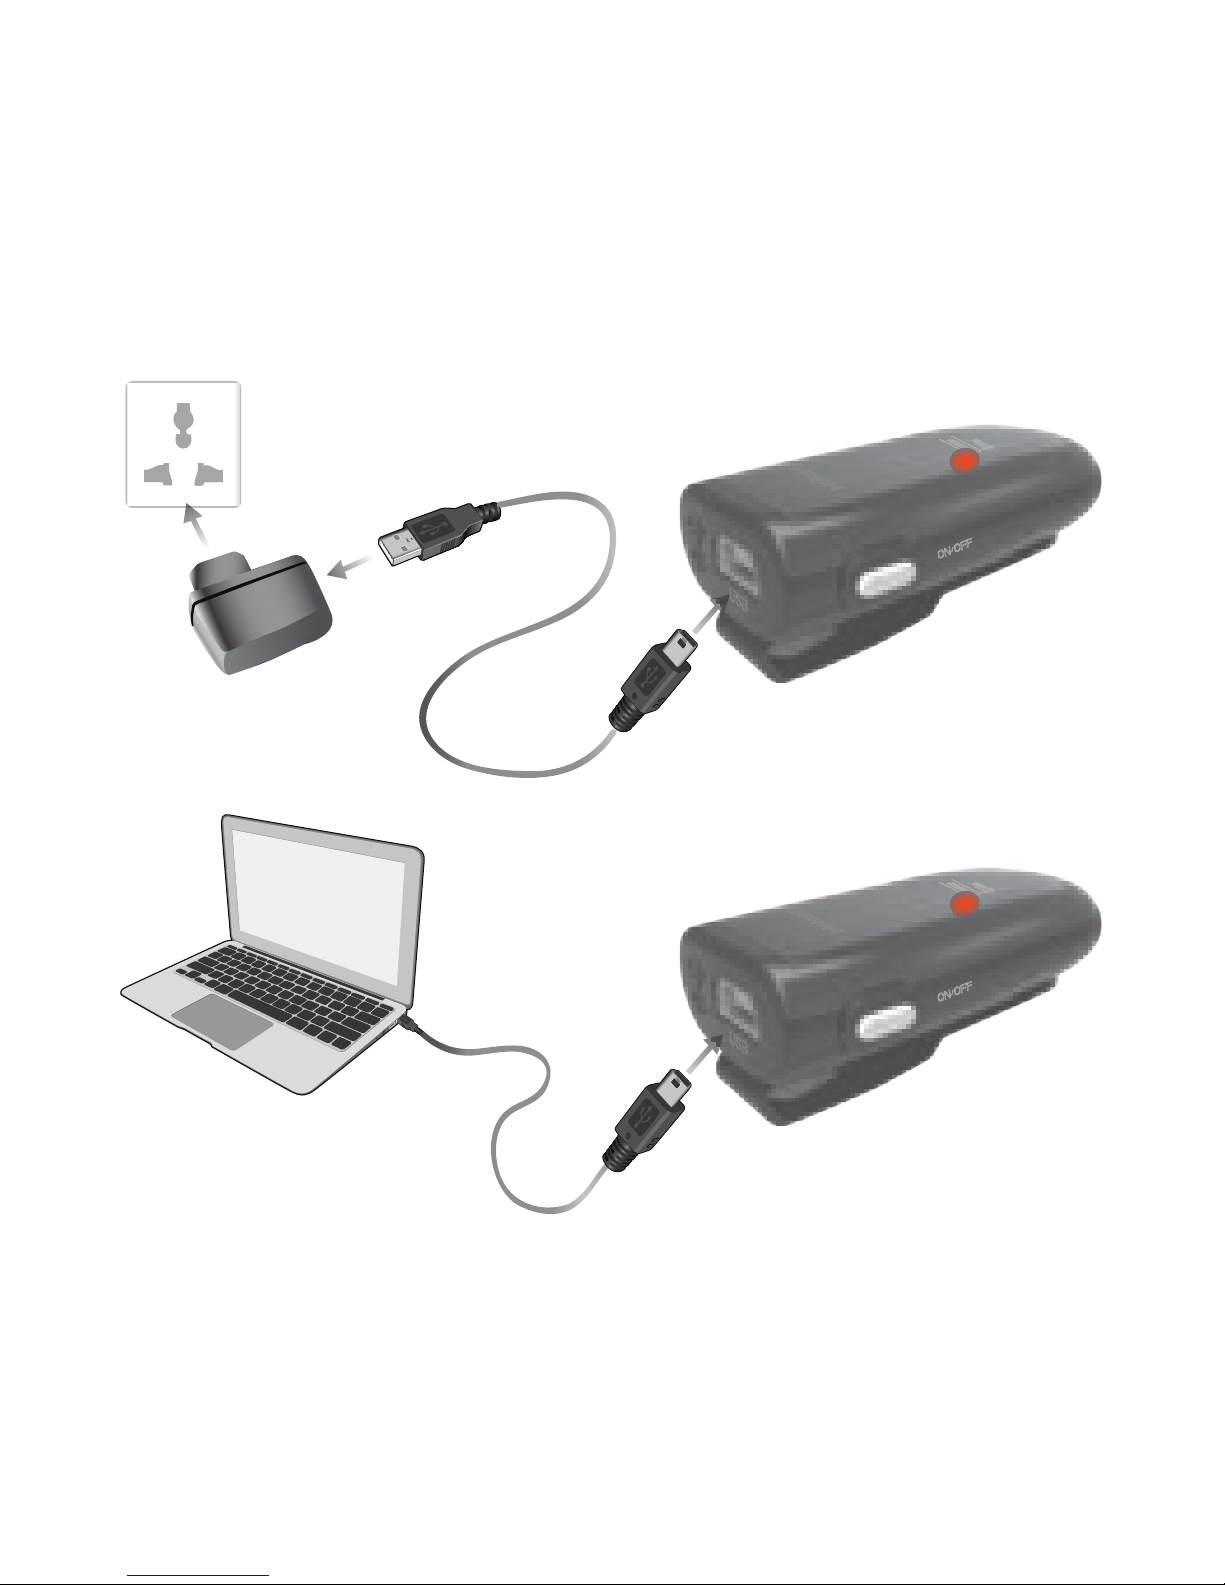
Plug the USB charging cable into
microphone mini USB connector. Plug the
other side of the USB charging cable into a
powered USB connector.
When charging, the amber LED will be
lighted. When charging is completed, the
amber LED will be turn off.
or
Page 5

TURN ON AND PARING
Microphone can work with 2 different types
of devices.
Type A: Audio receivers, speakers and
headsets
Type B: iPhones, iPads, android phones,
smartphones, tablets, PCs, laptop, Mac.
Those will indicate with different LED
lighting during pairing. Please ensure you
are using correct pairing type with your
devices and applications
Type A and Type B of pairing modes
supporting:
Page 6
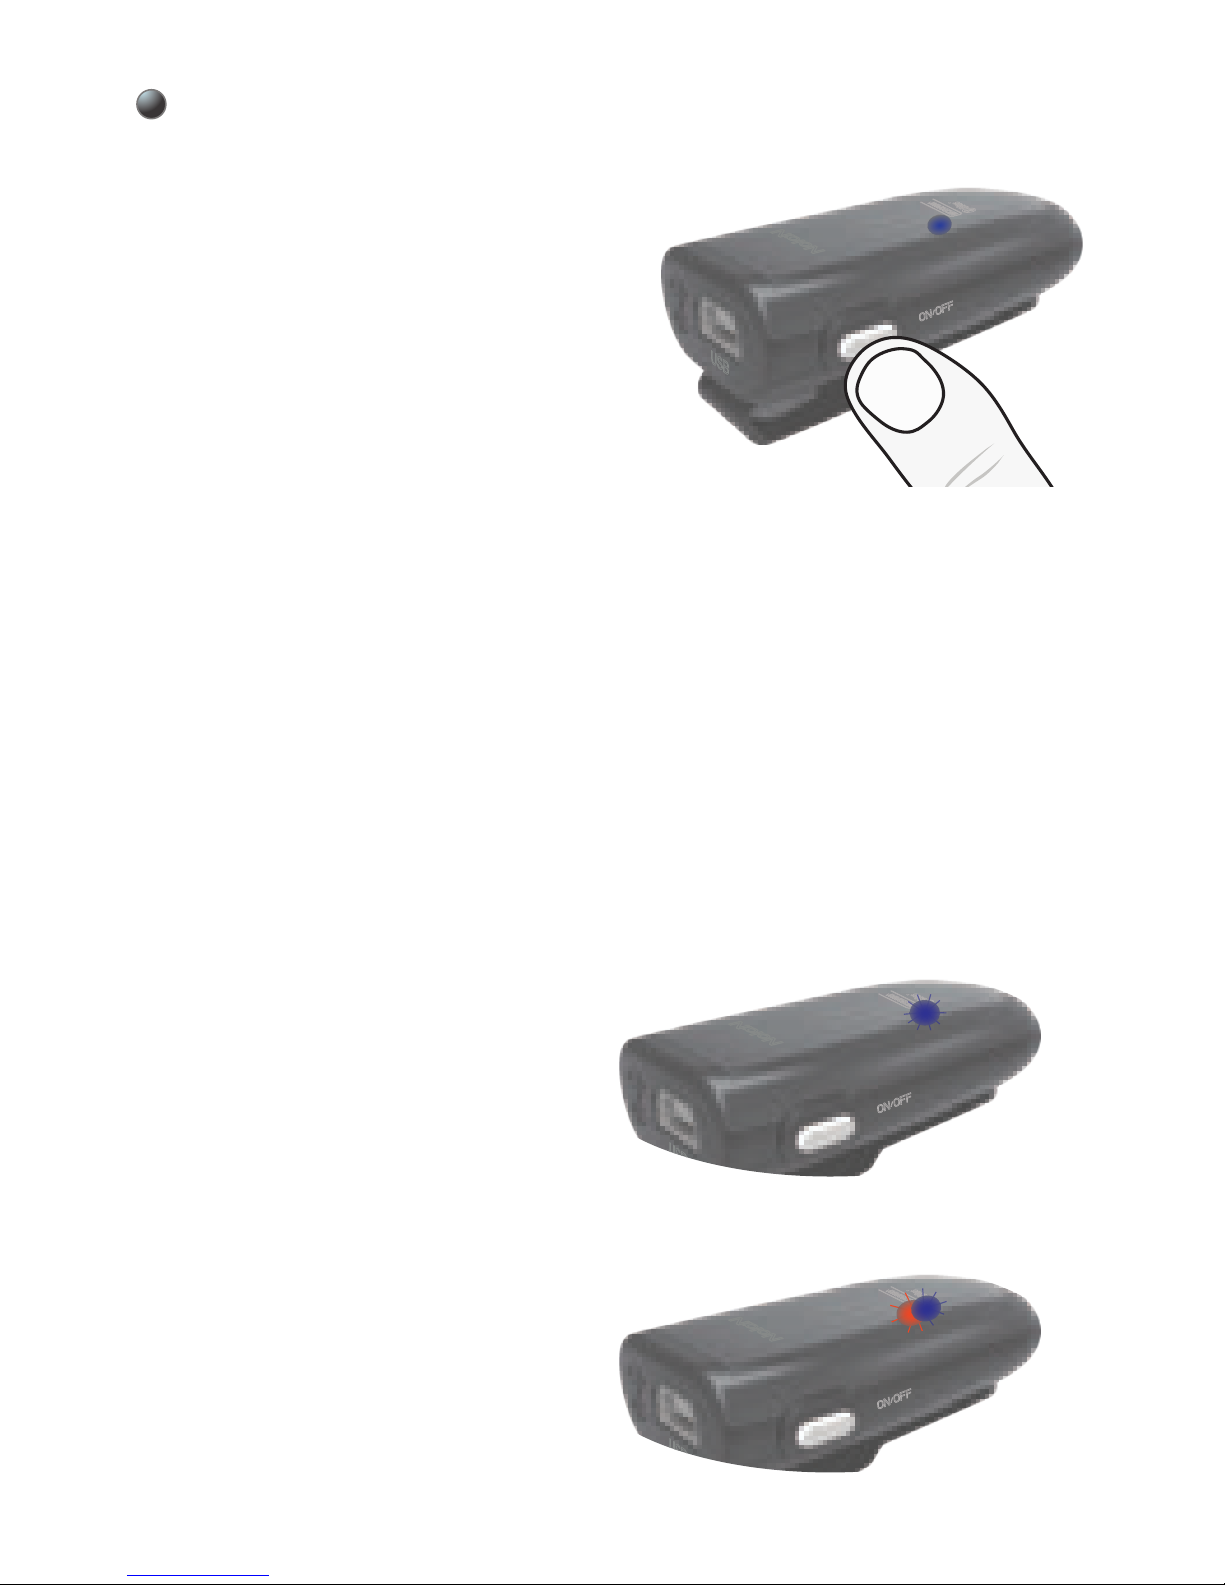
Type A pairing mode :blue LED flashes
along.
Type B pairing mode: blue and amber
LED flash alternatively.
then release the button. Microphone will be
turned on and inter current type A or B
pairing mode automatically. The type A and
B pairing mode has different LED indication, please ensure you are in suitable
pairing mode during the pairing.
Turn on your Microphone into pairing
mode
Press and hold the
ON/OFF button for
about 2 seconds, the
blue LED will solid light
for about 1 second,
Page 7
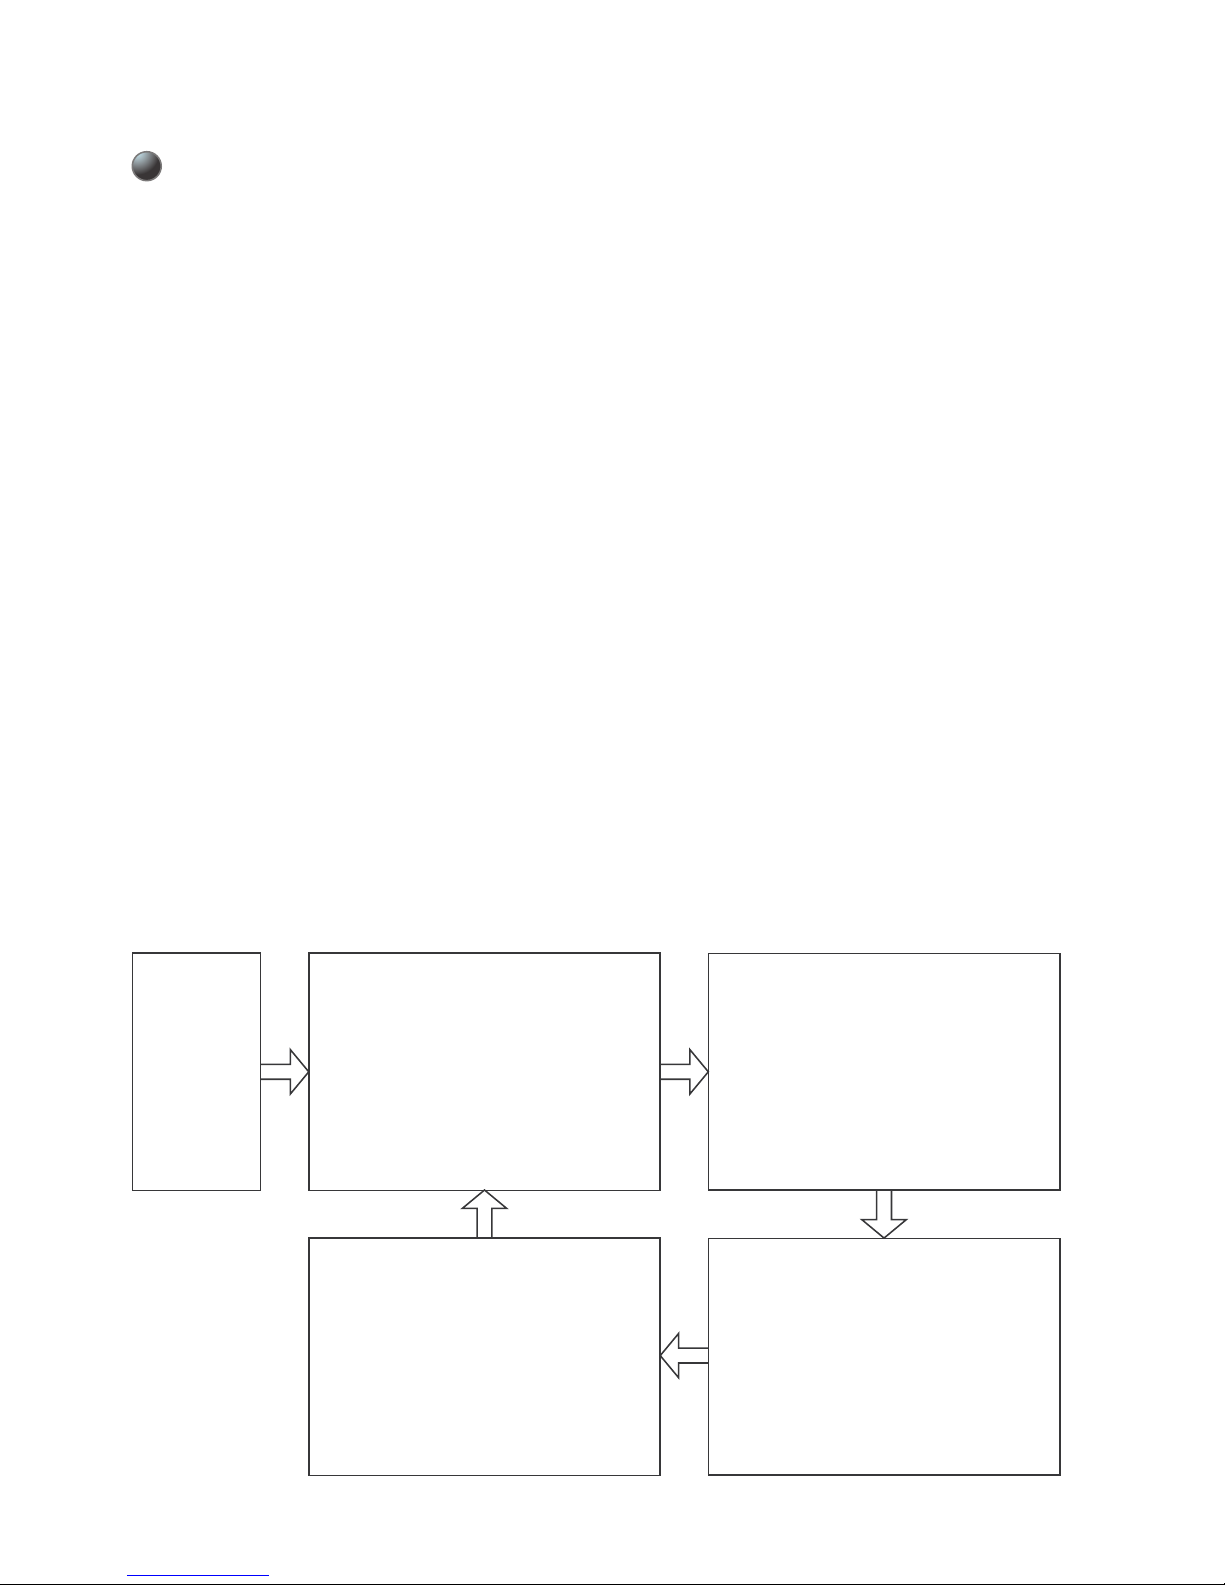
When you press and hold the ON/OFF
button without released, the microphone
will switch between the type A and B mode
circularly with different LED indication.
When the microphone is into desired
pairing mode, release the button, the
microphone will keep this pairing mode for
using. If you like to change again, you can
repeat this operation for mode changing
between Type A and Type B.
Switch to desired Type A or Type B
mode
Power On
blue LED solid on
and then into type
A(or B) pairing mode
Switch Pairing Mode
blue and amber LED
solid on together and
then LEDS off
Switch Pairing Mode
blue and amber LED
solid on together and
then LEDS off
Power
Off
Power On
blue LED solid on
and then into type
B(or A) pairing mode
Page 8
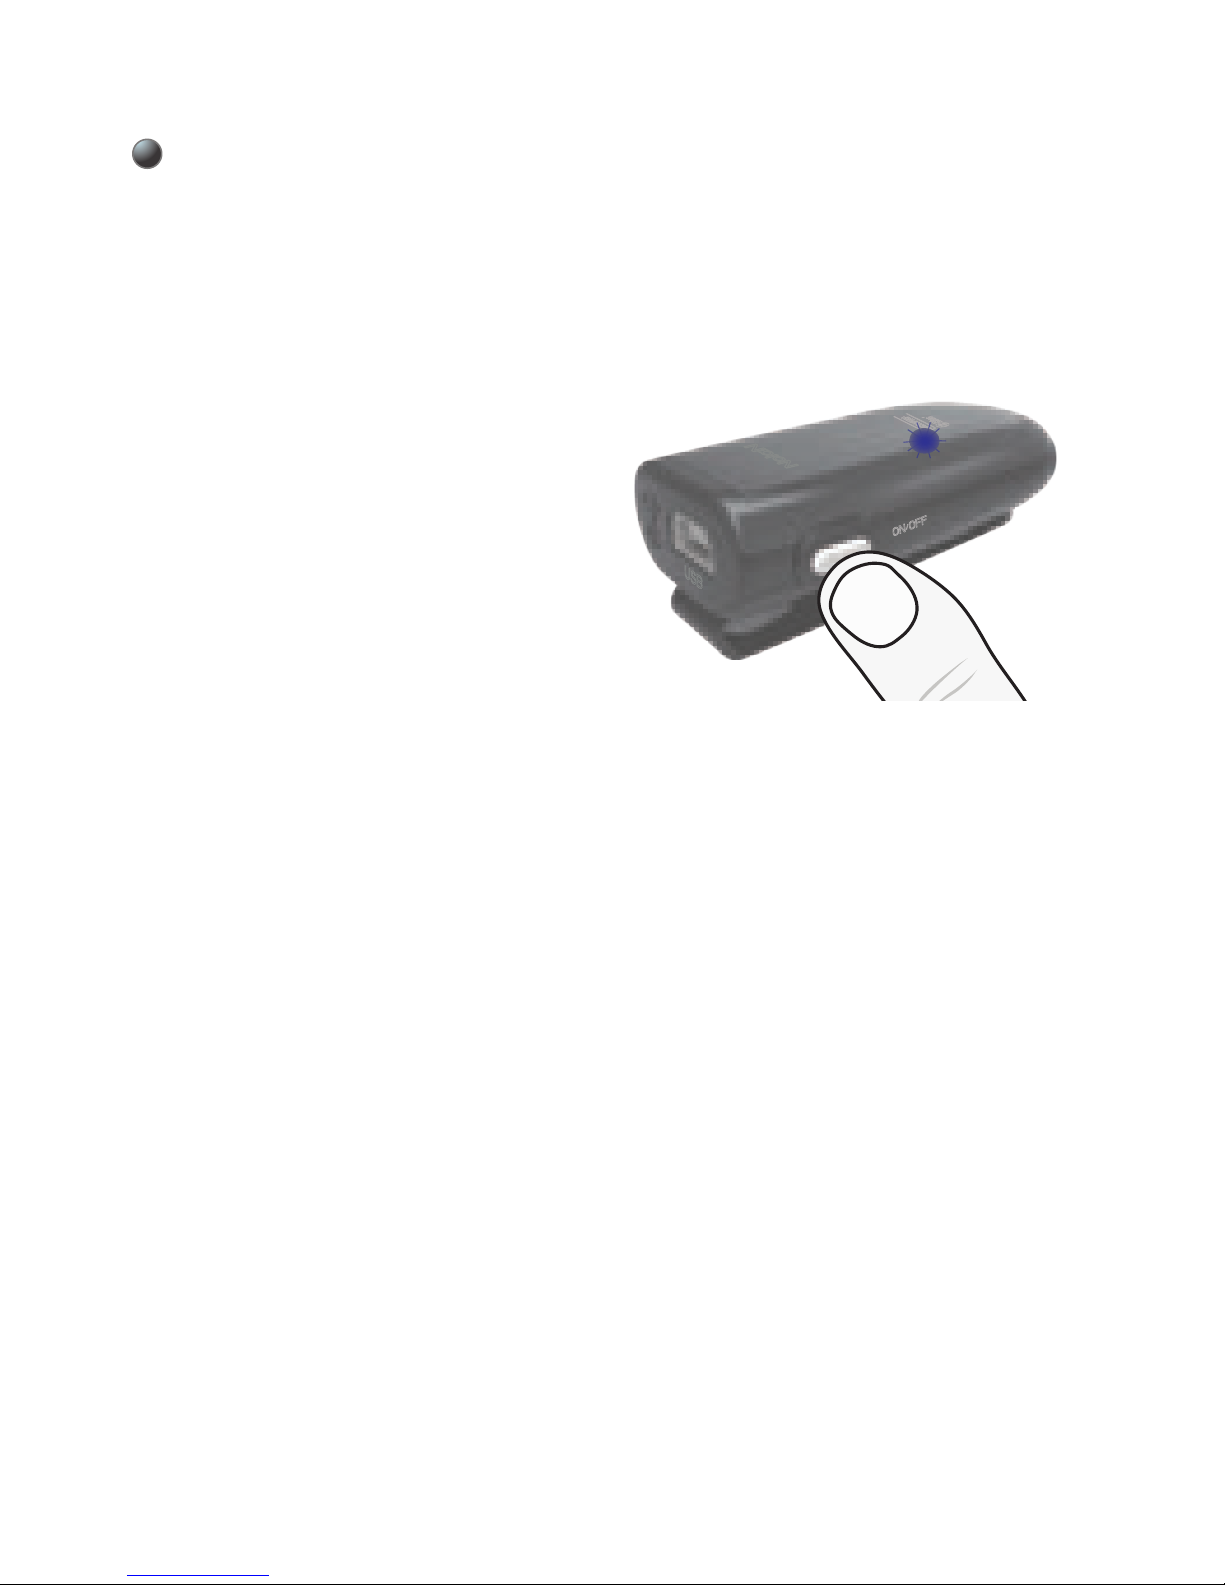
2. After the Microphone is in pairing mode,
initiate pairing feature on the audio
receiver. Refer to your audio receiver’s
User Guide.
3. The audio receiver should find the
Microphone and pair with it. When pairing is
completed and connected. The blue LED
on Microphone will begin to flash slowly.
1. Turn on the Microphone and into type A
pairing mode.
Important Note: Microphone supports
four sets of pin code: 0000, 1111, 1234,
and 8888. It covers the popular speakers,
receivers.
Type A: To pair with an A2DP enabled
Bluetooth audio receivers, speakers or
headsets
※
Page 9
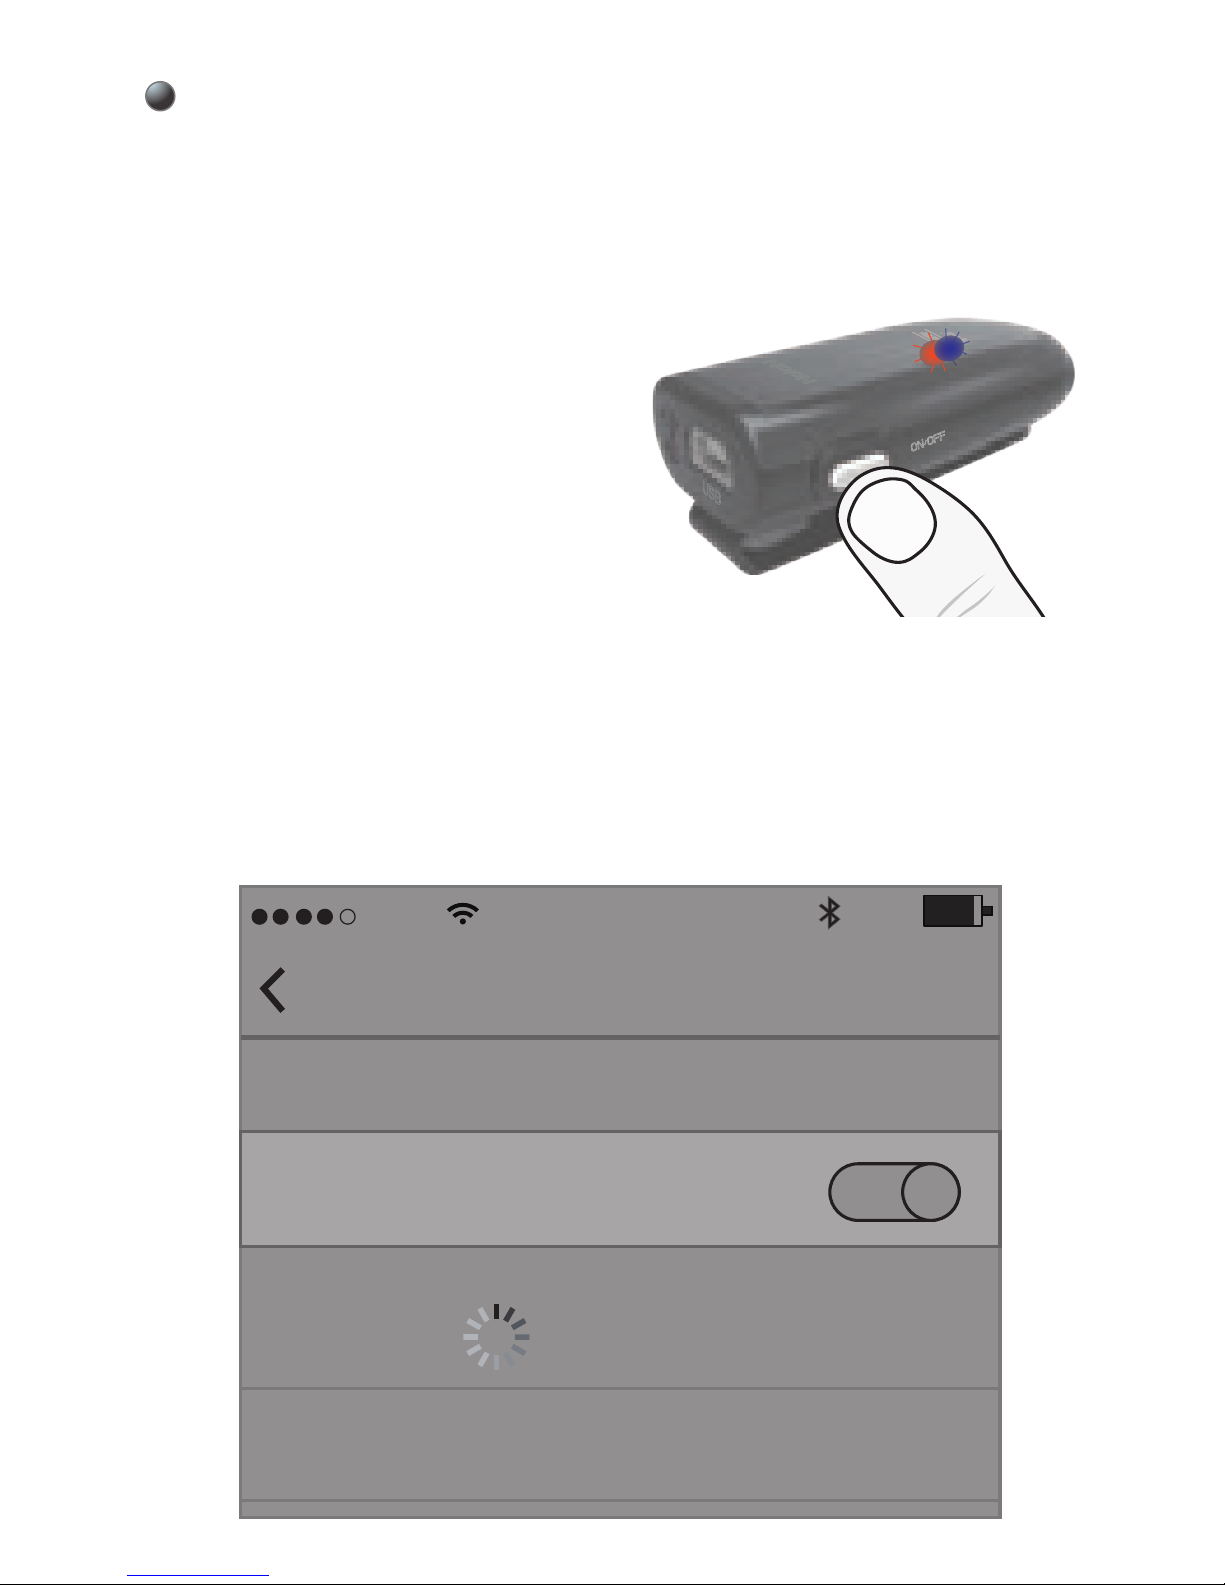
2. Initiate Bluetooth search feature and find
the device name “BTMIC”. If pin code
requested during pairing, please submit the
pin code 0000.
1. Turn on the Microphone and into type B
pairing mode.
Type B: To pair with iPhones, iPads,
tablets, android phones, smartphones,
laptop, Mac and PCs…etc
AT&T
10:08 AM
Settings
Bluetooth
BTMIC
Bluetooth
DEVICES
90%
Page 10
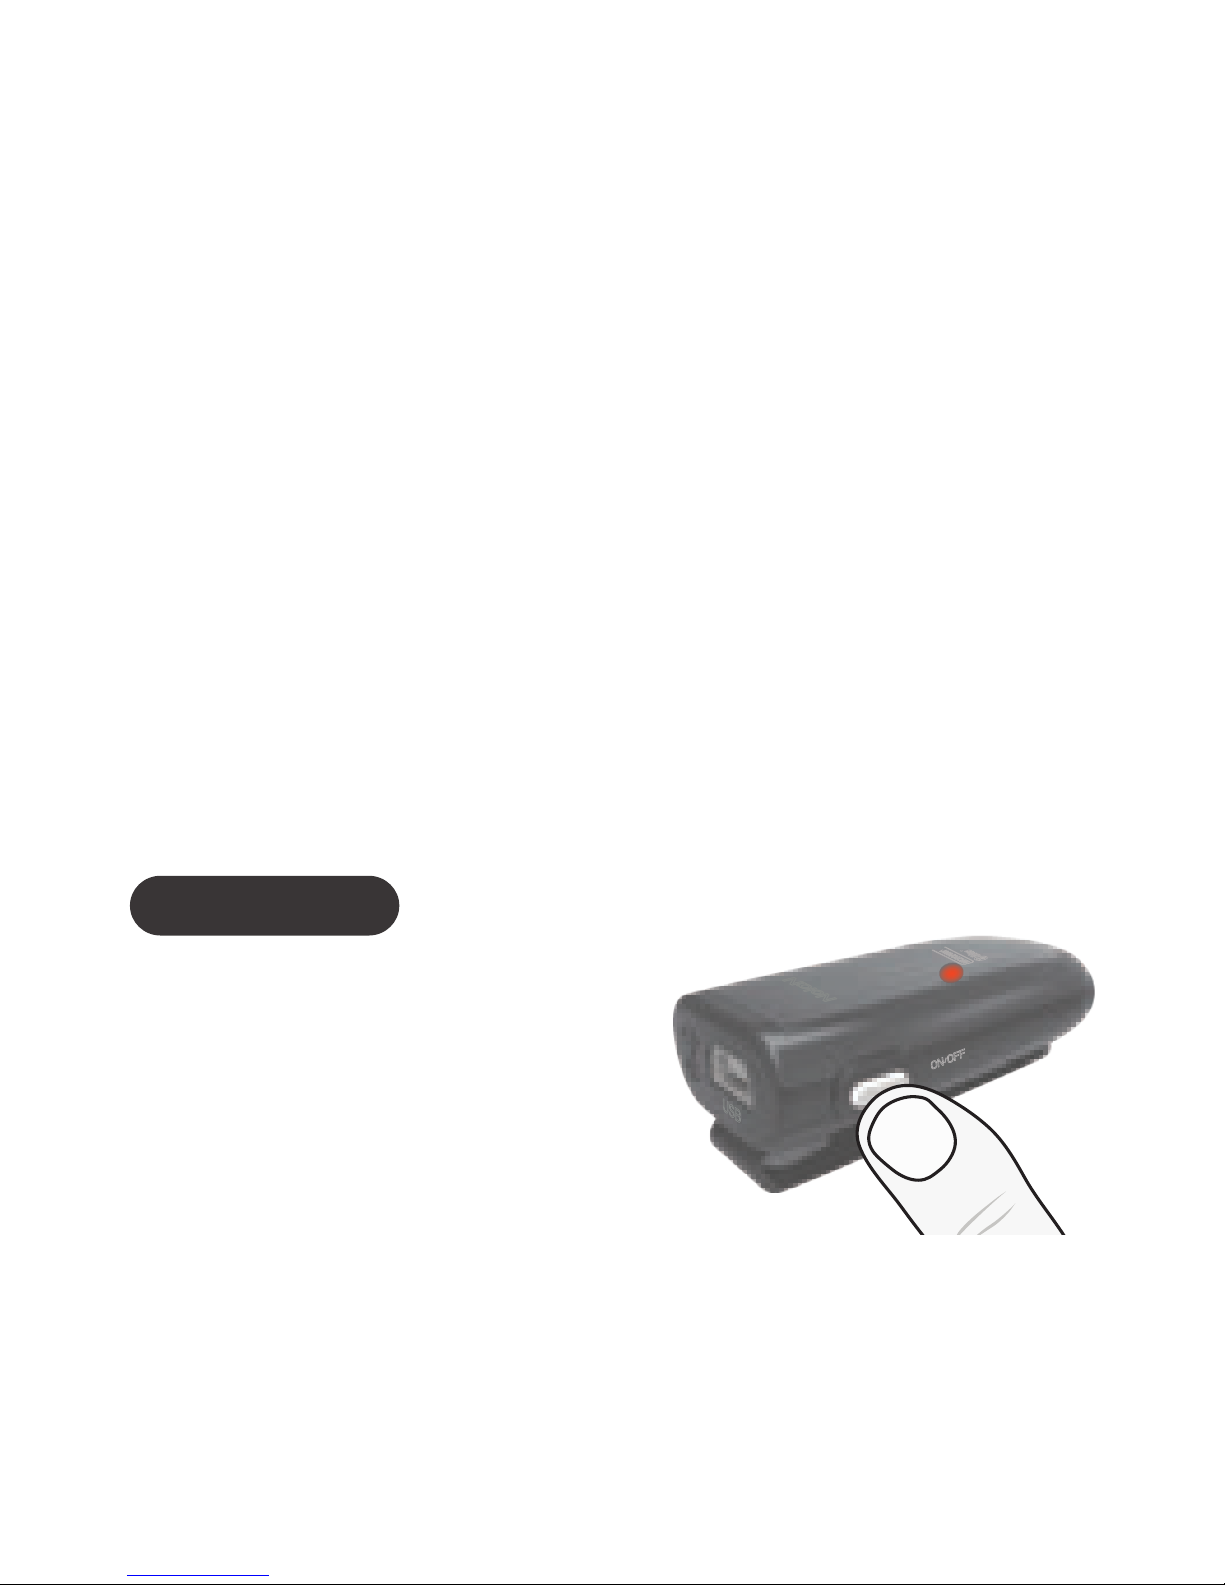
TURN OFF
then the Microphone will turn off. Release
the ON/OFF button.
Press and hold the
ON/OFF button for
about 2 seconds, the
amber LED will stay on
for about 1 second and
In your laptop or pc, please ensure your
Bluetooth driver supported or included
headset/handfree profile. The most of
default Bluetooth drivers of Microsoft OS
such as Win7 does not come with
headset/handfree profile, you may need to
upgrade or install 3rd party driver such as
Microsoft, Broadcom's Widcom, Toshiba,
IVT...etc.
※
3. When pairing is completed and
connected, the blue LED will begin to flash.
Page 11

Auto-reconnect to the Microphone
When Microphone is paired with your
Bluetooth device, you just need to turn on
the Microphone and your Bluetooth device
in the later using, and they will connect to
each others automatically.
Manually connect the Microphone
When your turn on the Microphone or the
Receiver, they will auto-reconnect to each
other. If they were failed to connect due to
any reason,please short press the button,
the Microphone will try to connect the
Receiver again.
MICROPHONE WORKING
After Microphone is paired and connected
with your Bluetooth device, Microphone will
start to work.
At the type A mode, Microphone will start
to transmit the microphone sound to the
receiver.
Page 12

At the type B mode, when connected with
PC, please set the Microphone as the
default audio input device from system
audio setting in your PC. When connected
with iPhone, iPad or android, you need to
run the suitable audio or video recording
apps which supports Bluetooth
microphone.
ADJUSTING AUDIO VOLUME
At the type A mode, you can adjust the
microphone audio volume by press the
button.
To increase the audio volume
While talking, click the ON/OFF button once
to increase the volume by one step. Repeat
this procedure until you reach the desired
level.
To decrease the audio volume
While talking, quick click the ON/OFF
button two times continuously to decrease
the volume by one step. Repeat this
procedure until you reach the desired level.
Page 13
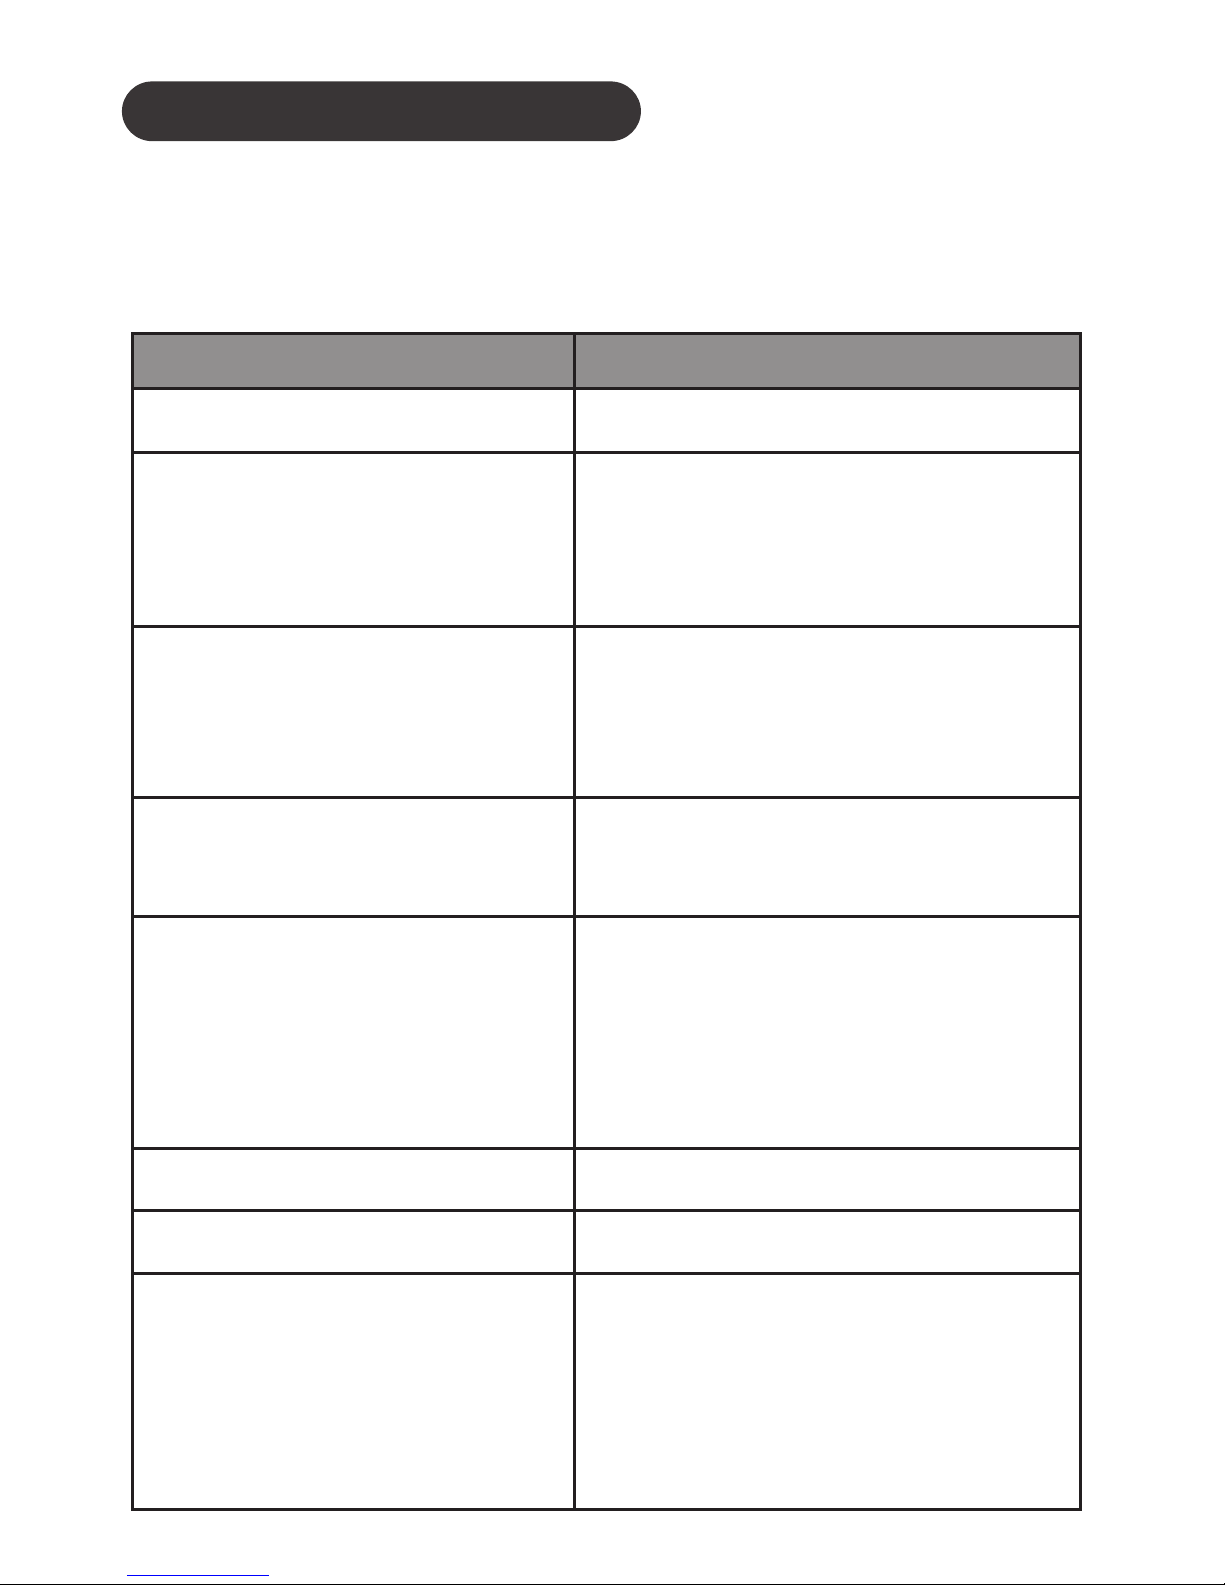
VISUAL INDICATION
The POWER/MODE/ LED can also indicate
the status of microphone working statues.
Statues Indication
Charging amber LED is On
Not Connected
Connected
Power On
Power Off
Pairing mode with
audio receiver
Pairing mode with
iPhones, iPads,
Smarphones, Notebooks, PCs..etc
blue LED flashes
alone after power on
blue LED long time on
amber LED long time on
amber
and
blue
LEDs flash
alternatively after
power on
Low speed flash,
approx. every 5
seconds
blue
and
amber
LED on for 1 second
Switch between
paring with audio
receiver and
iPhones,Notebooks
Medium speed
flash, approx. every
2 seconds
Page 14
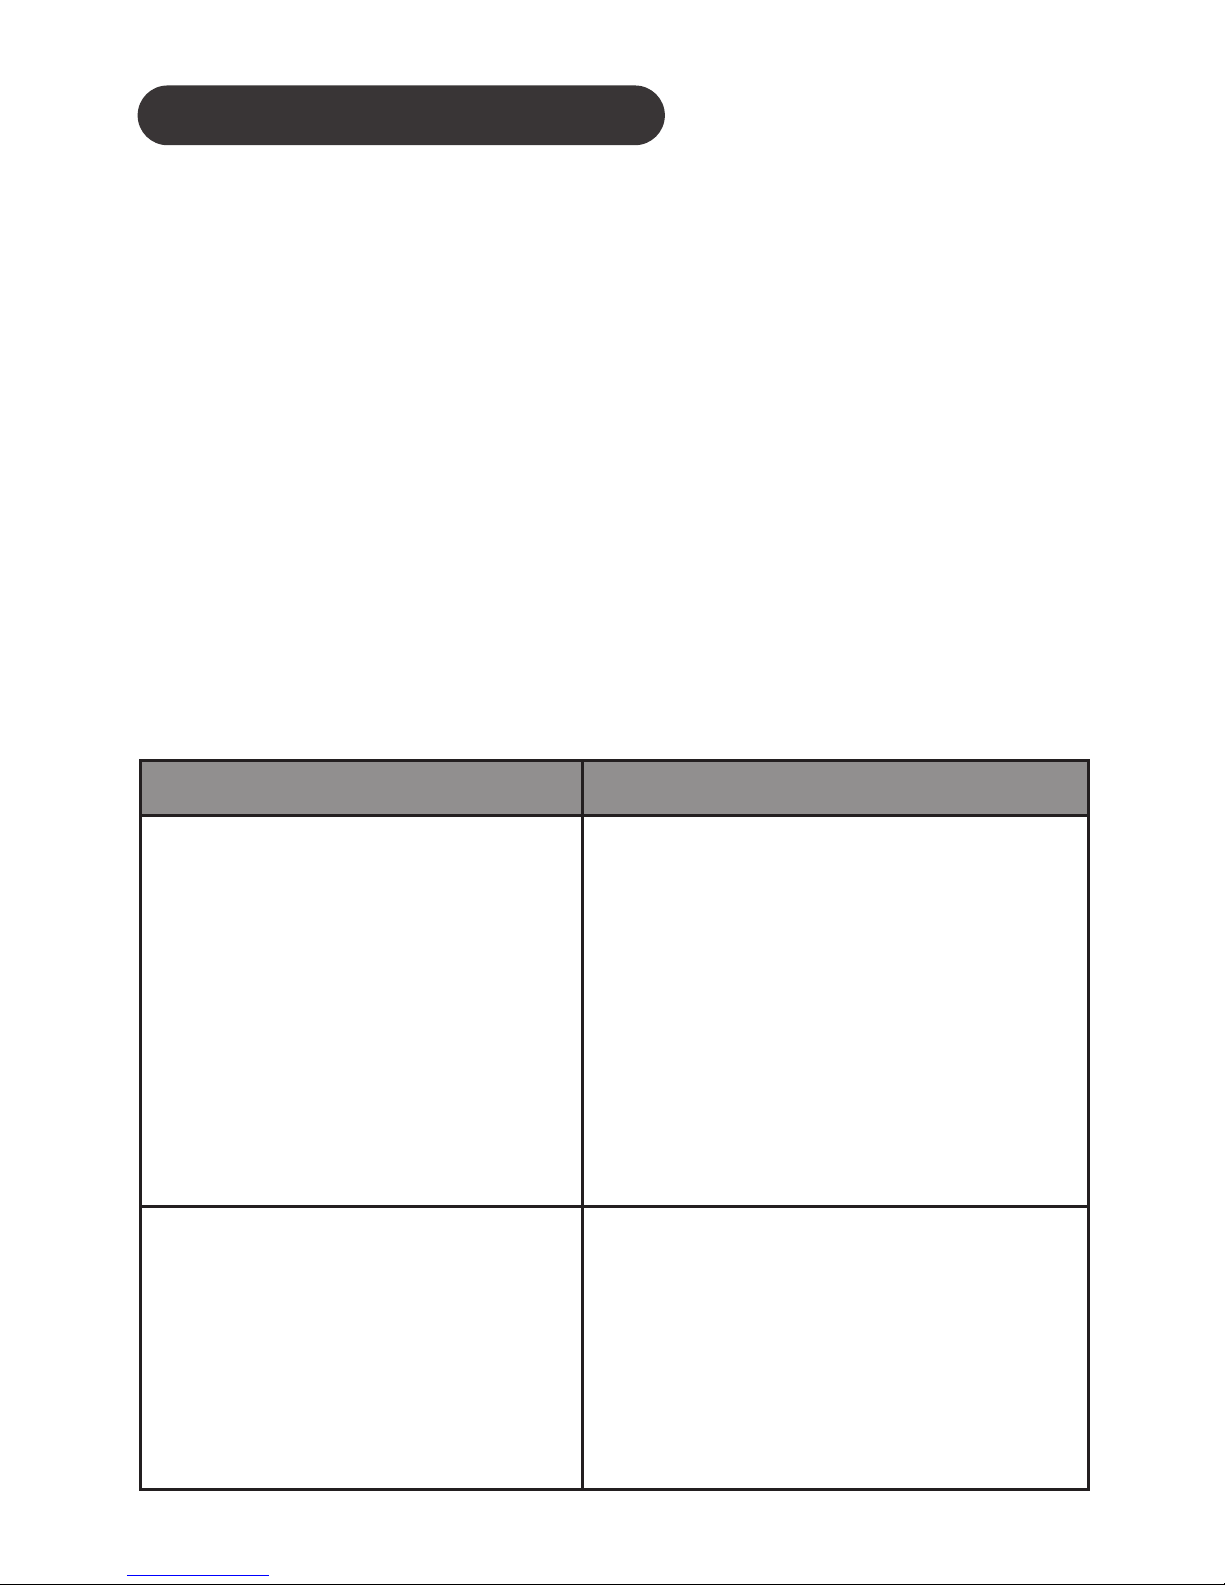
TROUBLESHOOTING
Please note that you should also be familiar
with the operation of your audio receiver,
mobile phone or other connecting
Bluetooth device. Please read the User
Guide for your device carefully. For operation with a PC or laptop please note that
these devices should also be Bluetooth
enabled with appropriate third party
software in order to enable correct operation.
Microphone and audio
receiver were out of
range for more than
30 feet. Turn both
microphone and audio
receiver off and turn
on again to reconnect.
Ensure the audio
receiver’s PIN code is
one of these codes:
0000, 1111, 1234,
8888
Wireless microphone
does not reconnect.
Lost Connection.
blue
LED flashes at
5 second intervals.
Wireless microphone
will not pair with
audio receiver
Likely Cause / Solution
Problem
Page 15
Ensure have handfree
or handset profiles
installed, supported
on your Bluetooth
driver in your laptop,
PC
Ensure your
voice/video recording
apps support
Bluetooth microphone
No sound capture on
laptop, Mac and PC
No sound recorded
on iPhone, iPad,
smartphone, Tablet
Ensure you are using
Type A pairing mode
with blue light flashing
along
Cannot pair with
Bluetooth speaker,
receiver
Ensure you are using
Type B pairing mode
with blue and amber
light flashing
Cannot pair with
iPhone, iPad, Mac,
PC...etc
Likely Cause / Solution
Problem
CUSTOMER SERVICE INFORMATION
For other Nolan Bluetooth products or
support, please view our website –
www.nolan-sys.com or email info@nolansys.com or contact your local representative.
Page 16

ENVIRONMENT
Do not throw this electrical device away with
the normal household waste at the end of its
life, but hand it in at an official collection
point for recycling. By doing this you will help
to preserve the environment.
DISCLAIMER
Whilst every effort has been made to ensure
that the information in this manual is
accurate and complete, no liability will be
accepted for any errors and/or omissions
made. The manufacturer reserves the right
to make changes and improvements to the
specifications and features of the hardware
and firmware of the products described in
this document without prior notice. Reproduction, transfer, distribution or storage of
part or all of the contents in this document in
any form is prohibited without prior permission of the manufacturer. All trademarks
acknowledged.
 Loading...