


External
ADSL USB Modem
USER GUIDE
MOD-ADSL-USBLK

0
ADSL Modem Installation Guide
1 Panel Illustration........................................................................1
1.1 LED Descriptions..........................................................................................1
1.2 Front Panel....................................................................................................1
1.3 Rear Panel.....................................................................................................1
2 Package Contains......................................................................1
3 Hardware Installation.................................................................1
4 Driver Installation.......................................................................2
4.1 Installing ADSL USB Modem......................................................................2
4.1.1 For Windows 98SE and ME ................................................................2
4.1.2 For Windows 2000 and XP................................................................12
4.2 TCP/IP Configuration.................................................................................21

1
1. Panel Illustration
1.1 LED Descriptions
l When modem is establishing the connection, the LED will be blinking.
l When modem is connected, the LED will be on steadily.
1.2 Front Panel
Connect this connector with Type -B end of USB cable.
1.3 Rear Panel
Connect this connector with RJ-11 cable.
2. Package Contains
Open the shipping carton and carefully remove all items. In addition to this quick
installation guide, ascertain that you have:
l ADSL Modem
l RJ-11 Cable
l USB Cable
l Software driver CD
3. Hardware Installation
1) Connect the provided RJ-11 cable into LINE port on the real panel of the modem and
insert the other end to splitter or wall phone jack.
2) Connect the Type -A end of USB cable to your PC.
The diagram below illustrates a connection example,

2
4. Driver Installation
4.1 Installing ADSL USB Modem
4.1.1 For Windows 98SE and ME:
1) When detect new hardware window appears, click “Cancel”:
2) Insert “Easy Setup Software Kit”, front page of Easy Setup window will appear,

3
Install Driver: Click here to install ADSL USB modem driver.
User Manual “Conexant AccessRunner USB ADSL”: Click here to read user’s manual.
Acrobat: Click here to install Acrobat Reader 6.0.
Panda: Click here to start Anti Virus program.
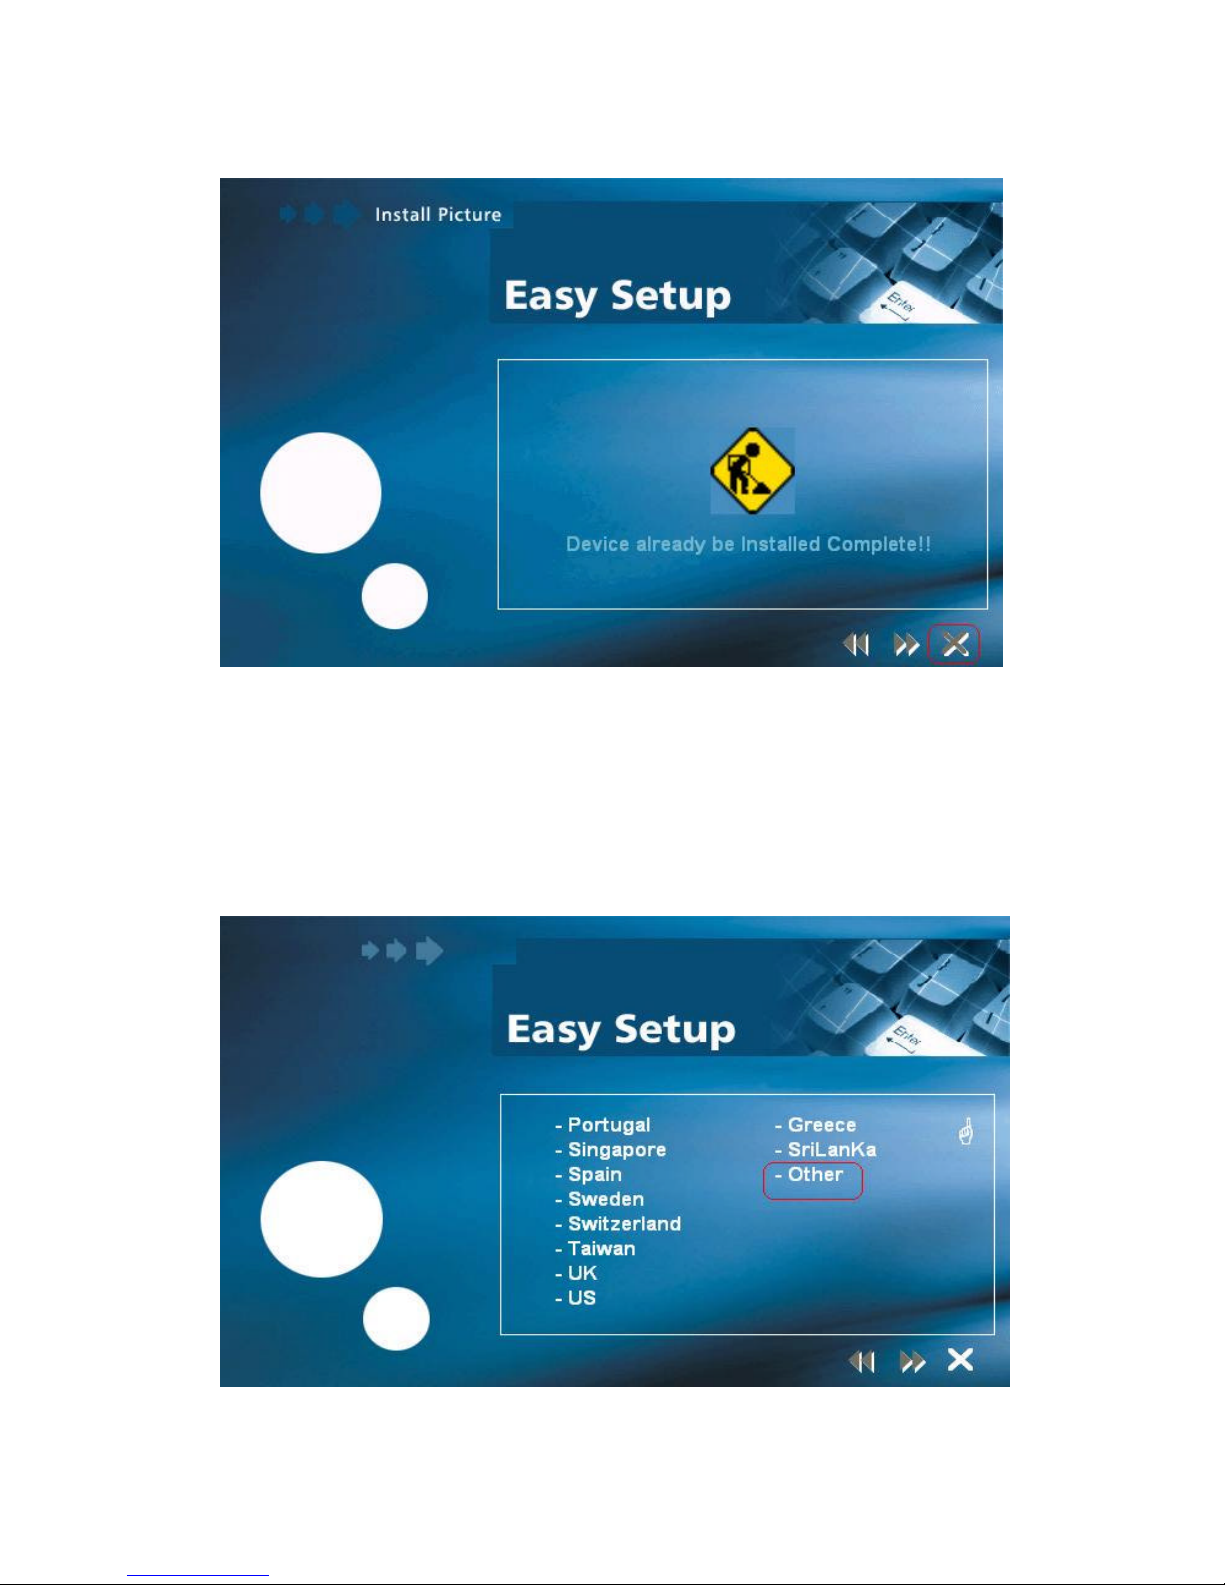
3) Click “Install Driver”, and then select the country you are at,
PS. If your country is not on the list, please click “G” to next page. Select “Other”, and
then go to 12) to set your modem.

4
4) After finish country selecting, the window below will appear. Select the ISP, and then
click “}}” to next page.

5
5) Enter your account “User Name, Password and Password Confirm” then click
“}}” to next page,
6) Confirm modem settings and click “}}” to next page,
6
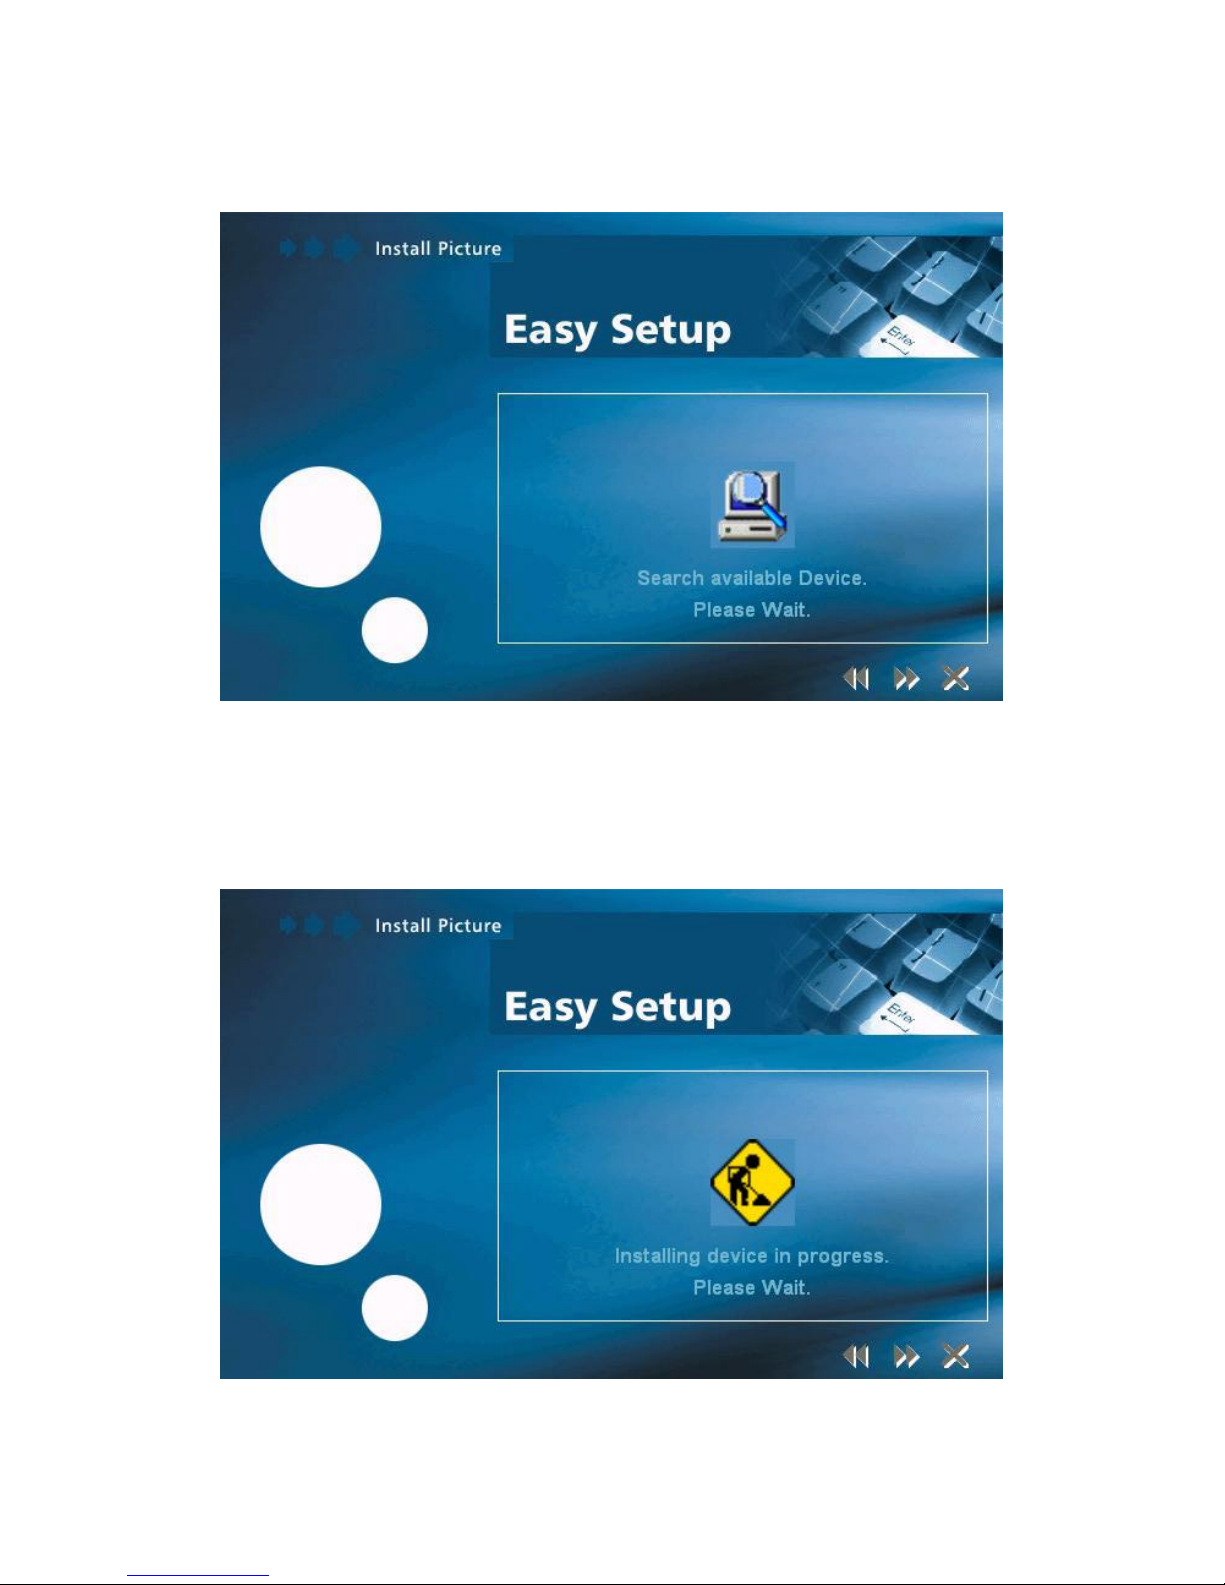
7) Software kit searches available USB modem,
8) After software kit find the device, operating system starts to load USB driver,

7
9) For Widows 98SE, system will ask you to insert Windows 98SE installation CD,
please insert the CD and click “OK”
10) Enter correct file path and click “OK”,
8
11) System finishes installation and click “r” to close installation window,
12) If your country is not on the list, please click “G” to next page and select “Other”,

9
a) After you select ”other”, the window below will appear. Before you select the
connection type, please refer to the following table and then select the connection
type,
Connection Type Encapsulation and Multiplexing method Network Information
WAN
PPP over ATM VCMUX (RFC 2364)
PPP over ATM LLC (RFC 2364)
PPP over Ethernet VCMUX (RFC 2516)
PPP over Ethernet LLCSNAP (RFC 2516)
Internet Account information:
l User name
l Password
LAN
Bridged IP over ATM LLCSNAP (RFC 1483)
Routed IP over ATM LLCSNAP (RFC 1483)
Bridged IP over ATM VCMUX (RFC 1483)
Classical IP over ATM (RFC 1577)
TCP/IP information:
l IP address
l Subnet mask
l DNS
l Gateway
b) After finish connection type selecting, the window below will appear, and then confirm
modem settings. All settings here are default, it might not correct settings for your
connection, double check settings for your ISP and go to Step 13) for the detail
settings.

10
13) If you want to change ISP connection settings, please go through the follow steps,
Step1: Double click “AccessRunner Control Panel”:

11
Step2: Once control panel window appears, press “Alt and C” then following window
will appear. Click “Protocol Setup” then enter correct VPI, VCI and Encapsulation
Mode for your ISP. Then Click “OK”,
Step3: Connect your ISP with WAN connections, click ”AccessRunner DSL” icon,

12
Enter correct “User name and Password ” then click “Connect” to connect to your ISP:
4.1.2 For Windows 2000 and XP:
1) When detect new hardware window appears, click “Cancel”:

13
2) Insert “Easy Setup Software Kit”, front page of Easy Setup window will appear,
Install Driver: Click here to install ADSL USB Modem driver.
User Manual “Conexant AccessRunner USB ADSL” Click here to read user’s manual.
Acrobat: Click here to install Acrobat Reader 6.0.
Panda: Click here to start Anti Virus program.
3) Click “Install Driver”, and then select the country you are at,

14
PS. If your country is not on the list, please click “G” to next page and select “Other”, and
then go to 10) to set your modem.
4) After finish country selecting, the window below will appear. Select the ISP, and then
click “}}” to next page,

15
5) Enter your account “User Name, Password and Password Confirm” then click
“}}” to next page,
6) Confirm modem settings and click “}}” to next page,

16
7) Software kit searches available USB modem,
8) After software kit find the device, operating system start to load USB driver,

17
9) System finishes installation and click “r” to close installation window,
10) If your country is not on the list, please click “G” to next page and select “other” ,

18
a) After you select ”other”, the window below will appear. Before you select the
connection type, please check the following table and then select the connection type,
Connection Type Encapsulation and Multiplexing method Network Information
WAN
PPP over ATM VCMUX (RFC 2364)
PPP over ATM LLC (RFC 2364)
PPP over Ethernet VCMUX (RFC 2516)
PPP over Ethernet LLCSNAP (RFC 2516)
Internet Account information:
l User name
l Password
LAN
Bridged IP over ATM LLCSNAP (RFC 1483)
Routed IP over ATM LLCSNAP (RFC 1483)
Bridged IP over ATM VCMUX (RFC 1483)
Classical IP over ATM (RFC 1577)
TCP/IP information:
l IP address
l Subnet mask
l DNS
l Gateway
b) After finish connection type selection, the window below will appear, and then confirm
modem settings. All settings here are default, it might not correct settings for your
connection, double check settings for your ISP and go to Step 11) for the detail
settings.

19
11) If you want to change ISP connection settings, please go through the follow steps,
Step1: Double click AccessRunner Control Panel:

20
Step2: Once control panel window appears, press “Alt and C” then following window
will appear. Click “Protocol Setup” then enter correct VPI, VCI and Encapsulation
Mode for your ISP. Click “OK”:
Step3: Connect your ISP with WAN connections, click “AccessRunner DSL” icon:

21
Enter correct “User name and Password”, and then click “Connect” to connect to
your ISP,
4.2 TCP / IP Configuration
If your ISP provides connection service as following table, you can follow the steps to set
your IP manually. Otherwise, you can get your IP automatically.
Bridged IP over ATM LLCSNAP (RFC 1483)
Routed IP over ATM LLCSNAP (RFC 1483)
Bridged IP over ATM VCMUX (RFC 1483)
LAN
Classical IP over ATM (RFC 1577)
TCP/IP information:
l IP address
l Subnet mask
l DNS
l Gateway
For Windows 98SE and ME
Step 1: Click Start then Settings and choose Control Panel
Step 2: Double click Network icon.
Step 3: Select Configuration tab, then choose TCP/IP from the list of installed network
Components and click Properties button.
Step4: You can setup the following configurations in two methods:

22
Option1: Get an IP Aut omatically
1) Choose Obtain an IP address automatically option in the next window,

23
2) Select Gateway tab and click OK,
3) Select DNS Configuration tab and select Disable DNS then click OK,

24
Option2: Configure IP Manually
On the IP Address field, enable specify an IP address option. Enter the IP address (e.g.
10.0.0.4) and Subnet Mask (e.g. 255.0.0.0) that provided by your ISP,
1) Select Gateway tab and add IP Address in the New gateway field and click Add,

25
2) Under DNS Configuration tab, select Enable DNS and add DNS values which
provided by your local ISP in DNS Server Search Order field then click Add,
For Windows 2000
Step 1: Right click My Network Places and select Properties in the main window
screen,

26
Step 2: Right click Local Area Connection (local network your ADSL hooked up with)
and select Properties,
Step 3: Select Internet Protocol (TCP/IP) then click Properties,

27
Configure IP Automatically:
Step 4: Select Obtain an IP address automatically and Obtain DNS server address
automatically then click OK to complete IP configuring process,
Configure IP Manually:
On the IP Address field, enable specify an IP address option. Enter the IP address (e.g.
10.0.0.4), Subnet Mask (e.g. 255.0.0.0) and Default gateway (10.0.0.2) that provided by your
ISP. If necessary, enter the DNS server address that provided by your ISP.

28
For Windows XP
Step 1: Click Start then select Control Panel in the main window screen,

29
Step 2: Double click Network Connections icon,
Step 3: Right click Local Area Connection (local network your ADSL hooked up with)
then select Properties,

30
Step 4: Select Internet Protocol (TCP/IP) then click Properties,
Configure IP address Automatically:
Step 5: Select Obtain an IP address automatically and Obtain DNS server address
automatically,

31
Configure IP Address Manually:
On the IP Address field, enable specify an IP address option. Enter the IP address (e.g.
10.0.0.4), Subnet Mask (e.g. 255.0.0.0) and Default gateway that provided by your ISP. If
necessary, enter the DNS server address that provided by your ISP.
If you have any troubles to configure or setup this ADSL USB Modem, please contact us.
Before contacting us, make sure collect following information. Submit complete detailed
information of your problem will help us to provide you accurate answers.
Model Name:
Serial Number:
PC Settings:
Other:

Smaltimento del prodotto.
Questo prodotto è stato progettato e realizzato con materiali e componenti di alta qualità che possono essere
riciclati e riutilizzati, ed in conformità a quanto previsto dalle direttive 2002/95/CE, 2002/96/CE e 2003/108/CE,
ed è stato immesso sul mercato dopo il 13 agosto 2005. Ogni prodotto che presenta sulla propria confezione il
simbolo del bidone con le ruote segnato è un prodotto soggetto alla Direttiva 2003/96/CE e al D. Lgs. 151/2005.
Tale prodotto non può essere smaltito come rifiuto urbano, ma deve esserlo tramite raccolta separata; la
violazione di tale previsione è punita con sanzioni pecuniarie ai sensi delle vigenti norme. Per procedere al
corretto smaltimento, il consumatore dovrà informarsi sulle modalità stabilite dalle autorità locali per la raccolta
differenziata dei rifiuti di prodotti elettrici ed elettronici (RAEE). Il prodotto potrà altresì essere consegnato al
rivenditore di una apparecchiatura analoga all’atto del nuovo acquisto, che non potrà rifiutare il ritiro. Lo
smaltimento non corretto del prodotto, o l’uso improprio dello stesso o di sue parti è dannoso per l’ambiente e
per la salute umana. Il corretto smaltimento dei prodotti recanti il simbolo del bidone segnato da una croce aiuta
ad evitare possibili conseguenze negative per l’ambiente e la salute umana.
Product disposal.
This product was designed and manufactured with recyclable and reusable high-quality materials and components
in compliance with 2002/95/CE, 2002/96/CE and 2003/108/CE Directives and it was marketed after August 13th
2005. Every product with the dustbin symbol checked on the packaging is subject to 2003/96/CE Directive and
151/2005 Legislative Decree. Such product cannot be disposed of as urban waste, but it must be collected
separately. Any infringement of this provision will be punished by a pecuniary fine under the laws in force. To
dispose of the product correctly, consumers will ask local authorities for separate collection policies relating to
electrical and electronic products (RAEE). Product can also be handed over to a reseller of similar appliances upon
new purchase, who is not allowed to refuse withdrawal. Incorrect disposal or improper of the product or its parts
is harmful to the environment and human health. Correct disposal of products showing the dustbin symbol checked
helps avoid potential negative consequences for the environment and human health.
Desecho del producto.
Este producto fue diseñado y producido con materiales y componentes de alta calidad que pueden ser reciclados y
reutilizado en conformidad con las Directivas 2002/95/CE, 2002/96/CE y 2003/108/CE y fue lanzado al mercado
después del 13 de agosto de 2005. Cada producto sobre cuyo envase hay el símbolo del cubo de la basura tachado
es un producto sometido a la Directiva 2003/96/CE y al Decreto Legislativo 151/2005. Dicho producto no se puede
desechar con los residuos domiciliarios, sino a través de recolección separada; la violación de esta norma conlleva
sanciones pecuniarias según leyes vigentes. Para el desecho correcto del producto, el consumidor tendrá que
enterarse de las modalidades establecidas por las autoridades locales en materia de recolección diferenciada de
productos eléctricos y electrónicos (RAEE). El producto se puede además entregar al revendedor de equipos
parecidos en el momento de una nueva compra, el cual no podrá rechazar la recogida. El desecho incorrecto del
producto o el uso impropio del mismo perjudica el medio ambiente y la salud humana. El desecho correcto de
productos que llevan el símbolo del cubo de la basura tachado ayuda a evitar posibles consecuencias negativas
para el medio ambiente y la salud humana.

Esprinet S.p.A.
Via Saragat 4
20054 Nova Milanese (Mi) Italy
www.nilox.com
 Loading...