

Page 1
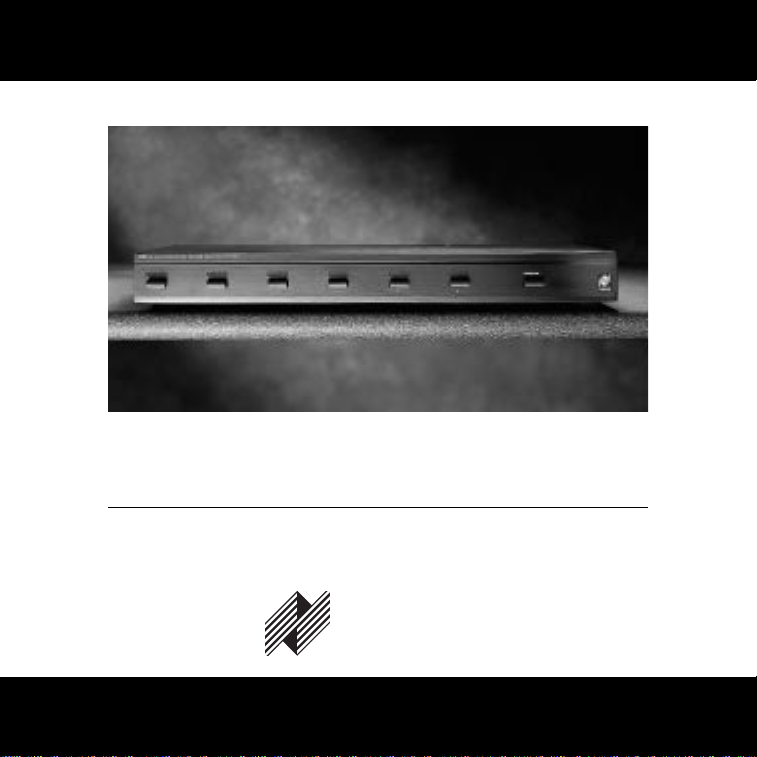
HDL-6
INSTALLATION & OPERATION GUIDE
NILES
®
MODEL
HDL-6
HIGH DEFINITION SPEA KER SELECTION SYSTEM
HDL-6
Page 2

Introduction
The HDL-6 allows you to connect up to six pairs of speakers
to your stereo receiver or amplifier and play any one pair, any
combination of pairs, or all pairs at once. You don't have to
worry about overloading your amplifier. The HDL-6 has a
protection circuit that keeps your amplifier running safely,
even if you have all six pairs of speakers playing at the same
time.
TABLE OF CONTENTS
Introduction 1
Features and
Benefits 2
Installation
Considerations 4
Installation 9
Operation 11
Specifications 14
H
IGHDEFINITIONSPEAKERSELECTION
S
YSTEM
HDL-6
High Definition
Speaker Selection
System
1
Page 3

Features and Benefits
The HDL-6 offers a number of improvements over other
speaker selectors:
● High power handling capability of 250 watt/channel
continuous music power.
● Pre-printed Room Labels are included for easy identification
of speaker ON/OFF buttons.
● Rear-panel switch for constant or selectable impedance
protection.
● Self-cleaning, silver-plated switch contacts assure many
years of trouble-free use.
● Isolated left and right channel ground returns make the
HDL-6 compatible with all types of amplifiers.
● Massive copper traces on printed circuit board handle
large amounts of amplifier current, ensuring high dynamic
range and clarity.
● Two-piece removable connectors greatly simplify installa-
tion and hookup. All wiring can be attached directly to the
connectors before installing them in the HDL-6.
2
H
IGHDEFINITION
S
PEAKERSELECTION
S
YSTEM
TECH
SUPPORT
HOTLINE
If you have
questions regarding
the operation of the
Niles HDL-6, contact
your local Niles
dealer or Niles
Customer Service at
1-800-289-4434.
Page 4

● Removable connectors accommodate up to 14 gauge wire
or "pins", making the HDL-6 compatible with most "highdefinition" speaker cables.
● 100% tested, electronically and acoustically, for frequency
response, distortion and power handling.
● Standard 17" width allows the HDL-6 to stack neatly with
other standard size components.
● May be used with 4, 6, or 8-ohm speaker systems.
● Ideal for both home and commercial sound installations.
● Only an 1/8" standard screwdriver and wire stripper are
required for installation.
● Frequency response:Flat (
+
0dB,-0dB) from 20Hz to20kHz.
● Ten year parts and labor warranty.
● Proudly made in the USA.
3
H
IGHDEFINITION
S
PEAKERSELECTION
S
YSTEM
Page 5

Installation Considerations
HDL-6 Power Handling
The HDL-6 is designed for use with a receiver or amplifier
having a maximum power output of 250 watts per channel at
8 ohms. Damage caused by the use of a higher-power receiver or amplifier will void the warranty. Consult your Niles dealer, or receiver/amplifier manufacturer, if you are uncertain
about the power rating of your receiver or amplifier.
Amplifier Impedance Load
As more pairs of speakers are parallel connected to a receiver
or amplifier, the overall system impedance becomes lower.
For example, if two pairs of 8-ohm speakers are connected
in parallel, the impedance will be 4 ohms; two pairs of
4-ohm speakers in parallel become 2 ohms, and so on.
Most receivers or amplifiers are not rated for use below a 4
ohm load. Most manufacturers do not
recommend connecting more than two pairs of speakers without using some
form of impedance correction.
The HDL-6 includes impedance correction circuitry which
protects your receiver or amplifier from low impedance
loads. The circuitry assures that your receiver or amplifier will
see a safe operating load, even when all six speaker pairs are
playing at the same time.
4
H
IGHDEFINITION
S
PEAKERSELECTION
S
YSTEM
TOOLS
REQUIRED
• 1/8" Standard
Slotted Screwdriver
• Wire Stripper
Page 6

The actual impedance load the HDL-6 presents to your receiver
or amplifier will vary, depending on how many speaker pairs
are playing, and the impedance rating of each speaker. If you
have six pairs of 8-ohm speakers playing, the HDL-6 will present
a 4.3 ohm impedance load to your receiver/amplifier. With six
pairs of 4-ohm speakers playing, the load drops to slightly
under 4 ohms.
If you intend to use the HDL-6 with more than two pairs of
4-ohm speakers, it is recommended that you verify that the
receiver or amplifier is capable of driving a 4-ohm load. Consult
your Niles dealer, or receiver/amplifier manufacturer, if you are
uncertain about the capabilities of the receiver/amplifier.
Type of Speaker Wire
For most applications, we recommend you use 1 6 or 18 gauge,
stranded copper speaker wire for the HDL-6 connections. For
wiring runs longer than 80 feet, 14 gauge wire is recommended. Using speaker wire larger than 1 4 gauge for the HDL-6 connections is not recommended — the wire may not fit into the
connectors. Never use solid-core, aluminum, or "Romex" type
wire with the HDL-6. When running speaker wires inside walls,
most states and municipalities in the U.S. specify that you must
use a special type of speaker wire. Usually, the requirement is
that the wire has a specific "CL" fire rating, such as "CL-2" or
"CL-3". Consult your Niles dealer, building contractor, or local
building and inspection department if unsure about which type
of wire is best for your application.
5
H
IGHDEFINITION
S
PEAKERSELECTION
S
YSTEM
"TECH TIP"
Wire size is
expressed by it's
AWG (American
Wire Gauge)
number. The lower
the AWG number,
the larger the
wire,
i.e., 12 AWG wire is
physically larger
Page 7

Avoiding Interference
Speaker wires can act as an "antenna" for electrical noise. Locating
speaker wires too close to a light dimmer or switch may cause a
"buzzing" or "popping" sound to be heard through the speakers.
If you must locate the HDL-6 wiring near electrical devices, route
the speaker wires several feet away from the electrical wiring.
Using the HDL-6 with Tube-Type Amplifiers
Virtually all tube amplifiers must have a load connected at all
times. If the amplifier to be connected to the HDL-6 is a tube
amplifier, be sure to always have at least one pair of speakers
switched on at all times. An alternative is to permanently connect
a 150 ohm, 5 watt resistor across the tube amplifier's output in
parallel with the HDL-6. See (Figure 1) on next page for hookup
diagram.
6
H
IGHDEFINITION
S
PEAKERSELECTION
S
YSTEM
Page 8

7
H
IGHDEFINITION
S
PEAKERSELECTION
S
YSTEM
Figure1
Using a
Tube Amplifier
Tube Amplifier
Niles HDL-6
150
150
SPEAKER 6
L+ L- R- R+
AMPLIFIER
L+ L- R- R+ L+ L- R- R+ L+ L- R- R+ L+ L- R- R+ L+ L- R- R+
SPEAKER 5 SPEAKER 4 SPEAKER 3 SPEAKER 2
L+ L- R- R+
SPEAKER 1
CONS
TANT
PROTECTION
ON OFF
Niles Aud
io
Corporation,Inc.
Miami, Florida USA
NILES
Page 9

8
H
IGHDEFINITION
S
PEAKERSELECTION
S
YSTEM
HDL-6 HIGH DEFINIT
ION SPEAKER SELECTION SYSTEM
PROTE
CTION
123456
SPEAKER 6
L+ L- R- R+
AMPLIFIER
L+ L- R- R+ L+ L- R- R+ L+ L- R- R+ L+ L- R- R+ L+ L- R- R+
SPEAKER 5 SPEAKER 4 SPEAKER 3 SPEAKER 2
L+ L- R- R+
SPEAKER 1
CONSTANT
PROTECTION
ON OFF
Nil
es Audio
Cor
poration,
Miami, Florida USA
Recessed
areas for
custom room
labels.
Attractive
low-profile
design.
Simple
push-button
operation.
Connect up to six pairs
of speakers.
Protection switch safeguards your
receiver or amplifier even with all
6 pairs of speakers playing.
Two-piece
removable
connectors.
Constant
Impedance
Protection
Switch
NILES
NILES
Page 10

Installation
1. Select a convenient mounting location for the HDL-6.
2. Run all the necessary wiring to the HDL-6. Label the wires
for future reference. See (Figure 2).
9
H
IGHDEFINITION
S
PEAKERSELECTION
S
YSTEM
TUNER 94.9
15
SPEAKER 6
L+ L- R- R+
AMPLIFIER
L+ L- R- R+ L+ L- R- R+ L+ L- R- R+ L+ L- R- R+ L+ L- R- R+
SPEAKER 5 SPEAKER 4 SPEAKER 3 SPEAKER 2
L+ L- R- R+
SPEAKER 1
CONSTANT
PRO
TECTION
ON OFF
Niles Aud
io
Corpor
ation,Inc.
Miami, F
lorida USA
Niles HDL-6
Receiver
Speaker
Pair 6
Speaker
Pair 5
Speaker
Pair 4
Speaker
Pair 3
Speaker
Pair 2
Speaker
Pair 1
Figure2
Wiring Diagram
NILES
Page 11

10
H
IGHDEFINITION
S
PEAKERSELECTION
S
YSTEM
3. Make the connections to the HDL-6. The amplifier/speaker
connectors on the HDL-6 are removable. If you wish, you
may remove the HDL-6's connectors to facilitate installation
see (Figure 3). Strip 3/8" of insulation from the end of each
wire. Tightly twist the end of each wire until there are no
frayed ends. Insert each wire into the appropriate hole on
the spring-loaded connector terminals. Be certain that proper
phasing is observed — connect the positive terminals on the
HDL-6 to the positive terminals on the amplifier and speakers
and the negative terminals on the HDL-6 to the negative terminals on the amplifier and speakers. Re-install the connectors if they were removed. See (Figure 4).
4. Locate the pre-printed Room Labels. Affix the appropriate
label to the recessed area over each ON/OFF selector button.
Figure3
Removing the Connectors
Figure4
Installing the Connectors
Page 12

Operation
There are two ways to use the HDL-6. You may play one pair
of speakers at a time, or play multiple pairs simultaneously.
If you intend to play more than one pair of speakers at the
same time, you will need to become familiar with the operation of the HDL-6's PROTECTION button.
Playing One Pair of Speakers At a Time
1. Make sure the amplifier or receiver power is OFF and set
the volume to minimum.
2. Locate the ON/OFF button on the HDL-6 which corresponds to the speaker pair you wish to play. Set it to the ON
position.
3. Turn on the amplifier or receiver and select a source, such
as the tuner or CD player.
4. Slowly turn up the amplifier or receiver volume and set it
to a comfortable (not maximum) listening level. Be careful
not to overdrive or "clip" your amplifier. If the sound
becomes muddy or distorted, you have reached the limit of
your amplifier's volume capability and should quickly reduce
the volume to avoid damaging your speakers.
5. To turn off the speaker pair, simply press the corresponding ON/OFF button on the HDL-6.
11
H
IGHDEFINITION
S
PEAKERSELECTION
S
YSTEM
"TECH TIP"
If your amplifier or
receiver has "A"
and "B" speaker-
pair outputs,
connect the HDL-6
to the "A" outputs.
Do not connect
anything to "B".
This will prevent
the amplifier or
receiver from driving
an unusually low
impedance load.
Page 13

Playing Two or More Speaker Pairs Simultaneously
1. Make sure the amplifier or receiver power is OFF and set
the volume to minimum.
2. On the right side of the HDL-6's front panel is a button
labeled PROTECTION. This button activates the HDL-6's
impedance correction circuitry. The circuitry assures that your
receiver or amplifier will see a safe operating load when playing multiple speaker pairs simultaneously. Since most receivers
and amplifiers are not rated for use below a 4 ohm load, you
will need to activate the PROTECTION button whenever the
overall system impedance might fall below 4 ohms. Use the
following chart as a guide for setting the PROTECTION button.
3. Locate the ON/OFF buttons on the HDL-6 which correspond to the speaker pairs you wish to play. Set them to the
ON position.
12
H
IGHDEFINITION
S
PEAKERSELECTION
S
YSTEM
When playing the following speakers:
1 or 2 pair of 8-ohm speakers
3 or more pairs of 8-ohm speakers
1 pair of 4-ohm speakers
2 or more pairs of 4-ohm speakers
Any combination of 4 and 8 ohm speakers
The Protection button should be:
OFF
ON
OFF
ON
ON
Set the PROTECTION button to the correct position using the chart shown above.
"TECH TIP"
You will need to
activate the HDL-6's
PROTECTION button
whenever the overall
system impedance
might fall below
4 ohms.
Page 14

13
H
IGHDEFINITION
S
PEAKERSELECTION
S
YSTEM
4. Turn on the amplifier or receiver and select a source, such
as the tuner or CD player.
5. Slowly turn up the amplifier or receiver volume and set it
to a comfortable (not maximum) listening level. Be careful
not to overdrive or "clip" your amplifier. If the sound
becomes muddy or distorted, you have reached the limit of
your amplifier's volume capability and should quickly reduce
the volume to avoid damaging your speakers.
6. To turn off one or more speaker pairs, simply press the
corresponding ON/OFF button(s) on the HDL-6. Refer to the
Protection chart for the correct setting of the PROTECTION
button.
Constant Protection Switch
The HDL-6 is equipped with a manual override for the protection circuit that enables you to defeat the front panel protection switch and maintain constant impedance protection.
This will safeguard your amplifier from being overdriven due
to accidental or improper use by anyone unfamiliar with the
equipment.
To engage this override, move the rear panel "CONSTANT
PROTECTION" switch to the "ON" position. Constant impedance protection will be maintained until the switch is turned
to "OFF".
Page 15

14
H
IGHDEFINITION
S
PEAKERSELECTION
S
YSTEM
Balancing Speaker Volume
The volume control on your receiver or amplifier serves as
the "master" volume for all speaker pairs connected.
The volume level of the speakers may vary from room to
room. This is caused by several factors. Two lesser factors are
the size of the speaker and its efficiency. The largest factor is
the physical size of the room.
The best way to balance speaker volume is to equip each of
the speaker pairs in your system with a Niles volume control.
The controls allow you to adjust the volume of each speaker
pair individually. If all the speaker pairs in your system are
equipped with Niles volume controls, you can leave the
amplifier or receiver volume set at one position and use the
Niles controls exclusively.
SPECIFICATIONS
Audio Power
Handling
250 watts/channel
continuous music
power
Frequency Response
+
0 dB, -0 dB (flat) from
20 Hz to 20 kHz
Mounting
Table-Top component
Wiring Requirements
Individual runs of
2-conductor speaker
wire. Connectors
accommodate wire
sizes 14-22 gauge (16
gauge recommended)
Overall Dimensions
17" wide x 2" high x
8-3/4" deep
Weight
4 3/4 lb.
Page 16

Niles Audio
Corporation
www.nilesaudio.com
12331 S.W. 130 Street
Miami, Florida 33186
Tel: (305) 238-4373
Fax: (305) 238-0185
®
NILES
®
© 1999 Niles Audio Corporation. All rights reserved. Because Niles constantly strives to improve the
quality of its products, Niles reserves the right to change product specifications without notice. Niles
and the Niles logo are registered trademarks of Niles Audio Corporation. Printed in USA 4/96
DS00100A
 Loading...