

Nikon S51c - Coolpix Digital Camera Connection Manual

En
Public Wireless LAN Connection Guide
(How to Use my Picturetown)
• Picture upload services via a public wireless LAN are only available in the U.S.A.
• Before you begin, read pages 4 to 5 of the User’s Manual.

Disclaimer of Warranties. NIKON’S my Picturetown SERVICE IS PROVIDED ON AN “AS IS”
BASIS AND WITHOUT WARRANTIES OF ANY KIND, EITHER EXPRESS OR IMPLIED,
INCLUDING, WITHOUT LIMITATION, ANY WARRANTIES OF MERCHANTABILITY OR FITNESS
FOR A PARTICULAR PURPOSE WHICH ARE EXPRESSLY DISCLAIMED. YOU AND ANY USER
OF NIKON’S my Picturetown SERVICE ASSUME ALL RESPONSIBILITY AND RISK IN YOUR USE
OF THE NIKON COOLPIX SERVICE. IN NO EVENT DOES NIKON CORPORATION, NIKON INC.,
OR ANY OF ITS RESPECTIVE SUBSIDIARIES, AFFILIATES, DISTRIBUTORS OR DEALERS
(collectively “NIKON”) WARRANT THAT THE NIKON my Picturetown SERVICE WILL BE
UNINTERRUPTED, ALWAYS AVAILABLE, ACCURATE, FUNCTIONAL OR ERROR FREE. SOME
STATES DO NOT ALLOW THE DISCLAIMER OF IMPLIED WARRANTIES, SO THE ABOVE
EXCLUSION MAY NOT APPLY TO YOU.
Limitation of Liability. EVEN IF NIKON HAS BEEN ADVISED OF THE POSSIBILITY OF
DAMAGES, NIKON WILL NOT BE LIABLE TO YOU OR ANY USER OF THE NIKON my
Picturetown OR ANY THIRD PARTY FOR ANY DAMAGES ARISING FROM USE OF THE NIKON
my Picturetown SERVICE, INCLUDING WITHOUT LIMITATION, PUNITIVE, EXEMPLARY,
INCIDENTAL, SPECIAL OR CONSEQUENTIAL DAMAGES; LOSS OF PRIVACY OR SECURITY
DAMAGES; PERSONAL INJURY OR PROPERTY DAMAGES; OR ANY DAMAGES
WHATSOEVER RESULTING FROM INTERRUPTION OR FAILURE OF SERVICE; LOST PROFITS;
LOSS OF BUSINESS; LOSS OF OR FAILURE TO PRESERVE DATA, PICTURES OR IMAGES; LOSS
DUE TO UNAUTHORIZED ACCESS OR DUE TO VIRUSES OR OTHER HARMFUL
COMPONENTS; THE INABILITY TO USE THE NIKON my Picturetown SERVICE; OR THE
INTERCEPTION OR LOSS OF ANY DATA, PICTURES, IMAGES OR TRANSMISSION. SOME
STATES DO NOT ALLOW THE EXCLUSION OR LIMITATION OF INCIDENTAL OR
CONSEQUENTIAL DAMAGES, OR OTHER MODIFICATIONS OF OR LIMITATIONS TO CERTAIN
REMEDIES, SO THE ABOVE EXCLUSION OR LIMITATION MAY NOT APPLY TO YOU.
Privacy and Security. PRIVACY CANNOT BE GUARANTEED, AND NIKON IS NOT LIABLE TO
YOU OR ANY OTHER PARTY FOR ANY LACK OF PRIVACY WHILE USING THE NIKON my
Picturetown SERVICE. NIKON HAS THE RIGHT, BUT NOT THE OBLIGATION TO MONITOR,
INTERCEPT AND DISCLOSE ANY TRANSMISSIONS OVER OR USING THE NIKON my
Picturetown SERVICES. YOU AND ANY USER OF NIKON’S my Picturetown SERVICE
ACKNOWLEDGE THAT THIS SERVICE IS NOT INHERENTLY SECURE AND THAT WIRELESS
COMMUNICATIONS CAN BE INTERCEPTED BY EQUIPMENT AND SOFTWARE DESIGNED
FOR THAT PURPOSE.
3
Thank you for purchasing the Nikon
COOLPIX S51c!
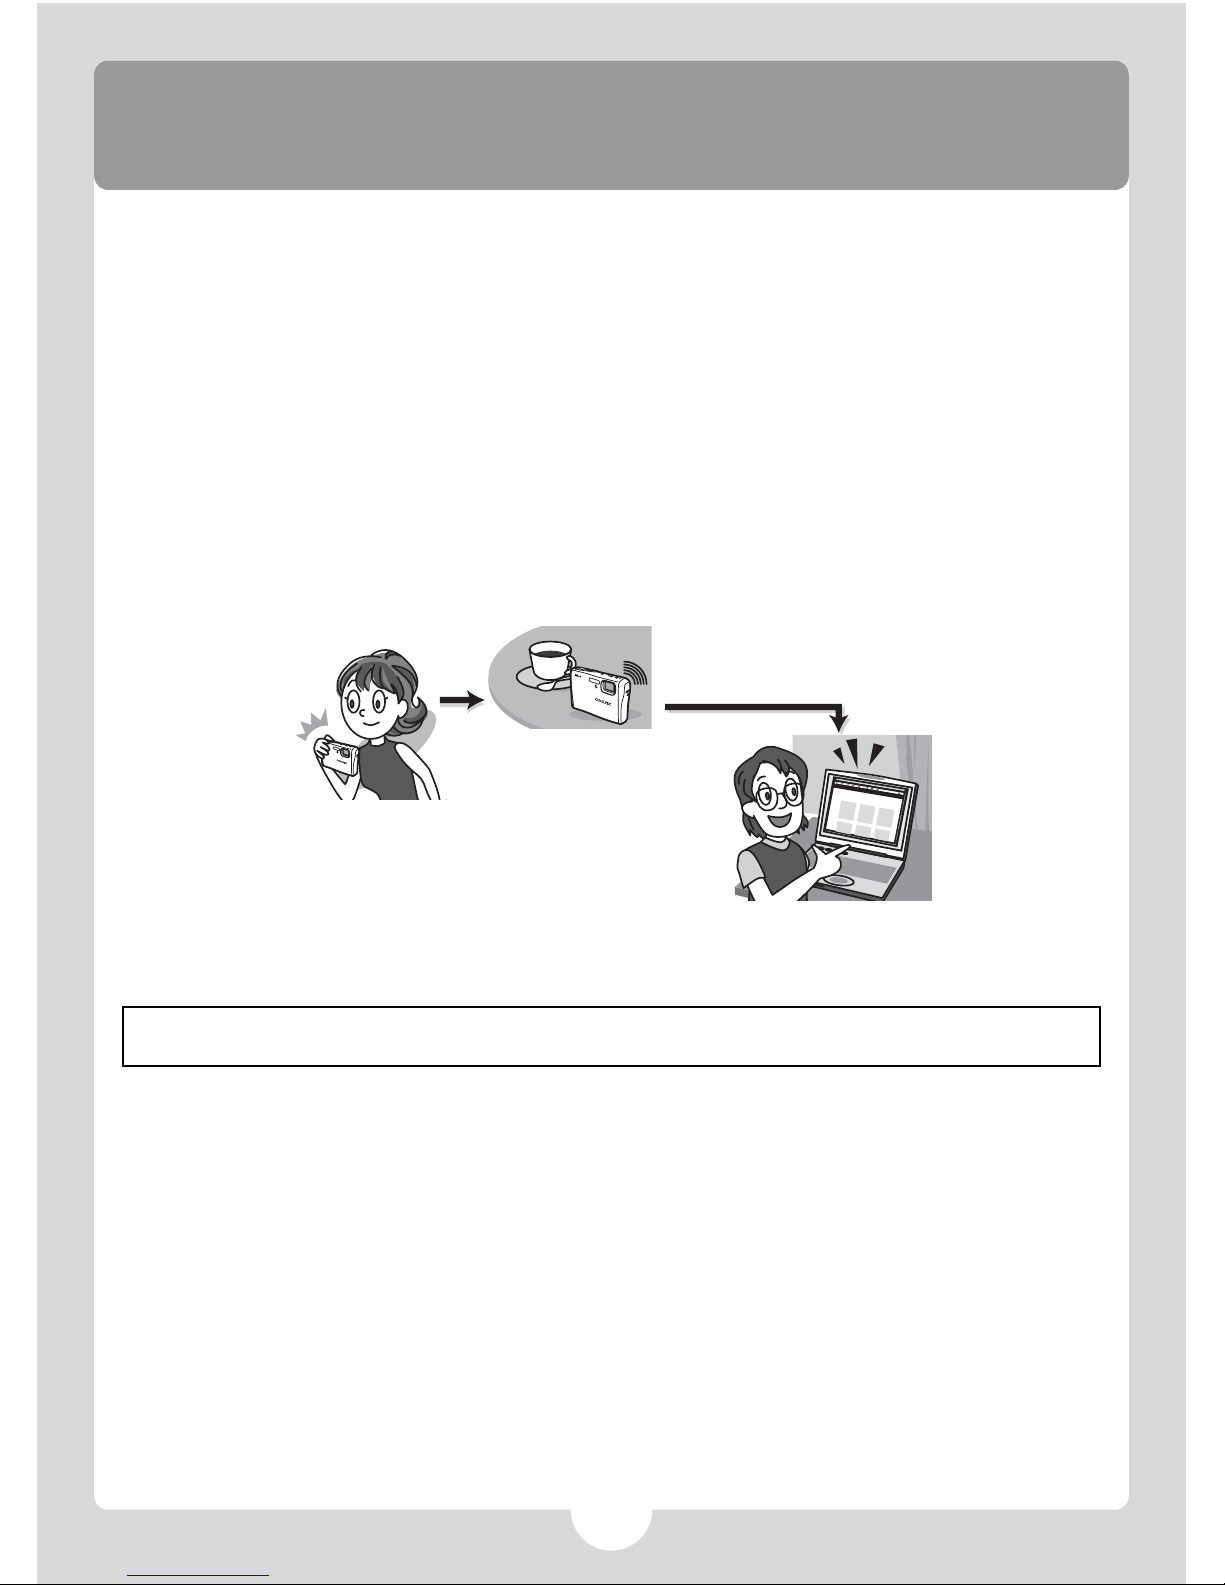
The COOLPIX S51c’s wireless LAN feature allows users to take advantage of the my Picturetown
services, with which pictures can be uploaded to the server on the Internet for viewing by your
family and friends, or the server can be used as a personal storage for storing pictures. The following services are available with my Picturetown:
Picture Mail: Pictures are uploaded to the my Picturetown server, and e-mail
notification of picture
upload will be sent to specified recipients. Uploaded pictures can be viewed by accessing the
webpage specified in the e-mail notification from a computer or cellular telephone*.
* The use of cellular telephone e-mail addresses is only possible in the United States, and is supported
only for BlackBerry smartphones (version 4.0 or later recommended).
However, pictures cannot be viewed with some of these cellular telephones.
Picture Bank: Pictures are uploaded to the my Picturetown server for storage. The my Picturetown
server can then be used as a personal server for storing pictures and uploaded pictures can also be
displayed in your web browser and downloaded to a computer.
Connect to the Internet at locations where home or public wireless LAN is available. This guide provides step-by-step instructions for connecting to a public wireless LAN to upload pictures.
l T-Mobile HotSpot
Connection of the camera to a public wireless LAN requires a T-Mobile HotSpot subscription. You can
begin using the T-Mobile HotSpot service by signing up and creating an account at the URL below:
http://hotspot.t-mobile.com/
l Six Months of Complimentary T-Mobile HotSpot Wi-Fi Service
Purchase of this camera includes six months of complimentary T-Mobile HotSpot Wi-Fi service, which
allows you to connect to, and take advantage of, my Picturetown at thousands of locations nationwide. Note that your six months of complimentary service is only available in the United States and
begins automatically the first time you connect using T-Mobile HotSpot. After the complimentary service expires, if you wish to continue using the T-Mobile HotSpot service, you need to sign up and create an account with T-Mobile HotSpot. To upload pictures after signing up for the T-Mobile HotSpot
service, configure a new network profile with the camera (as described in Step 7 on page 14).
This complimentary service offer will definitely expire on August 31st, 2008 and is effective for up
to six months only. With the expiry date in mind, If you start using T-Mobile HotSpot after March
2008, the complimentary service will expire in less than six months.
l Connect to a Home Wireless LAN
Before connecting to a home wireless LAN, configuration of the sender information with the camera may be required depending upon the intended home wireless LAN environment. For more information, refer to the User’s Manual.
After signing up for the T-Mobile HotSpot wireless Internet service, prepare the SSID, user ID, password, and WEP key. The full user ID, including “@” and the domain name that follows, must be used.
and upload them via a public wireless LAN...
Pictures are uploaded while traveling!
E-mail notification of picture upload is sent
immediately to your family and friends!
Take pictures...
Access uploaded pictures on the
server!

4
Table of contents
Upload pictures to the my Picturetown server 5
Step
1
Locate public T-Mobile HotSpots 5
Step
2
Select Picture Mail or Picture Bank 6
Step
3
Configure your alias and e-mail address 8
Step
4
Select pictures 9
Step
5
Specify a Picture Mail recipient 10
Step
6
Specify recipients for selected pictures 12
Step
7
Upload pictures 14
Register user information with my Picturetown to view
uploaded pictures
16
Picture Mail operation
Picture Bank operation
Connect the AC adaptor to the camera to upload all pictures 18
Step
1
Connect the AC adapter to the camera 19
Step
2
Configure your alias and e-mail address 20
Step
3
Configure a network profile 21
Screen images in monitor may differ from the actual display.

5
Upload pictures to the my Picturetown
server
Access the URL below to locate public T-Mobile HotSpots where your
camera’s wireless LAN feature can be used.
http://hotspot.t-mobile.com/
Locate public T-Mobile
HotSpots
Step
1

6
Step
2
Select Picture Mail or Picture
Bank
Before using the camera’s wireless LAN feature, be sure that you have taken at least
one picture with the camera. If pictures have not been recorded, take pictures or insert
a memory card containing pictures into the camera.
Use Picture Mail
1 Turn on the camera.
2 Press d.
Use Picture Bank
1 Turn on the camera.
2 Apply playback mode.
When the camera is in shooting mode, press i to switch to playback mode.
For more information on playback mode, refer to page 28 of the User’s Man-
ual.
3 Press C.
The playback-mode selection menu will be displayed.
4 Use the rotary multi selector to choose M
and press d.
my Picturetown

7
Entering Text with the Camera
Text for information such as aliases, e-mail addresses, and
WEP keys can be entered using the camera.
•Press d to change the type of character entered in the
following order: uppercase letters ➞ lowercase
letters ➞ numbers ➞ symbols ➞ uppercase letters,
and so on.
• Rotate the rotary multi selector clockwise, or press the
rotary multi selector G , to enter letters (A to Z) in alphabetical order. Rotate the rotary multi selector counterclockwise, or press the rotary multi selector H, to enter
letters in reverse order.
• Press the rotary multi selector J to move the cursor to the right. Press the rotary
multi selector I to move the cursor to the left.
•Press T to delete the letters at the cursor position. However, T cannot be used
when entering information for an item that requires a fixed number of characters.
•Press v (l) to preview the letters that have been entered. Press v (l) again to
return to the text entry screen.
• Press the shutter-release button to apply selection.
n
Email
Confirm
Back Delete
6410
Nik n4oxxx
@

8
Step
3
Configure your alias and e-mail
address
1 Select [Input] and press d.
2 Enter an alias for yourself (choose an alias,
up to 16 alphanumerical characters, that
identifies you) and press the shutter-release
button.
3 Enter your e-mail address (up to 64 alphanu-
merical characters) and press the shutter-release button.
- Cellular telephone e-mail addresses are not supported.
- No error message, or indication that an error has
occurred, is sent from the server when delivery errors occur due to incorrect entry of e-mail addresses.
n
Enter your alias and
email address
Cancel
Input
Enter sender info
n
166
Nik no 4
Confirm
Alias
Back Delete
n
Email
Confirm
Back Delete
6410
Nik n4oxxx
@
 Loading...