

Page 1
Page 2

About the Multi-Media Digital Player
Safety Declaration
The PMP is a kind of portable multi-media player that can play, record
and store video, audio and image files.
The PMP is able to process digital coding, and it can store and play
the signal via the AV In jack from external audio devices such as
cassette recorders, CD players, and video devices (e.g., television).
The PMP is embedded with an FM module and is capable of recording
FM radio and saving it in mp3 format.
In order to ensure the safe and accurate operation of this device, please
read the information below before use.
Illustration
Warning
Users should comply with the information provided with
Warning
Caution
these labels, in order to ensure personal safety.
Caution
Users should comply with the information provided with
these labels, in order to prevent any damage to your PMP.
Tips
Tips
Additional information provided for users can be found with
these labels.
Page 3
Caution Caution
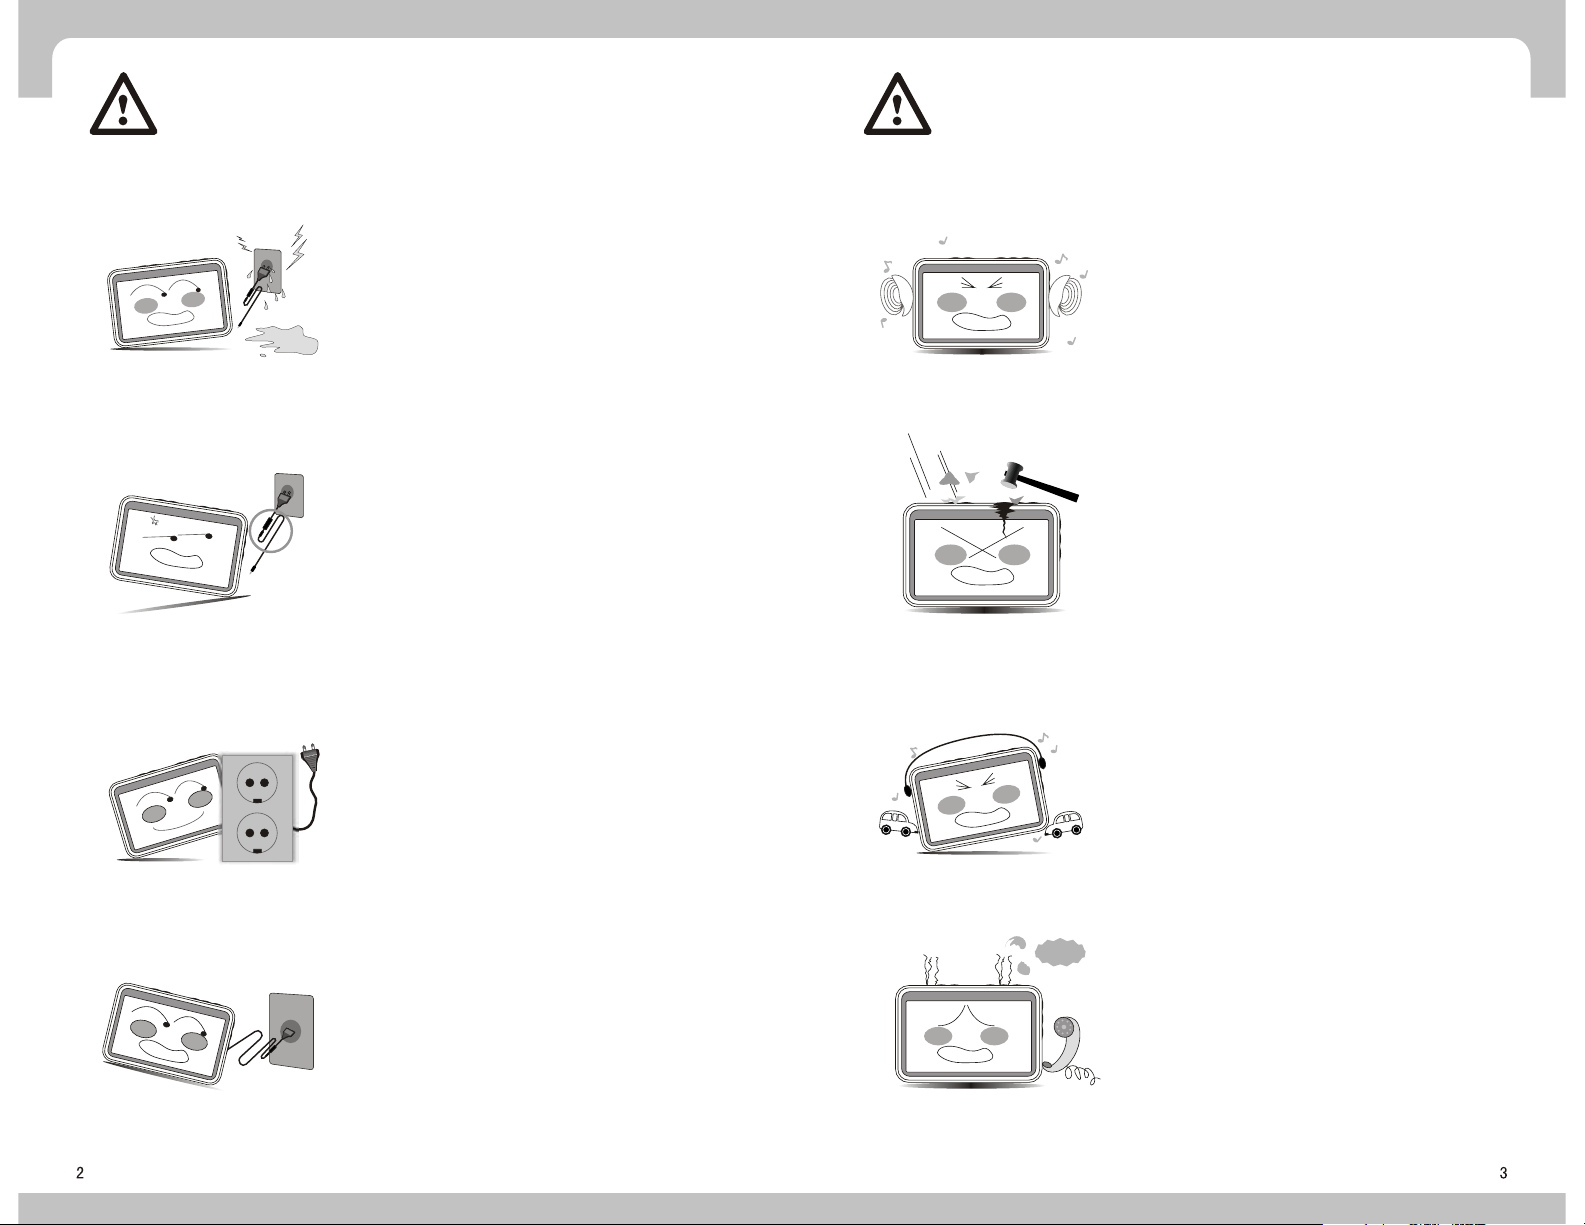
Do not use this device if your hands are
wet, and do not use this device near water.
Please use standard power supply adapter.
Using a non-standard power supply adapter
may damage this device.
Please ensure that when you plug this
device into an electrical outlet, the outlet is
grounded.
Avoid prolonged exposure to loud music.
Using this device at maximum volume
may damage your hearing.
Avoid bumping, scraping, or hitting the
device with other objects as this may cause
damage to the PMP.
Do not wear earphones while driving.
It may cause traffic accidents.
Please ensure that the power supply
adapter is plugged firmly into the socket.
If this player begins to emit smoke or is very
hot to the touch, stop using it immediately,
and contact the customer service center.
Page 4
Caution Caution
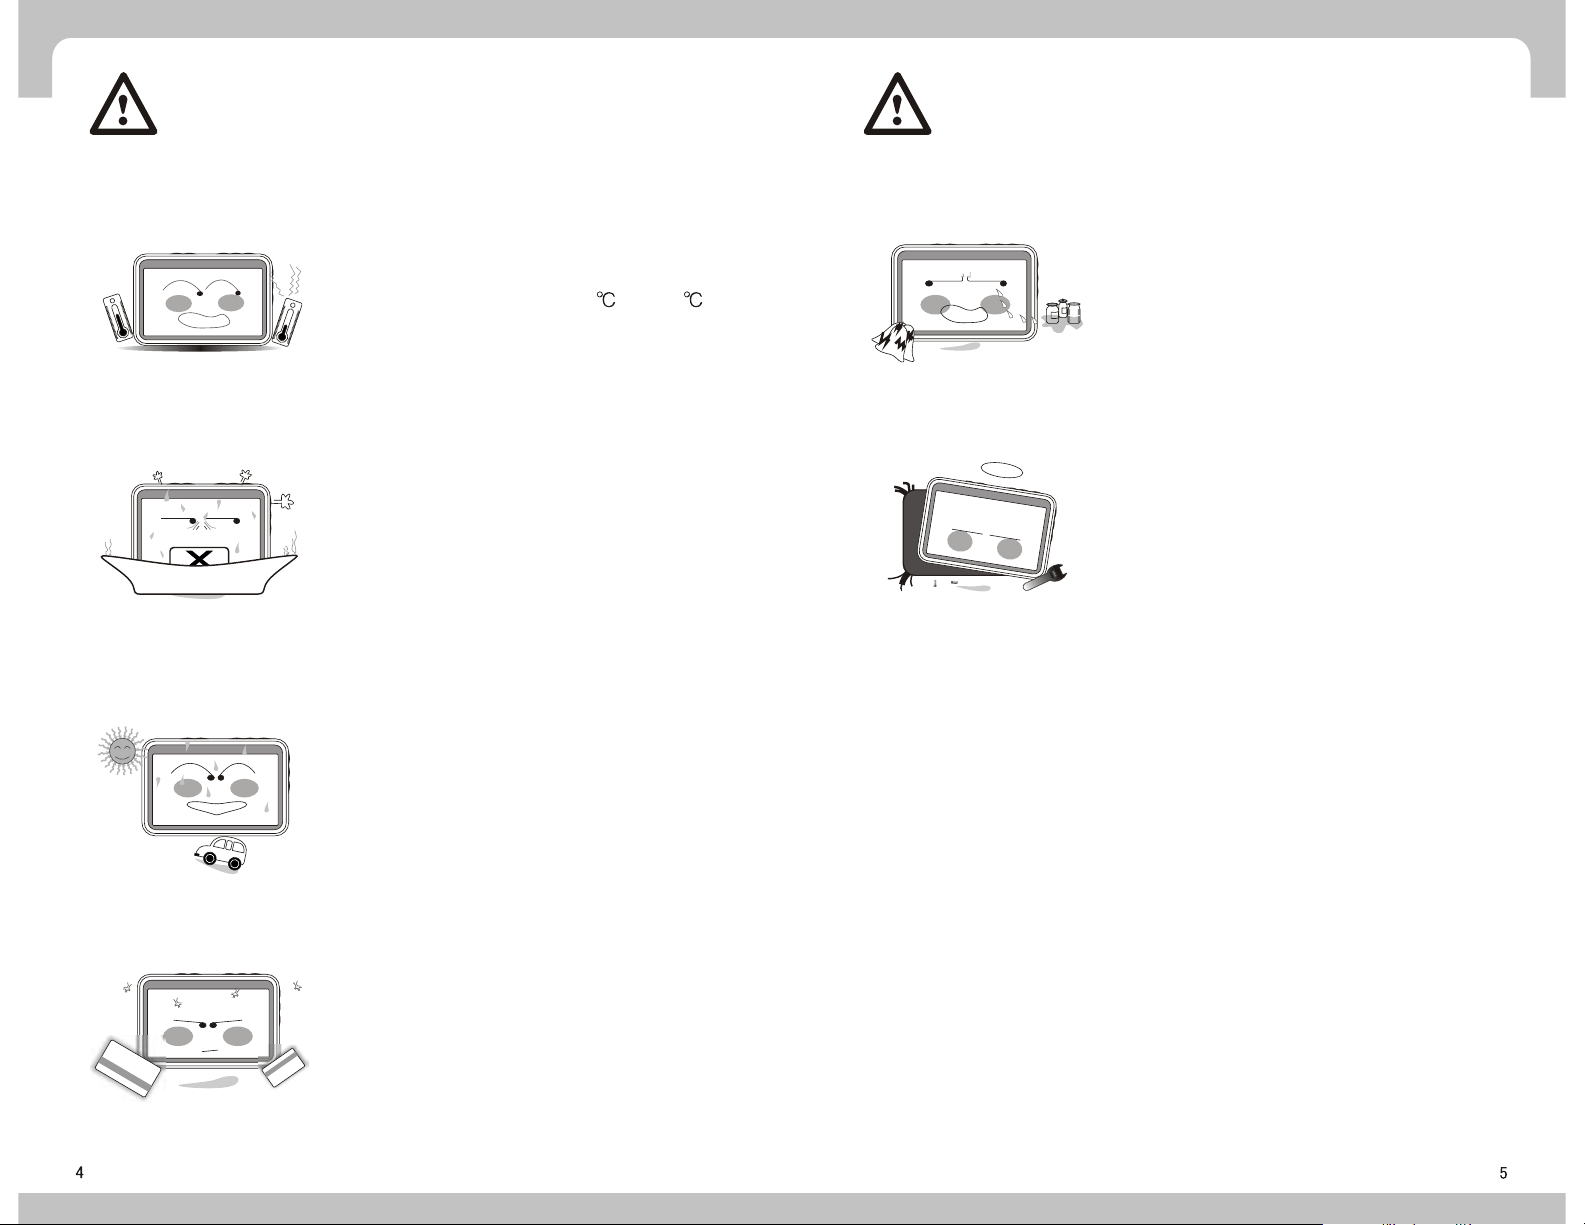
Store this device between 0 and 40 .
25
-2
0
Clean the player with a dry, soft cloth. Do
not use detergent.
Dgjdgdgnd
Store this device in a clean, dry place. If
the device gets wet or dirty, please contact
the customer service center.
To reduce the risk of electric shock, and to
avoid damage to the player, do not remove
the cover or attempt to fix the device by
yourself.
Do not expose the player to the sun, and
when using the FM Radio, keep away from
the automobile.
Do not use a credit card, magcard etc, in
the vicinity of this device, as it may cause
damage to the card's magnetic strip.
D
g
jdgd
g
nd
gn
gn
Page 5
Catalogue
Safety Declaration
Illustration
Caution
Catalogue
Product Introduction
Product Functions
Package Content
Function Display
Connection
Disconnection
Charge
Power on / Power off
Player's Function Operation Introduction
Main Menu
Play Video
Play Music
Change Lyrics
View Picture
Set Background
Read E-Book
Radio
Manual Search
Auto Search
Synchronous Recording
Background Playing
Paste
Delete
Rename
New Folder
Resume
Setup Menu
Display
System
Power
Playing Mode
Clock
Speaker
Video Play on TV
Code Conversion Program
Supplement
Technical Specification
Safety Declaration
Copyright Declaration
External Program Recording
File Operation
Copy
Move
Page 6

Product Introduction
Product Functions
Compatible with audio format
This device can play files in Mp3 / WMA / AAC formats.
Compatible with video format
This device is compatible with the following video formats: AVI / ASF / WMV9.
Package Content
Support the function of picture browsing
This device is compatible with files in JPEG/BMP/GIF formats.
Support the function of E-book
This device is compatible with the E-book format of TXT (in unicode).
Support the function of recording and FM radio
This device can be used to listen to FM radio, and record in mp3 format.
Support the function of folder browsing
This device allows you to browse through all folders.
Embedded with 4 inches TFT LCD screen
This device is embedded with a 4-inch TFT real color LCD screen to show high
definition pictures and videos.
Easy to be upgraded
This device is easily upgraded via firmware/software downloads providing new
functionality.
Portable Disk
This device can function as a portable hard disk when connecting to a PC via a U SB cable.
Built-in rechargeable battery
This device has a rechargeable 2000MAh Li-Polymer battery.
Function Display
Video Format Conversion Software
This device has video format conversion software, which allows you to convert
video files unable to be played into playable formats.
Page 7

Disconnection
The exterior sound source connection:
Connect the PC to the exterior sound
source via the Line-in cable Equipment.
Connect to the TV for playing:
Use an AV cable and the AV Out
jack to connect the device to
the television's AV In jack.
Connect with the TV to record: With
the AV cable, connect the TV input
jack with the mainframe AV In jack.
Stereo earphone connection: Insert the
stereo earphone to the earphone jack.
Recharge Mode
The power adapter can be connected to the player's power adapter jack to recharge
directly. During recharging, the indicator light is red. When charging while the power is on,
the icon will flash, once the battery is full, the icon will stop flashing and display "charge
finished".
The battery life while playing films is about 240minutes.
Tips
The battery life while playing music is about 540minutes.
Power Indicator
Full
Nearly empty Empty
Power on / Power off
1. Right-click the Plug and Play icon in the taskbar and select "safely delete the hardware."
2. Select the hardware to stop, and click Stop.
3. Select the driver to stop, and click OK.
4. Click Close to finish the operation.
Caution: Damage may be caused to this product
if it is incorrectly disconnected from the computer.
Caution
Charge
Rechargeable 2000MAh Li-Polymer Battery is included with this product, and is used to
supply power when playing music, movies or connecting to a computer as an external
hard disk.
Power on
Insert the SD/MMC card and press and hold the POWER button
for 3 seconds. When the POWER indicator light turns red, the
Power is on.
Power off
Press and hold the POWER button for 3 seconds. When the POWER
indicator light turns off, the Power is off.
Player's Function Operation Introduction
Main Menu
Main Menu Interface
There are 9 icons in the main menu interface: video, music, picture, e-book, recording,
folder, resume, radio and setting. Volume, power and time are indicated at the bottom
right.
Page 8

Use the UP and DOWN buttons to navigate through the list of videos. Select the desired video
and press PLAY to start.
This product is compatible with Windows Me, Windows 2000,
Windows XP.
For Win 95/98/98SE, you are required to download the driver.
Play Video
Select Video in the main interface and press PLAY. You will be redirected to the upper
level folder and the list of video files will be displayed.
Press the MENU button to display the operation menu.
a. To return to the main interface, select Desktop.
b. Create, copy, move, paste, delete and rename (see operation manual for reference)
c. Select File Information to open or close the file information bar.
While a video is playing, you can do the following:
a. Press ESC to stop playing and return to the video file list.
b. Press VOL+ or VOL- to adjust the volume.
c. Press PLAY to pause, and press PLAY again to resume.
d. Press UP or DOWN once to play the previous or next file.
e. Press and hold UP or DOWN for over 2 seconds to search forward or backward.
Release the button to resume playing.
Tip: Forward or Backward now function as video pause.
f. During video play, press MENU to show the video function menu.
(L-R: Pause, Forward, Backward, Next, Previous, Single Replay, 4:3 Display).
Note: The Single Replay
switches to 4:3 Display
Display
Note: Press UP or DOWN to select an option in the menu above and press PLAY to confirm.
g. When selecting Forward or Backward in the menu above, you can press UP or
DOWN to change how fast you want to go forward or backward (X2, X4, X8, X16), and
press PLAY again to resume normal playing.
by pressing 4:3 Display .
button can be switched to All Replay The display
, 16:9 Display , Original Display and Full Screen
1312
Page 9

During audio play, press MENU to show the music function menu.
Tip: Forward or backward is functioning as if it were in Video
mode, which will help you to find the correct playing spot.
Play Music
In the main interface, select Music and press PLAY.
You will be redirected to the upper level folder and the list of audio files will be displayed.
Press MENU to show the operation menu.
a. To return to the main interface, select Desktop
b. Create, copy, move, paste, delete and rename (see operation manual for reference)
c. Select File Information to open or close the file information bar.
Use the UP and DOWN buttons to navigate through the list of audio files. Select the desired
file and press PLAY to start.
Press ESC to stop playing and return to the file list.
(L-R: Pause, Forward, Backward, Next, Previous, Single Replay, A-B Repeat, ID3 Info, EQ,
Background Music, Lock.)
Note: The replay button can be switched to single Replay
Replay , by Pressing the Single Replay button.,Press ID3 Info to show Lyric Display
.)
Note: Press UP or DOWN to select an option in the menu above and press PLAY to confirm.
Press ESC or MENU to resume normal playing.
Change Lyrics
The music files should contain the LRC file, which contains the file names and the lyrics in
Unicode format. Download the lyric file, open it and save as Unicode (see image below).
Select Background Music from the menu above, and return to the previous menu, where your
music will still be playing.
Tips:press
as the end.The interval between two presses has to exceed 35 seconds.
to repeat.First press as the start,second Press
,Random Play , then All
Press PLAY to pause, and press PLAY again to resume.
Press VOL+ or VOL- to adjust the volume.
Press UP or DOWN once to play the previous or next file.
Press and hold UP or DOWN for over 2 seconds to search forward or backward. Release the
button to resume playing.
View Picture
In the main interface, select Image and press PLAY. You will be redirected to the upper level folder
and the list of image files will be displayed.
Press MENU to show the operation menu:
a. To return to the main interface, select Desktop.
1514
Page 10

b. Create, copy, move, paste, delete and rename (see operation manual for reference)
c. Select File Information to open or close the file information bar.
Press PLAY and the image will be displayed on the screen.
Press PLAY to read the e-book on the screen, and press UP or DOWN to turn the page forward
or back.
Press Esc to stop reading the e-book and return to the file list. (If the number of pages read
exceeds 10 pages, press Esc to return and display a dialogue where you can create a bookmark.
Select Yes to create a bookmark or No if you do not wish to create a bookmark.)
Press ESC to stop image browsing and return to the file list.
Press UP or DOWN once to play the previous or next file.
During image browsing, press MENU to show the image function menu:
(L-R: Next, Previous, Slide Display, Set as Background, Rotate Left 90 Degrees, Rotate
Right 90 Degrees, Zoom In, Zoom Out, 4 Images, 9 Images)
You can turn the slide function on or off in the menu above. The slide display interval can
be set in the setting menu.
Set Background
Select Set as Background in the menu above, and the current image will be set as the desktop
background. Images stored in the player can be set as the desktop background using this
function.
Under the image zoom mode, press UP and DOWN to move the image and press PLAY to exit
zoom mode.
Tip: If you would like to browse images and play music at the
same time, you must start the music first, and select Back-
ground Music from the menu. You can then proceed to browse
your images.
While you are reading the e-book, press MENU to show the e-book function menu:
(L-R: Previous File, Next File.)
This device is compatible with e-books in the following formats: *. Txt &. lrc. Note: the e-book file
must be in Unicode(Please refer to Change Lyric the Play Music section.)
Radio
When using the function of FM radio, please plug the earphones into the earphones jack,
otherwise the FM radio function is unavailable. (The earphone also serves as the antenna of the
FM radio.)
In the main interface, select Radio and press PLAY to start.
The default state is preset with 20 stations to choose from. Press UP or DOWN to
select the desired station.
Press VOL+ or VOL- to adjust the radio volume.
During FM radio play, press MENU to show the radio function menu:
(L-R: Previous, Next, Manual Search, Auto Search, Synchronous Recording, and
Background Play.) You can press UP or DOWN to select options in the function
menu.
Manual Search
Select Manual Search and press UP or DOWN to switch the radio frequency.
Press UP or DOWN once to switch the frequency over 100 KHz; press and hold UP or
DOWN for 2-3 seconds to enter the next station; Press PLAY. The FM radio will
prompt you to save your preset station, select the preset station and press PLAY to save it. Press
Esc to return to the preset station.
Read E-Book
In the main interface, select E-book and press PLAY. You will be redirected to the upper level
folder and the list of e-book files will be displayed.
Press MENU to show the operation menu:
a. To return to the main interface, select Desktop.
b. Create, copy, move, paste, delete and rename (see operation manual for reference)
c. Select File Information to open or close the file information bar.
Auto Search
Select Auto Search and the FM radio will search all frequencies automatically (87.5MHz108 MHz) and save each station searched to the preset station (This will replace previous preset
stations). If 20 preset stations are saved, the auto search will stop.
Synchronous Recording
During FM radio play, select Synchronous Recording to save the FM audio program;
Press Pause to stop recording.
1716
Page 11

Background Playing
Select Background Play to continue working with other programs.
Tip: Set the sensitivity of the radio under play mode of the
settings menu before searching. Please refer to the settings
instructions for details.
e. Rename: Select your desired file or folder, press MENU to show the operation menu and
select Rename. A character sheet appears. Press UP or DOWN to select the desired
characters and press PLAY to confirm input. Press MENU to save the name or press Esc
to cancel. If you get an input error, please move the cursor to the “
of the character set. Press PLAY to delete the incorrect character.
f. New Folder: Press MENU to show the operation menu and select Create.
A character sheet will appear. Name the folder and press MENU to save it. A new folder
is successfully created.
”in the top right corner
Resume
External Program Recording
Before starting, please connect the 3inlAV cable with the player’s AV In jack and the external
device’s AV Out jack.
a. In the main interface, select Recording and press PLAY to enter recording menu.
b. Select the type of Video and Audio with signal input (For music recording only) and press
PLAY to confirm.
c. Select the quality level of recording, high quality, medium quality or low quality and press
Enter to confirm.
d. Finally, select Start and press PLAY to record.
e. Press Return to stop recording, turn off the player and remove the AV cable.
f. During recording, press PLAY to pause/stop recording. Press PLAY again to resume
recording. This function allows you to check it without recording.
g. External AV device is not required for Voice recording, the audio is recorded through the
MIC.
File Operation
In the main interface, select File and press PLAY. You will be redirected to the upper level folder
and the list of files will be displayed.
a. Copy: Select your file or folder, press MENU to show the operation menu and select Copy.
Then press MENU in the desired folder to call the operation menu and select Paste. A Paste
or Not dialog appears. Press Yes to paste or NO to cancel.
b. Move: Select your file or folder, press MENU to show the operation menu and select Move.
A Move or Not dialog appears. Press Yes and then press MENUin the desired folder to call
the operation menu. Press Yes to start moving the file or NO to cancel.
c. Paste: See Copy and Move above.
d. Delete: Select your file or folder, press MENU to show the operation menu and select
Delete. A Delete or Not dialog appears. Press Yes to start deleting the file or NO to cancel.
The Resume function is used to resume the playing of the last video or audio file played.
If no previous video or audio was played, pressing the Resume button will result in a
message stating that there is No File.
Setup Menu
In the main interface, select Settings Menu and press PLAY to confirm. Press UP or
DOWN to select options in the menu and press PLAY to confirm.
Display
The option lets you select backlight, text color, focus text color and focus color.
a. Backlight: This lets you set how bright you want your backlight to be:: 10% (10% of total
brightness), 20%(20% of total brightness) …100%(total brightness).
b. Text color: This allows you to select the color of your text, from 001-255.
c. Focus Text color: This allows you to select the color of your highlighted text, from 001-255.
d. Focus color: This allows you select the color of the highlight itself, from 001-255.
Tip: After changing the SD card, all the display options will
return to the default.
System
This option lets you select Language, TV, System Info and Default Setting.
a. Language: Set the interface language: Select from Simplified Chinese, Traditional
Chinese, English, German, French, Italian, Spanish, Portuguese and Japanese.
1918
Page 12

b. TV: Set format of TV set PAL/NTSC.
System Info: Check the company information, product name, date of version, spare capacity.
c. Default Setting: resume the Default setting mode.
Power
The option lets you set the backlight setting and power off.
a. Backlight setting: This refers to the time before the LCD automatically shuts down: select
from 001-255 seconds, 000 is not available.
b. Power off: This refers to the time before the player automatically shuts down: selecting from
001-255 seconds, 000 is not available.
Playing Mode
The option lets you select the image interval time, music playing mode, radio sensitivity.
a. Image interval time: This refers to the interval between images when doing the automatic
browsing, from 001-255 seconds.
b. Music playing mode: This refers to the setting of music playing mode: random play, all
replay, single replay.
c. Sensitivity of radio: This refers to the setting of radio searching sensitivity, with
high, medium and low sensitivity.
Clock
Set the player’s clock to display on the desktop; with the ability to set year, month, day, hour, minute,
and second.
Speaker
The speaker can be set to be on or off.
Video play on TV
To play the video files from this device on your television, turn the power off, connect the player
(AV Out) to TV set (AV In) with the supplied AV cable. Set the television to AV mode. Turn the power
on, press and hold the menu button for 3-5 seconds, and it should now be displayed on the
television. Users can operate most functions via the TV screen. The volume control is not
available for the player in this mode.
Caution: System requirements of computer
a.Windows Media Player 9 or a newer version must be
installed.
b. Direct X9 must be installed.
c. Windows Media Encoder 9 must be installed.
Using Windows Media Encoder, you can select video files with the suffix WMV, ASF, AVI,
MPG, RM, RMVB and DAT as the source file.
After selecting the source file, select software conversion guide according to different requirements and select the desired specifics of the output file, such as resolution, frame rate, baud rate,
etc.
1. Select Windows Start Menu -- Program --Windows Media -- Windows Media Encoder
to run the Windows Media Encoder, then select the File Conversion option.
2. Select the source file to be converted in the source file window, and enter the location
and name of output file.
Code Conversion Program
Video conversion of WMV 9:
Microsoft Windows Media Encoder 9 series is a very powerful tool that is able to convert audio/
video into Windows Media Format. A brief introduction of the conversion process and steps of
using Windows Media Encoder follows:
3. Click Next and select Windows Media Hardware Configuration File. Click Next again.
2120
Page 13

4. Select Simple Video Configuration File-Medium (CBR) in the video bar.
Technical Specification
5. Select Audio Configuration File L1 (CBR) in the audio bar.
6. Click Next and fill in the information box with your favorite content or leave it empty.
7. Click Next and uncheck the option Single click “OK” to start converting, then click “OK”.
8. Click Property
,
and select Compress
,
Uncheck the option Through two code, and check Time Compress.
,
then select edit.
9. Click 355Kbps in self-defined code setting box,
,
change 15fps to 30fps in frame ratio bar
,
then click Confirm. Press Apply again and close the Property dialog.
10. Click Start coding, and wait for it to finish
SupplementSupplement
Supplement
SupplementSupplement
Product Dimension
Product Weight
Screen
Battery
Charger
Memory Capabity
Audio
Compatible
Code Flow Rate
Sampling Rate
Video
Compatible
Code Flow Rate
Sampling Rate
Radio
SNR
Frequency
Image
Compatible
Pixel
E-book
Support TXT(in unicode)<4.5MB
Video Recording
Audio Recording
USB
Language
Operation System
108mm x 71mm x 17.4mm
157g
4 inches TFT-LCD / 480X272 RGB
Embedded 2000 mAH Li-polymer Battery 3.7V/2000mAH
100-240V 50 / 60Hz AC input, 5V / 2A DC output
SD/MMC card 32MB-4GB
MP3 / WMA / AAC format ; 4GB for largest file
1.5 Mbps
16/ 24 / 32 / 44.1 / 48 KHZ
AVI / ASF / WMV9 ; 4GB for largest file
4 Mbps Frame Rate 30 frames / s
NTSC / PAL dual format Resolution 702X480
S / N: 30dB; 10 preset channels
87.5-108MHz
JPEG / BMP / GIF format, with functions of slide, background
music and image preview.
Largest Pixel: 3264X2448 Largest File 10 MB
Format
Resolution
Code Flow Rate
Format
Sampling Rate
Output
Input
USB 2.0 full speed
English,German,Italian,Spanish,Dutch,Korean,Russian,Japanese,
French,Portuguese,Simplified Chinese,Traditional Chinese.
Compatible with Windows98/98SE/ME/2000/XP system platform
MPEG-4.asf format , with largest file of 4GB
320X240
4M bps
MP3 format with largest fiel of 4GB
low sensitivity 16KHz.32Kbps
common sensitivity 24KHz.64Kbps
high sensitivity 32KHz.96Kbps
2.5mm sound / video joint
2.5mm sound / video joint
Environment Protection Knowledge
Discharged packing material, batteries and used electrical
products must be separated.
Safety Declaration
This device complies with part 15 of the FCC rules. Operation is subject to the following two
conditions:
a.The device may not cause harmful interference, and
b.This device must accept any interference received, including interference that may
cause undesired operation.
2322
Page 14

Copyright Declaration
No part of this manual may be copied, republished, reproduced, transmitted or distributed in any
way without prior written consent of Nextar, Inc. Any unauthorized distribution of this manual is
expressly forbidden.
Nextar is a registered trademark of Tofasco, Inc.
Nextar may find it necessary to modify, amend or otherwise change or update this manual. We
reserve the right to do this at any time, without any prior notice. All specifications and features
are subject to change without notice. All screenshots shown are simulated and may not represent
the actual screen on production unit sold to consumers.
For information on this product its operation and accessories, visit us on the web at:
http://www.nextar.com
or write to us at :
Nextar Inc.
1661 Fairplex Drive
La Verne, CA 91750
USA
Copyright © 2006 Nextar Inc.
All Rights Reserved
2524
 Loading...