

Page 1
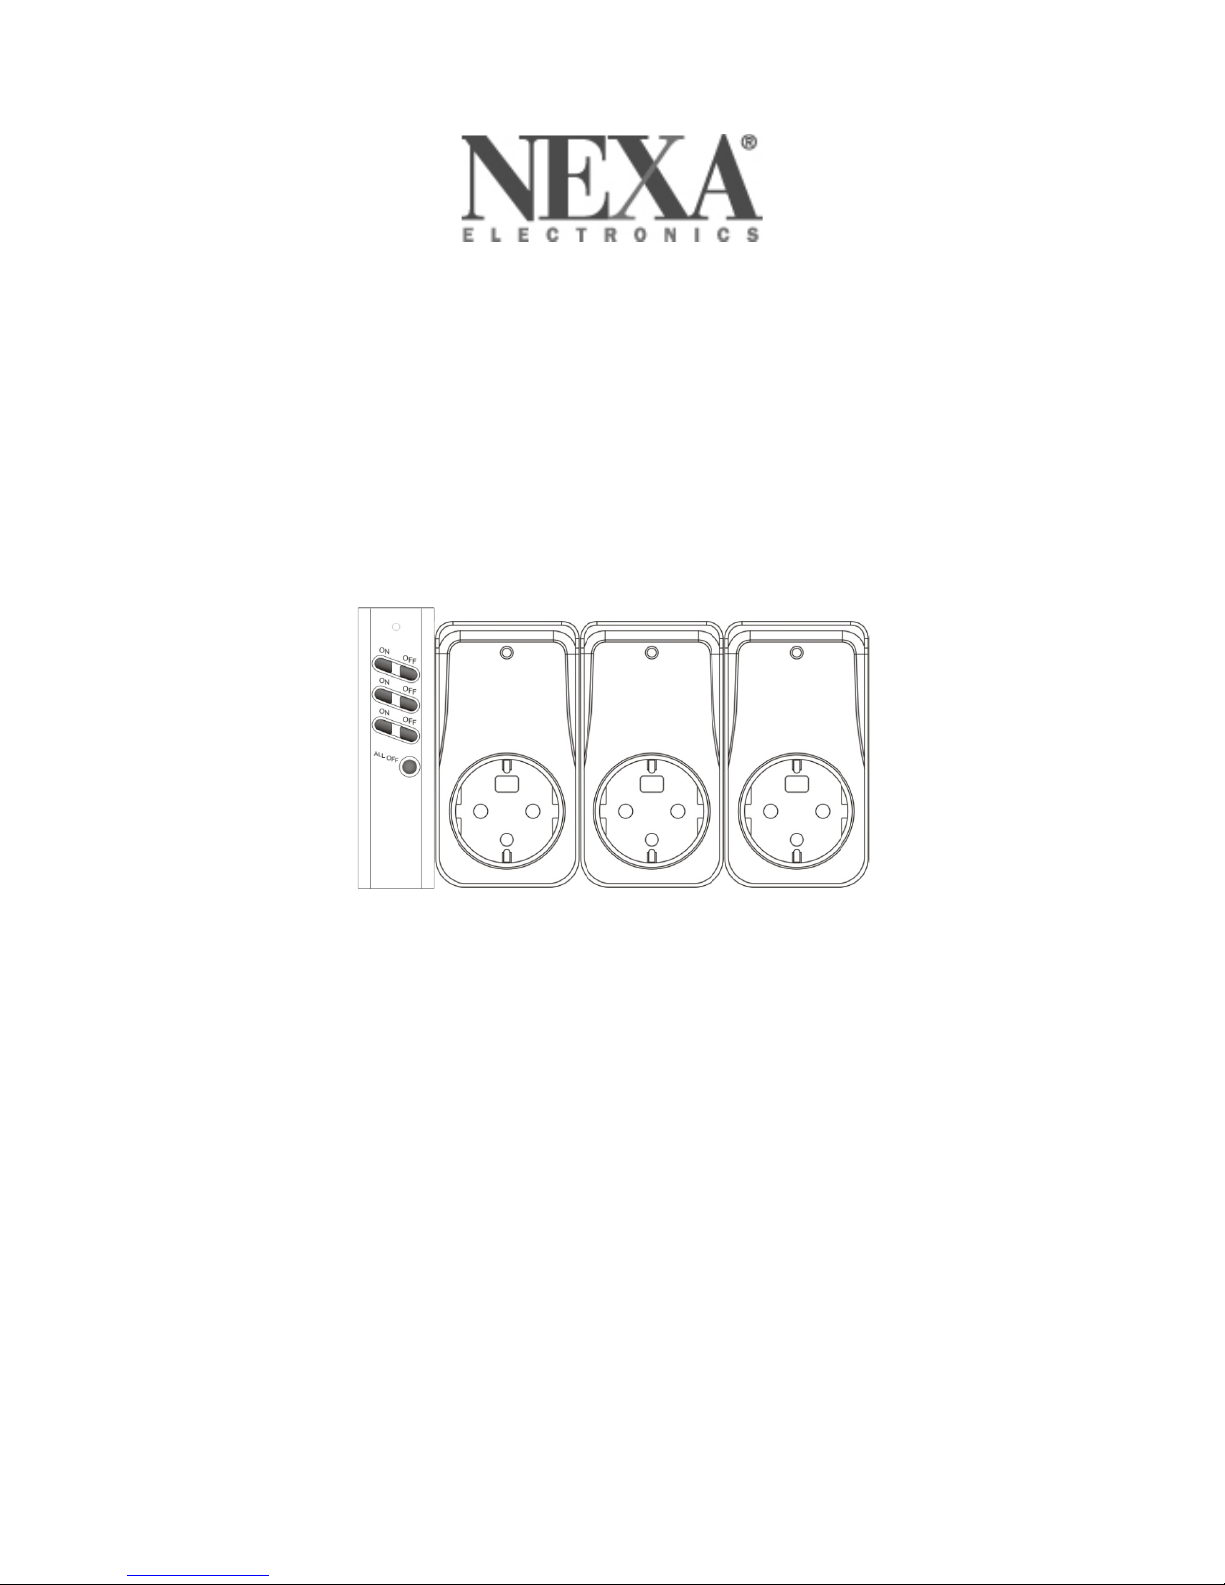
Specification
3 on/off receivers + remote control
Frequency 433.92MHz
Battery in remote control: 1 x 3V CR2032 (included)
Maximum number of transmitters: 3
The receivers are compatible with other teachable transmitters in System Nexa.
NEYCR-1500 + PET-910 Manual
Page 2
Programming
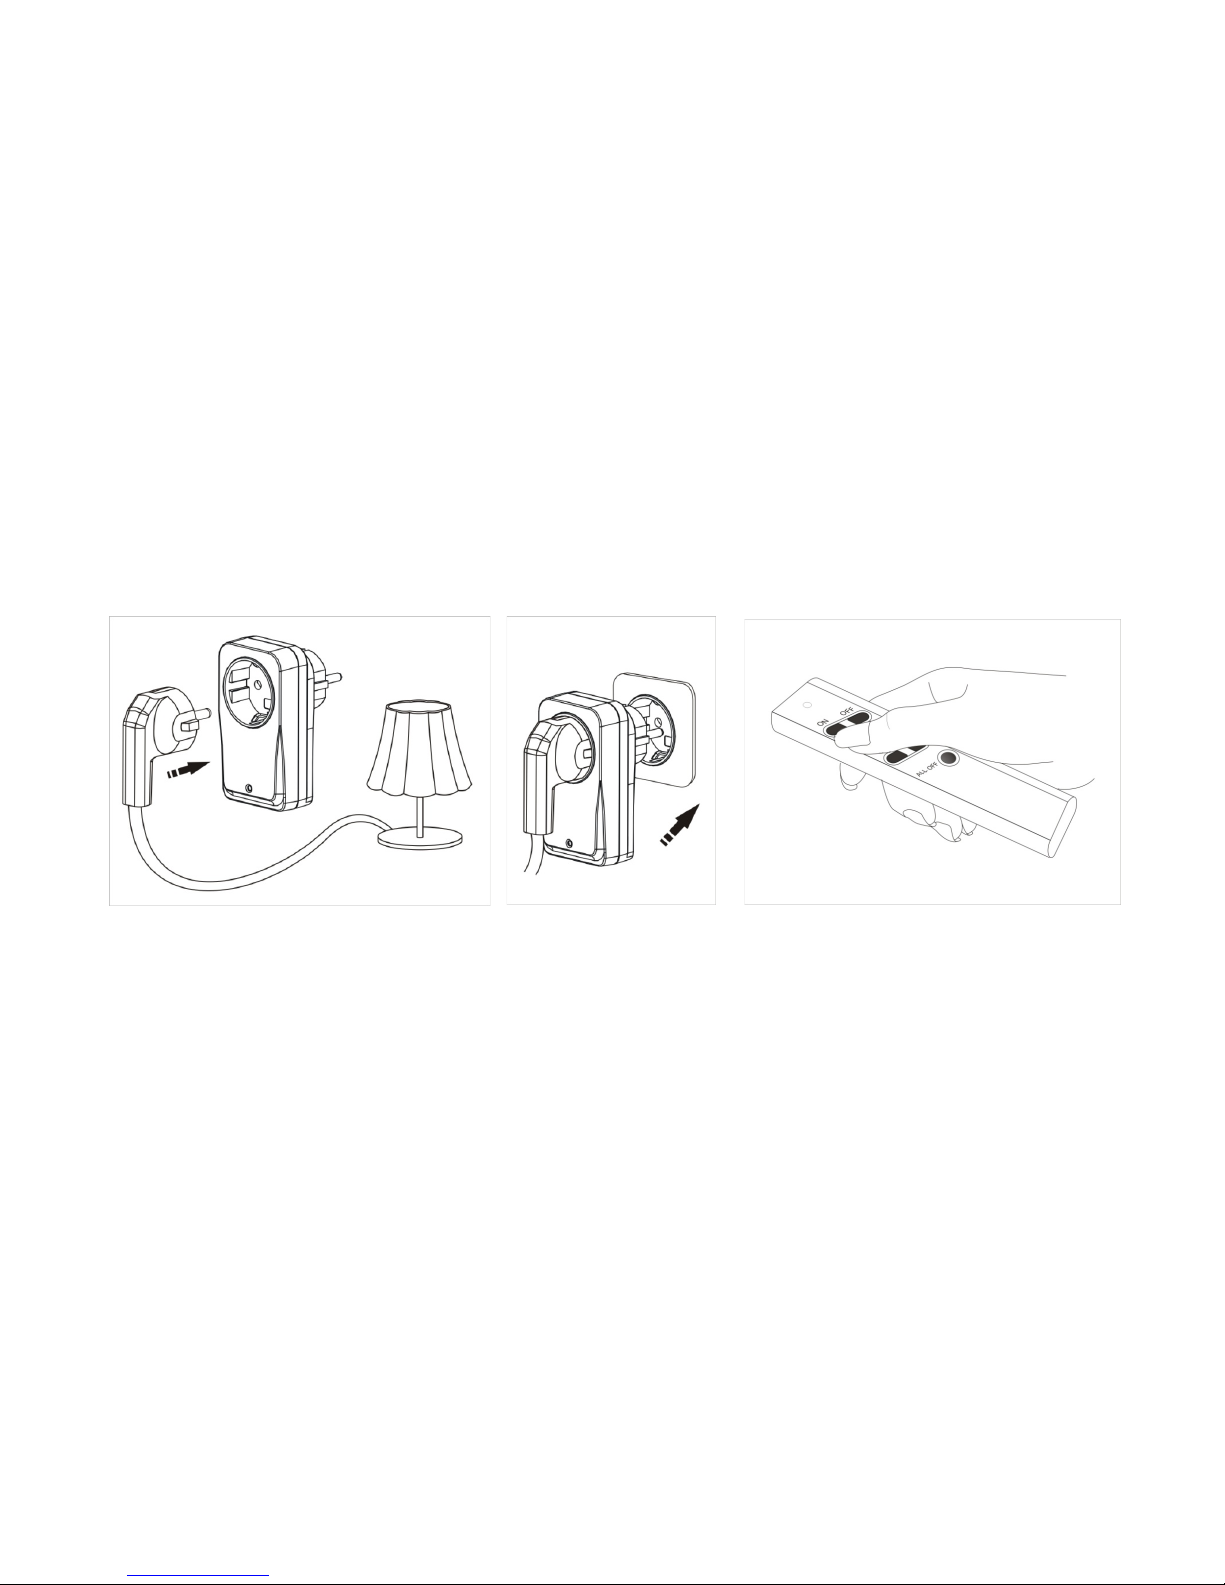
1. Connect a bulb to the receiver
2. Place the receiver in the wall socket
3. The LED on the receiver will now flash for 5 seconds while the receiver is in learning
mode.
4. Press the ON button on the remote control with which you want to control the
receiver. The connected bulb will flash twice to confirm that learning has been
successful.
Once programming has finished, all functions will work automatically.
Note:
The LED will stop flashing and return to its original state if a button press is not registered
during the 5 seconds that the receiver is in learning mode.
If the connected bulb does not confirm by flashing twice after pressing the button, it will
mean the receiver memory is full and must be emptied before a new transmitter is added. (See
next page)
Page 3
Delete memory in receiver
Each receiver has memory for three different transmitters. Once the memory is full, you can
either delete the entire memory or one specific transmitter.
Delete the entire memory
1. Connect a bulb or other load to the receiver
2. Place the receiver in the wall socket
3. The LED on the receiver will now flash for 5
seconds while the receiver is in learning mode.
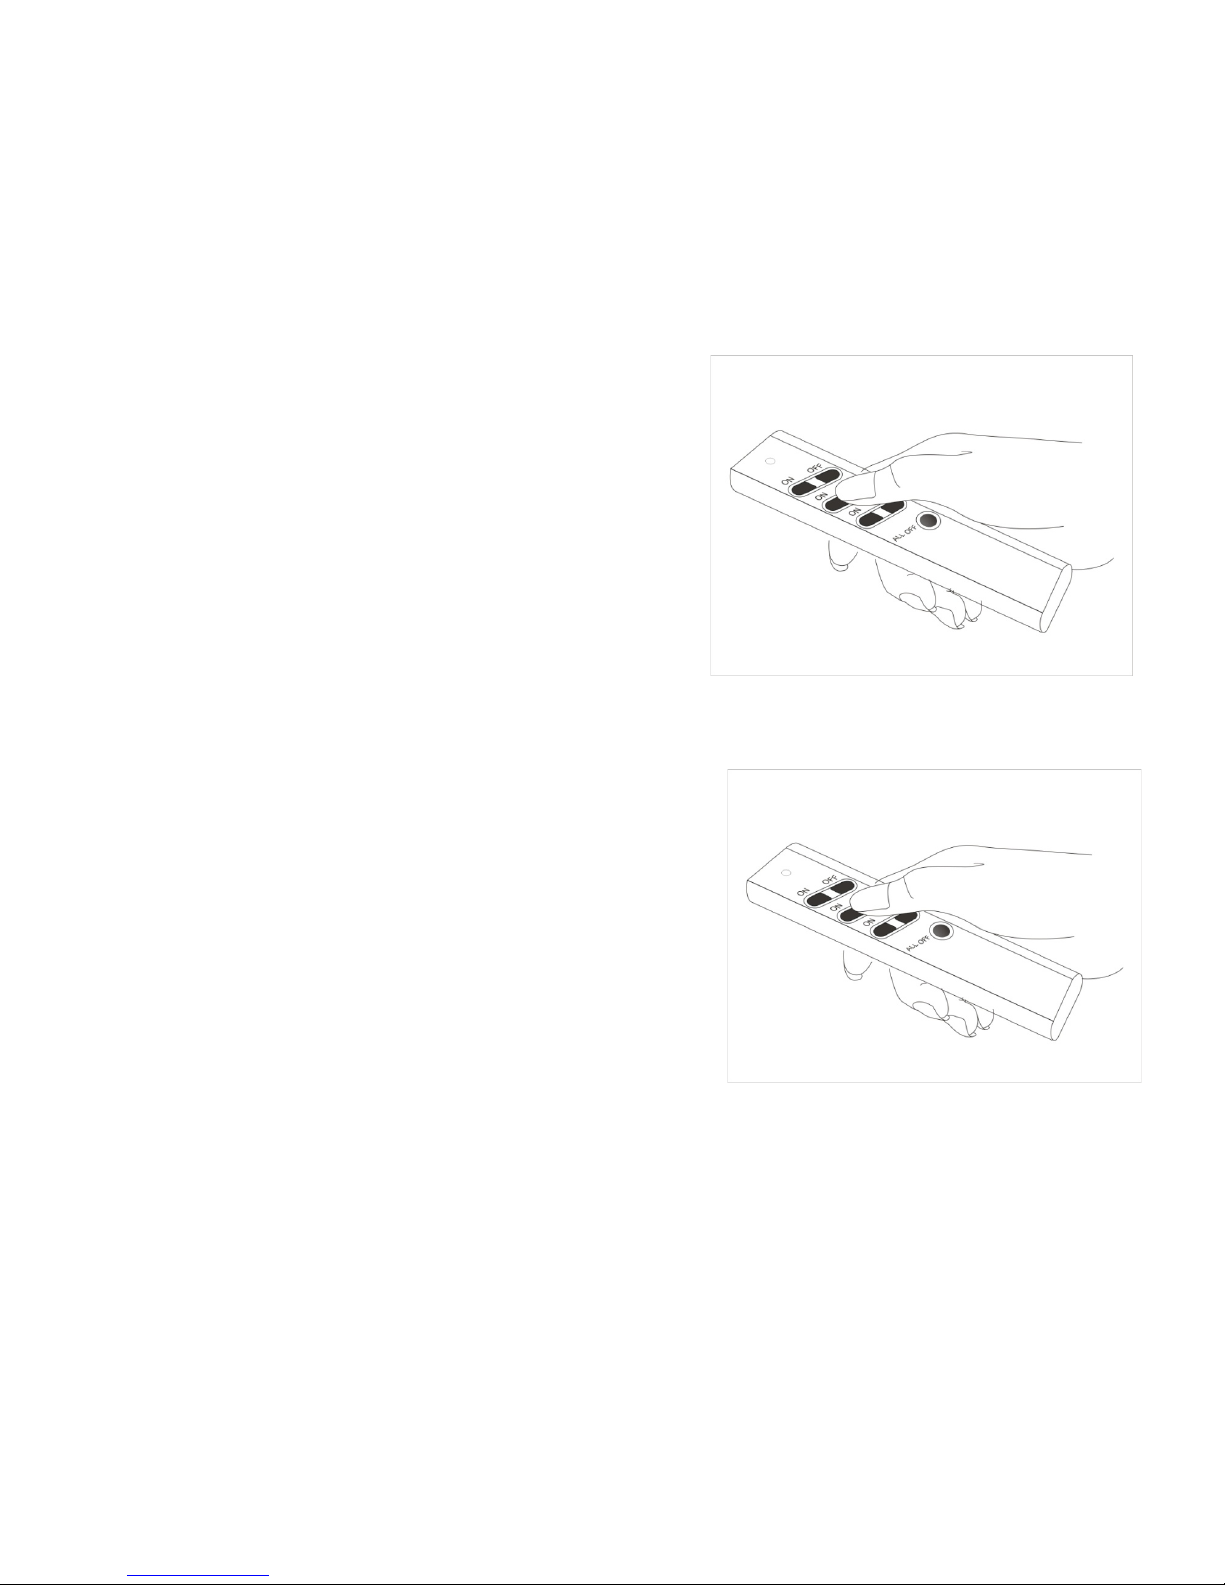
4. Press All Off on the remote control while the
LED on the receiver is flashing. The connected
bulb will flash twice to confirm that deletion has
been successful.
Delete individual units
1. Connect a bulb or other load to the receiver
2. Place the receiver in the wall socket
3. The LED on the receiver will now flash for 5
seconds while the receiver is in learning mode.
4. Press the Off button for the receiver you wish to
disconnect from the transmitter. The connected
bulb will flash twice to confirm that deletion has
been successful.
Page 4
Use
ON/OFF & ALL OFF
Press "ON" to turn on the connected bulb.
Press "OFF" to turn off the connected bulb.
Press "ALL OFF" to turn off all receivers
Dimmer
The remote control can also be used for receivers with dimmer
(not included) and then operates in the following manner.
Press "ON" to turn on the connected bulb.
Press "ON" once more to start the dimmer (bulb brightness
varies from lowest to highest).
Press "ON" once more to stop the dimmer and confirm the bulb
brightness.
Press "OFF" to turn off.
Battery replacement
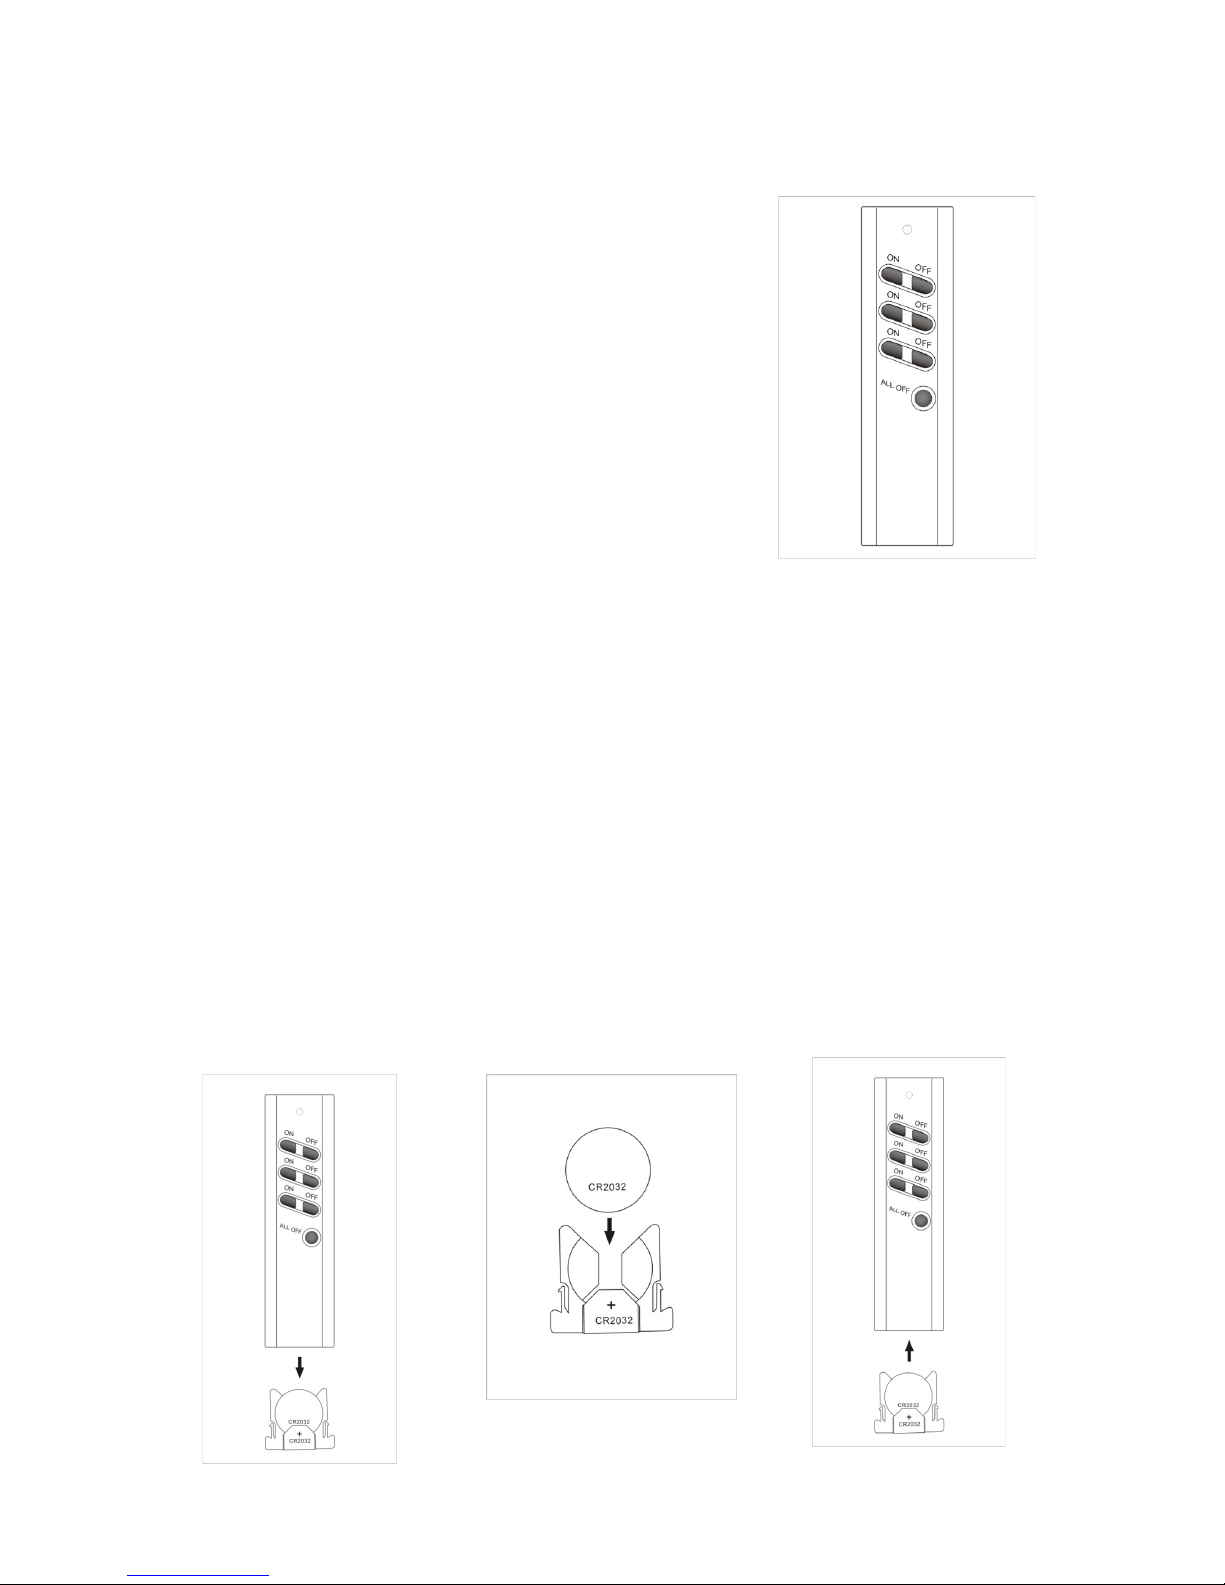
The remote control includes 1x 3V CR2032 and when this starts to be flat the range will
deteriorate and it will be difficult to control your receivers.
1. Pull out the battery holder at the bottom of the remote control.
2. Replace with a new battery with the + pole at the top.
3. Carefully slide in the battery holder and make sure it engages correctly.
Page 5

Troubleshooting
Problem:
LED on remote control does not come on when pressing a button.
Solution:
Make sure the battery has been inserted correctly and is not discharged. Change battery if
necessary.
Problem:
Transmitter and receiver cannot be paired
Solution:
Memory in receiver full; follow the instructions "Delete memory in receiver" and then try
again.
Specification
Receiver NEYCR- 1500
Frequency 433.92MHz
Maximum number of transmitters: 3
Operating voltage: 220-240 V ~50Hz
Max. load: 1500W resistive load.
Transmitter PET-910
Frequency 433.92MHz
Battery in remote control: 1 x 3V CR2032 (included)
Support: [email protected]
www.nexa.se
 Loading...