

Page 1
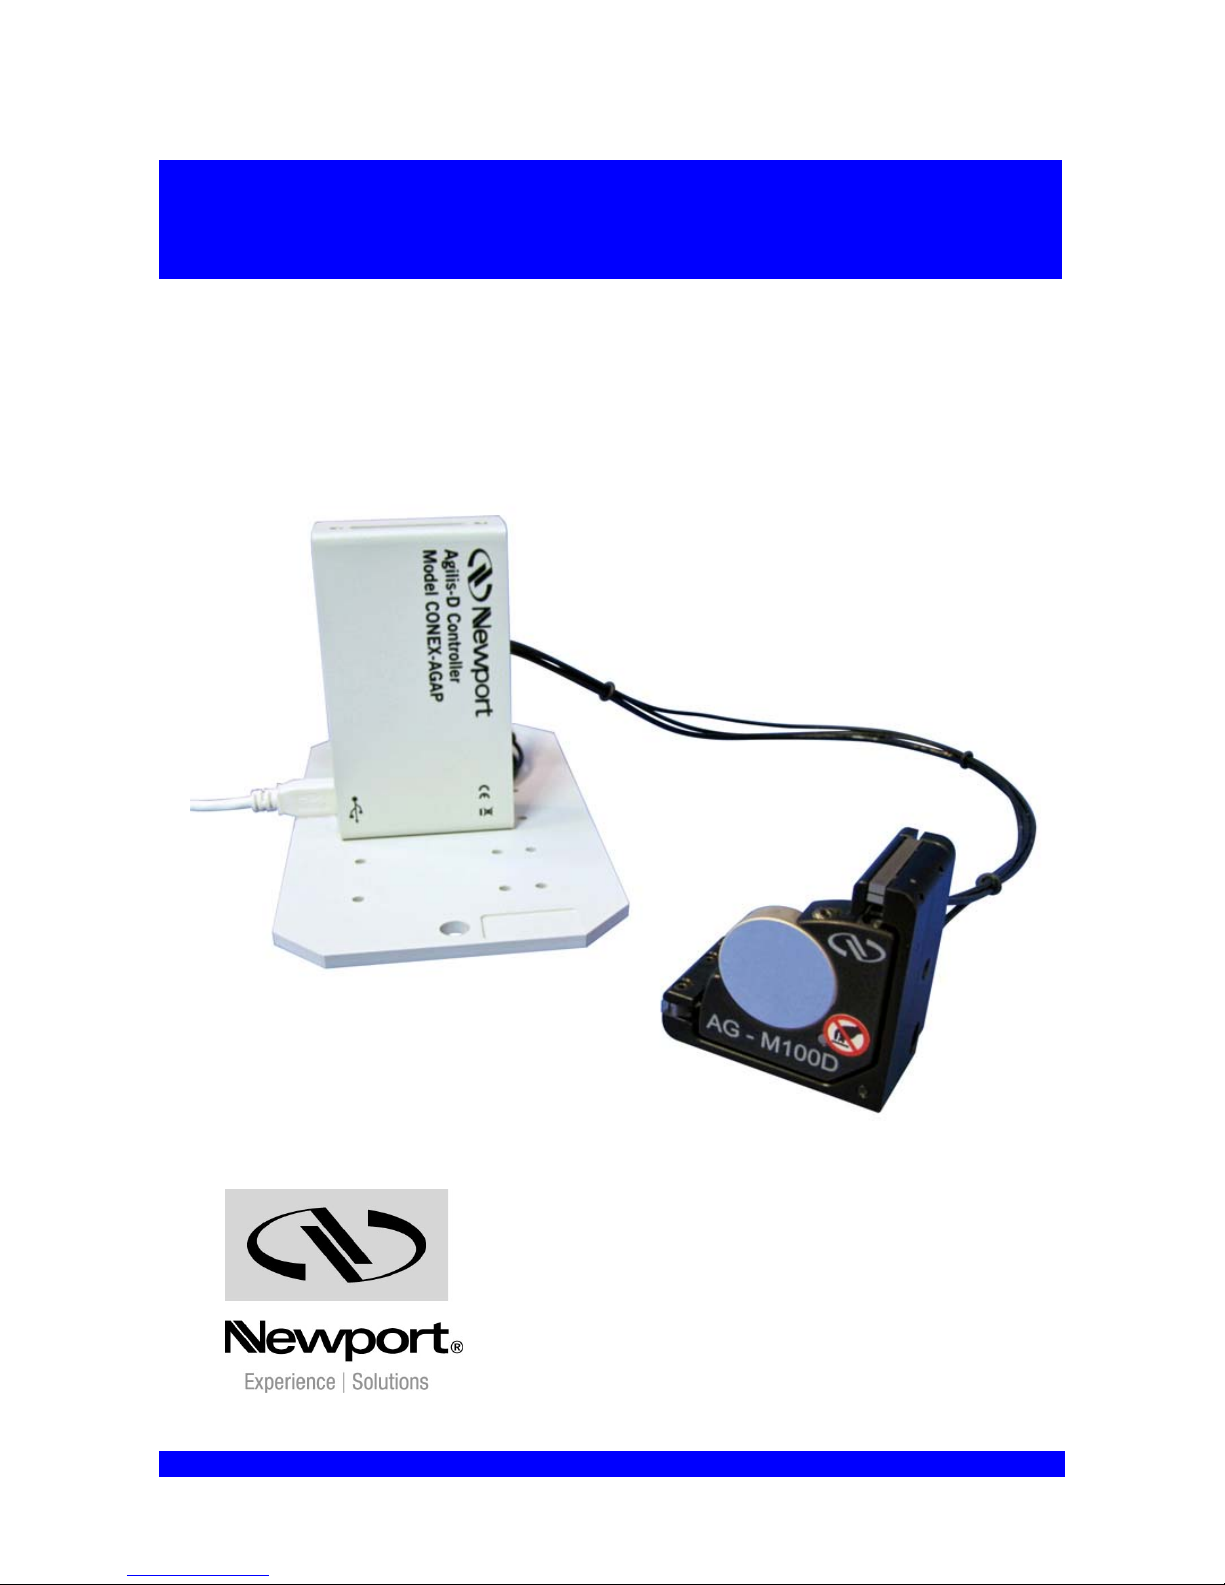
Agilis-D Controller
with Strain Gages Feedback
LabVIEW Driver Manual
in NSTRUCT Environment
V2.0.x
CONEX-AGAP
For Motion, Think Newport™
Page 2

CONEX-AGAP Agilis-D Controller with Strain Gages Feedback
EDH0293En1020 — 09/12 Page ii
Page 3

CONEX-AGAP Agilis-D Controller with Strain Gages Feedback
Table of Contents
1.0 Introduction ..................................................................................................1
1.1 Purpose....................................................................................................................................1
1.2 Overview .................................................................................................................................1
1.3 Install LabVIEW 2010.............................................................................................................1
1.4 Download and Install Newport NSTRUCT.............................................................................1
1.5 Run Newport NSTRUCT Server.............................................................................................1
1.6 Connect and Authorize your Newport Instruments .................................................................2
2.0 LabVIEW Drivers Used in the NSTRUCT Environment ........................3
2.1 Finding the Newport Instrument LabVIEW Driver.................................................................3
2.2 Adding Newport Instrument menu to LabVIEW.....................................................................4
2.3 Menu Contents for Newport Instrument..................................................................................5
3.0 LabVIEW Example with CONEX-AGAP Instrument.............................7
3.1 LabVIEW Project Creation......................................................................................................7
3.2 First Step: Instrument Connection...........................................................................................7
3.3 Second Step: Invoking an Instrument Command....................................................................8
3.4 Last Step: Instrument Disconnection.....................................................................................10
3.5 Functional Example...............................................................................................................10
3.5.1 Project......................................................................................................................10
3.5.2 Diagram...................................................................................................................11
3.5.3 Associated front panel.............................................................................................11
4.0 Knowledge from National Instruments.................................................... 12
4.1 Loading .NET Assemblies in LabVIEW...............................................................................12
4.2 Loading VIs with an Updated Assembly...............................................................................12
Service Form........................................................................................................13
Page iii EDH0293En1020 — 09/12
Page 4

CONEX-AGAP Agilis-D Controller with Strain Gages Feedback
EDH0293En1020 — 09/12 Page iv
Page 5

CONEX-AGAP Agilis-D Controller with Strain Gages Feedback
CONEX-AGAP
Agilis-D Controller with Strain Gages Feedback
1.0 Introduction
1.1 Purpose
The purpose of this document is to provide instructions on how to use the CONEXAGAP LabVIEW driver.
This document shows:
How to connect with a selected instrument
How to use a function from the Command Interface library
How to disconnect the connected instrument.
1.2 Overview
The CONEX-AGAP LabVIEW driver allows developing a LabVIEW program for a
CONEX-AGAP controller in the NSTRUCT environment.
The Newport LabVIEW driver for CONEX-AGAP uses the .NET assembly named
Newport.ConexAGAP.CommandInterface.DLL.
The current Newport LabVIEW driver structure has been implemented following the
National Instruments instructions on “Loading .NET …” as reported in §4.0.
1.3 Install LabVIEW 2010
The LabVIEW 2010 from National Instruments must be installed on your computer.
1.4 Download and Install Newport NSTRUCT
If the Newport NSTRUCT application is not installed on your computer then
download it from the Newport web site: http://www.newport.com
Menu to select for downloading:
SALES & SUPPORTS > Softwares & Download > NSTRUCT Software & Applets
1.5 Run Newport NSTRUCT Server
The Newport NSTRUCT server must be running before to develop with LabVIEW.
It’s the main condition to use the Newport LabVIEW driver.
EDH0293En1020 — 09/12 Page 1
Page 6

CONEX-AGAP Agilis-D Controller with Strain Gages Feedback
1.6 Connect and Authorize your Newport Instruments
Before to connect your Newport instrument, read the manual to install its
communication driver. Once the communication driver installed, the Newport
instrument can be connected to the computer.
Once NSTRUCT installed and NSTRUCT server is running, the instrument can be
connected and detected by the NSTRUCT server only if it is “plug and play”.
If the Newport instrument cannot be detected automatically, open the NSTRUCT
server to add this instrument to the server. To do that, refer you to the video “How to
add an instrument” from NSTRUCT help or refer you to the applet manual of the
selected instrument.
The connected instrument is now detected by the NSTRUCT server after a
“Rediscover instruments” action. The first time, the instrument is “Unauthorized”. In
this case, open the NSTRUCT server, click right on your selected instrument and
choose “Authorize”.
At the end, the selected instrument must be connected, detected and authorized by the
NSTRUCT server.
EDH0293En1020 — 09/12 Page 2
Page 7

CONEX-AGAP Agilis-D Controller with Strain Gages Feedback
2.0 LabVIEW Drivers Used in the NSTRUCT Environment
2.1 Finding the Newport Instrument LabVIEW Driver
With NSTRUCT, a folder is created from “Program files” for each instrument in
\NSTRUCT\Instruments folder.
From the selected instrument directory, a “LabVIEW” directory contains the
LabVIEW driver.
C:\Program Files\Newport\Instrument Manager\NSTRUCT\Instruments\CONEXAGAP\LabVIEW
The “Lib” folder contains the assemblies necessary for the LabVIEW project:
A LabVIEW project will be provided with two important VIs: “Connect” and
“Disconnect”.
Page 3 EDH0293En1020 — 09/12
Page 8

CONEX-AGAP Agilis-D Controller with Strain Gages Feedback
2.2 Adding Newport Instrument menu to LabVIEW
A menu file (.mnu) for LabVIEW is provided for each instrument.
NOTE
This menu must be copied in the directory “user.lib” of your LabVIEW.
This menu allows you to access to each instrument driver when the “User libraries” is
selected from the LabVIEW functions panel.
For each instrument, three VIs are available:
Co
nnect to the instrument
Disconnect from the instrument
Node of method (.NET) to access to all instrument commands
EDH0293En1020 — 09/12 Page 4
Page 9

CONEX-AGAP Agilis-D Controller with Strain Gages Feedback
2.3 Menu Contents for Newport Instrument
LWConexPSD_Connect
This VI creates an instance of the selected instrument. The instrument is registered to
the NSTRUCT server and the communication is ready.
Inputs
Instrument Key: represents the instrument key from the NSTRUCT server. If it’s
empty, a dialog box is displayed to purpose a device list. Then the user can
selected one instrument from this list.
Outputs
ConexPSD Reference: represents the instrument instance.
Component ID: the identifier of the instrument from the NSTRUCT server.
error out: contains LabVIEW error information.
LWConexPSD_Disconnect
This VI is used to remove the instance of the selected instrument. The instrument is
unregistered from the NSTRUCT server and the communication is closed.
Inputs
ConexPSD Reference: represents the instrument instance.
Component ID: the identifier of the instrument from the NSTRUCT server.
error in: describes LabVIEW error conditions that occur before this node runs.
Outputs
error out: contains LabVIEW error information.
Page 5 EDH0293En1020 — 09/12
Page 10

CONEX-AGAP Agilis-D Controller with Strain Gages Feedback
Node of method (from the .NET library provided by LabVIEW)
This VI is a dynamic VI that allows to access to all commands of the selected
instrument from the CommandInterface DLL. The user can select one function from a
list.
The command syntax is “AA”. The command name is the beginning of the function
name. That allows the user to refer to the controller’s manual to get the description of
the command to select.
Inputs
reference is the refnum associated with the instrument object on which you want
to invoke a method or perform an action.
error in describes LabVIEW error conditions that occur before this node runs.
input 1..n are example input parameters of a method.
Outputs
reference out returns reference unchanged.
error out contains LabVIEW error information.
return value is an example return value of a method.
output 1..n are example output parameters of a method.
EDH0293En1020 — 09/12 Page 6
Page 11

CONEX-AGAP Agilis-D Controller with Strain Gages Feedback
3.0 LabVIEW Example with CONEX-AGAP Instrument
NOTE:
The following screen shots are done for a CONEX-PSD instrument.
It’s exactly the same thing for a CONEX- AG AP instrument.
3.1 LabVIEW Project Creation
Create a LabVIEW project. It’s a necessary step to develop with the Newport
LabVIEW driver. The LabVIEW development must be done from this opened project.
3.2 First Step: Instrument Connection
In your LabVIEW project, open a new LabVIEW diagram, right click to open the
“functions” panel and choose the “User libraries” menu. Next, select the “Instrument
for NSTRUCT” menu to open the panel of functions.
For CONEX-AGP, the “CONEX-AGP for NSTRUCT” menu is selected to op en the
panel of functions for CONEX-AGP.
Select the VI LWInstrument_Connect.vi from the panel of the selected instrument.
For CONEX-AGP, the selected VI will be LWConexAGP_Connect.vi as the selected
instrument is a CONEX-AGP.
Page 7 EDH0293En1020 — 09/12
Page 12

CONEX-AGAP Agilis-D Controller with Strain Gages Feedback
It is the first step to be able to communicate with your instrument. At this step, an
instance of your instrument is created.
The “LWInstrument_Connect” VI returns a “ComponentID” that refers to the
NSTRUCT server. This “ComponentID” must be used with each subsequent function
from the instrument instance.
3.3 Second Step: Invoking an Instrument Command
Select the “node of method” from the function panel:
User libraries > Instrument for NSTRUCT > Node of method
For CONEX-AGP:
User libraries > CONEX-AGP for STRUCT > Node of method
NOTE
It’s possible to select the “node of method” from Connectivity > .NET menu.
EDH0293En1020 — 09/12 Page 8
Page 13

CONEX-AGAP Agilis-D Controller with Strain Gages Feedback
Link the ‘Instrument Reference’ output from LWInstrument_Connect to the
‘reference’ input from the node of method.
For CONEX-AGP: ‘ConexAGP Reference’. After the link, the node of method header
becomes “ConexAGP”.
Now, a list of functions for the selected instrument is accessible. Right click on the
node of method and select the menu “select a method”: a list of functions is displayed.
This list contains all the functions of the instrument.
In our example, the selected function is “VE” to get the version of the selected
instrument.
Page 9 EDH0293En1020 — 09/12
Page 14

CONEX-AGAP Agilis-D Controller with Strain Gages Feedback
3.4 Last Step: Instrument Disconnection
At the end of the LabVIEW program, the instrument is disconnected and its instance
must be closed.
So, right click to open the “functions” panel and choose the “User libraries” menu.
Next, go to the “Instrument for NSTRUCT” menu and select the
LWInstrument_Disconnect.vi.
For CONEX-AGP, the selected VI will be LWConexAGP_Disconnect.vi from the
“CONEX-AGP for NSTRUCT” panel.
It is the last step of your program. At the end of your program, the instance of your
selected instrument will be deleted properly.
3.5 Functional Example
3.5.1 Project
EDH0293En1020 — 09/12 Page 10
Page 15

CONEX-AGAP Agilis-D Controller with Strain Gages Feedback
3.5.2 Diagram
3.5.3 Associated front panel
Page 11 EDH0293En1020 — 09/12
Page 16

CONEX-AGAP Agilis-D Controller with Strain Gages Feedback
EDH0293En1020 — 09/12 Page 12
4.0 Knowledge from National Instruments
From LabVIEW 2010 Help
Edition Date: June 2010
Part Number: 371361G-01
http://zone.ni.com/reference/en-XX/help/371361G-01/lvconcepts/loading_assemblies/
4.1 Loading .NET Assemblies in LabVIEW
If you reference a .NET object from the front panel or block diagram of a VI, ensure
that LabVIEW can load the .NET assembly for that object. The Common Language
Runtime (CLR) is responsible for locating .NET assemblies that you call. Refer to the
Microsoft Developer Network (MSDN)
Web site for more information about how the
CLR locates assemblies. If the CLR cannot find the assembly, LabVIEW then
searches for the assembly in the same manner it searches for missing VIs. LabVIEW
searches for missing VIs in the directories you specify on the Paths
page of the
Options
dialog box. If LabVIEW cannot find the .NET assembly for a .NET object
referenced directly on the front panel or block diagram, LabVIEW generates a loadtime error. If LabVIEW cannot load a dependent assembly needed during run-time,
LabVIEW generates a run-time error.
The CLR uses the directory of the running executable as the default search path when
it loads private .NET assemblies. If you reference a .NET object from a VI that does
not belong to a LabVIEW project, the CLR considers LabVIEW.exe to be the running
executable. The CLR therefore searches for private assemblies in the directory in
which the LabVIEW.exe file is located. If you reference a .NET object from a VI
that does belong to a LabVIEW project, the CLR considers the project to be the
running executable. The CLR therefore searches for private assemblies in the
project directory. If you reference a .NET assembly from a VI and the assembly does
not belong to the .NET Framework, National Instruments strongly recommends that
you store the VI in a project to avoid having to place files in the directory in which the
LabVIEW.exe file is located.
If you call a .NET assembly from a VI that does not belong to a project, you
technically can save the assembly in the same directory as its calling VI. LabVIEW
searches certain VI directories, including the calling VI directory, for assemblies that
the CLR cannot load by default. However, calling assemblies sto red in this location
can result in name conflicts and other unexpected .NET behavior. Therefore, National
Instruments does not recommend that you save assemblies in this location.
4.2 Loading VIs with an Updated Assembly
Microsoft Visual Studio .NET and other development tools provided in the .NET
Framework SDK can assign strong names to an assembly. Assemblies with the same
strong name are expected to be identical.
When you load a VI with a change in the path of a .NET assembly or with a change in
the version number or culture string of a strong-named assembly, LabVIEW launches
a warning dialog box informing you of the change. Once loaded, the VI includes an
asterisk in its title bar and in the list of open VIs displayed in the Window menu.
When you save the VI, the asterisk disappears until you make a new change.
When you load a VI with a change in the time stamp of a .NET assembly, LabVIEW
does not launch a warning dialog box but does display an asterisk in the title bar of the
VI.
Refer to the KnowledgeBase
at ni.com for more information about how to select and
load specific versions of .NET Assemblies.
Page 17

CONEX-AGAP Agilis-D Controller with Strain Gages Feedback
Service Form
Your Local Representative
Tel.: ___________________
Fax: ___________________
Name: __________________________________________________ Return authorization #: _____________________________________
Company: _______________________________________________
(Please obtain prior to return of item)
Address:_________________________________________________ Date: ___________________________________________________
Country:_________________________________________________ Phone Number: ___________________________________________
P.O. Number: ____________________________________________ Fax Number: _____________________________________________
Item(s) Being Returned: ____________________________________
Model#:_________________________________________________ Serial #: _________________________________________________
Description:__________________________________________________________________________________________________________
Reasons of return of goods (please list any specific problems):__________________________________________________________________
____________________________________________________________________________________________________________________
____________________________________________________________________________________________________________________
____________________________________________________________________________________________________________________
____________________________________________________________________________________________________________________
____________________________________________________________________________________________________________________
____________________________________________________________________________________________________________________
____________________________________________________________________________________________________________________
____________________________________________________________________________________________________________________
____________________________________________________________________________________________________________________
____________________________________________________________________________________________________________________
____________________________________________________________________________________________________________________
____________________________________________________________________________________________________________________
____________________________________________________________________________________________________________________
____________________________________________________________________________________________________________________
____________________________________________________________________________________________________________________
____________________________________________________________________________________________________________________
____________________________________________________________________________________________________________________
____________________________________________________________________________________________________________________
____________________________________________________________________________________________________________________
____________________________________________________________________________________________________________________
____________________________________________________________________________________________________________________
____________________________________________________________________________________________________________________
____________________________________________________________________________________________________________________
____________________________________________________________________________________________________________________
____________________________________________________________________________________________________________________
____________________________________________________________________________________________________________________
____________________________________________________________________________________________________________________
____________________________________________________________________________________________________________________
Page 13 EDH0293En1020 — 09/12
Page 18

Visit Newport Online at:
www.newport.com
North America & Asia
Newport Corporation
1791 Deere Ave.
Irvine, CA 92606, USA
Sales
Tel.: (800) 222-6440
e-mail: sales@newport.com
Technical Support
Tel.: (800) 222-6440
e-mail: tech@newport.com
Service, RMAs & Returns
Tel.: (800) 222-6440
e-mail: rma.service@newport.com
Europe
MICRO-CONTROLE Spectra-Physics S.A.S
9, rue du Bois Sauvage
91055 Évry CEDEX
France
Sales
Tel.: +33 (0)1.60.91.68.68
e-mail: france@newport-fr.com
Technical Support
e-mail: tech_europe@newport.com
Service & Returns
Tel.: +33 (0)2.38.40.51.55
 Loading...