


Page 1
Netopia
®
4686-XL
Cable/DSL Router
Quickstart Guide
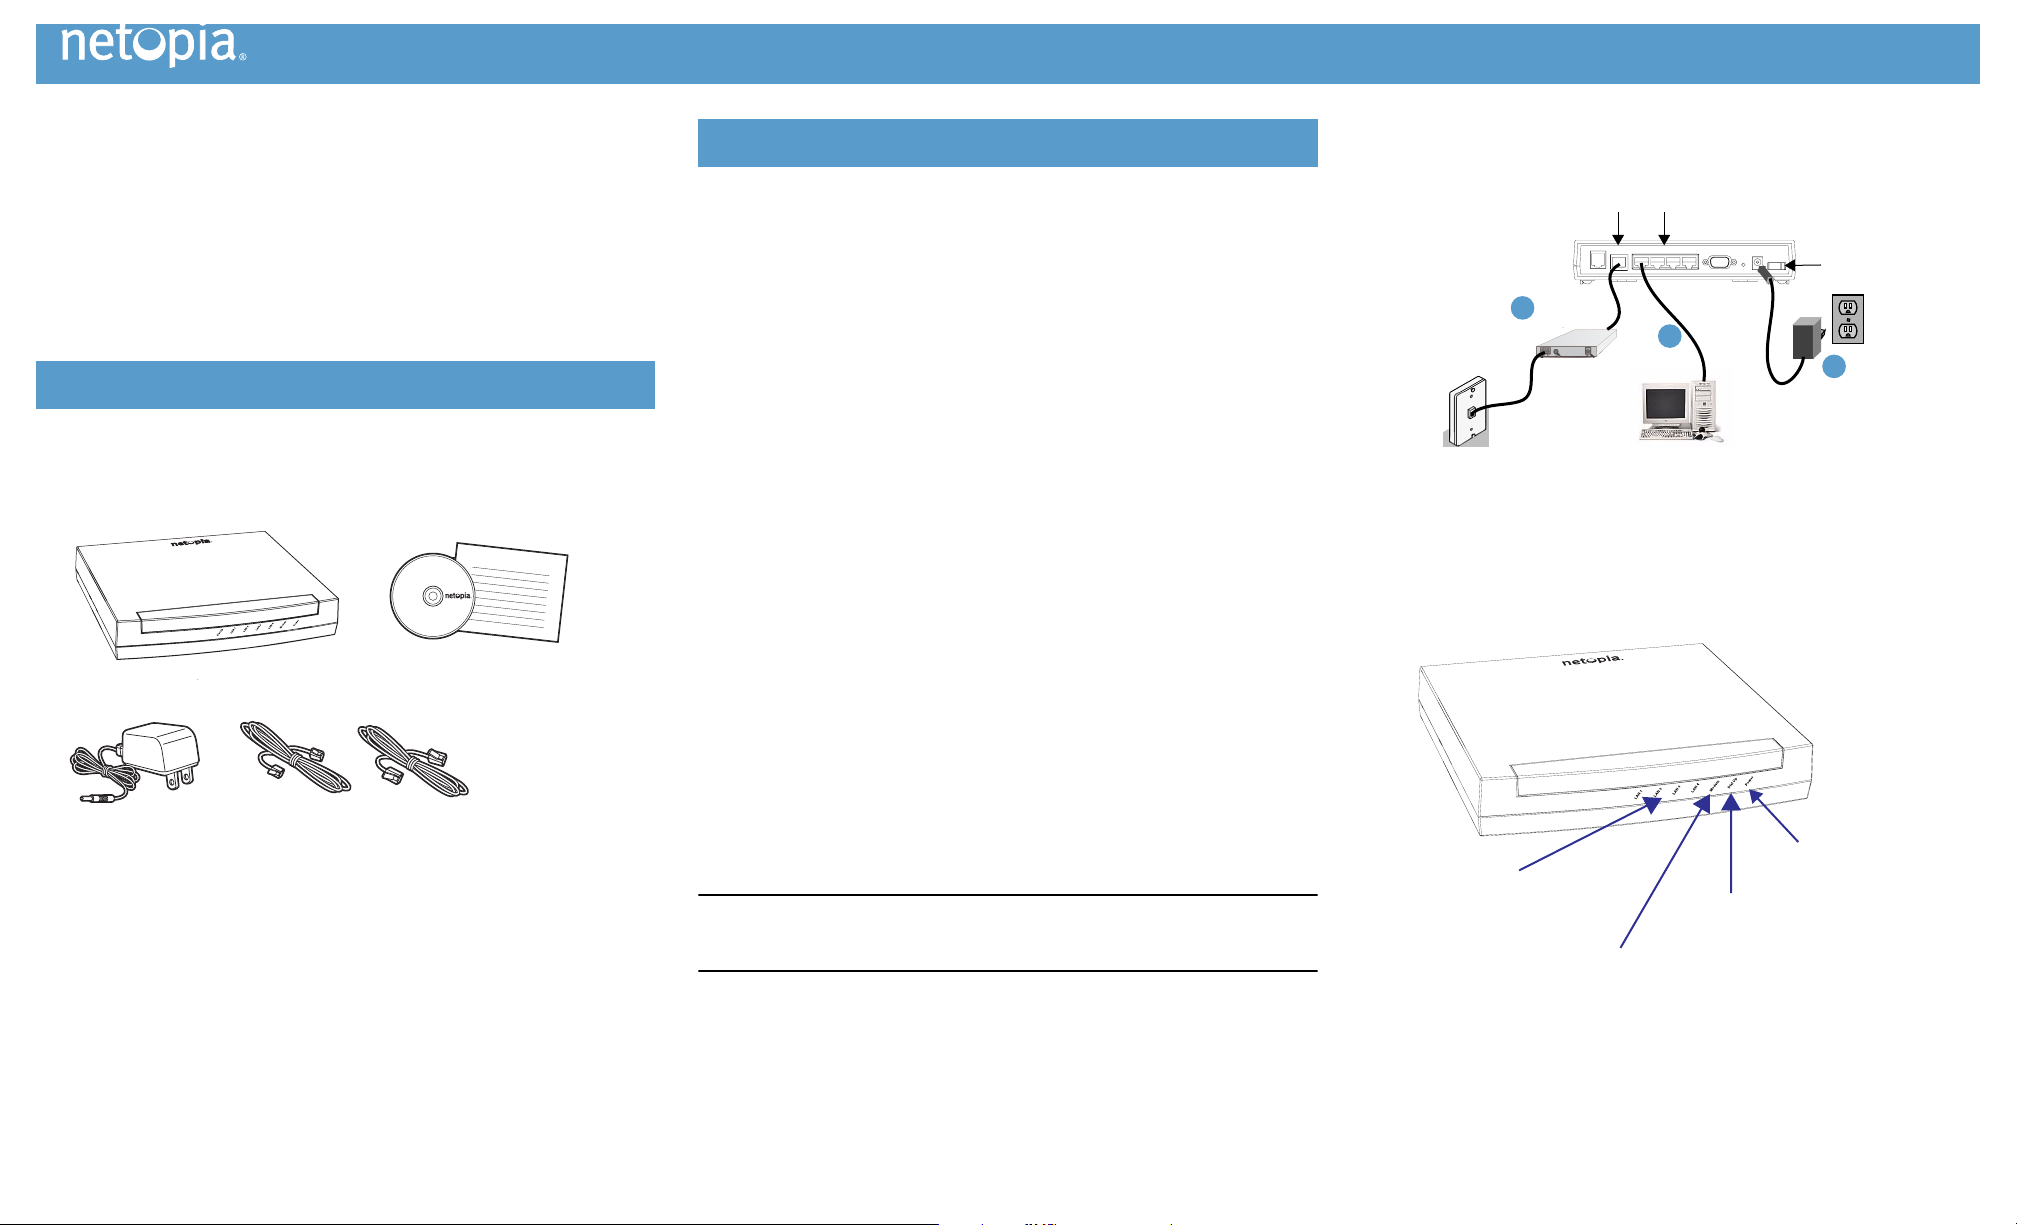
CCCChhhheeeecccckkkk yyyyoooouuuurrrr ppppaaaacccckkkkaaaaggggeeee ccccoooonnnntttteeeennnntt
t
tssss::::
1.
After unpacking your Netopia Router shipping carton, decide where you want
to locate the Router.
You should install the Router near your PC or another location that permits easy access
and visibility. You can lay the Netopia Router flat or mount it on a wall. Make sure any
Ethernet cables are kept away from power cords, fluorescent lighting fixtures, and
other sources of electrical interference. Put the Router in a location where air can circulate freely around it.
2.
Connect the power transformer to the power jack on the Router back panel.
Plug the power transformer into an appropriate electrical outlet. Turn the
power ON with the power switch.
The Power light should come on solid green.
3.
Connect the Router to the Ethernet jack on your cable modem or DSL modem.
Be sure your DSL or cable modem is installed according to its instructions, and connected to its appropriate wall jack. Insert one end of the gray modem cable in the
MMMMooooddddeeeemm
mm
port on the Netopia Router back panel. Insert the other end of the modem
cable into the Ethernet jack on your DSL or cable modem.
The Modem indicator light should come on solid green.
4.
• Connect the Router to create your Ethernet local area network (LAN.)
• Connect each computer or other device to the Router using standard Ethernet cables.
(A yellow Ethernet cable is supplied.) If you have more than four devices to connect,
you can connect an Ethernet hub or switch to one of the 4686-XL’s switch ports, and
connect your remaining devices to the Ethernet hub or switch.
• An Ethernet light should come on solid green for each connected Ethernet port.
• Each computer should be configured to obtain its IP address via DHCP from the
4686-XL. See “Configure Your PC for Dynamic Addressing” on page 4.
Note: You need not connect the Dial Up port or the Console port at this time. You
may wish to connect them later. See the Getting Started Guide on your Netopia CD for
instructions.
• If your PC needs to have its network settings changed, proceed to “Configure Your
PC for Dynamic Addressing” on page 4.
When all of your connections are made, the status LEDs on the front of your Netopia Router
will light, according to the following diagram:
Checklist
Set up your Router
1 2 3
B
ROADBAND
WITHOUT
B
OUNDARIES
®
Netopia Router
Power
Supply
Gray RJ-45
Modem
Cable
CD & Quickstart
Guide
Yellow RJ-45
Ethernet
Cable
4686-XL Rear View
Modem
Ethernet
Port
Port s
Dial Up
DSL or Cable
3
Modem
3
LAN
4WAN
2
1
4
PowerConsole
Off / On
O / I
DC Power
Power Switch
2
4686-XL Front View
Power -
LAN 1, 2, 3, 4 -
Solid green when connected.
Flash green when there is
activity on the LAN.
Modem -
Solid green when connected.
Flashes green for activity
on the modem port.
Green when power is on.
Dial Up -
Flashes green when there is
activity on the internal modem.
Page 2
The following instructions assume that you want to use the automatic configuration and
address sharing features of the Router to provide IP information to devices on your local
Ethernet network.
Configure your computer to use an IP address on the same TCP/IP network as the Netopia
Router.
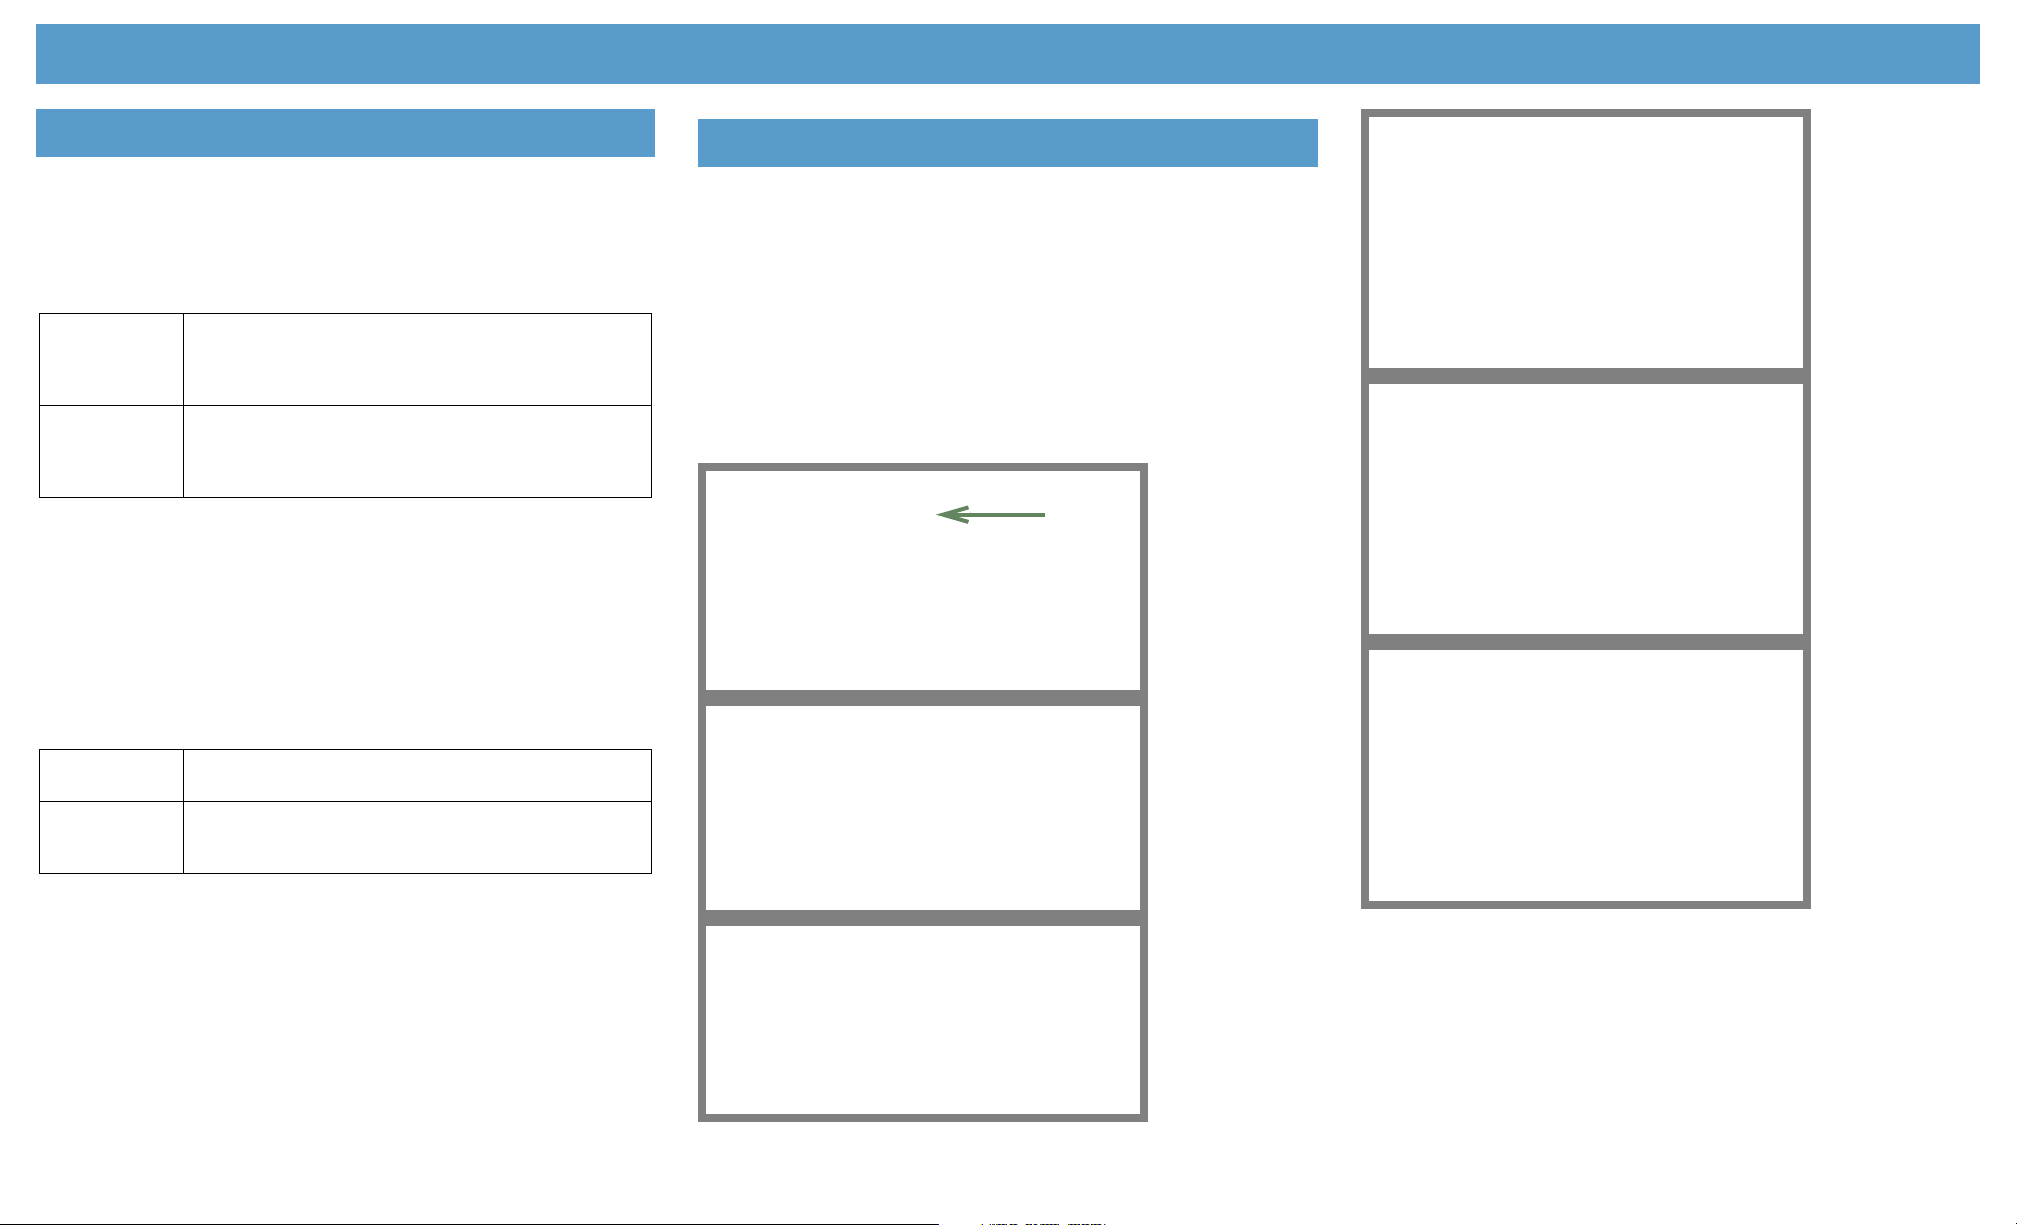
Microsoft Windows: Step 1. Navigate to the TCP/IP Properties Control Panel.
Then go to Step 2.
Step 2. Select Obtain an IP address automatically .
Step 3. Select Obtain DNS server address automatically , if available.
Step 4. Remove any previously configured Gateways, if available.
Step 5. OK the settings. Restart if prompted.
• Proceed to the next section “Configure Your Netopia Router” .
Macintosh MacOS 9.2 and higher or Mac OS X 10.1.5 or higher: Step 1. Access the
TCP/IP or Network control panel.
Then go to Step 2.
Step 2. Select Built-in Ethernet (or USB , if using USB)
Step 3. Select Configure Using DHCP
Step 4. Close and Save, if prompted.
• Proceed to the next section “Configure Your Netopia Router” .
1.
Run a Telnet application from the computer on the same network as the
Router.
• Windows users click on the SSSSttttaaaarrrrtt
tt
menu, select RRRRuuuunn
nn
, and in the resulting entry box,
type “ telnet 192.168.1.1 " (without the quotes).
• Macintosh OS X users launch the TTTTeeeerrrrmmmmiiiinnnnaaaall
ll
application, either from the Dock or from
the Utilities folder, and type “ telnet 192.168.1.1 " (without the quotes).
• Classic Macintosh OS users need to install the NCSA Telnet application, included on
the Netopia CD. Then launch NCSA Telnet and type “ telnet 192.168.1.1 " (without the quotes).
The Telnet window displays the MMMMaaaaiiiinnnn MMMMeeeennnnuu
uu
.
The Netopia Router will then restart and your settings will take effect.
CCCCoooonnnnggggrrrraaaattttuuuullllaaaattttiiiioooonnnnssss!!
!!
Your installation is complete. For more advanced configuration features,
refer to the on-line Getting Started Guide on your Netopia CD and the Firmware User’s Guide
on the Netopia website.
If you have any questions or encounter problems with your Netopia Router, contact your service provider’s technical support helpdesk. Answers to many frequently asked product-
related questions are also available on-line at: hhhhttttttttpppp::::////////wwwwwwwwwwww....nnnneeeettttooooppppiiiiaaaa....ccccoooommmm////ssssuuuuppppppppoooorrrrtt
tt
Configure Your PC for Dynamic Addressing
a. Some Windows
versions follow a
path like this:
SSSSttttaaaarrrrtt
tt
menu -> SSSSeeeettttttttiiiinnnnggggss
ss
-> CCCCoooonnnnttttrrrroooollll PPPPaaaannnneeeell
ll
-> NNNNeeeettttwwwwoooorrrrkk
kk
(or
NNNNeeeettttwwwwoooorrrrkkkk aaaannnndddd DDDDiiiiaaaallll----uuuupppp CCCCoooonnnnnnnneeeeccccttttiiiioooonnnnss
ss
-> LLLLooooccccaaaallll AAAArrrreeeeaaaa CCCCoooonnnnnnnneeeecccc--
--
ttttiiiioooonn
nn
-> PPPPrrrrooooppppeeeerrrrttttiiiieeeess
ss
) -> TTTTCCCCPPPP////IIIIPPPP [[
