

Page 1

Smart Control Center
User Guide
350 East Plumeria Drive
San Jose, CA 95134
USA
November 2010
202-10685-01
v1.0
Page 2

ProSafe Smart Control Center User Guide
©2010 NETGEAR, Inc. All rights reserved.
No part of this publication may be reproduced, transmitted, transcribed, stored in a retrieval system, or translated
into any language in any form or by any means without the written permission of NETGEAR, Inc.
Technical Support
Thank you for choosing NETGEAR. To register your product, get the latest product updates, or get support online,
visit us at http://support.netgear.com.
Phone (US & Canada only): 1-888-NETGEAR
Phone (Other Countries): See Support information card.
Trademarks
NETGEAR, the NETGEAR logo, ReadyNAS, ProSafe, Smart Wizard, Auto Uplink, X-RAID2, and NeoTV are
trademarks or registered trademarks of NETGEAR, Inc. Microsoft, Windows, Windows NT, and Vista are
registered trademarks of Microsoft Corporation. Other brand and product names are registered trademarks or
trademarks of their respective holders.
Statement of Conditions
To improve internal design, operational function, and/or reliability, NETGEAR reserves the right to make changes
to the products described in this document without notice. NETGEAR does not assume any liability that may occur
due to the use, or application of, the product(s) or circuit layout(s) described herein.
Revision History
Publication Part Number Version Publish Date Comments
202-10685-01 v1.0 November 2010 First publication
2 |
Page 3

Table of Contents
Chapter 1 Getting Started
Smart Control Center Installation . . . . . . . . . . . . . . . . . . . . . . . . . . . . . . . . .6
Discovering Devices. . . . . . . . . . . . . . . . . . . . . . . . . . . . . . . . . . . . . . . . . . .8
Utility Features Overview . . . . . . . . . . . . . . . . . . . . . . . . . . . . . . . . . . . . . . .9
Network . . . . . . . . . . . . . . . . . . . . . . . . . . . . . . . . . . . . . . . . . . . . . . . . . .9
Maintenance. . . . . . . . . . . . . . . . . . . . . . . . . . . . . . . . . . . . . . . . . . . . . . .9
Tasks . . . . . . . . . . . . . . . . . . . . . . . . . . . . . . . . . . . . . . . . . . . . . . . . . . . .9
Adapter. . . . . . . . . . . . . . . . . . . . . . . . . . . . . . . . . . . . . . . . . . . . . . . . . . .9
Help . . . . . . . . . . . . . . . . . . . . . . . . . . . . . . . . . . . . . . . . . . . . . . . . . . . .10
Quit. . . . . . . . . . . . . . . . . . . . . . . . . . . . . . . . . . . . . . . . . . . . . . . . . . . . .10
Uninstall the Utility . . . . . . . . . . . . . . . . . . . . . . . . . . . . . . . . . . . . . . . . . . .11
Chapter 2 Network
Network Features. . . . . . . . . . . . . . . . . . . . . . . . . . . . . . . . . . . . . . . . . . . .13
DHCP Refresh . . . . . . . . . . . . . . . . . . . . . . . . . . . . . . . . . . . . . . . . . . . .13
Reboot Device . . . . . . . . . . . . . . . . . . . . . . . . . . . . . . . . . . . . . . . . . . . .14
Web Browser Access . . . . . . . . . . . . . . . . . . . . . . . . . . . . . . . . . . . . . . .15
Configure Device . . . . . . . . . . . . . . . . . . . . . . . . . . . . . . . . . . . . . . . . . .16
Change Password . . . . . . . . . . . . . . . . . . . . . . . . . . . . . . . . . . . . . . . . .17
Chapter 3 Maintenance
Configuration . . . . . . . . . . . . . . . . . . . . . . . . . . . . . . . . . . . . . . . . . . . . . . .19
Firmware Upgrade . . . . . . . . . . . . . . . . . . . . . . . . . . . . . . . . . . . . . . . . . . .20
Chapter 4 Tasks
Delete Prior Tasks . . . . . . . . . . . . . . . . . . . . . . . . . . . . . . . . . . . . . . . . . . .22
Delete One Task. . . . . . . . . . . . . . . . . . . . . . . . . . . . . . . . . . . . . . . . . . . . .23
Reschedule Task . . . . . . . . . . . . . . . . . . . . . . . . . . . . . . . . . . . . . . . . . . . .24
Chapter 5 Adapter
Adapter Overview. . . . . . . . . . . . . . . . . . . . . . . . . . . . . . . . . . . . . . . . . . . .26
Chapter 6 Help
Online Help. . . . . . . . . . . . . . . . . . . . . . . . . . . . . . . . . . . . . . . . . . . . . . . . .28
User Guide . . . . . . . . . . . . . . . . . . . . . . . . . . . . . . . . . . . . . . . . . . . . . . .28
Support Information . . . . . . . . . . . . . . . . . . . . . . . . . . . . . . . . . . . . . . . .28
Contents | 3
Page 4

Index
ProSafe Smart Control Center User Guide
About the Utility . . . . . . . . . . . . . . . . . . . . . . . . . . . . . . . . . . . . . . . . . . .28
4 | Contents
Page 5

1. Getting Started
ProSafe® Smart Control Center
The ProSafe® Smart Control Center enables discover of, and remote management of
NETGEAR equipment.
This chapter contains the following topics:
• Smart Control Center Installation
• Discovering Devices
• Utility Features Overview
• Uninstall the Utility
1
Chapter 1. Getting Started | 5
Page 6

ProSafe Smart Control Center User Guide
Smart Control Center Installation
For easy device management, install and use the ProSafe® Smart Control Center Utility.
The utility is on the Resource CD shipped with Smart Control Center switches.
Note: The utility is only supported on Microsoft Windows and can be
installed on any Windows PC(s) on the network containing the
switches to be managed.
If an earlier version of the utility already exists on the PC, the newer version replaces the
older version. Newer versions of the utility are backwards-compatible, and support all
previously released Smart switches. If the version of the utility you are trying to install is older
than the one already installed on the PC, the installation will not be performed.
To install the utility:
1. Insert the Resource CD that came with your switch into the PC that you will use to
manage your switches. The Resource CD home page displays.
Resource CD pages, and the installation guide for the switch can be displayed in several
languages. Use the pull-down menu in the upper right corner of the Resource CD home
screen to select the desired language.
The utility uses the network programs Adobe AIR to process network commands. If not
already installed on your PC, Adobe AIR will also be installed, and placed in your program
directory.
2. Click the Install NETGEAR ProSafe Smart Control Center Utility link to install the
program on your PC.
Note: The utility name may vary slightly between different Smart Control
Center switch models.
6 | Chapter 1. Getting Started
Page 7

ProSafe Smart Control Center User Guide
3. Follow the prompts on the InstallShield Wizard until setup completes.
Click Next
The installation copies the utility program to a directory called \Program
Files\Smart Control Center, and places a utility icon on the PC desktop.
The Adobe AIR programs may be used by other network applications and
may already be installed on your PC.
If the Adobe AIR program is already installed, an “already installed” message displays. If
there is a newer version, you will be prompted to update it. Click Close to end the Adobe
AIR portion of installation.
4. Installation is complete.
When the InstallShield Wizard Completed screen displays, check the box to launch the
utility or just click Finish if you do not want to launch the utility at this time. Use the utility
icon on your desktop to launch the utility in the future.
Click Finish
Chapter 1. Getting Started | 7
Page 8

ProSafe Smart Control Center User Guide
Discovering Devices
When launched, the utility immediately searches the network for network devices.
Note: Local PC firewall applications such as Symantec Endpoint
Protection can prevent the utility from communicating with the
switches. If the utility is unable to discover your switches and you are
using a local firewall, you will need to turn off the firewall function in
order for discovery to work.
Within a few seconds the utility discovers and lists all devices in your network or in the same
broadcast domain. Discovery will continue through the network until blocked by a router or
firewall.
The discovered devices are displayed as shown below. You can now select a device to
configure or display its status.
8 | Chapter 1. Getting Started
Page 9
ProSafe Smart Control Center User Guide
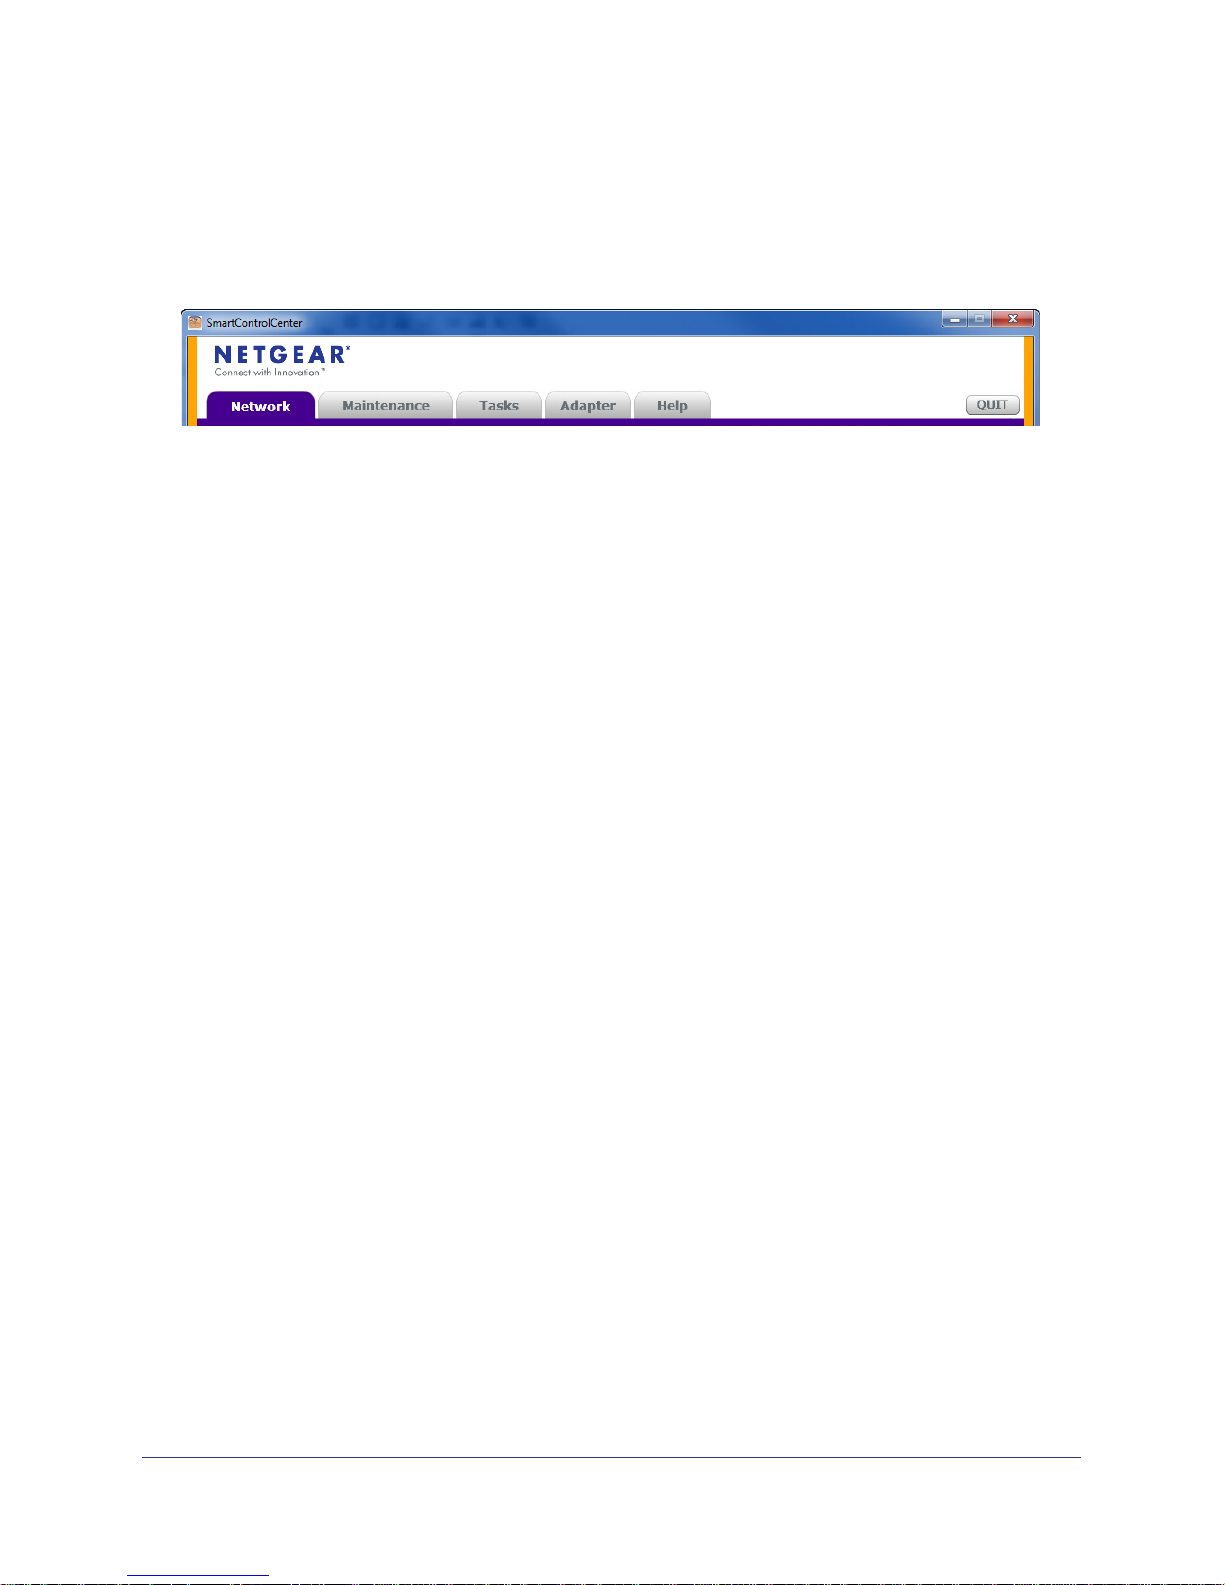
Utility Features Overview
Smart Control Center provide status and support information for all your NETGEAR network
devices. The tabs across the top of the interface provide access to these features.
Network
DHCP Refresh - allows you to refresh the DHCP connections
Reboot Device - allows you to reboot the device
Web Browser Access - Log in to devices using a web browser instead of the interface
Configure Device - allows you to configure device settings
Change Password - allows you to change the administrator password
See Chapter 2, Network for details on these features.
Maintenance
Upload Configuration - allows you to upload configurations.
Download Configuration - allows you to download configurations.
Download Firmware - allows you to download firmware.
See Chapter 3, Maintenance for details on these features.
Tasks
Delete Prior Task - allows you to delete the previous task.
Delete One Task - allows you to delete one task at a time.
Reschedule - allows you to reschedule tasks.
See Chapter 4, Tasks for details on these features.
Adapter
Provides information about the adapters on the system.
See Chapter 5, Adapter for details on these features.
Chapter 1. Getting Started | 9
Page 10

ProSafe Smart Control Center User Guide
Help
Online Help - provides online access to technical support information and this manual.
About - provides version and copyright information.
See Chapter 6, Help for details on these features.
Quit
Exits the Smart Control Center utility.
10 | Chapter 1. Getting Started
Page 11

ProSafe Smart Control Center User Guide
Uninstall the Utility
To uninstall the utility:
1. Use the Add or Remove Programs command on your PC.
Go to Start > Control Panel > Add or Remove Programs
2. Select Smart Control Center and click Change/Remove.
3. When you are asked if you want to uninstall the selected application, click Yes.
Chapter 1. Getting Started | 11
Page 12

2. Network
The Network tab lets you select a switch to manage, display general information about the
switch, perform basic switch maintenance, and monitor data flow through the switch.
This chapter contains the following topics:
• DHCP Refresh
• Reboot Device
• Web Browser Access
• Configure Device
• Change Password
2
Chapter 2. Network | 12
Page 13

ProSafe Smart Control Center User Guide
Network Features
All features have default settings. You do not need to configure any settings in order to use
the Smart Control Center.
DHCP Refresh
DHCP Refresh allows you to renew the IP connection of a selected Smart Switch.
Chapter 2. Network | 13
Page 14

ProSafe Smart Control Center User Guide
Reboot Device
Reboot Device allows you to reboot the selected device. It also supports dual firmware
images. Select either the primary or secondary radio button to show the desired interface.
WARNING!
Rebooting the device will briefly disrupt network traffic through
the device.
To reboot the selected device:
1. From the Network tab, select the device you want to reboot.
2. Click the Reboot Device button.
3. Select either the Primary or Secondary firmware radio button.
4. Enter the current password.
5. Click Apply.
14 | Chapter 2. Network
Page 15

ProSafe Smart Control Center User Guide
Web Browser Access
Web Browser Access is a way to log in to devices using a web browser. Use the same user
name and password as you normally would to log into the Smart Control Center.
Chapter 2. Network | 15
Page 16

ProSafe Smart Control Center User Guide
Configure Device
Configure Device allows you to configure device settings.
To configure a device:
1. Select the device
.
2. Click Configure Device.
3. Set the following options:
a. DHCP (Dynamic Host
Configuration Protocol)
- enable
- disable
b. IP Address
c. Gateway
d. Location
e. Subnet Mask
f. System Name
g. Current Password
4. Click Apply.
16 | Chapter 2. Network
Page 17

ProSafe Smart Control Center User Guide
Change Password
Change Password allows you to change the password.
To change a password:
1. Select the device
.
2. Click Change Password.
3. Enter the current password.
4. Enter the new password.
5. Re-enter to confirm the new
password.
6. Click Apply.
Chapter 2. Network | 17
Page 18

3. Maintenance
This chapter contains the following topics:
• Configuration
• Firmware Upgrade
3
Chapter 3. Maintenance | 18
Page 19

ProSafe Smart Control Center User Guide
Configuration
The configuration option allows you to upload the configuration of the selected Smart Switch
or save the configuration settings to a selected Smart Switch. Be sure to check the progress
of the configuration upload or download from the Tasks tab.
Upload Configuration
Upload configuration is used to save a back up copy of the switch's configuration to the PC.
Download Configuration
Download configuration is used to restore a configuration file that is saved on the PC onto the
switch.
Chapter 3. Maintenance | 19
Page 20

ProSafe Smart Control Center User Guide
Firmware Upgrade
Note: After firmware downloading is complete, the device automatically
reboots. This will briefly disrupt network traffic through the device.
To upgrade the firmware you must first download a firmware upgrade file for the selected
device from the NETGEAR support web site to your PC. You can then download the firmware
to either Smart Switch primary or secondary storage.
You can check the progress of the firmware upgrade from the Tasks tab.
To upgrade firmware on the selected switch:
1. Select Maintenance > Firmware Upgrade.
The Firmware Upgrade dialog will display.
2. Click the Browse button and navigate to the location on your PC containing the firmware
upgrade file.
3. Select the upgrade file and click Apply.
The firmware will be downloaded from your PC to the device and the device automatically
reboots.
20 | Chapter 3. Maintenance
Page 21

4. Tasks
This chapter contains the following topics:
• Delete Prior Tasks
• Delete One Task
• Reschedule Task
4
Chapter 4. Tasks | 21
Page 22

ProSafe Smart Control Center User Guide
Delete Prior Tasks
Use this feature to delete older tasks.
To delete prior tasks:
1. Select the Tasks tab.
2. Select the task that is right below the tasks you want to delete.
The selected task is NOT deleted; only the tasks above the selected task are deleted.
3. Click the Delete Prior Task button.
All tasks above the selected task are deleted.
4. Confirm yes or no.
5. Click Apply.
22 | Chapter 4. Tasks
Page 23

ProSafe Smart Control Center User Guide
Delete One Task
Use this feature to delete individual tasks.
To delete a task:
1. Select the Tasks tab.
2. Select the task from the list.
3. Click the Delete Task button.
4. Confirm yes or no.
5. Click Apply.
Chapter 4. Tasks | 23
Page 24

Reschedule Task
Use this feature to reschedule tasks.
To reschedule a task:
1. Select the Tasks tab.
2. Select a task from the list.
3. Click the Reschedule Task button.
4. Set the date parameters:
a. From
b. To
5. Set the time parameters:
a. From
b. To
6. Confirm yes or no.
7. Click Apply.
ProSafe Smart Control Center User Guide
24 | Chapter 4. Tasks
Page 25

5. Adapter
This chapter contains the following topics:
• Adapter Overview
5
Chapter 5. Adapter | 25
Page 26

ProSafe Smart Control Center User Guide
Adapter Overview
This feature allows you to specify the network adapter on the PC to be used to discover and
manage the device. It is not a list of all adapters in your network, but rather a list of network
adapters installed on the computer where the SmartControlCenter is runningd.
To see a list of all adapters on your network:
1. Click the Adapter tab on the Smart Control Center interface.
26 | Chapter 5. Adapter
Page 27

6. Help
This chapter contains the following topics:
• Online Help
• User Guide
• Support Information
• About the Utility
6
Chapter 6. Help | 27
Page 28

ProSafe Smart Control Center User Guide
Online Help
The Help tab provides access to the NETGEAR Support web site, and to the latest copy of
the Smart Control Center user guide (this manual).
User Guide
If the PC running the utility
program has access to the internet,
selecting User Guide, then
Apply will open the latest version
of this manual. You can then
download a copy to your PC.
After installing a new Smart Control
Center you should check this web
site for the latest version of this
manual.
clicking
Link to the
User Guide
Support Information
If the PC running the utility program has access to the internet, you can display the support
page for a selected switch. Selecting Support, then clicking Apply will open a NETGEAR
support page for the selected switch model.
The support page provides access to the NETGEAR Knowledge Base, additional
documentation, downloads, and product forums for the selected product.
About the Utility
Selecting About the Utility on the Help tab displays the utility software version for the Smart
Control Center Configuration Utility.
Firmware
Version
28 | Chapter 6. Help
Page 29

Index
A
about 28
access, web browser 15
adapter 9
adapters 26
Adobe AIR 7
C
change password 17
configuration, download 19
configuration, upload 19
configure device 16
D
delete task 22, 23
device discovery 8
DHCP 13
F
features 9
firewall applications 8
firmware upgrade 20
P
password 17
Q
quit 10
R
reboot 14
reschedule task 24
S
support 28
T
tasks 9
technical support 2
trademarks 2
U
user guide 28
utility, uninstall 11
H
Help 10
help 28
I
installation 6
InstallShield Wizard 7
M
maintenance 9
N
network features 13
W
web browser 15
Index | 29
 Loading...