

Netatmo S+ARCK Quick Installation Manual
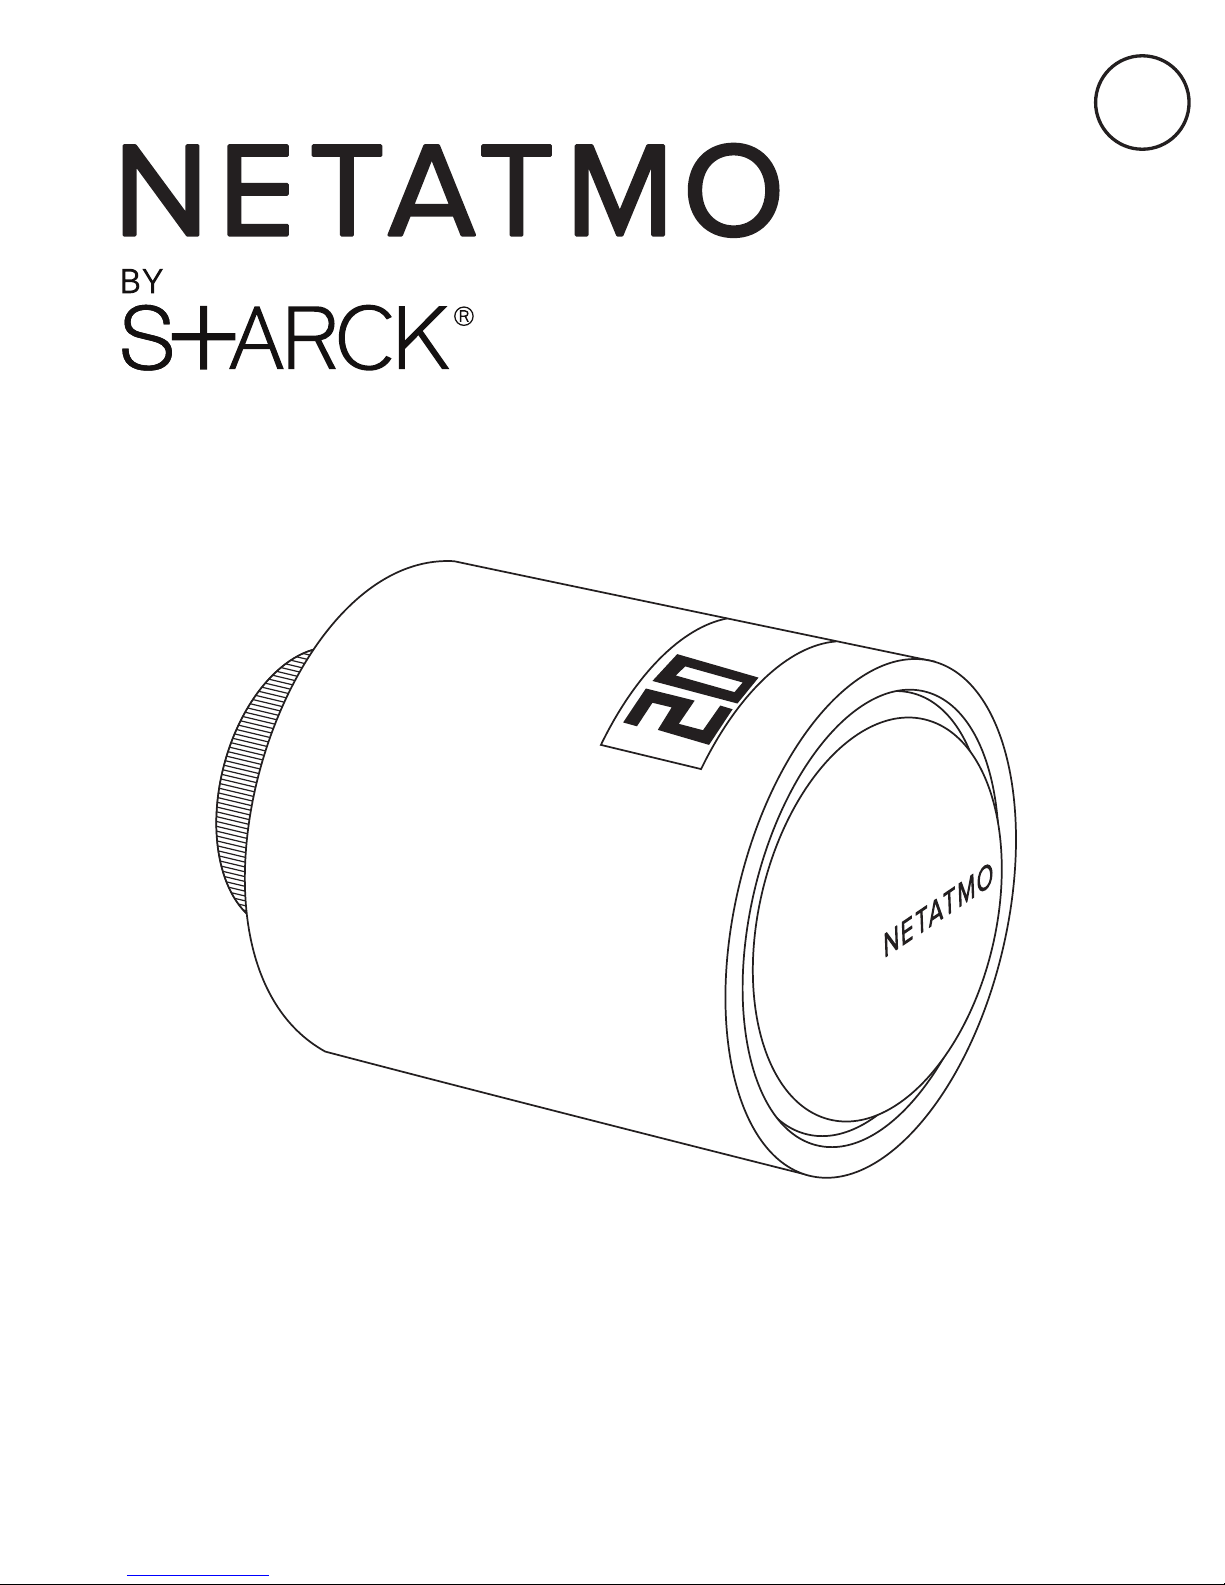
EN Quick installation guide | Additional Smart Radiator Valve
FR Guide d’installation | Vanne Connectée Additionnelle pour Radiateur
DE Installationsanleitung | Zusätzlicher Smarter Heizkörperthermostat
ES Guía de instalación | Válvula Inteligente Adicional para Radiador
IT Guida all’installazione | Valvola Intelligente Aggiuntiva per Termosifoni
NL Snelle installatiegids | Additionele Intelligente Radiatorkraan
additional smart radiator valve
1
https://addvalve.netatmo.com
You can watch an installation tutorial video online
at the following address:
EN
FR
Une vidéo d’aide à l’installation est disponible
à l’adresse ci-dessous :
DE
Unter der folgenden Adresse können Sie ein
Tutorial-Video zur Installation online anschauen:
ES
Puedes ver un tutorial de instalación en línea
en la siguiente dirección:
IT
Puoi guardare online un video tutorial
sull’installazione al seguente indirizzo:
NL
U kunt een online installatievideo bekijken
op de volgende website:
EN
!!
ES
IT
FR
NL
DE
Read these instructions carefully before starting the installation.
The device is for indoor use only and must be protected from
damp and dust as well as solar radiation.
Lee atentamente estas instrucciones antes de empezar
la instalación. El dispositivo es solo para uso interior y debe
protegerse de la humedad y el polvo, así como de la radiación
solar.
Leggi attentamente le seguenti istruzioni prima di cominciare
l’installazione. Il dispositivo è destinato esclusivamente a un uso
per interni e deve essere protetto dall’umidità, dalla polvere
e dalle radiazioni solari.
Lire attentivement cette notice avant l’installation.
Utilisez l’appareil uniquement à l’intérieur des pièces
et protégez-le de l’influence de l’humidité, de la poussière
et des rayons du soleil.
Lees de instructies aandachtig voor u begint met de installatie.
Het apparaat is uitsluitend voor gebruik binnenshuis en moet
worden beschermd tegen vocht en stof en tegen zonne.
Lesen Sie diese Anleitung aufmerksam durch, bevor Sie mit
der Installation beginnen. Das Gerät ist nur für die Verwendung
in Innenräumen gedacht und muss vor Feuchtigkeit, Staub,
Sonneneinstrahlung geschützt werden.
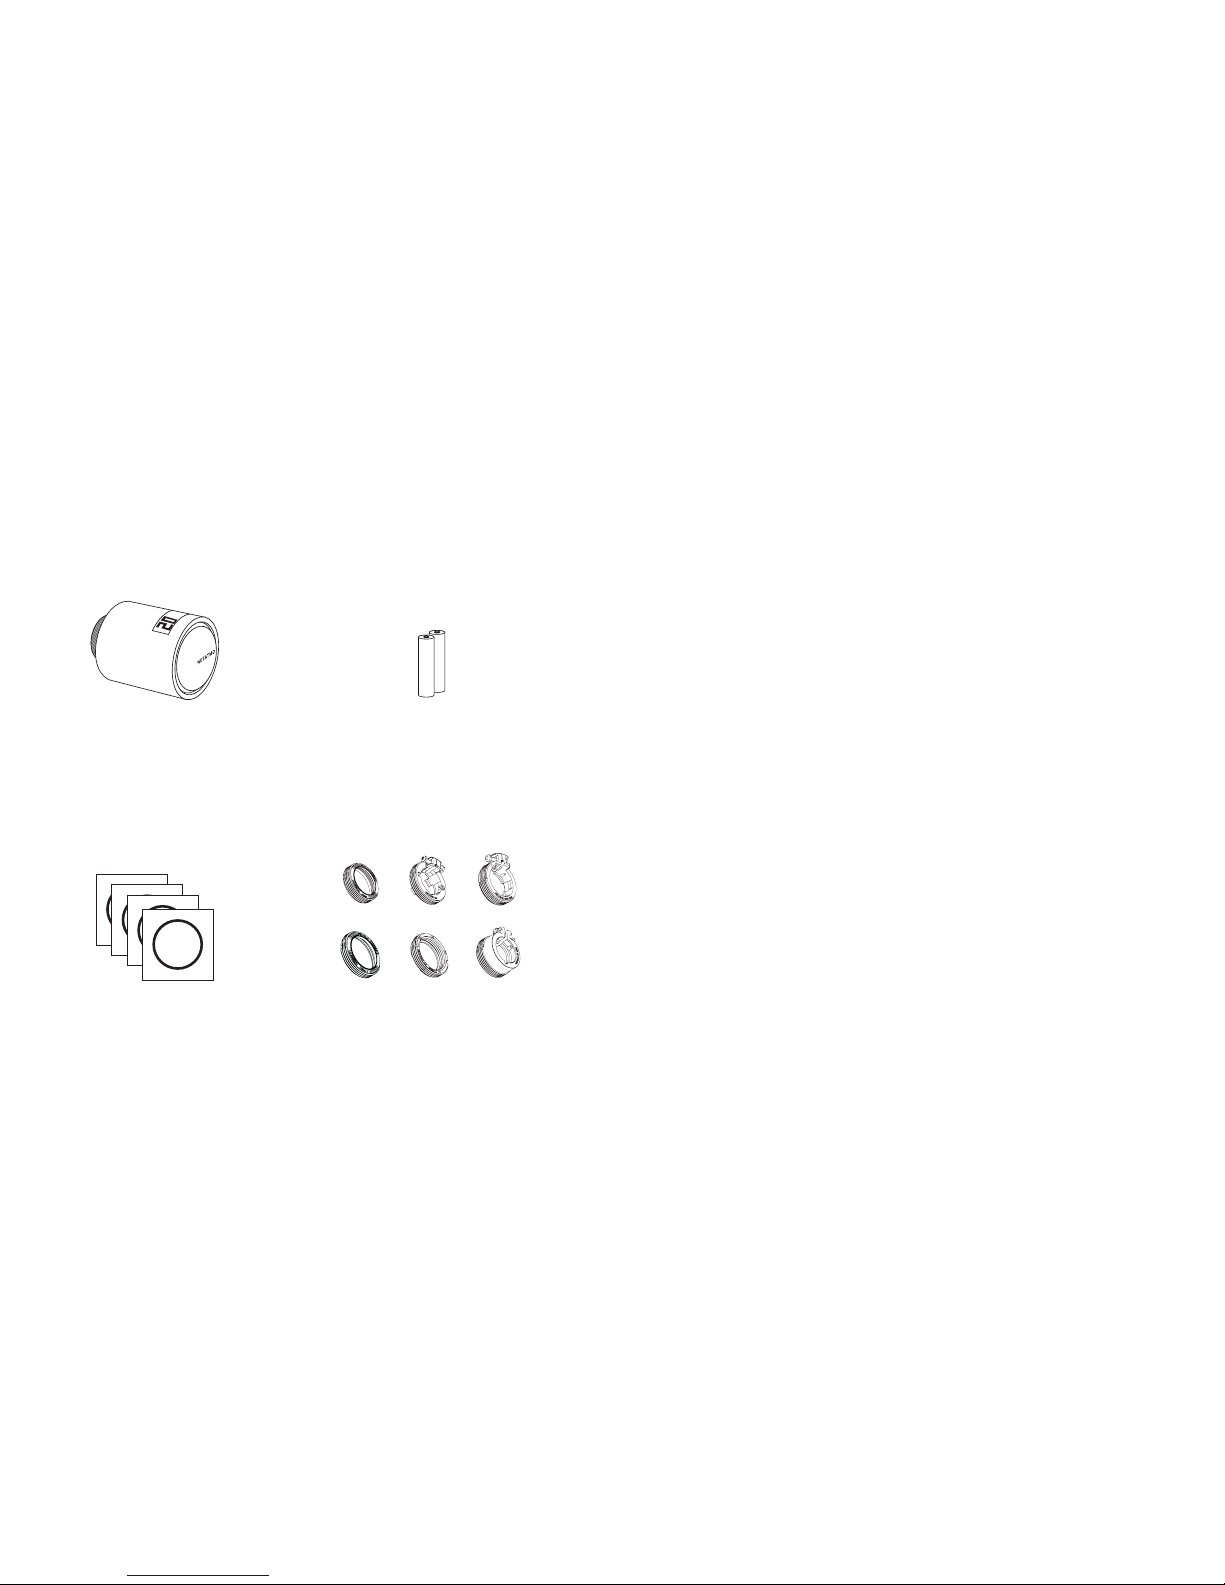
In the box:
1. One Smart Radiator Valve
2. One set of 2 AA batteries
3. One set of colour adhesives
4. One set of radiator adaptors
and accessories
In der Box:
1. Ein Smarter
Heizkörperthermostate
2. Zwei Batterien vom
Typ AA LR6
3. Ein Satz Farbauleber
4. Ein Satz Heizkörper
-Adapter mit Zubehör
Contenuto della confezione:
1. Una Valvola Intelligente
per Termosifoni
2. Una serie di batterie AA
3. Una serie di adesivi colorati
4. Una serie di adattatori
per Termosifoni e relativi
accessori
In de doos:
1. Een Intelligente Radiatorkraan
2. Een set van 2 AA-batterijen
3. Een set kleurenstickers
4. Een set radiatoradapters
en accessoires
EN
Dans le pack :
1. Une Vanne Connectée
pour Radiateur
2. Deux piles AA LR6
3. Un lot de films adhésifs
de couleur
4. Un lot d’adaptateurs
pour radiateurs et leurs
accessoires
FR
DE
ES
IT
NL
In the box
3. One set of colour adhesives
1. One Smart Radiator Valve 2. One set of 2 AA batteries
4. One set of radiator adaptors
and accessories
En la caja:
1. Una Válvula Inteligente
para Radiador
2. Un juegos de 2 pilas AA
3. Un juego de adhesivos
de colores
4. Un juego de adaptadores
de radiador y sus accesorios
Danfoss RA
Giacomini
Pettinaroli
Danfoss RAV
M28x1.5
M30x1
Danfoss RA
Danfoss RAV
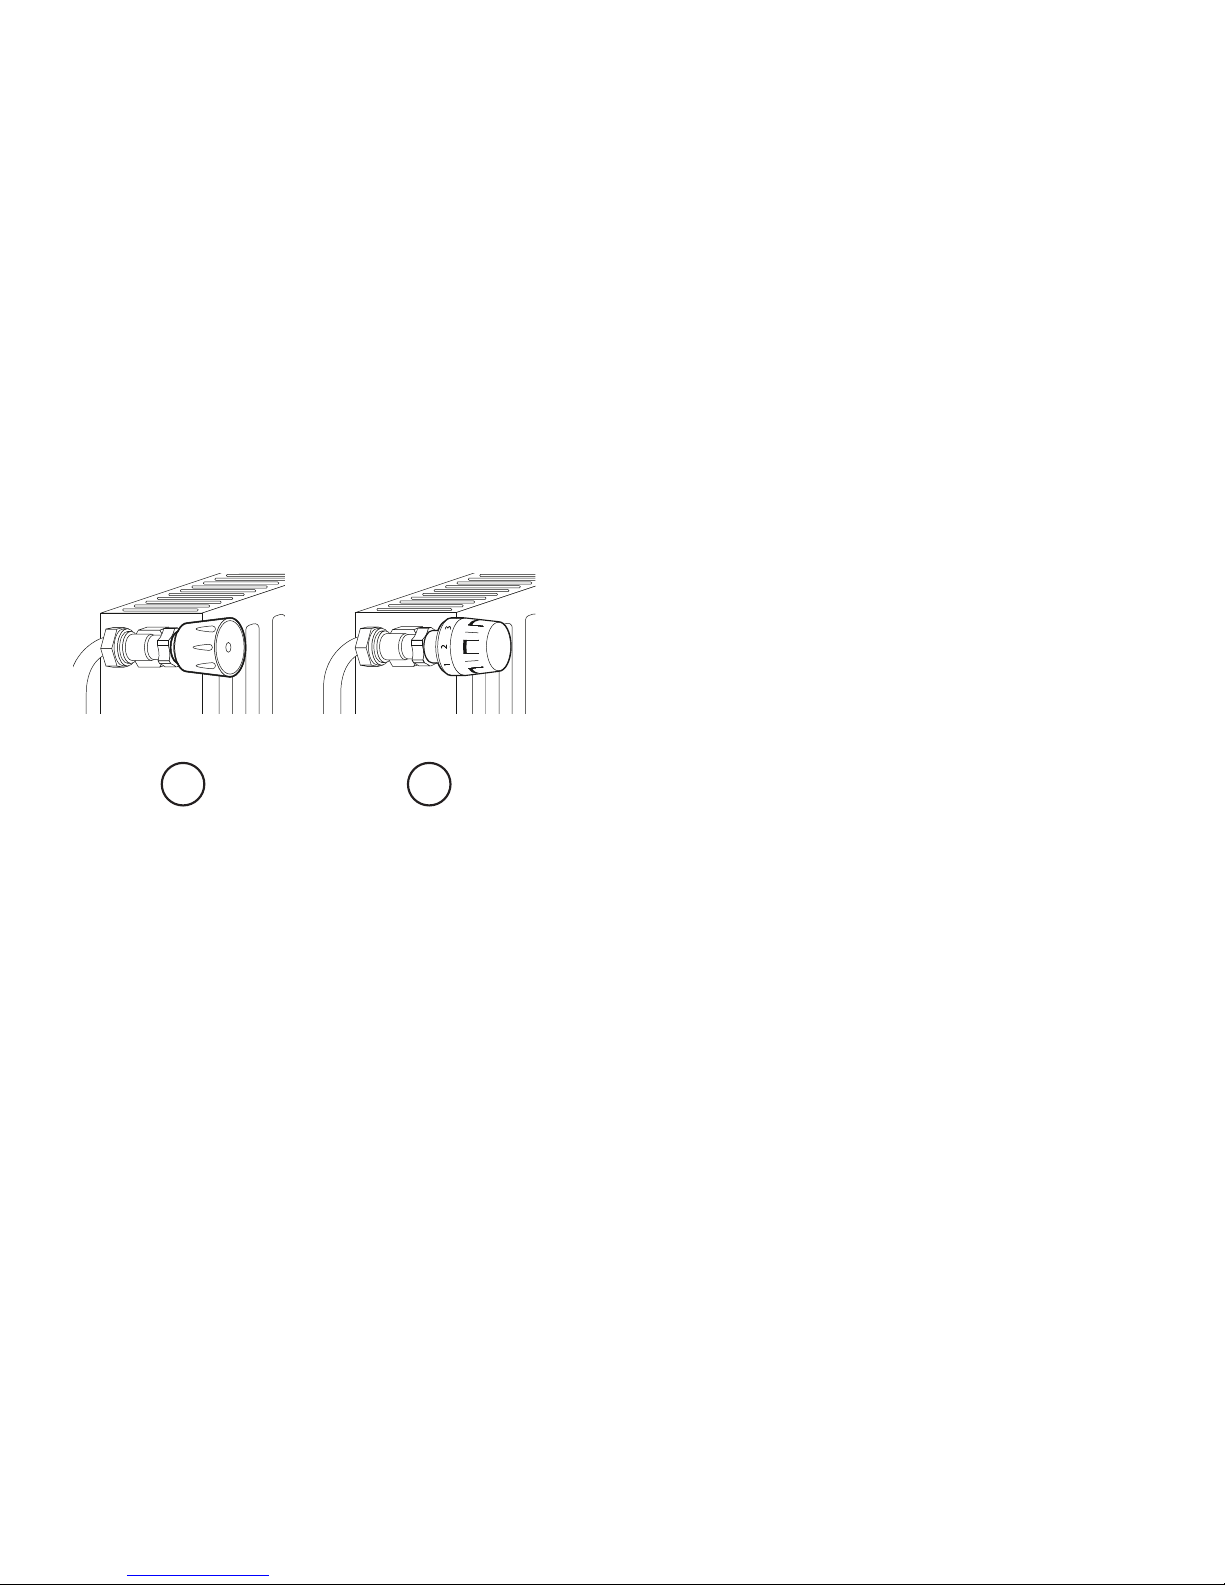
Compatibility
There are two types of radiator valves: manual valves (1),
and thermostatic valves (2).
Thermostatic valves (usually with numbered graduation marks
from 1 to 5) can be easily replaced with the Netatmo Valve.
Note: If your installation also includes manual valves you can leave
them as they are or call a professional to replace them.
EN
Compatibilité
Il existe deux types de vannes de radiateur : les vannes
manuelles (1), et les vannes thermostatiques (2). Les vannes
thermostatiques (habituellement graduées de 1 à 5) peuvent
être facilement remplacées par une Vanne Netatmo.
Note: Si votre installation comporte également des vannes
manuelles, vous pouvez les laisser telles quelles ou faire appel
à un professionnel pour les remplacer.
FR
Compatibility
1 2
DE
ES
IT
NL
Kompatibilität
Es gibt zwei Arten von Heizkörperventilen: manuelle (1)
und solche mit Thermostat (2).
Thermostatventile (üblicherweise mit Skala von 1 bis 5
versehen) können ganz leicht durch einen Netatmo Smarten
Heizkörperthermostat ersetzt werden.
Anmerkung: Ist Ihre Installation außerdem mit manuellen Ventilen
ausgestattet, so können Sie diese entweder belassen oder durch
einen Profi ersetzen lassen.
Compatibilidad
Hay dos tipos de válvulas para radiador: válvulas manuales (1),
y válvulas termostáticas (2).
Las válvulas termostáticas (normalmente con marcas
de graduación numeradas del 1 al 5) se pueden sustituir
fácilmente por la Válvula Netatmo.
Nota: Si tu instalación incluye también válvulas manuales,
puedes dejarlas tal cual o llamar a un profesional para sustituirlas.
Compatibilità
Esistono due tipi di valvole per termosifoni: valvole manuali (1)
e valvole termostatiche (2).
Le valvole termostatiche (generalmente dotate di scala graduata
da 1 a 5) possono essere facilmente sostituite con la Valvola
Netatmo.
Nota: se l’installazione è dotata anche di valvole manuali,
è possibile lasciarle oppure chiamare un tecnico specializzato
per sostituirle.
Compatibiliteit
Er zijn twee soorten radiatorkranen: handmatige kranen (1)
en thermostaatkranen (2).
Thermostaatkranen (meestal met genummerde
instellingsmarkeringen van 1 tot 5) kunnen eenvoudig worden
vervangen door de Netatmo Radiatorkraan.
Opmerking: Als uw installatie ook handbediende kranen
bevat, kunt u ze laten zoals ze zijn of bel een vakman om
ze te vervangen.
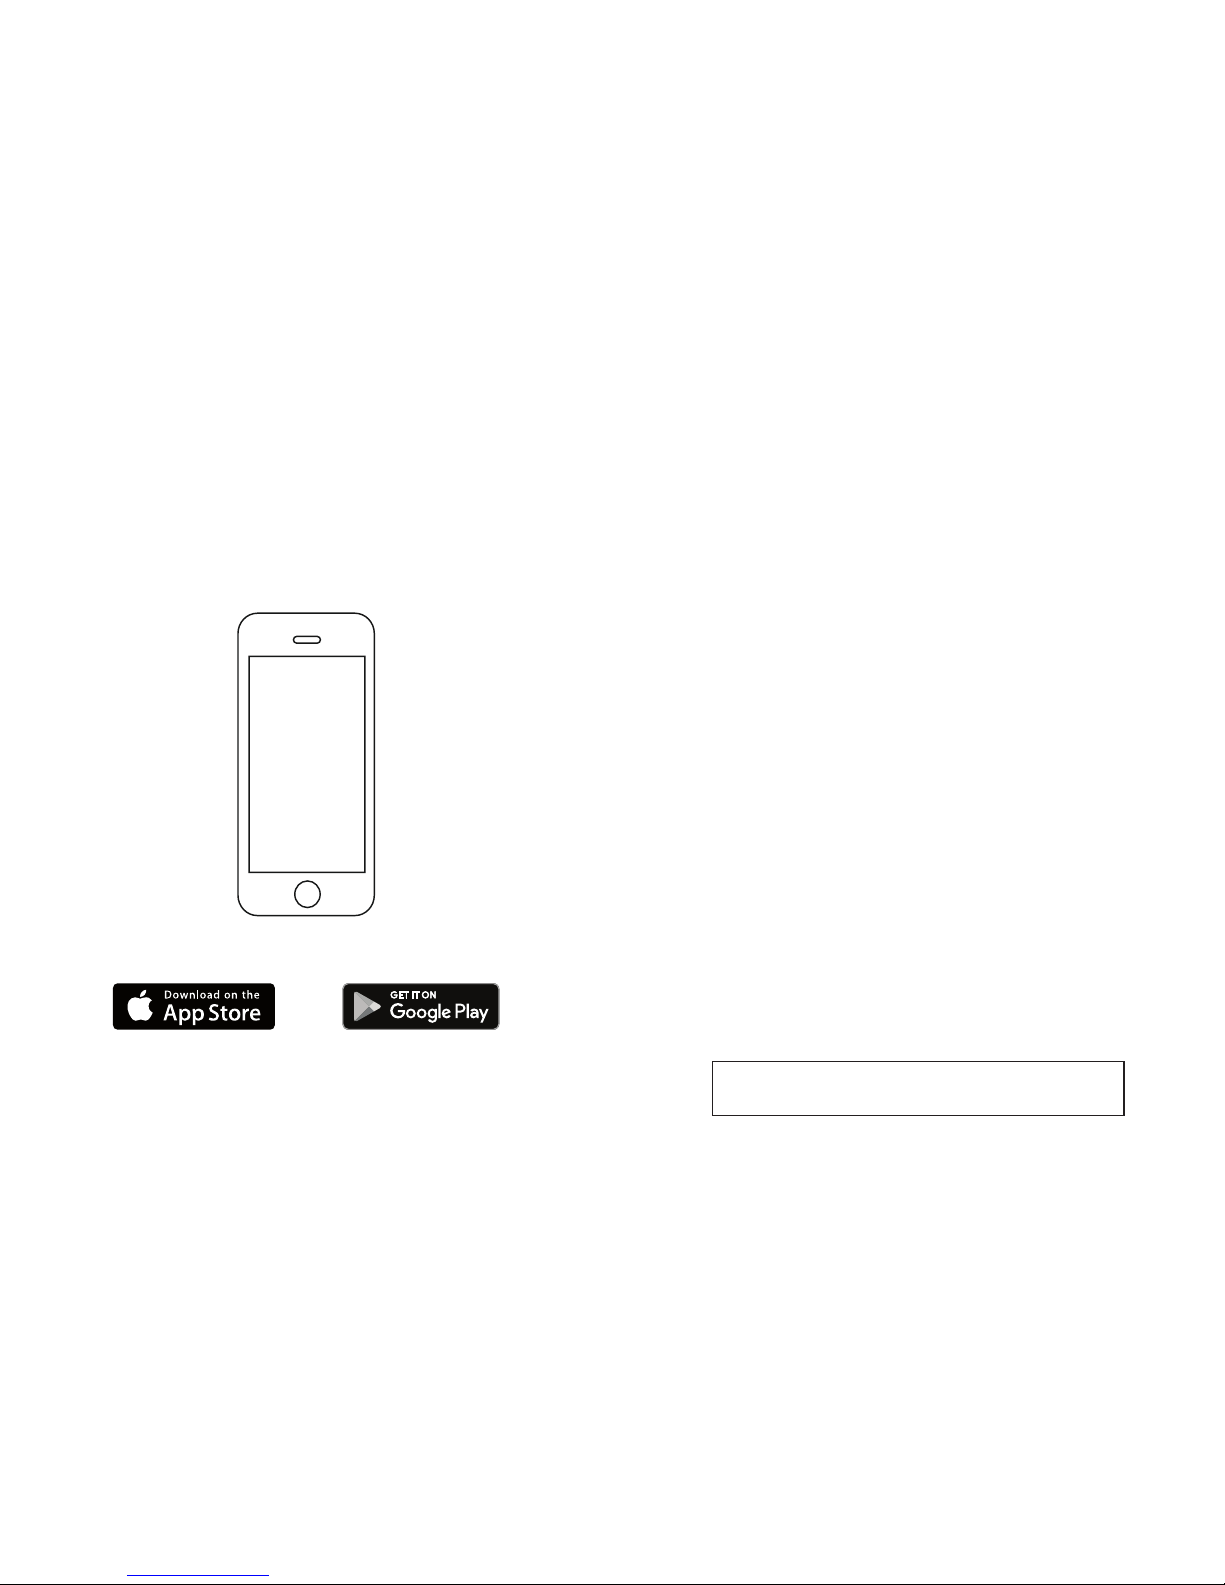
Application
https://valve.netatmo.com
Before inserting the batteries into your valves,
download the mobile application Energy Netatmo.
To find out how to remotely control your Valves from
your smartphone or tablet, go to:
EN
Avant d’insérer les piles dans vos vannes,
télécharger l’application mobile Netatmo Énergie.
Pour piloter vos Vannes à distance et les programmer
depuis votre smartphone ou tablette, rendez-vous sur :
FR
DE
Vor dem Einlegen der Batterien in die Heizkörperthermostate
laden Sie bitte die Mobil-App herunter Energy Netatmo.
Um Ihre Heizkörperthermostate per Smartphone oder Tablet
steuern und programmieren zu können, besuchen Sie:
ES
Antes de introducir las pilas en las válvulas,
descárgate la aplicación móvil Energy Netatmo.
Para saber cómo controlar las Válvulas a distancia desde
tu smartphone o tableta, consulta:
IT
Prima di inserire le batterie nelle valvole, scaricare
l’applicazione mobile Energy Netatmo.
Per scoprire come controllare a distanza le Valvole Netatmo
dal tuo smartphone o tablet, vai su:
NL
Voordat u de batterijen in uw Radiatorkranen plaatst, moeu
u de mobiele applicatie downloaden Energy Netatmo.
Voor meer informatie over het op afstand bedienen
van uw Radiatorkranen met uw smartphone of tablet, gaat u naar:
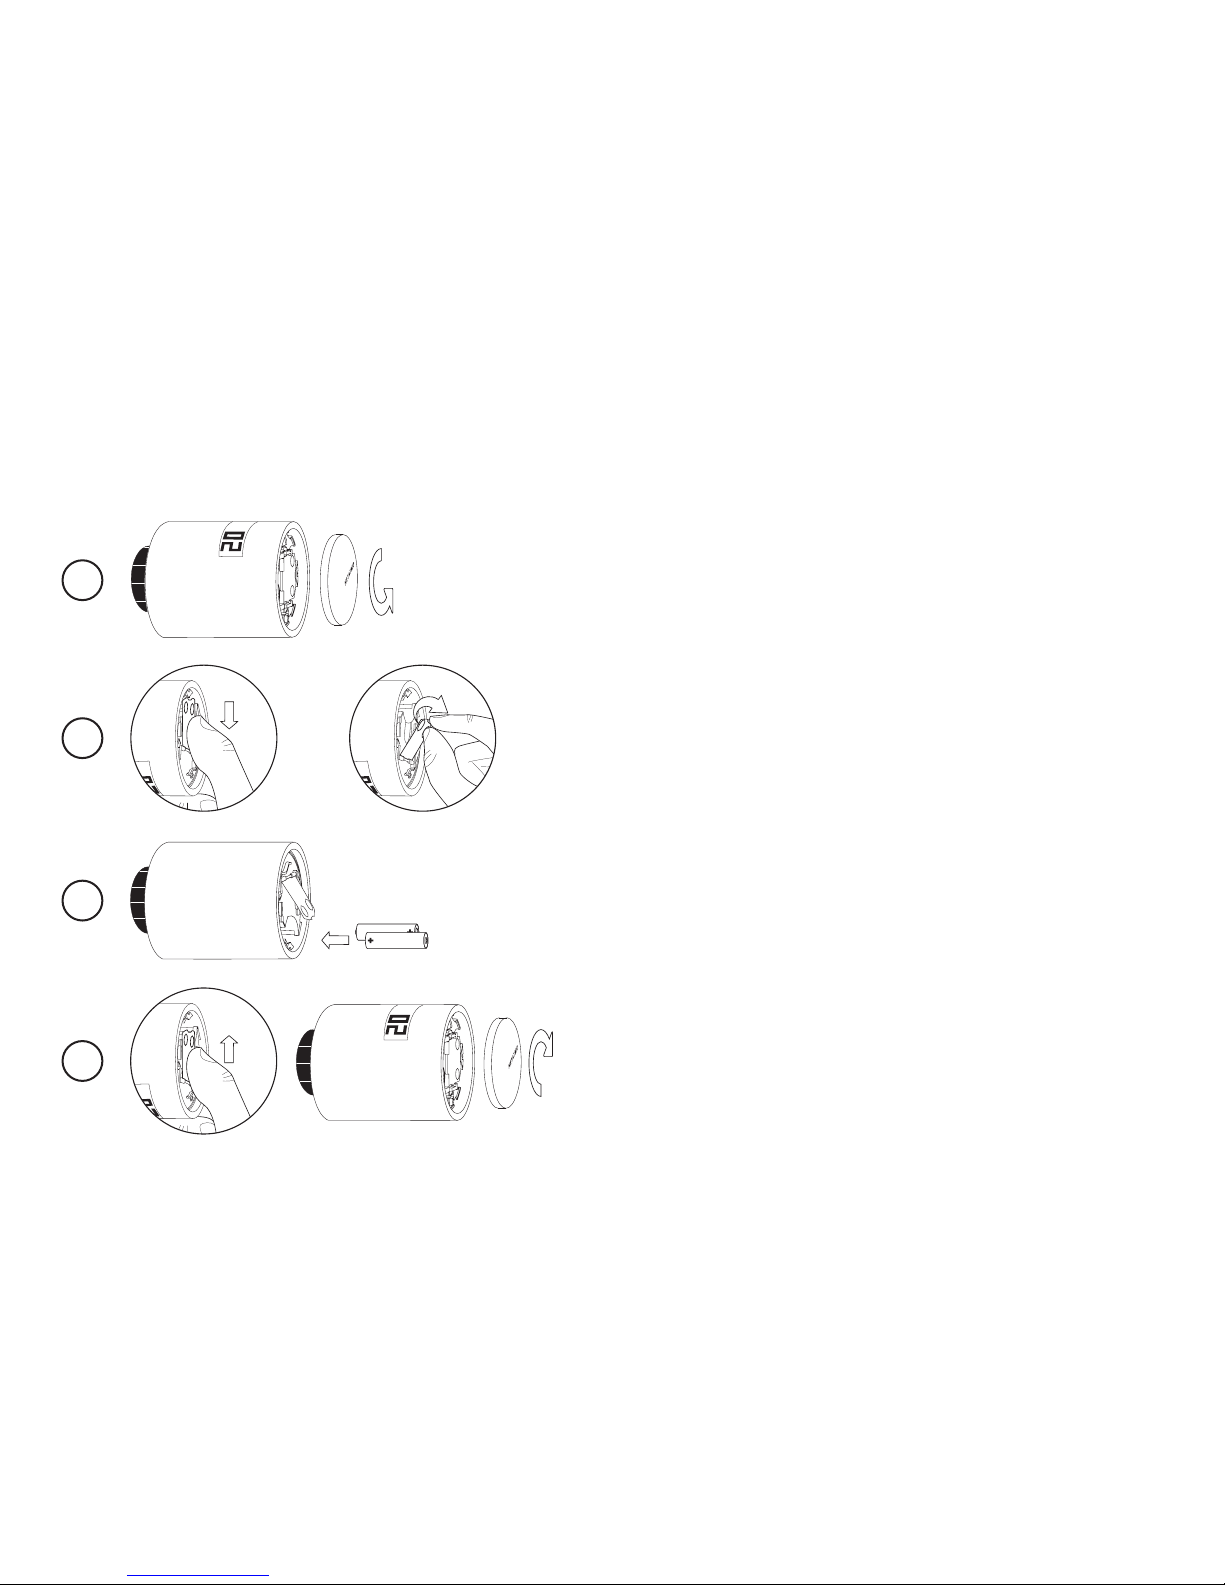
Batteries
1
2
3
4
Follow the steps below, only when required in the application
1. Open the front panel of the Valve using a small anti-clockwise rotation.
2. Open the metal battery cover.
3. Insert the batteries ensuring the positive and negative ends correspond.
4. Close the metal battery cover and replace the front panel.
EN
Suivez les instructions ci-dessous, uniquement lorsque précisé dans l’application
1. Ouvrir la Vanne en tournant la face avant dans le sens inverse
des aiguilles d’une montre.
2. Ouvrir la trappe à piles en métal.
3. Insérer les piles en respectant la polarité indiquée.
4. Refermer la trappe en métal et revisser la face avant.
FR
Folgen Sie dem unten beschriebenen Ablauf nur dann,
wenn die App Sie dazu auordert.
1. Önen Sie den Heizkörperthermostat, indem Sie die vordere Abdeckung
gegen den Uhrzeigersinn drehen.
2. Önen Sie die Batterieabdeckung aus Metall.
3. Legen Sie die Batterien ein. Achten Sie auf die richtige Polung.
4. Schrauben Sie die vordere Abdeckung wieder an.
DE
Sigue los pasos a continuación solo cuando la aplicación lo solicite
1. Abre el panel frontal de la Válvula realizando una pequeña rotación
en el sentido contrario a las agujas del reloj.
2. Abre la tapa metálica de las pilas.
3. Introduce las pilas asegurándote de que los polos positivo y negativo coincidan.
4. Cierra la tapa metálica de las pilas y vuelve a colocar el panel frontal.
ES
Seguire i passaggi riportati di seguito, solo quando richiesto nell’applicazione
1. Aprire il pannello frontale della Valvola con una piccola rotazione antioraria.
2. Aprire il copri batterie in metallo.
3. Inserire le batterie assicurandosi che i poli negativo e positivo corrispondano.
4. Chiudere il copri batterie in metallo e riposizionare il pannello frontale.
IT
Volg de onderstaande stappen alleen als dit gevraagd wordt in de applicatie.
1. Open het voorpaneel van de Radiatorkraan door deze een klein beetje
naar links te draaien.
2. Open metalen batterijdeksel.
3. Plaats de batterijen en let erop dat de polen goed zijn.
4. Sluit de metalen batterijdeksel en plaats het voorpaneel terug.
NL
 Loading...