NEC NP01WK1, NP01WK User Manual
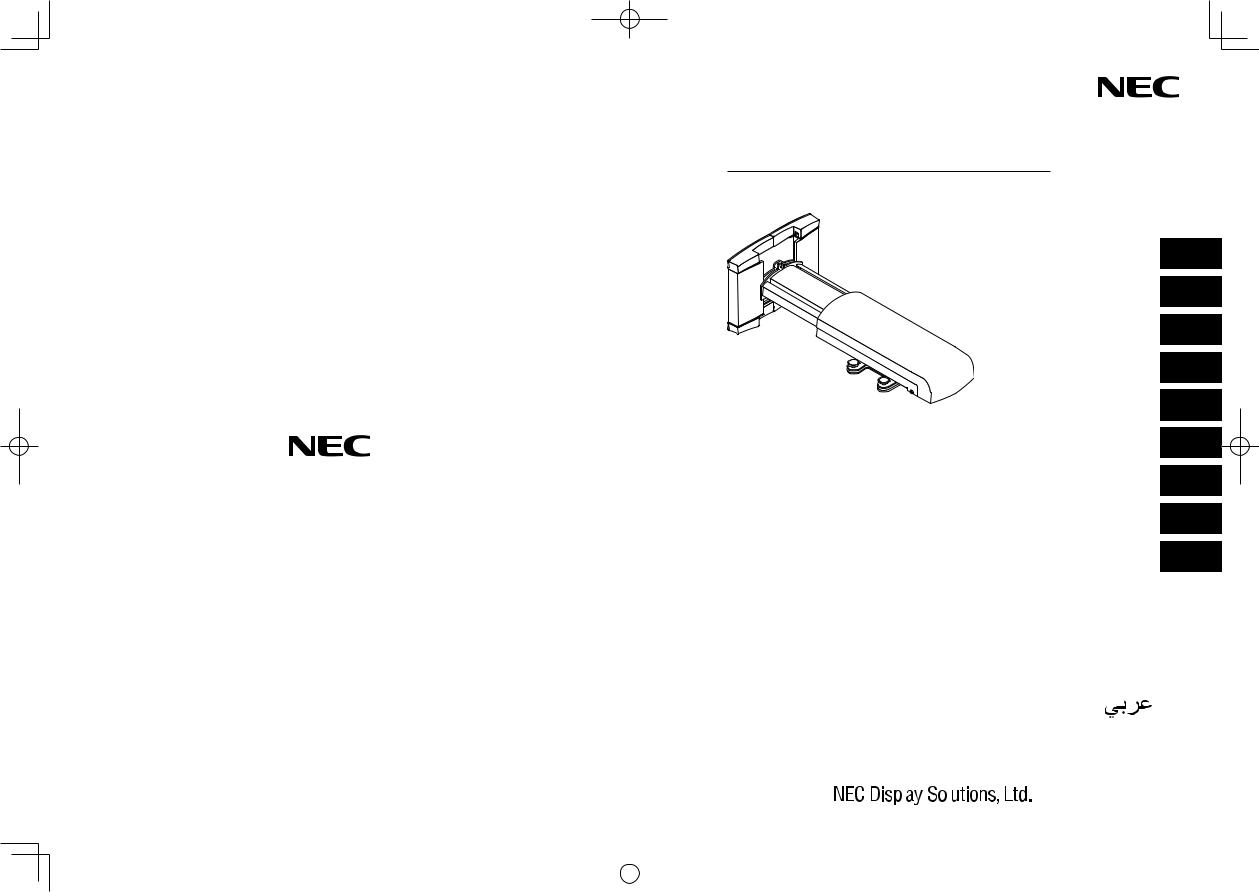
manual Adjustment and Installation Unit mount Wall NP01WK/NP01WK1
Wall Mount Unit
NP01WK/NP01WK1
Installation and Adjustment Manual
English
Deutsch
Français
Italano
Español
Português
Русский
Türkçe
Polski


© NEC Display Solutions, Ltd. 2010 |
Printed in Croatia |
|
|
|
|
|
|
|||
|
|
|
|
|
|
|||||
|
|
|
|
|
|
|||||
|
|
|
|
|
|
|
|
|
|
|
|
|
|
|
|
|
|
|
|
|
|
|
|
|
|
|
|
|
|
|
|
|
|
|
|
|
|
|
|
|
|
|
|
|
|
|
|
|
|
|
|
|
|
|
Wall Mount Unit
NP01WK/NP01WK1 Installation and Adjustment Manual
Thank you for your purchase of this NEC wall mount unit.
Please read this installation and adjustment manual carefully to ensure proper use.
The Wall Mount Unit NP01WK/NP01WK1 is exclusively for Projector U300X/U250X/ U310W/U260W and cannot be used for other projectors.
Special skills are required to install the projector. This work should never be performed by the customer.
To the Dealer and Installer
To ensure customer safety, we ask that the installation work be started after careful attention is paid to the strength of the mounting location to ensure it will withstand the weight of the projector and mounting hardware.
CONTENTS
Please heed the following.................................................... |
ENG-2 |
Preparation......................................................................... |
ENG-4 |
Packaged Parts......................................................... |
ENG-4 |
Names of Parts......................................................... |
ENG-5 |
Dimensions of Parts.................................................. |
ENG-6 |
Mounting the Projector........................................................ |
ENG-7 |
Adjusting the Projection Position....................................... |
ENG-12 |
Specifications.................................................................... |
ENG-16 |
Using the wall plate........................................................... |
ENG-16 |
ENG-1
Please heed the following
Symbol
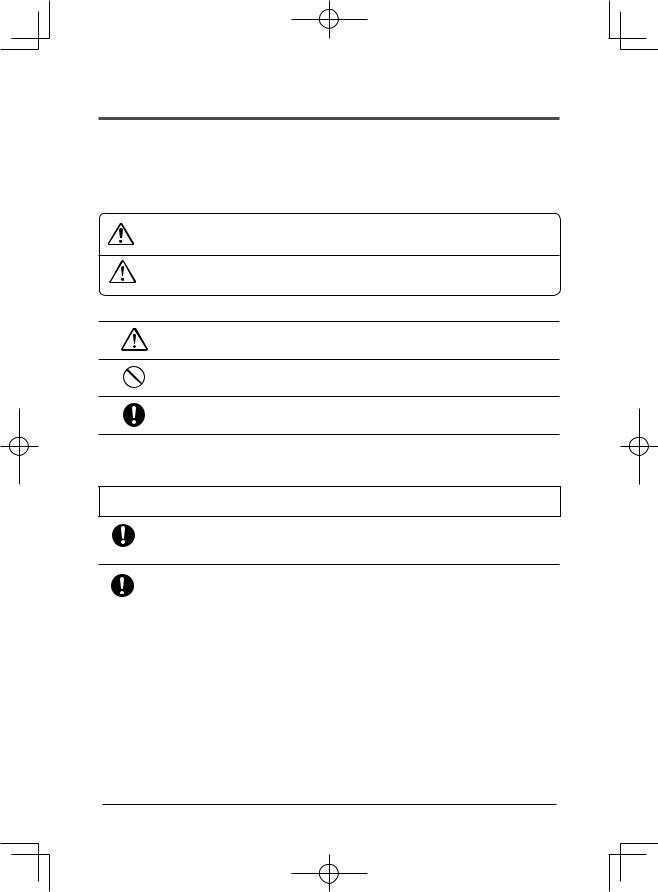
In this “Installation and Adjustment Manual”, to ensure the safe and proper use of the product, prevent harm to yourself and others and damage to property, various symbols are used. The symbols and meanings are as follows. Please read this manual after ensuring the contents are well understood.
Improper handling and ignoring this indication may result in Warning bodily harm such as death, serious injury and so on.
Caution Improper handling and ignoring this indication may result in bodily injury and damage to surrounding contents.
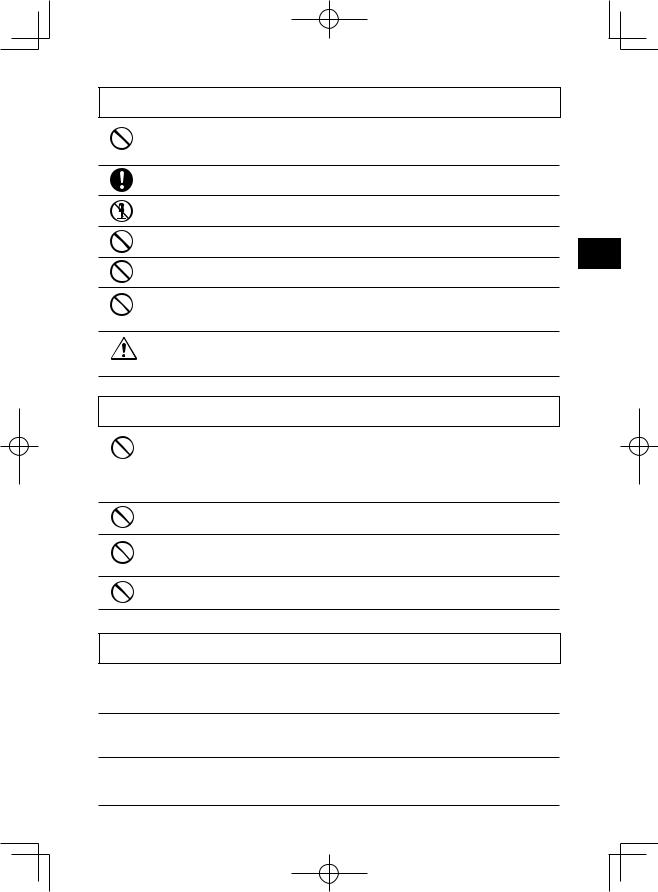
Examples of symbols:
 Symbol alerts you to cautions (including warnings)
Concrete cautions are specified in figures.
 Symbol expresses prohibited actions
Concrete prohibitions are specified in figures.
Symbol expresses compulsory actions. Concrete instructions are specified in figures.
 Warning
• When installing the projector and adjusting the projection position, be sure to do so as explained in this manual. The projector may fall and cause injury if installed and adjusted improperly.
•To prevent the projector from falling, install it in a location and fasten it so as to ensure sufficient strength to support the combined weight (about 12.7kg) of the projector (about 6.5kg), the wall mount unit (about 6.2kg) and so on for an extended period as well as to withstand earthquakes. Insufficient strength or fastening may result in the projector falling and causing injury.
Be sure to observe the following precautions:
*Use M6 (1/4 inch) for the wall fixation bolts and screws for the wall adapter.
*Use an outlet for the power source of the projector. Do not directly connect to the lamp line because this is dangerous.Also, use an accessible outlet so that you can connect and disconnect the power plug.
•Mounting on a wooden wall
Ensure the load is mounted on a pillar or robust constructional material. If the strength of the constructional material and so on is insufficient, please reinforce it. Do not mount on wall finishing material, furring strip and so on.
•Mounting on a concrete wall
Use a commercial anchor bolt M6 (1/4 inch), anchor nuts and similar, which will bear the load of the projector.
ENG-2
 Warning
•Do not install in places subject to constant vibration. Extended vibration may cause loosening of the screws and result in the Wall Mount Unit and projector falling and causing injury. Also, it may cause breakdown of the projector.
•To ensure safety, be sure to tighten the bolts, screws and adjusting knobs securely.
Failure to do so may result in the projector falling and causing injury.
• Do not modify any parts. Doing so may result in the projector and the Wall Mount Unit falling and causing injury.
•Do not use broken parts. Doing so may result in the projector and the Wall Mount Unit falling and causing injury. If a part should break, consult your dealer.
•Do not look into the mirror when the projector is turned on. Doing so could damage your eyesight.
•Do not hang from the projector and the Wall Mount Unit. Doing so may result in the projector and the Wall Mount Unit falling and causing injury. Be especially careful of children.
•Do not use adhesive for the locking screws, lubricant agent, oil and so on for the wall
adapter. Doing so may cause the material of the wall adapter to deteriorate and result in the projector falling and causing injury.
 Caution
•Do not obstruct the projector’s ventilation holes. Doing so will prevent the dissipation of heat and may result in fire. In particular, do not use the projector in the following ways:
installing the projector in a place such as wall and so on where ventilation is poor, covering it, etc.
•Do not install the projector in front of the outlets of an air conditioner or heater or in a place exposed to significant vibrations. Doing so may result in fires and electric shock.
•Do not install the projector in humid or dusty places or those exposed to greasy smoke or steam (such as near cooking equipment or humidifiers). Doing so may result in fires.
•When installing the projector, leave sufficient space between it and surrounding objects. Failure to do so will prevent the dissipation of heat and may result in fires.
Please:
•Avoid rooms with significant dust, humidity, greasy smoke, or tobacco smoke.
Dirt will adhere to the optical parts such as mirrors, which will cause image quality to deteriorate.
•Avoid places in which the screen is exposed to direct sunlight or illuminated light.
When surrounding light directly hits the screen, the image appears washed out and is difficult to view.
•Avoid locations exposed to particularly high or low temperatures.
Doing so may result in breakdown. (For the ambient operating temperature, see the user’s manual included with the projector.)
ENG-3
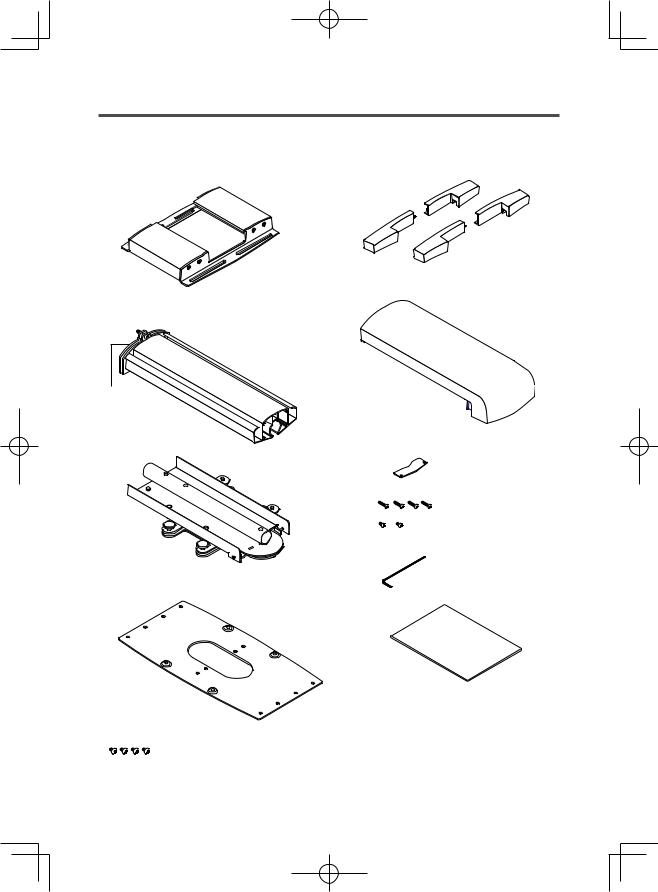
Preparation
Packaged Parts
Please check the packaged items.
Cover (A, B):2 pairs
Wall adapter:1
Plate (A)
Arm cover:1
Arm:1
Plate (B):1
M4 screws:4
M3.5 screws:2
Hex wrench:1
Projector adapter:1
Installation and Adjustment
Manual:1
Wall plate:1 *1
M5 screws:4 *2
*1, *2:To be used when mounting the wall adapter in the North America region.
ENG-4
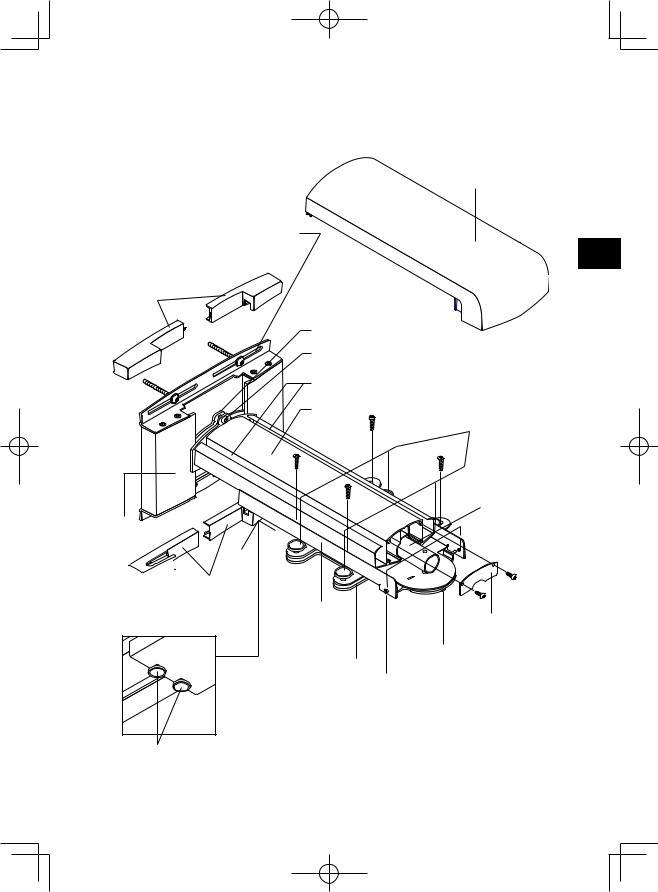
Names of Parts
Arm cover
Elongate hole for screw (or bolt) (4 parts)
Covers (A, B) |
• |
• 
•
 ••
••
•
|
• |
Wall adapter |
• |
|
•
 Cover (B, A)
•
•
Plate (A) |
|
|
|
Arm fixation screw |
|
||
Grooves for wiring |
|
||
Arm |
Tilt adjust knobs (4 parts) |
||
• |
|||
|
|
||
• |
|
|
|
|
• |
|
|
|
|
Central axis |
|
|
|
• |
|
• • |
|
|
|
• |
|
• |
|
• |
• |
• |
|
|
|||
|
|
||
Projector |
|
Plate (B) |
|
adapter |
|
||
|
|
||
Projector fixation |
|
Horizontal fixation nut |
|
|
|
||
plate |
Horizontal adjust screws |
||
Vertical adjust/ Arm fixation knobs
ENG-5
 Loading...