

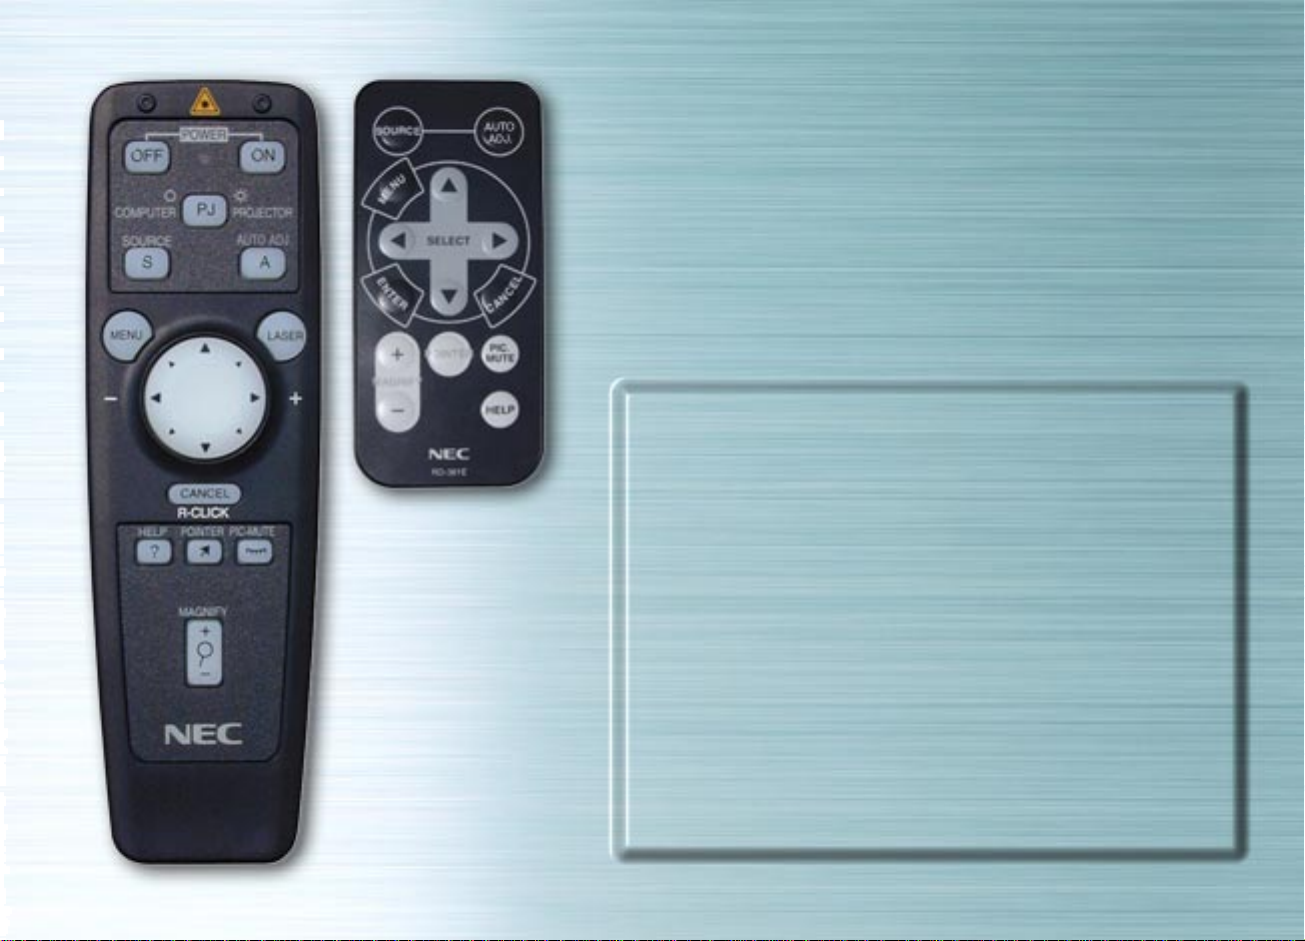
Full function remote control
(for MT series)
Card remote control
(for LT series)
Introduction
The interactive remote control demonstrates the features,
functions, settings and adjustable menus of the remote
controls for the LT series and MT series.
Simply click any button on the remote control on the left to
display descriptions of the menus and functions.
Click the menus and submenus to display more detailed
descriptions.
Your projector’s display settings can be customized and finetuned to match your presentation needs. Normally, however,
the display is optimized automatically for the input signals.
When any of the buttons on the full function remote control is
pressed, the back lights of all the buttons except Mouse
button turn on. If no button is pressed for 10 seconds, the
back lights turn off automatically. The menus also turn off at
this time.
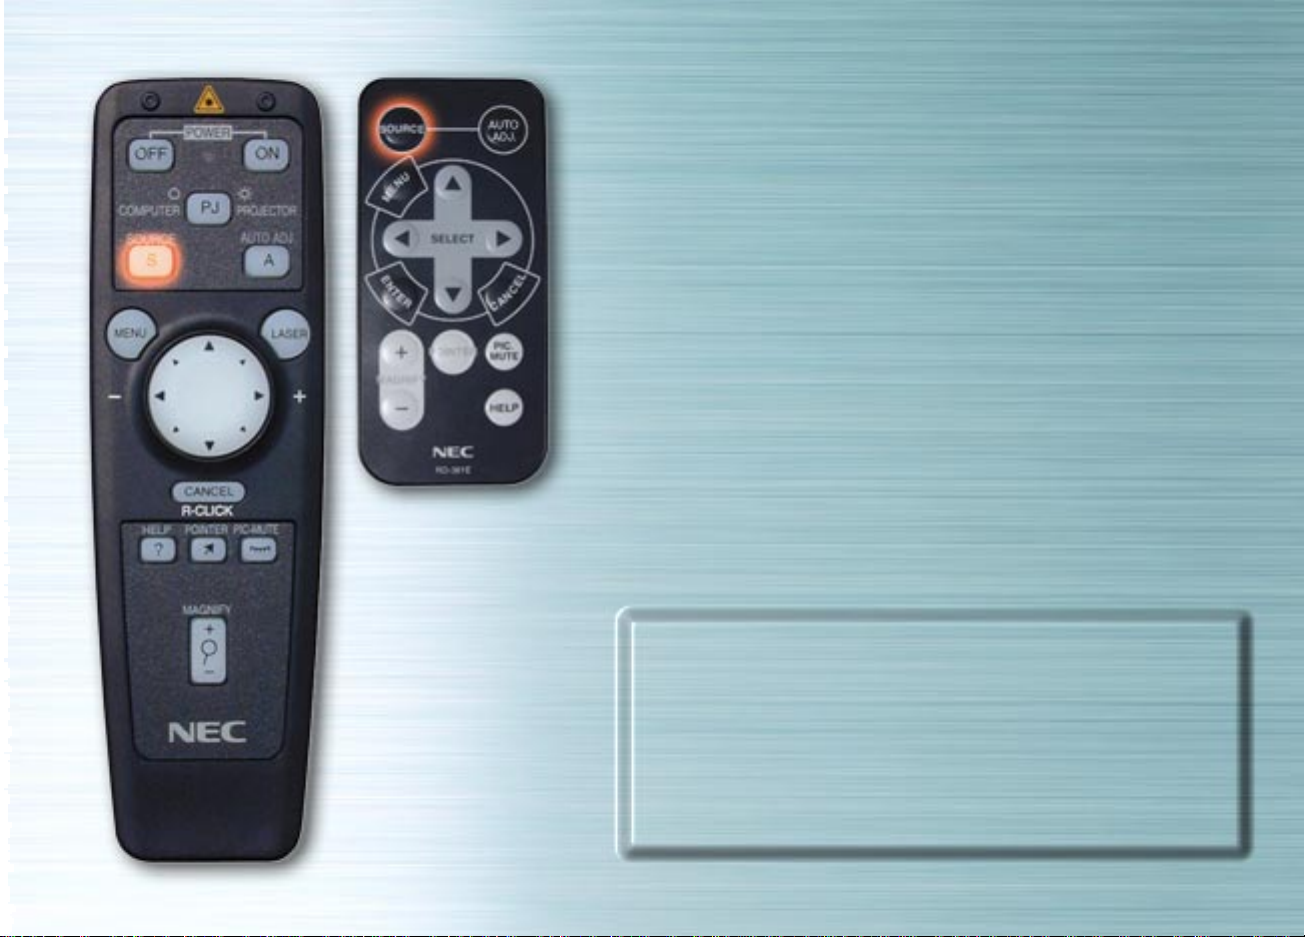
SOURCE button
The input switches each time this button is pressed. (RGB a
Video a S-Video a PC Card Viewer)
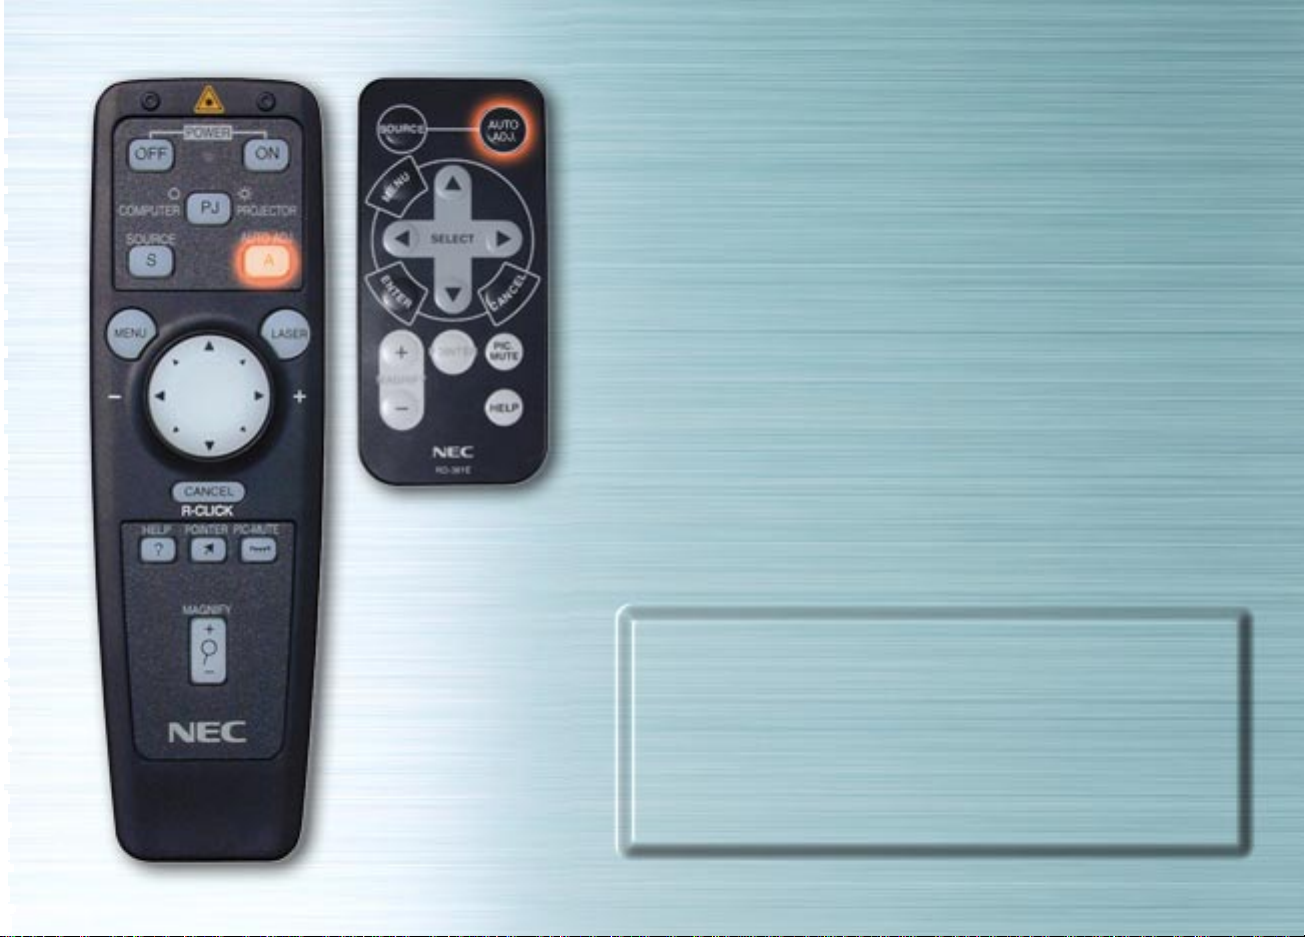
AUTO ADJUST button
Press this to automatically adjust the vertical/horizontal
position, clock frequency/phase and resolution if the
projected picture is not centered, if there are vertical stripes
on the picture or if the picture is flickering. (The Position and
Pixel Adjust are only adjusted for RGB inputs.)
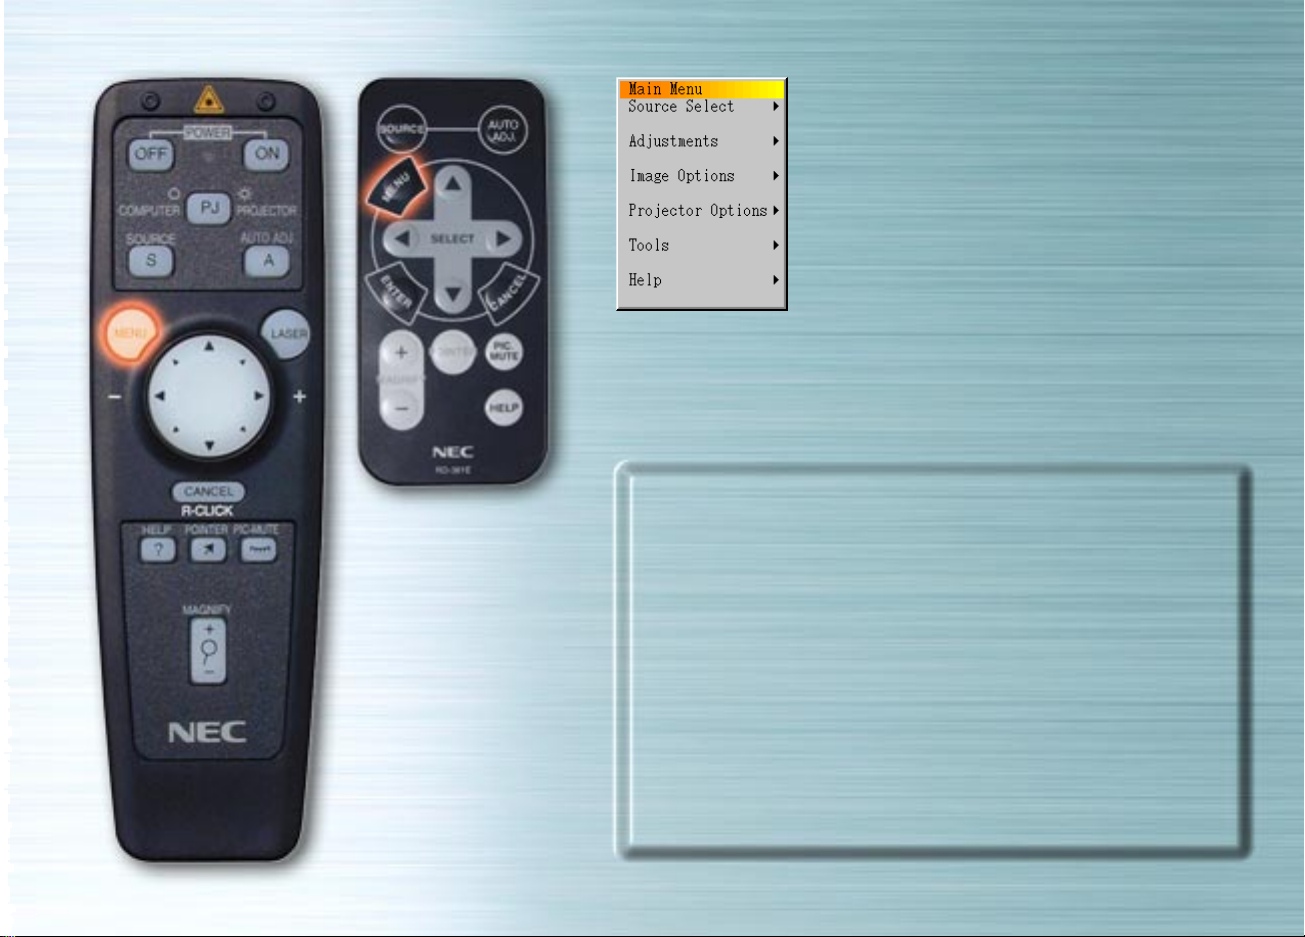
Menu buttons/On-screen menu
When pressed, the main menu appears. Use the ▲▼ buttons
to select the submenus or adjustment or setting items.
See below for a list of the remote control unit buttons that can
be used while the menu is displayed and the functions of the
menus and dialog box elements.
▲▼ buttons : Used to select items on menus or elements
in dialog boxes.
sbutton : Activates submenus or executes the selected
item.
tbutton : Returns to the previous menu.
next page
Tabs
Highlight
Solid triangle button
Check box
Slider bar
Radio buttons
Close box (x) : Closes the window without saving the setting or adjustment values.
Highlight : Indicates that the menu or item is selected.
Solid triangle button : Indicates that there are selection items on the pull-down menu.
Tabs : Indicate the number of pages when the item in the dialog box is
divided on more than one page.
Radio buttons : Select the dialog box items.
Check box : Check the box to activate the dialog box item.
Slider bar : When the adjustment menu is displayed, increases or decreases the
adjustment value of the selected item.
Close box
previous page

Signal Selection Menu
Use this menu to select the input (RGB/Component, Video, SVideo or PC Card Viewer).
Use the ▲▼ buttons to select the desired input, then press
the ENTER button.
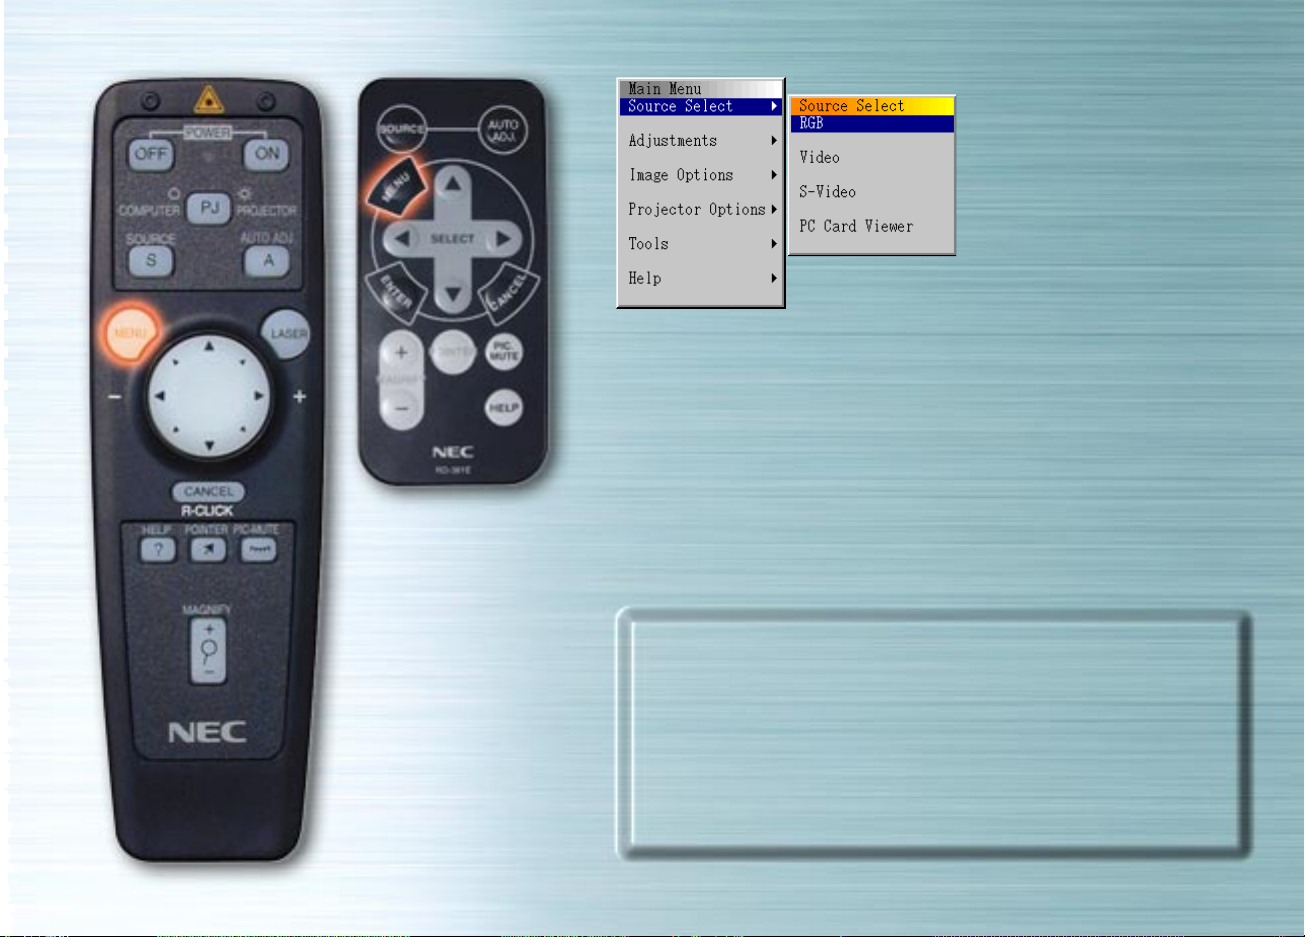
(When RGB is selected)
RGB input
The signals from the computer or DVD player connected to
the RGB input jacks are selected. Normally component
signals are identified automatically. If not, set the component
under Projector Options a Setup a Page 1 a Signal Select
a RGB.
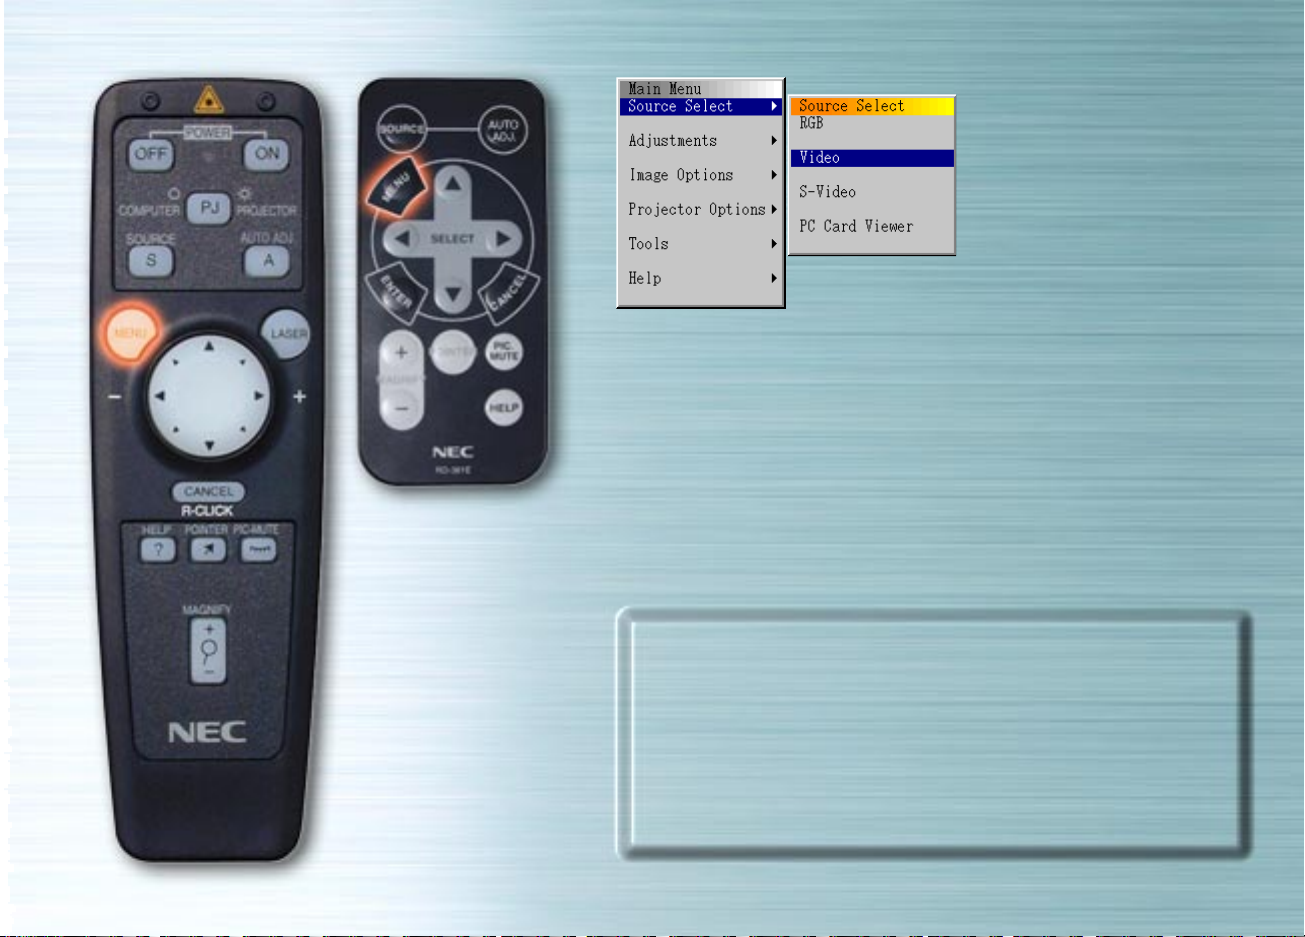
(When Video is selected)
Video input
The signal from a VCR or laser disc player connected to the
VIDEO input jack is selected.
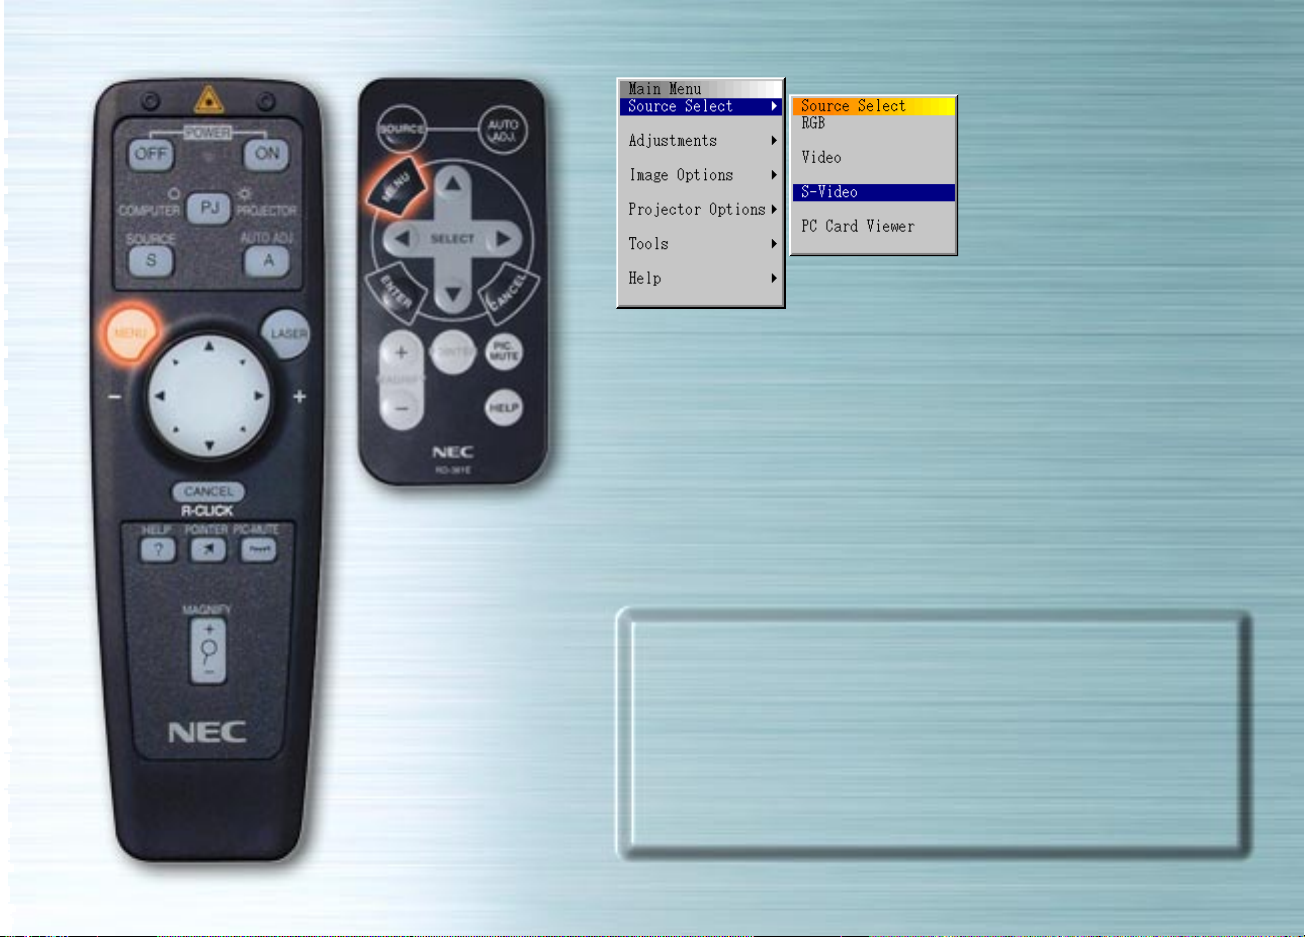
(When S-Video is selected)
S-Video input
The signal from a VCR or laser disc player connected to the
S-VIDEO input jack is selected.
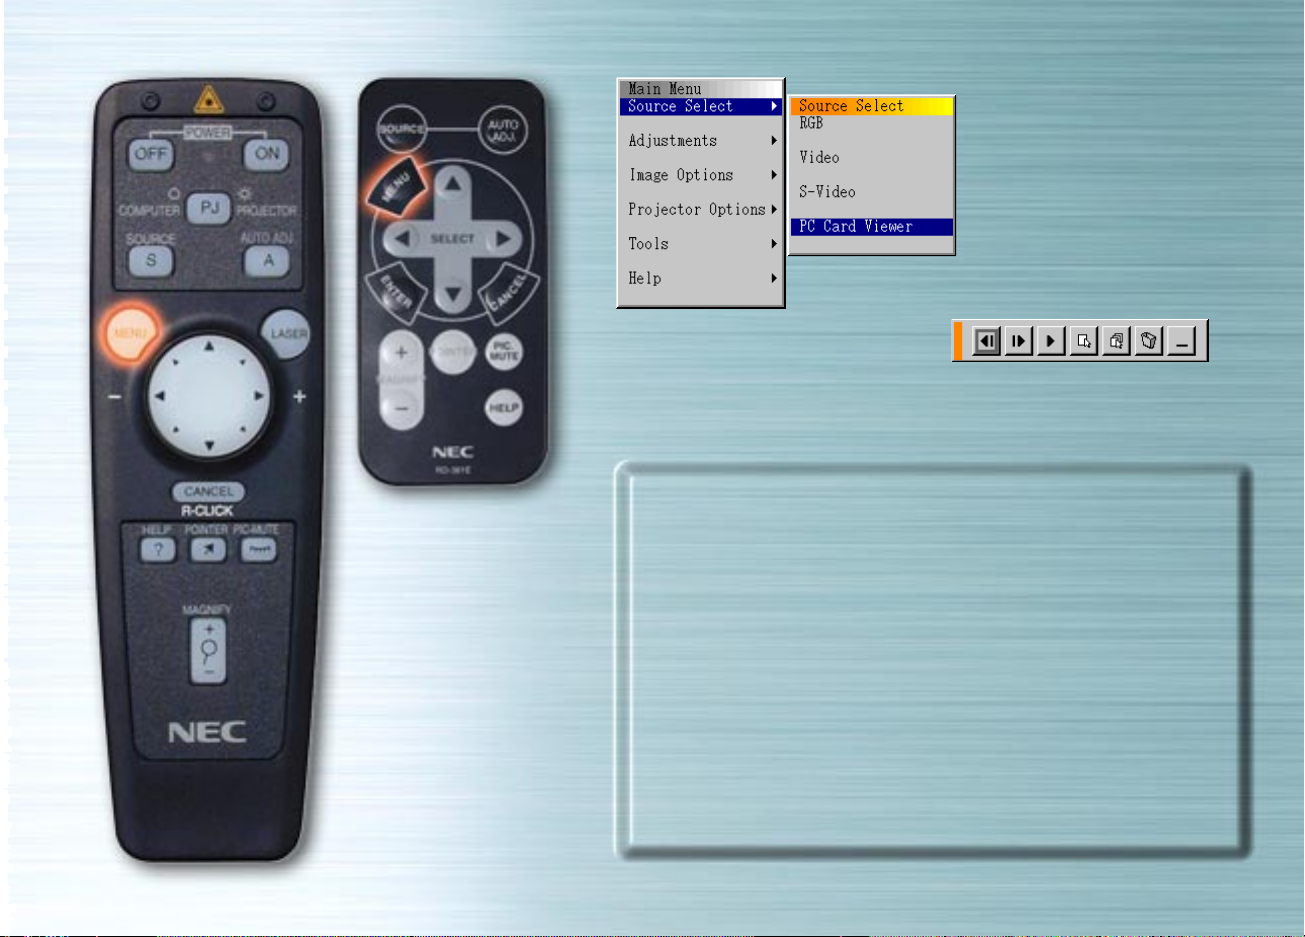
(When PC Card Viewer is selected)
PC Card Viewer
The picture data of a PC card inserted in the PC card access
slot is displayed.
Settings such as whether to display a list of folders or start
displaying slides immediately after the PC Card Viewer input
is selected can be made under “Projector Options” a
“Setup” a “PC Card Viewer Options”.
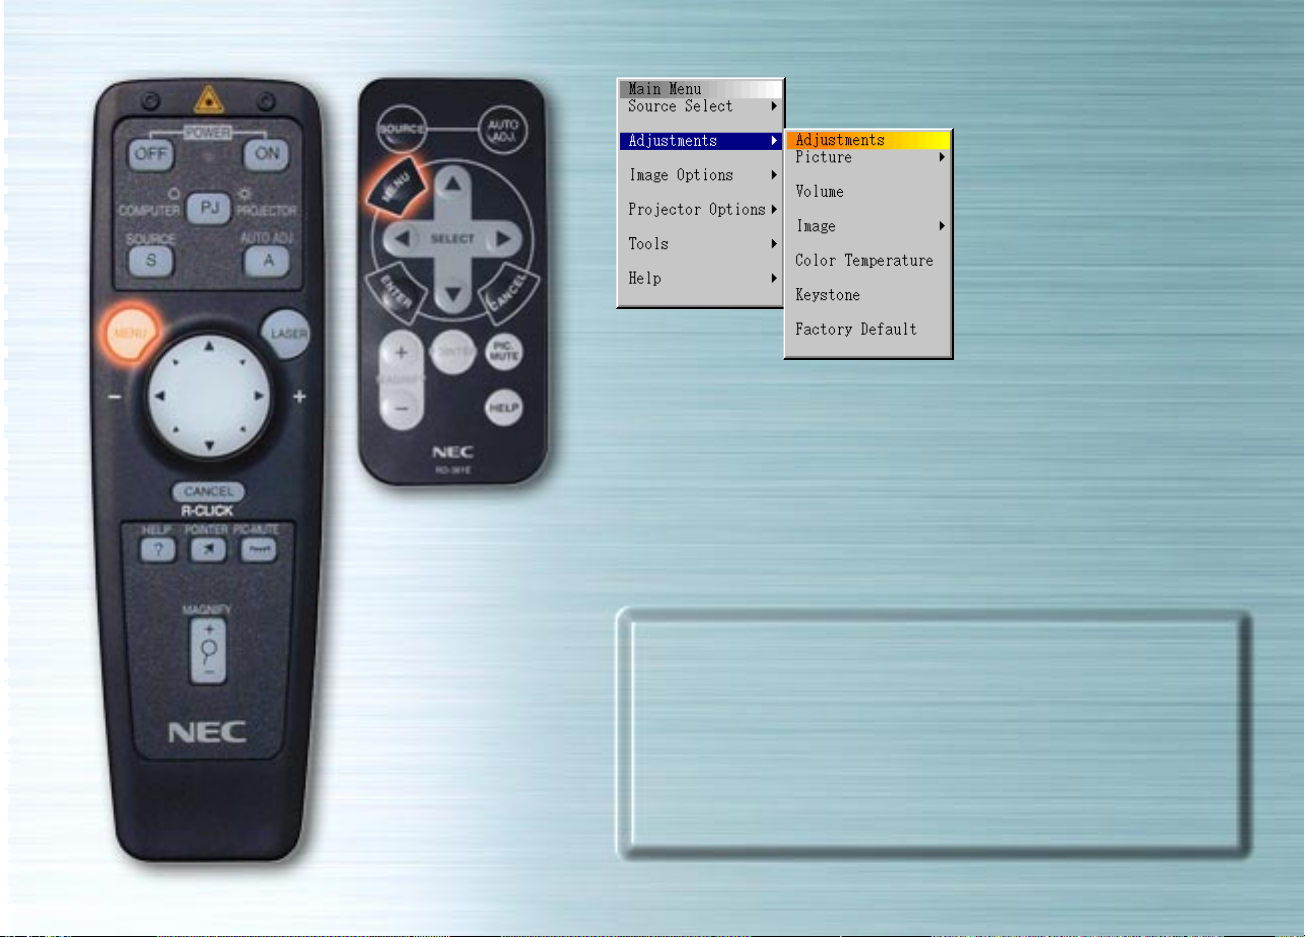
Adjustments Menu
Use this menu to adjust the image, volume, picture, color
temperature and keystone. Use the ▲▼ buttons to select the
items to be adjusted, then press s or the ENTER button.
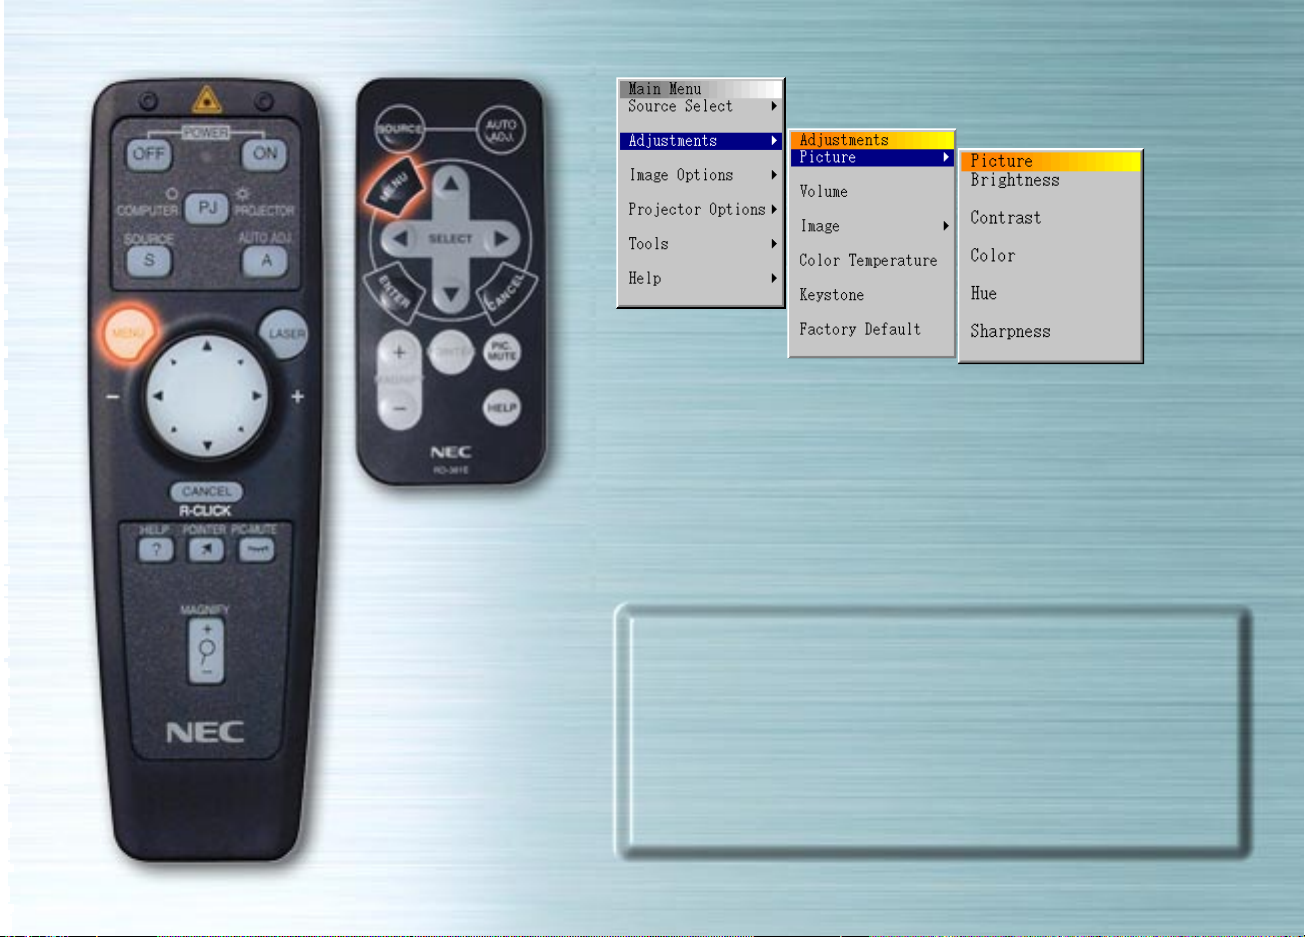
Image adjustments
Use the ts buttons to adjust the brightness, contrast, color,
hue and sharpness.
The usable items on the “Adjustment Menu” depend on the
selected input. Items displayed in white cannot be selected.

Image adjustments
Use the ts buttons to adjust the brightness, contrast, color,
hue and sharpness.
The usable items on the “Adjustment Menu” depend on the
selected input. Items displayed in white cannot be selected.

Image adjustments
Use the ts buttons to adjust the brightness, contrast, color,
hue and sharpness.
The usable items on the “Adjustment Menu” depend on the
selected input. Items displayed in white cannot be selected.
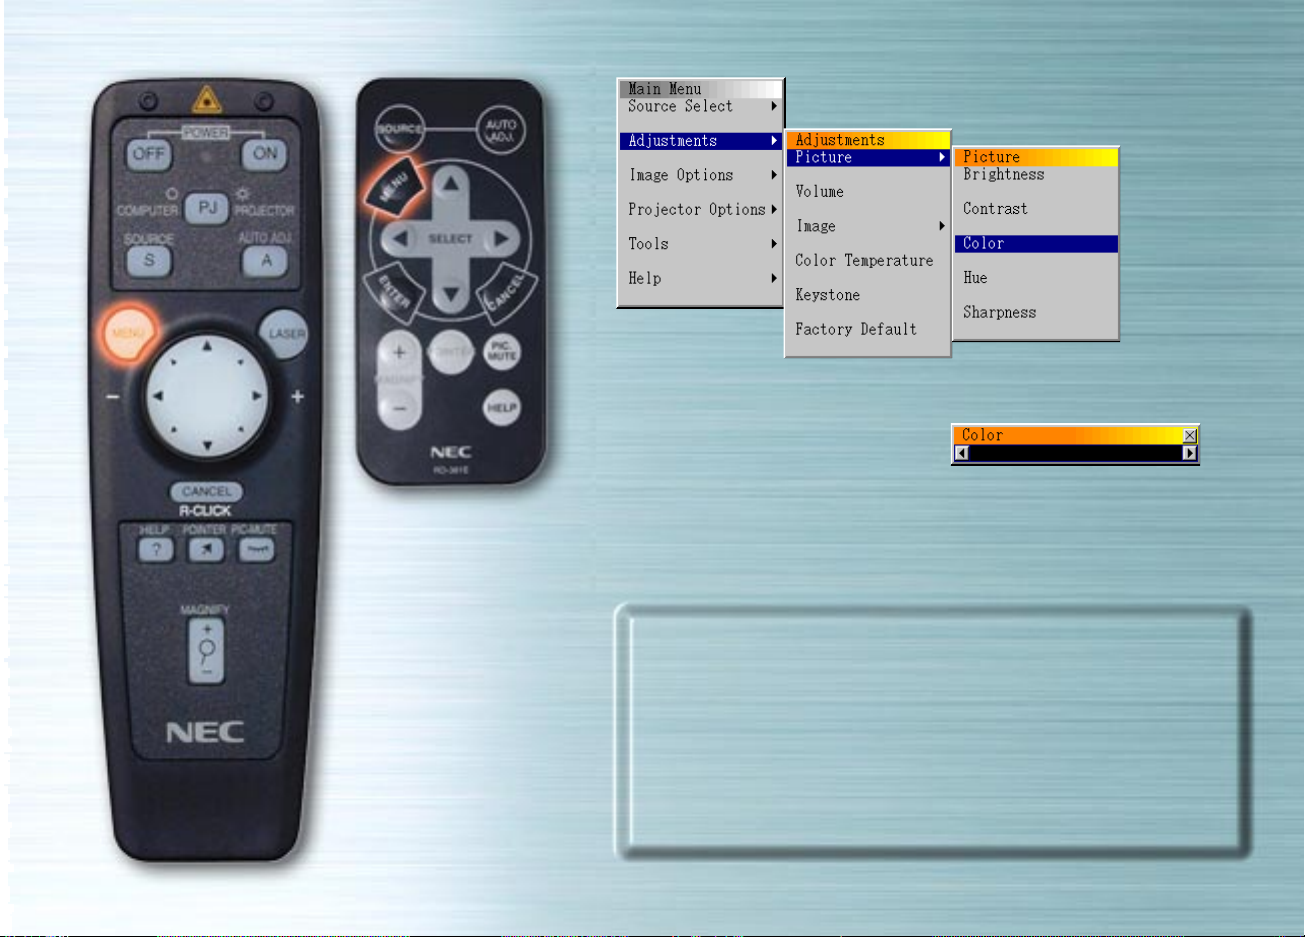
Image adjustments
Use the ts buttons to adjust the brightness, contrast, color,
hue and sharpness.
The usable items on the “Adjustment Menu” depend on the
selected input. Items displayed in white cannot be selected.
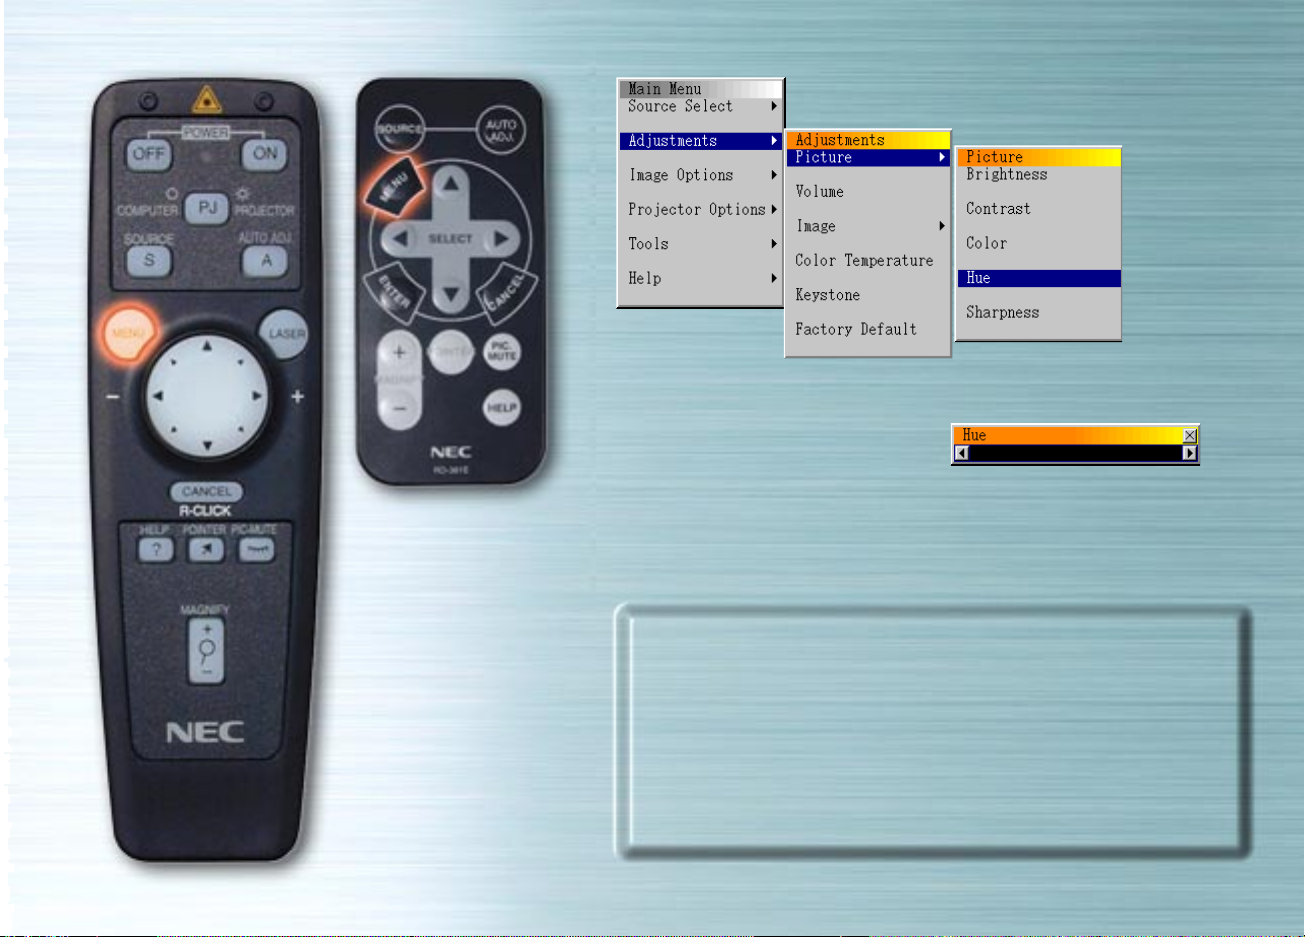
Image adjustments
Use the ts buttons to adjust the brightness, contrast, color,
hue and sharpness.
The usable items on the “Adjustment Menu” depend on the
selected input. Items displayed in white cannot be selected.
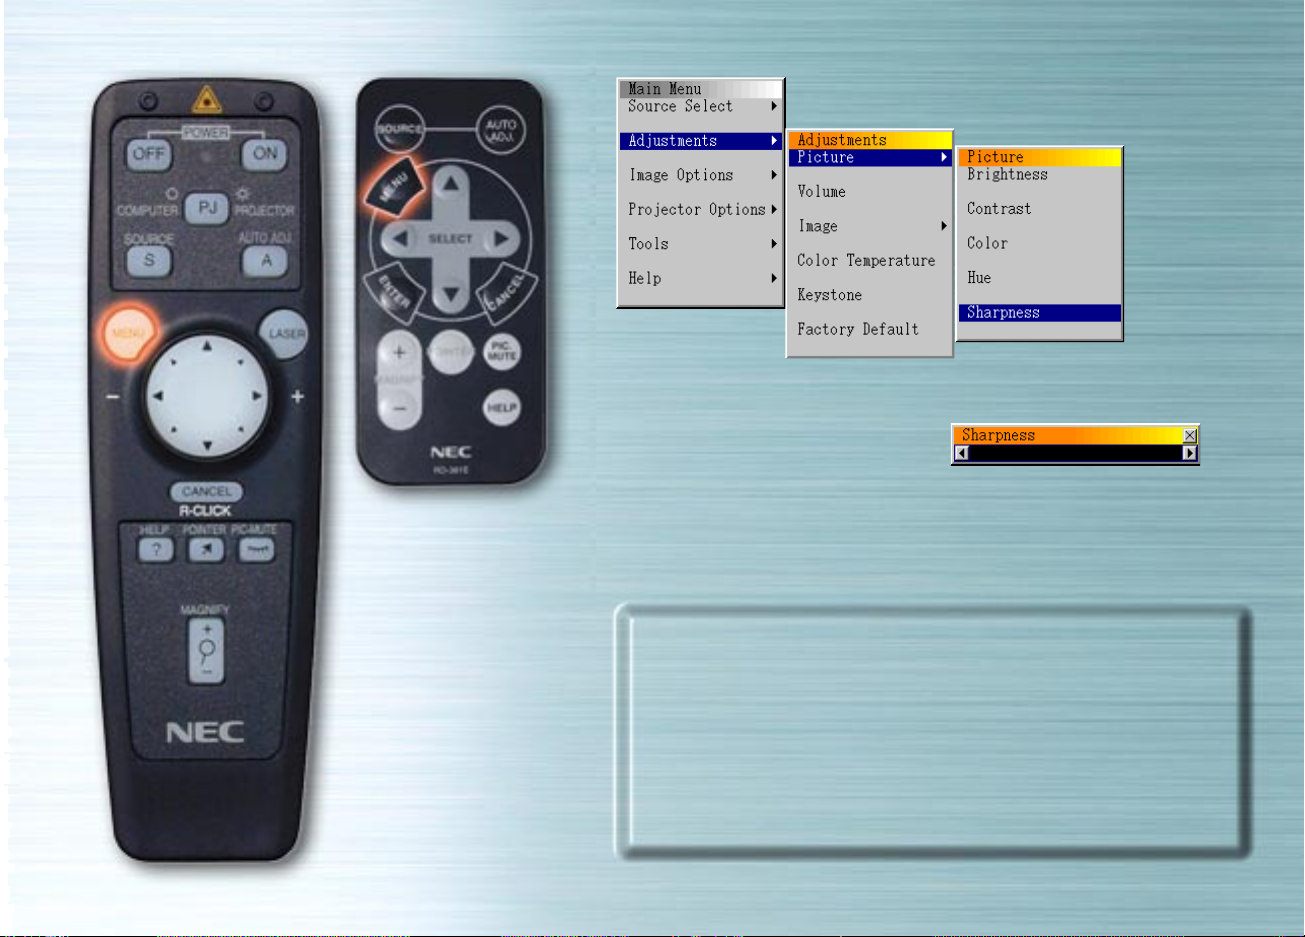
Image adjustments
Use the ts buttons to adjust the brightness, contrast, color,
hue and sharpness.
The usable items on the “Adjustment Menu” depend on the
selected input. Items displayed in white cannot be selected.
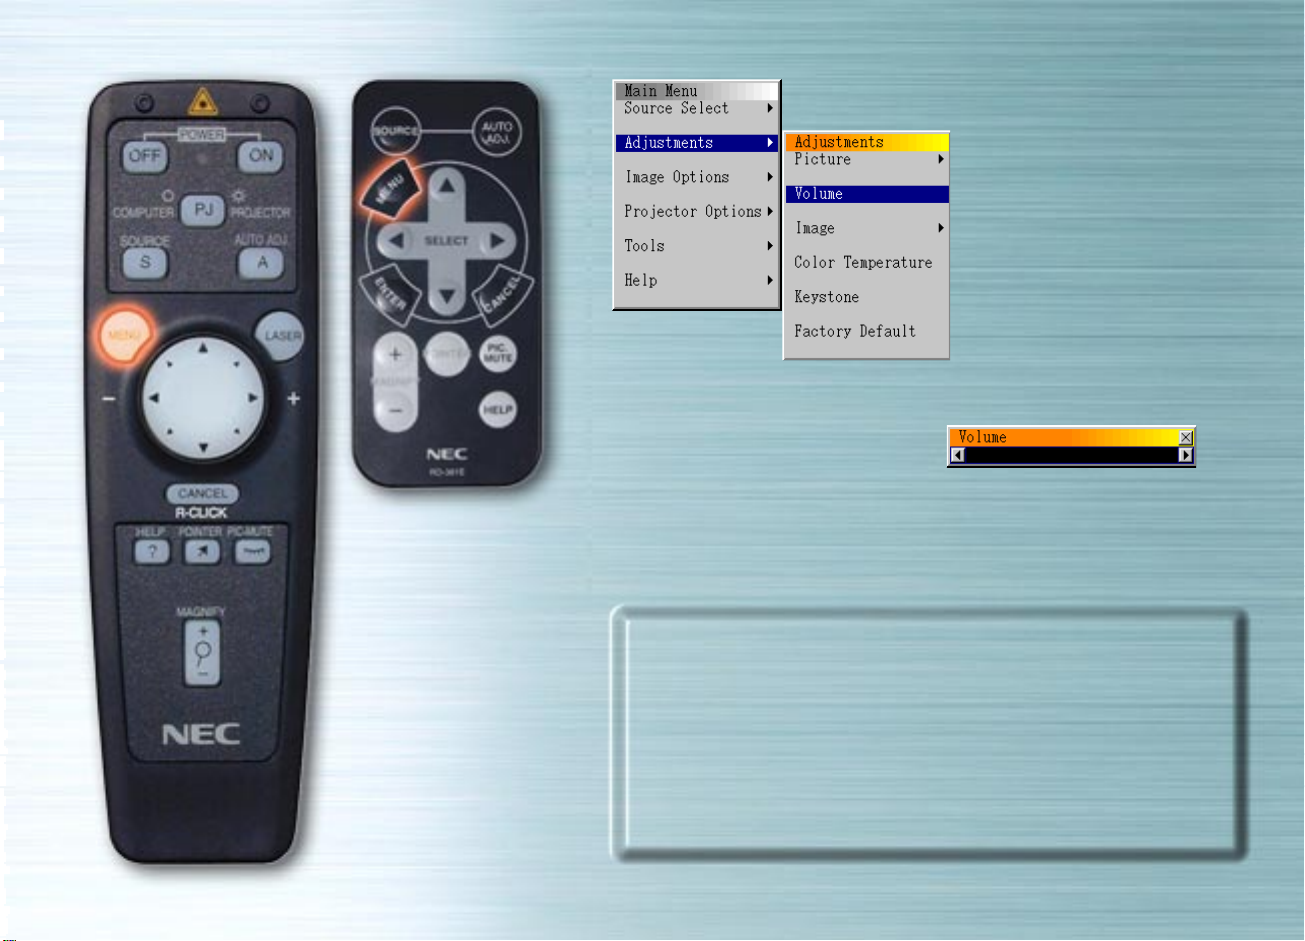
Volume adjustments
Use the ts buttons to adjust the volume.
You can adjust the volume using ▲▼ when no menus are
displayed.

Picture menu
Use this menu to adjust the image automatically, to adjust
vertical/horizontal position, to adjust the clock
frequency/phase, and to set the resolution (“Auto” or “Native”).
Use this function to move the position of the display up,
down, left or right (Position), to adjust the width of the image
with respect to the screen (Clock Frequency), to minimize
noise, flickering or color deviation (Phase), or to display the
picture over the entire screen according to the resolution
(Resolution). Perform these adjustments when you want to
improve the projected picture. When “Auto Adjust” is set, the
picture is automatically adjusted to the optimum conditions.
Use the ▲▼ buttons to select the items.

Resolution (Only when Auto Adjust is Off)
When the “Auto” radio button is selected, the optimum
resolution (VGA, SVGA, XGA or SXGA) for the signal being
projected is automatically identified and the picture is
displayed over the entire screen.
When ”Native” is selected, the current signal is projected with
the original size resolution (VGA, SVGA or XGA).
This option is available for RGB input only.

Color Temperature
Use the ts buttons to adjust the color temperature. The
blue is stronger when the bar is set to the right; the red is
stronger when the bar is set to the left.

Keystone Correction
Use the ts buttons to make the adjustment. The
adjustment range is +/- 15° in the vertical direction with the
set placed on the level. If you wish to store the correction
setting so that it is still set when the power is turned back on
next time, do so under “Projector Options” a “Setup” a
“Page 2” a “Keystone Save”.

Factory Default
Use the ts buttons to select “All Data” or “Current Signal”,
press the Down button, highlight the “OK” button, then press
the ENTER button. The settings and adjustments are restored
to the factory settings.

Image Options Menu
Use ▲▼ to select “Image Mode” or “Video Mode”, then press
the s or ENTER button.

Image Mode
Adjust the aspect ratio according to the signal to be
projected.
Use the ▲▼ buttons to select “Aspect”, then use the ts
buttons to select the corresponding radio button.

Aspect
Normal : 4:3 images are displayed with a 4:3 ratio.
Zoom : 16:9 images are expanded in the vertical and
horizontal directions and displayed with a 4:3
ratio.
Wide Zoom : 16:9 squeeze images are displayed with a 4:3
ratio in the horizontal direction.
Cinema : The vertical amplitude of 16:9 squeeze images
is reduced and the images are displayed with a
16:9 ratio.

Video Mode
Select Gamma, Noise Reduction and Color Matrix according
to the signal to be projected. For Gamma and Color Matrix,
use the ts buttons to select the desired radio button. For
Noise Reduction press the s button to display the pull-down
menu, then use the ▲▼ button to select the level.

Gamma Correction
Normal : Default for RGB signal
Natural 1: Default for Video and S-Video signal
Natural 2: Default for component signal

Noise Reduction
Select the level (Off, Low, Medium or High).

Color Matrix
Select Color Matrix
HDTV : High Definition TV signals
SDTV : Standard Digital TV signals
Select Color Matrix Type
Select the appropriate type (B-Y/R-Y, Cb/Cr or Pb/Pr).

Projector Options Menu
Set the menus and various items. Set the menu language,
pointer shape, whether or not to display items, the type of
projector, etc. Use ▲▼ to select the item then press s or the
ENTER button.

Menu
Use the ▲, ▼, t, s
buttons to select the
item (Language, Projector Pointer, or Source Display).
When Source Display is set to “Off”, the selected items are
displayed on the screen only when the power is turned on and
when the input is switched.
Use the ▲▼ buttons to select the menu language.
Use the ▲▼ buttons to select one of the 8 types of pointer
icons.

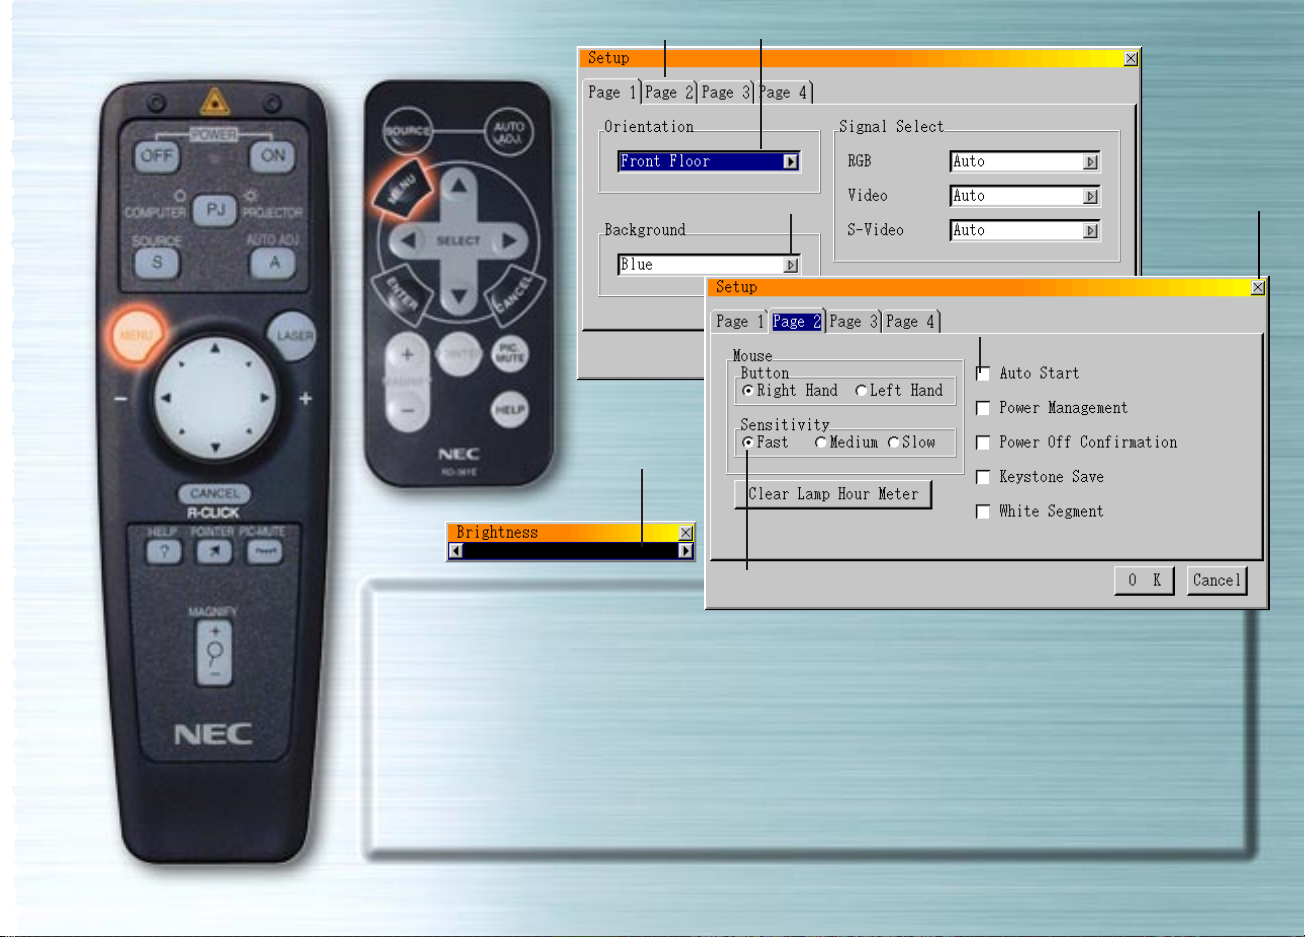
Setup
Make the various settings according to how the projector is to
be used. There are four pages of settings. The OK and
Cancel buttons affects all four pages. Note that the LT series
projectors have three pages.
next page

Page 1
Orientation
Set the projection method. Use the ▲▼ buttons to select
Front Floor, Rear Ceiling, Rear Floor or Front Ceiling.
Background
Select the background when there is no signal. Use the ▲▼
buttons to select Blue, Black, or Logo.
Signal Select
RGB:Normally select “Auto”. RGB and component signals are
switched automatically. If the signal does not switch when
component signals are input, select the “Component”.
Video & S-Video:Set the video mode. When “Auto” is
selected, NTSC 3.58, NTSC 4.43, PAL, PAL 60 or SECAM is
selected automatically.
(NTSC 4.43 and PAL 60 are not identified automatically when
the LT series projector is used. To view in one of these
modes, select the mode from the pull-down menu.)
previous page next page

Page 2
Mouse Buttons
Use the Left and Right buttons to set the mouse button mode to “Righthanded” or “Left-handed”.
Speed
Set the mouse speed to High, Medium or Low.
Auto Start
When this is selected, the projector turns on automatically when the power cord
is plugged into an outlet.
Power Management
When this is selected, the standby mode is set automatically if no signal is input
for 5 minutes.
Power Off Confirmation
When this is selected, a verification message is displayed when turning the
power off.
Keystone Save
When this is selected, the setting for compensating for trapezoidal distortion is
stored and remains in the memory even when the power is turned off.
White Segment (LT series only)
If you prefer putting emphasis on brightness, place a checkmark in the box to
turn the option. If you prefer an image in truer color, turn off this option.
Highlight “OK”. Press the ENTER button to validate the above settings.
previous page next page

Clear Lamp Hour Meter
Use this to reset the total lamp usage time after replacing the
lamp. Use the ▲ or ▼ button to highlight the Clear Lamp
Hour Meter button, press the ENTER button, use the ts
buttons to highlight “OK”, then press the ENTER button to
clear the lamp usage time. To cancel the operation, use the
sbutton to highlight Cancel, then press the ENTER button.
previous page next page

Page 2
Fan High Speed Mode (MT series only)
This option allows you to select two modes for fan speed :
high-speed mode and normal speed mode.
When you wish to cool down the temperature inside the
projector quickly, check this box. This is convenient especially
when the projector is installed on the ceiling.
Page 3
Remote Sensor (MT series only)
This option determines which remote sensors n the projector
are effective in wireless mode.
The options are : front, rear, right, or left. Checked sides show
that they can accept the infrared signal from the supplied
remote control.
S-Video Mode Select (MT series only)
This feature is used to select the S-Video signal detection
mode. This allows identifying of the S-Video signals with
different aspect ratio (Zoom 16 : 9, Wide Zoom 4 : 3).
S1 Identifies a Zoom signal only.
S2 Identifies a Zoom or Wide Zoom signal.
Off Does not identify any S-Video signal.
previous page next page

Page 4 (Page 3 on LT series)
PC Card Viewer Options
Start Mode
Set the start mode when the PC Card Viewer input is selected
from the projector.
Show Folder List
When the PC Card Viewer input is selected from the
projector, a list of folders is displayed and the presentation
documents can be selected from the PC card.
Auto Play
If this option is checked, any given slide will start to play
automatically. You can also specify interval between 5 and
300 seconds using Auto Play Interval.
Manual Play
Views a slide manually when PC Card Viewer input is selected.
Note: The Auto Play and Manual Play options determine the
behavior of the Play/Stop[ ] icon on the Viewer tool bar.
previous page next page

When selecting “Show Folder List” or “Manual Play” while the
“Auto Play” feature is not checked, and you select PC Card
Viewer for the input source, you can manually advance to the
next slide or the previous slide.
Note: If you check “Auto Play” and “PC Card Viewer” on the
projector, the slides will automatically start to play back from
any given slide.
Capture Options (for JPEG files only)
Use the radio buttons to select the jpeg image compression.
High Quality
Picture quality is prioritized.
Normal
Standard image compression.
High Compression
Compression is prioritized.
Highlight “OK”. Press the ENTER button to validate the
above settings.
previous page

Tools menu
Use this to save captured picture data when a PC card is
loaded, to display lists of the picture data on the PC card, to
sort the files and to display the selected file.
Under “ChalkBoard”, lines and circles can be drawn in free
hand on the screen.
(The chalkboard function can only be used when a USB
mouse is connected.)

Capture
Use this to capture the displayed image. The captured
picture file is stored on the PC card.
(This function cannot be used when no PC card is loaded.)
When Capture is selected, the tool bar appears.
Camera button: Press this to capture the image.
Freeze button : Press this to freeze the displayed picture.
Exit button : Press this to exit the capture. When pressed,
the tool bar turns off.

PC Card Files
Use this to display a list of the picture files on the PC card, to
check the files, to sort them, and to display them. Press the
Execute button to perform the selected operation.
(It is not possible to delete files or change file names from
this menu.)
Select s to display the pull-down menu. Select Name, Ext.,
Date or Size to sort the files in that order.
File types
Select ALL, Text, Index, HTML, JPEG or BMP.

ChalkBoard
When ChalkBoard is selected, the tool bar appears. There
are 6 buttons on the tool bar: pen, eraser, clear, color, size
and view/hide. When the color button is selected, a color
palette appears. To move the tool bar, click on the orange bar
and drag it.
The chalkBoard function can only be used with a USB mouse
(commercially available). It cannot be operated from the card
remote control unit or full function remote control unit.

Help
Use this to display the help contents, information on the input
signal and information on the projector.

Contents
Select this to display the contents. Display descriptions of
operating, adjustment and setting procedures.

Source Information
Select this to display information on the signal currently being
projected. There are three pages of information.
The following items can be displayed:
Source Name
Input Terminal
Horizontal Frequency
Vertical Frequency
Sync Polarity
next page

Signal Type
Video Type
Sync Type
Interlace
Resolution
Aspect Ratio
Gamma
Noise Reduction
Color Matrix
Matrix Type
previous page

Projector Information
Lamp Hour Meter
This displays the total amount of time the lamp has been used.
The lamp should be replaced when this time reaches 1000
(LT series) / 2000 hours (MT840 / MT1040) / 1500 hours
(MT1045) . Replace the lamp with the LT40LP for LT series /
MT40LP for MT series Optional Lamp.
If the lamp usage time reaches 1100 hours (LT series) / 2100
hours (MT840 / MT1040) / 1600 hours (MT1045) , the power
will no longer turn on.

laser beam
LASER button
When pressed, a red laser beam is emitted.
The beam reaches a distance of approximately 10 meters (33
feet).
NOTE: Do not look directly at the laser pointer’s laser beam,
and do not point it at people.

SELECT/Mouse buttons
Use these to select items from the displayed menu and to
move the pointer.
The full function remote control unit can also be used as the
computer’s mouse when the computer mode is selected with
the COMPUTER/PJ SELECT button.

CANCEL/R-CLICK button
Press this button to turn off menus or tool bars. When this is
pressed, the adjustments and settings are not saved.

ENTER/L-CLICK button
ENTER/L-CLICK button
Press this to execute the selected item. When this is pressed,
the adjustments and settings are saved.

MAGNIFY button
Press this to adjust the picture up to 400%.

POINTER button
Press this to display the pointer. Press again to turn the
pointer off.
With the full function remote control unit, when this button is
pressed the COMPUTER/PJ SELECT button automatically
lights red and the mouse buttons are set to the projector
mode.

PICTURE MUTE button
Press this to mute the image and sound. Press again to
cancel the mute mode.

HELP button
Press this when nothing is selected to display the help menu.
When pressed while the help menu is displayed, the
description of the help function is displayed. When press
while menus or adjustment/setting screens are displayed,
help on that subject is displayed.
When this button is pressed, the COMPUTER/PJ SELECT
button automatically lights red and the mouse buttons are set
to the projector mode.

POWER ON/OFF buttons
Use these to turn the projector’s power on and off.
NOTE: To turn off the projector using the full function remote
control, press and hold the POWER OFF button for a
minimum of two seconds.

LED
This flashes when any one of the remote buttons is pressed.

COMPUTER/PJ SELECT button
Press this to switch the mouse buttons between the projector
mode (lit red) and the computer mode.
The default is the computer mode. When the MENU, HELP or
POINTER button is pressed, this button lights red and the
mouse buttons are set to the projector mode. To switch them
back to the computer mode, press the COMPUTER/PJ
SELECT button. If no buttons are pressed within 10 seconds,
the light goes out and the Projector mode is canceled.
 Loading...