

NEC AccuSync LCD51V, AccuSync LCD71V User Manual

1-1
User's Manual
AccuSync
TM
LCD51V/LCD71V

1-2
W
arning .................................................................................................................... 1
Content
s ................................................................................................................. 2
Quic
k
Start .............................................................................................................
3
C
ontrols ................................................................................................................... 7
Recommen
ded
Use.............................................................................................. 10
Sp
ecif
ications .......................................................................................................12
F
eatures ............................................................................................................... 14
Tr
oubleshooting ................................................................................................... 15
R
eferences .............................................................................................................16
Limited Warranty................................................................................................. 17
T
C
O ‘99 .................................................................................................................. 18
Av
ertissement ......................................................................................................21
Cont
enu................................................................................................................. 22
Mise en marc
h
e rapide ...................................................................................... 23
Co
mmandes .......................................................................................................... 27
Usage recommand
é
............................................................................................ 3
0
S
pé
cifications ...................................................................................................... 32
Fonct
i
ons ............................................................................................................. 34
D
é
pannage ............................................................................................................ 35
R
éfé
rences ........................................................................................................... 36
Ga
r
antie limitée .................................................................................................. 3
7
TCO ‘99 .................................................................................................................. 38
Index
1-3
1
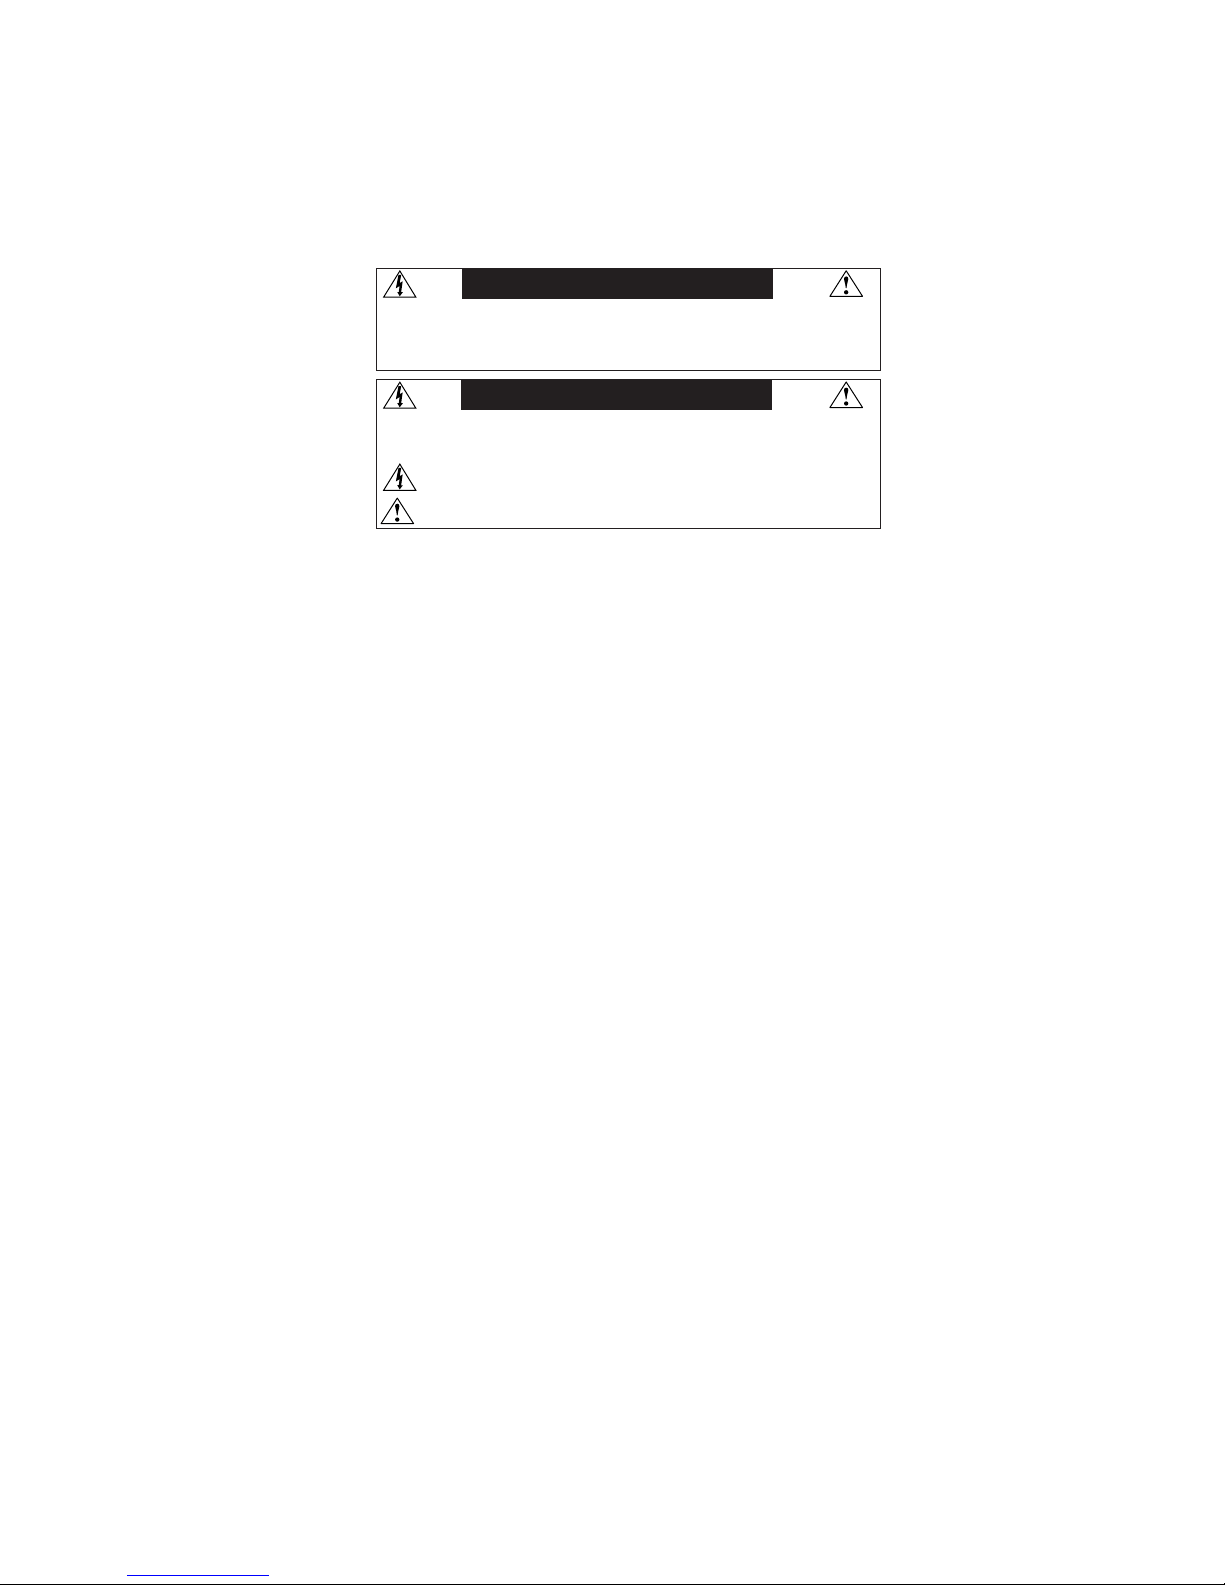
CAUTION: TO REDUCE THE RISK OF ELECTRIC SHOCK, MAKE SURE POWER CORD IS UNPLUGGED FROM
WALL SOCKET. TO FULLY DISENGAGE THE POWER TO THE UNIT, PLEASE DISCONNECT THE POWER
CORD FROM THE AC OUTLET. DO NOT REMOVE COVER (OR BACK). NO USER SERVICEABLE PARTS
INSIDE. REFER SERVICING TO QUALIFIED SERVICE PERSONNEL.
This
symbol warns user that uninsulated voltage within the unit may have sufficient magnitude to cause
electric shock. Therefore, it is dangerous to make any kind of contact with any part inside this unit.
This symbol alerts the user that important literature concerning the operation and maintenance of this
unit has been included. Therefore, it should be read carefully in order to avoid any problems.
WARNING
CAUTION
Canadian Department of Communications Compliance Statement
DOC: This Class B digital apparatus meets all requirements of the Canadian
Interference-Causing Equipment Regulations.
C-UL: Bears the C-UL Mark and is in compliance with Canadian Safety Regulations
according to
CAN/CSA
C22.2 No. 60950.
FCC Information
1.
Use the attached specified cables with the
AccuSync LCD51V (L152R5) or AccuSync
LCD71V (L172R6)
color monitor so as not to interfere with radio and television reception.
(1)
Please use the supplied power cord or equivalent to ensure FCC compliance.
(2) Please use the supplied shielded video signal cable.
Use of other cables and adapters may cause interference with radio and
television reception.
2.
This equipment has been tested and found to comply with the limits for a Class B digital
device, pursuant to part 15 of the FCC Rules. These limits are designed to provide
reasonable protection against harmful interference in a residential installation. This
equipment generates, uses, and can radiate radio frequency energy, and, if not installed
and used in accordance with the instructions, may cause harmful interference to radio
communications. However, there is no guarantee that interference will not occur in a
particular installation. If this equipment does cause harmful interference to radio or
television reception, which can be determined by turning the equipment off and on, the user
is encouraged to try to correct the interference by one or more of the following measures:
• Reorient or relocate the receiving antenna.
• Increase the separation between the equipment and receiver.
• Connect the equipment into an outlet on a circuit different from that to which the receiver
is connected.
• Consult your dealer or an experienced radio/TV technician for help.
Changes or modifications not expressly approved by the party responsible for
compliance could void the user’s authority to operate the equipment.
If necessary, the user should contact the dealer or an experienced radio/television technician
for additional suggestions. The user may find the following booklet, prepared by the Federal
Communications Commission, helpful: ”How to Identify and Resolve Radio-TV Interference
Problems.“ This booklet is available from the U.S. Government Printing Office, Washington,
D.C., 20402, Stock No. 004-000-00345-4.
TO PREVENT FIRE OR SHOCK HAZARDS, DO NOT EXPOSE THIS UNIT TO RAIN OR MOISTURE. ALSO, DO NOT USE
THIS UNIT'S POLARIZED PLUG WITH AN EXTENSION CORD RECEPTACLE OR OTHER OUTLETS UNLESS THE PRONGS
CAN BE FULLY INSERTED.
REFRAIN FROM OPENING THE CABINET AS THERE ARE HIGH VOLTAGE COMPONENTS INSIDE. REFER SERVICING
TO QUALIFIED SERVICE PERSONNEL.
1-4
2
AccuSync LCD51V/LCD71V
Contents
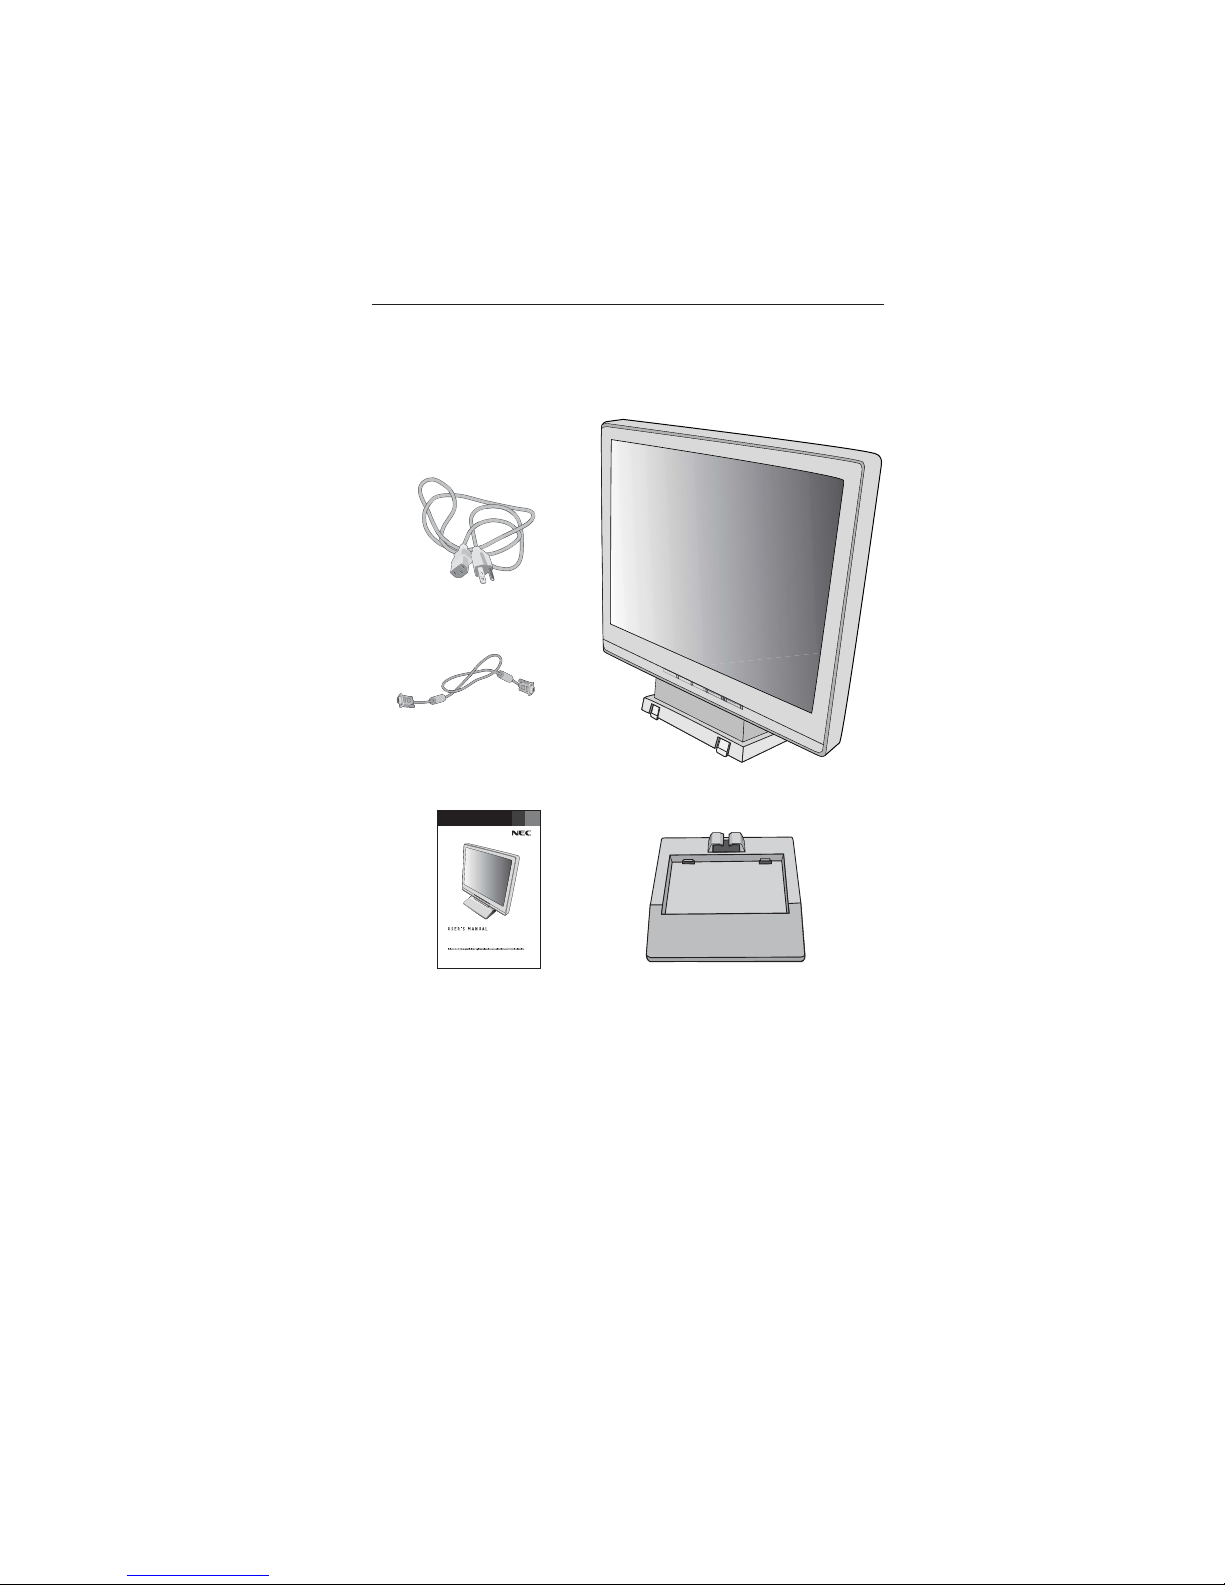
*Remember to save your original box and packing material to transport or ship the monitor.
Your new NEC AccuSync LCD monitor box* should contain the
following:
• AccuSync LCD monitor with tilt base
• Power Cord
• User ’s Manua
l
• Video Signal Cable
• Base stand
User’s Manual
Video Signal Cable
Power Cord
AccuSync LCD monitor (base st and not connected)
Base Stand

1-5
3
Quick Start
To attach the Base to the LCD Stand:
1. Insert the front of the LCD Stand into the holes in the front of the Base.
2. Next, position the locking tabs on the back side of the LCD Stand with the holes on the
Base. Lower the Stand until locking tabs are secure.
To attach the AccuSync LCD monitor to your system, follow these instructions:
1. Turn off the power to your computer.
2. For the PC with Analog output: Connect the 15-pin mini D-SUB signal cable to the
connector of the display card in your system (Figure A.1). Tighten all screws.
For the MAC: Connect the AccuSync Macintosh cable adapter to the computer, then
attach the 15-pin mini D-SUB signal cable to the AccuSync Macintosh cable adapter
(Figure A.2). Tighten all screws.
NOTE: To obtain the AccuSync Macintosh cable adapter, call NEC-Mitsubishi Electronics
Display of America, Inc. at (800) 632-4662.
3. Connect the 15-pin mini D-SUB of the video signal cable to the appropriate connector
on the back of the monitor (Figure B.1).
4. Connect one end of the power cord to the LCD and the other end to the power outlet.
Place the video signal cable and power cord between the cable holder (Figure B.1).
NOTE: Adjust the position of cables between the holder to avoid damage.
NOTE: If you use this monitor at AC125-240V, please refer to Recommended Use
section of this manual for proper selection of power cord.
5. Turn on the monitor with the front power button and the computer. (Figure C.1)
6. No-touch Auto Adjust automatically adjusts the monitor to optimal settings upon initial
setup for most timings. For further adjustments, use the following OSM
®
controls:
• Auto Adjust Contrast
• Auto Adjust
Refer to the Controls section of this User’s Manual for a full description of these
OSM controls.
NOTE: For download information on the Windows® 95/98/Me/2000/XP INF file for your AccuSync
monitor, refer to the References section of this User’s Manual.
NOTE: If you have any problems, please refer to the Troubleshooting section of this User’s Manual.
2
1
Locking Tabs
Front Base
Stand
Base

1-6
4
Quick Start
–continued
Note: Some Macintosh
systems do not require a
MacintoshCable Adapter
Figure A.1
Figure C.1
Figure A.2
Macintosh Cable
Adapter
(not included)
Figure B.1
Input (D-Sub)
Cable holder
Power button
1-7
5
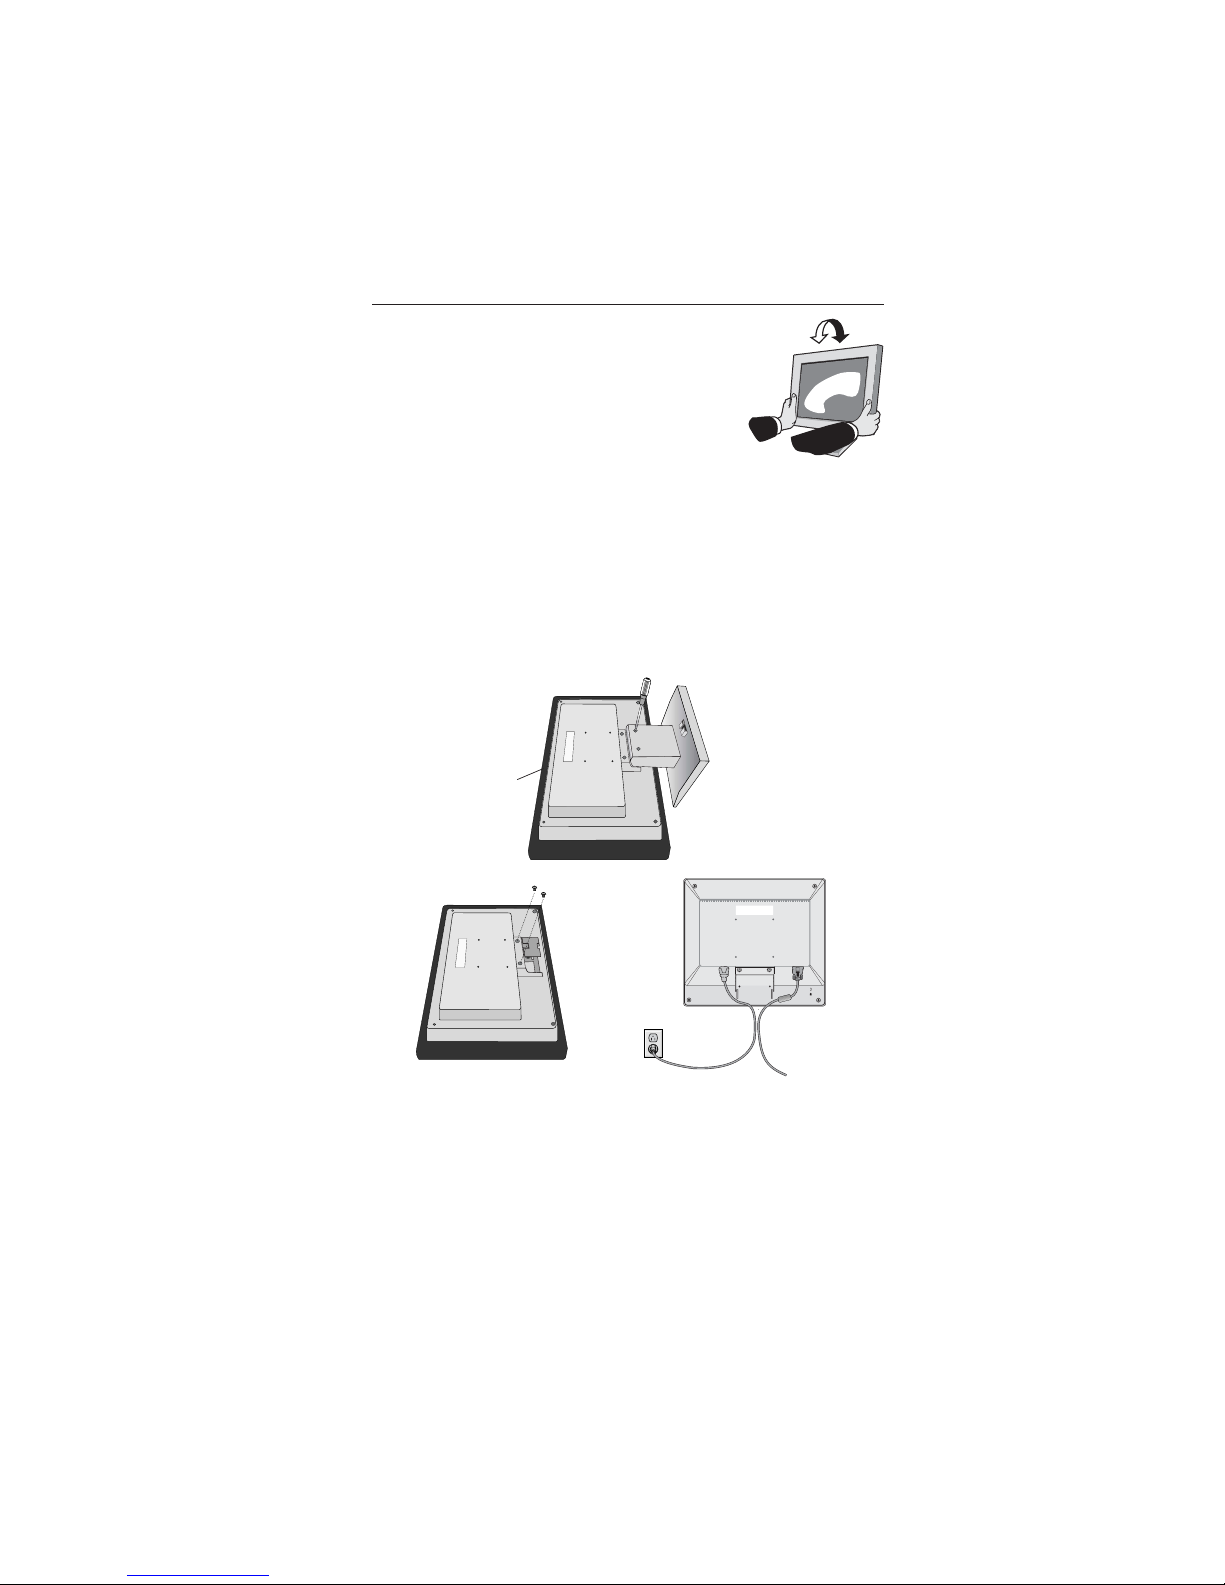
Tilt
Grasp both sides of the monitor screen with your hands
and adjust the tilt as desired (Figure TS.1).
Remove Monitor Stand for Mounting
To prepare the monitor for alternate mounting purposes:
1.Disconnect all cables.
2.Place monitor face down on a nonabrasive surface (Figure R.1).
3.Remove the 2 screws on the stand and lift off the stand (Figure R.1).
4.Remove the 4 screws connecting the monitor to the stand and remove the
metal plate (Figure R.2).
The monitor is now ready for mounting in an alternate manner.
5.
Connect the AC cord and signal cable to the back of the monitor (Figure R.3).
6. Reverse this process to reattach stand.
NOTE: Use only VESA-compatible alternative mounting method.
NOTE: Handle with care when removing monitor stand.
Quick Start
–continued
Figure TS.1
Figure R.2
Figure R.1
non-abrasive
surface
Figure R.3
 Loading...