

Page 1
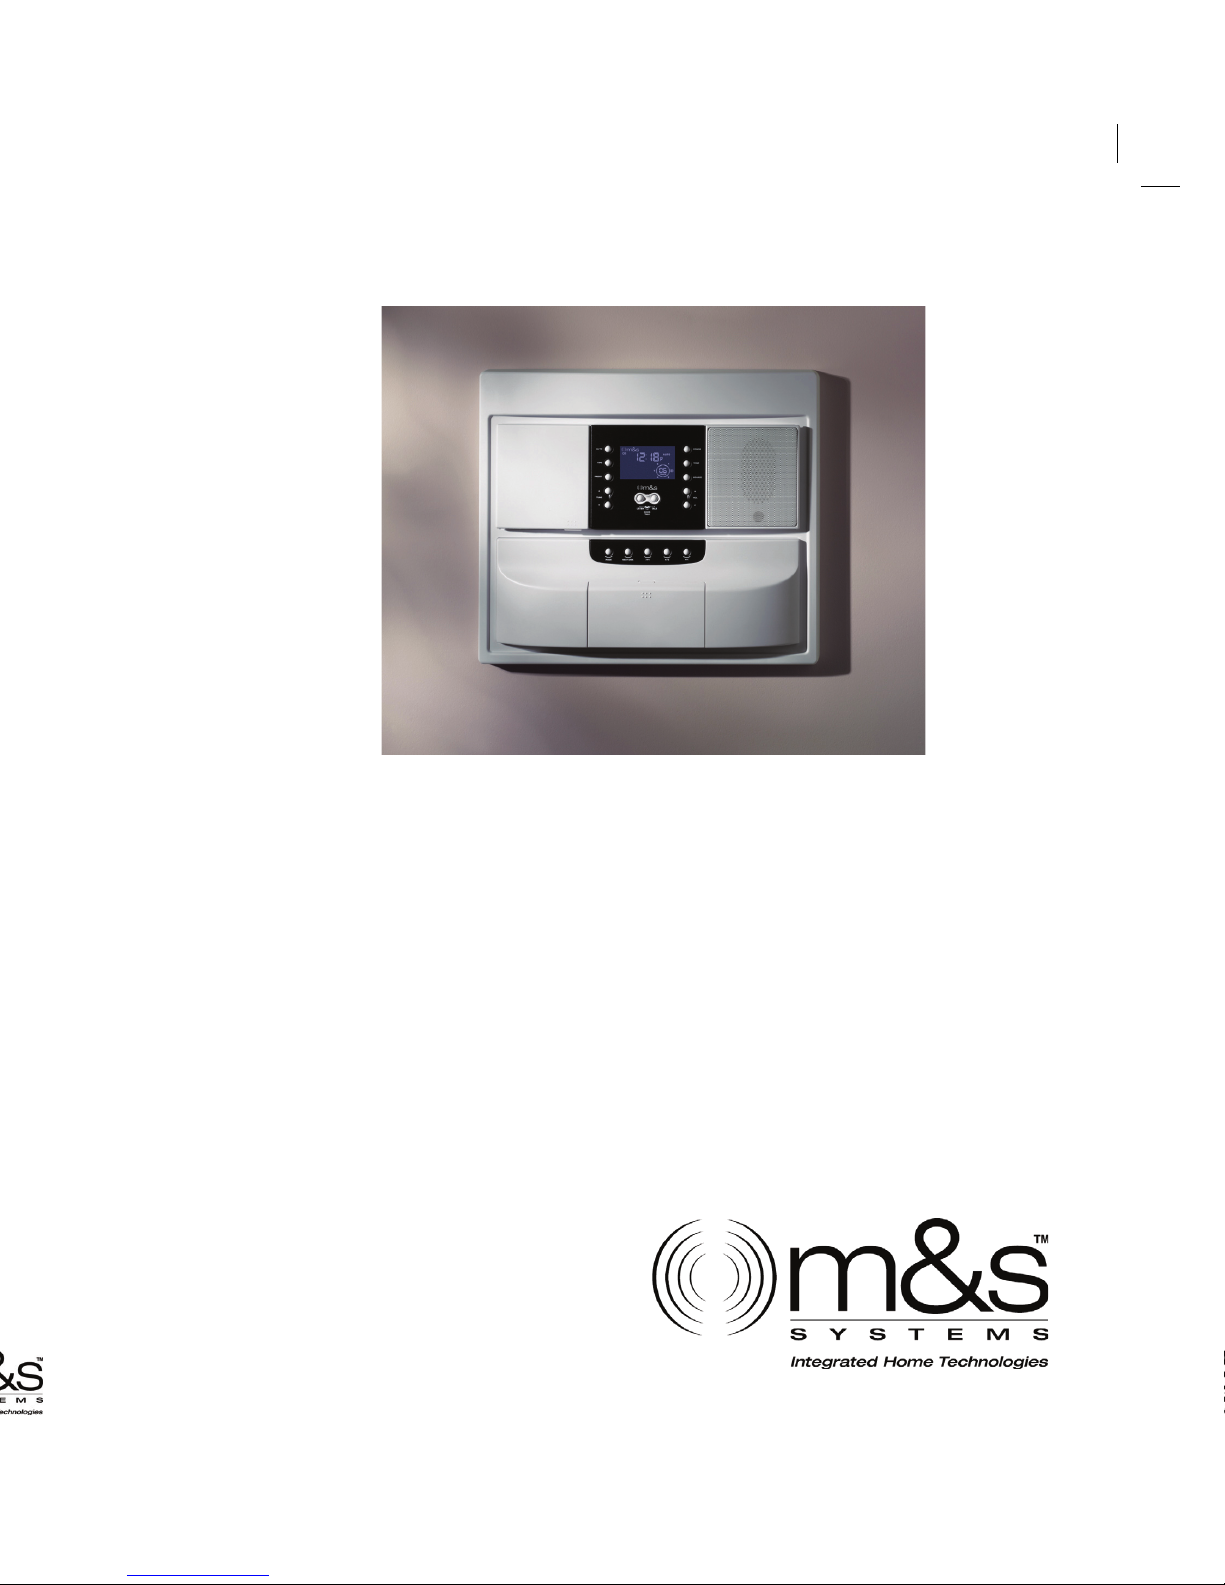
dmcRAC Antenna Upgrade Kit
Installation Instructions
Page 2
dmcRAC – Antenna Upgrade Kit
www.msststems.com | 800.421.1587 |
Page 2
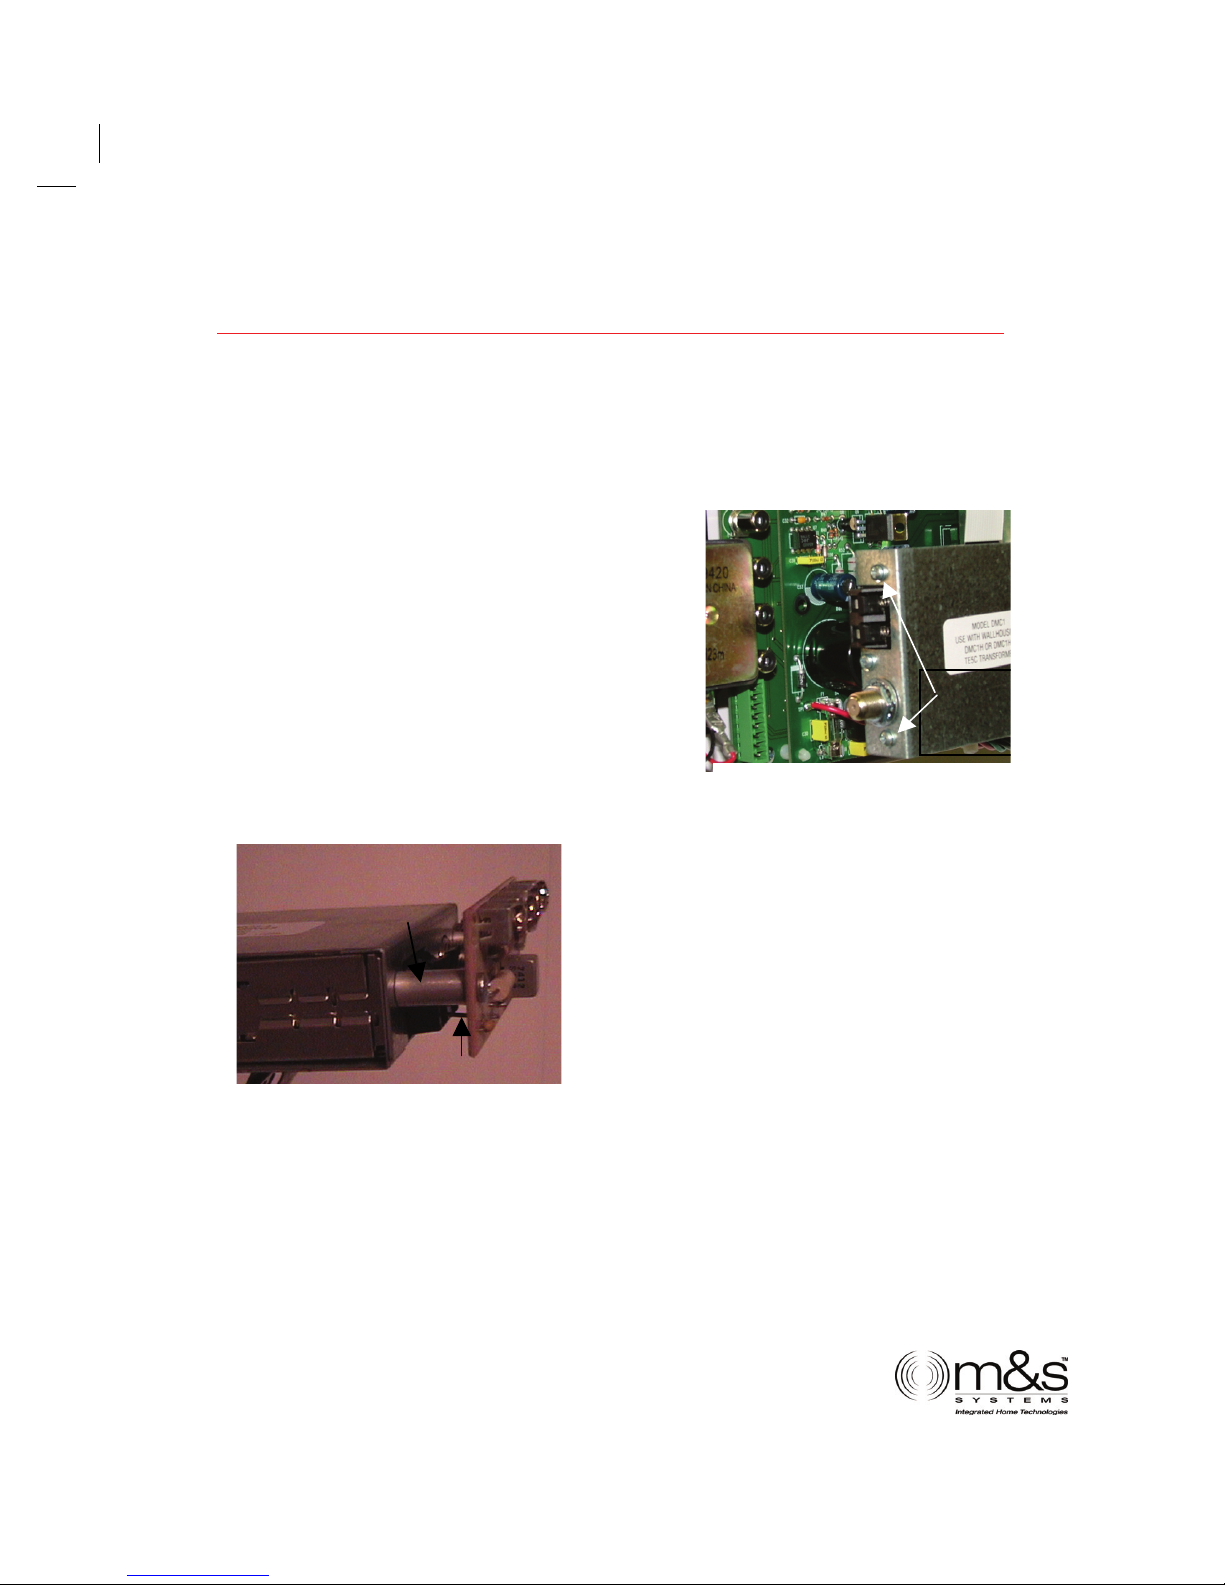
Remove
thes e
screws
Figure 1 - dmcRAC installation
Figure 2 - Installed dmcRAC
Lock Washer
Spacer
Installing the dmcRAC
The dmcRAC is only required when using a dmc1 master for a retrofit
application. The dmcRAC is not required on the dmc3-4 retrofit master.
Tools required:
• #1 Phillips screwdriver
To install the dmcRAC you must first
remove two screws from the dmc1 master
on either side of the antenna connections.
Refer to Figure 1 for screw locations.
Then place the dmcRAC board over the AM
and FM antenna positions lining the
connectors up with the antenna inputs.
Make sure to push in the antenna tabs
while inserting the AM connections. Once
the connectors are aligned push the
antenna board into place.
After the antenna board is in position,
use the enclosed screws, spacer and
washer to connect the board. Position the
lock washer on the spacer and insert
between the antenna board and the open
screw hole on the dmc1. Make sure the
lock washer is between the board the
spacer. Use the enclosed screw to fasten
the spacer in place. Repeat with both
sides of the dmcRAC board. Refer to
Figure 2 for completed board installation.
Page 3

dmcRAC – Antenna Upgrade Kit
www.mssystems.com | 800.421.1587 |
Page 3
Connecting the Antenna
Separate the intercom cables from the antenna leads, if grouped together
the intercom cables can shield the antenna leads resulting in poor radio
reception. Keep the antenna leads away from metal ductwork and
aluminum backed insulation. These can also shield the antenna leads.
The number and style of antenna leads will vary based on the intercom
system being replaced. The dmc3-4 system is designed to use the
existing antenna.
Follow the steps below to attach a NuTone 300 Ohm twin lead antenna to
the dmc3-4.
1. If the antenna has a plug on the end, cut the plug off
2. Strip the 2 wire ends
3. Connect the wire ends to terminal S1 and S2 on the antenna board
4. Connect a bare jumper wire (a 22 gauge speaker wire works well)
between the S3 and S4 terminals.
Follow the steps below to attach a separate AM/FM antenna system with
300 Ohm FM twin lead and orange AM antenna wire:
1. Connect the FM twin leads to terminal S1 and S2 on the board
2. Connect the AM antenna (orange wire) to terminal S4
3. Terminal S3 is not used in this configuration
Follow the steps below to connect a single orange wire antenna system:
1. Connect the orange wire to either S1 or S2. Note do not connect
the wire to both S1 and S2 doing this will short out the FM antenna
signal.
2. Connect a bare jumper wire (a 22 gauge speaker wire works well)
between the S3 and S4 terminals.
Page 4

dmcRAC – Antenna Upgrade Kit
www.mssystems.com | 800.421.1587 |
Page 4
M&S Systems 2-Year Warranty
M&S Systems warrants its products to be free of defects for 2 years. Except for
the AirVac Gold power units. The warranty period begins on either (a) the date
of purchase or installation date of this product or (b) the date of closing on a
new residence in which this product was originally installed. The warranty
extends to the original user of the product and to each subsequent owner of the
product during the term of the warranty. M&S will repair or replace, at its
option, parts and materials at no charge. Parts supplied under this warranty may
be new or rebuilt at the option of M&S Systems.
If during the warranty period the product appears to have a defect, please call
our toll free service number (800-421-1587) prior to dismantling. Dismantling
the product prior to calling our service number may void the warranty. Before
returning any product to M&S Systems, obtain a Return Authorization Number
(RAN) from our service department. M&S Systems will return the repaired
product freight prepaid within the continental United States. ANY PRODUCT
RETURNED TO M&S SYSTEMS WITHOUT A RAN NUMBER WILL BE REFUSED.
This limited warranty is in lieu of any other warranties, express or implied,
including any implied warranty of merchantability or fitness for a particular
purpose or otherwise, and of any other obligations or liability on the seller’s
part. This limited warranty does not cover damage caused by improper
installation, acts of God, criminal acts, the violation of applicable building or
electrical codes or the use of non-M&S wire, cable (excluding CAT5 and RG-6) or
wall housings.
Under no circumstances shall M&S Systems be liable for consequential,
incidental or special damages arising in connection with use, or inability to use
this product. In no event shall M&S Systems liability hereunder exceed the cost
of the product covered hereby. No person is authorized to assume for us or
obligate us for any other liability in connection with the sale of this product.
Some states do not allow the exclusion or limitation of consequential, incidental
or special damages, so the above limitation or exclusion may not apply to you.
This limited warranty gives you specific legal rights, and you may also have
other rights, which vary from state to state.
116210
C
 Loading...