

Page 1
3
Getting StartedGetting Started
Quick InstallationQuick Installation
4
Headquarters
∙
HDMI 1.4a
Integrated high speed HDMI 1.4a output with 1080p 120 Hz 3D Stereoscopic support, and 4k resolution
display support.
∙
Dolby® TrueHD and DTS-HD Master Audio™ Support
Support of content protected, high bandwidth, 7.1 channels of surround sound over HDMI and DisplayPort.
∙
AMD App Acceleration
AMD App Acceleration creates a “co-processing” environment in which the compute processing potential in
your AMD Radeon™ graphics processor (GPU) works together with the system’s central processor (CPU),
to dramatically accelerate enabled applications.
∙
AMD PowerTune technology
Maximizes performance under load conditions by dynamically increasing the GPU engine clock to take
GRAPHICS CARD
GRAPHICS CARD
R9 290X
R9 290X
Lightning
Lightning
Part NO: G52-V3072X1
Part NO: G52-V3072X1
advantage of unused TDP headroom. Also allows users to configure their own TDP limit, within a provided
range, for even higher performance or more power efficiency.
∙
PCI Express 3.0
Delivers double the bandwidth per lane of PCIe Gen 2 for faster GPU to CPU communication (up to 15.75
GB/sec in each direction).
∙
AMD CrossFire™ technology
Multi-GPU support offers superior scalability.
∙
Advanced GDDR5 Memory Technology
GDDR5 memory provides the highest available memory bandwidth of any memory technology today,
enabling higher GPU performance.
∙
Enhanced Internet Applications
Accelerate rendering performance with the latest web browsers (IE10, Firefox 6) and programming
interfaces (Direct2D, HTML5, WebGL, Flash 11 / Molehill).
∙
Microsoft Windows 8.1 Support
Comprehensive OS support including Windows XP, Windows Vista, Windows 7, Windows 8 and the very
latest Windows 8.1 functionality and Driver support.
∙
AMD TrueAudio Technology
A dedicated audio processor with support for headset multi-channel virtualization, reverb and
decode/encode.
Hardware
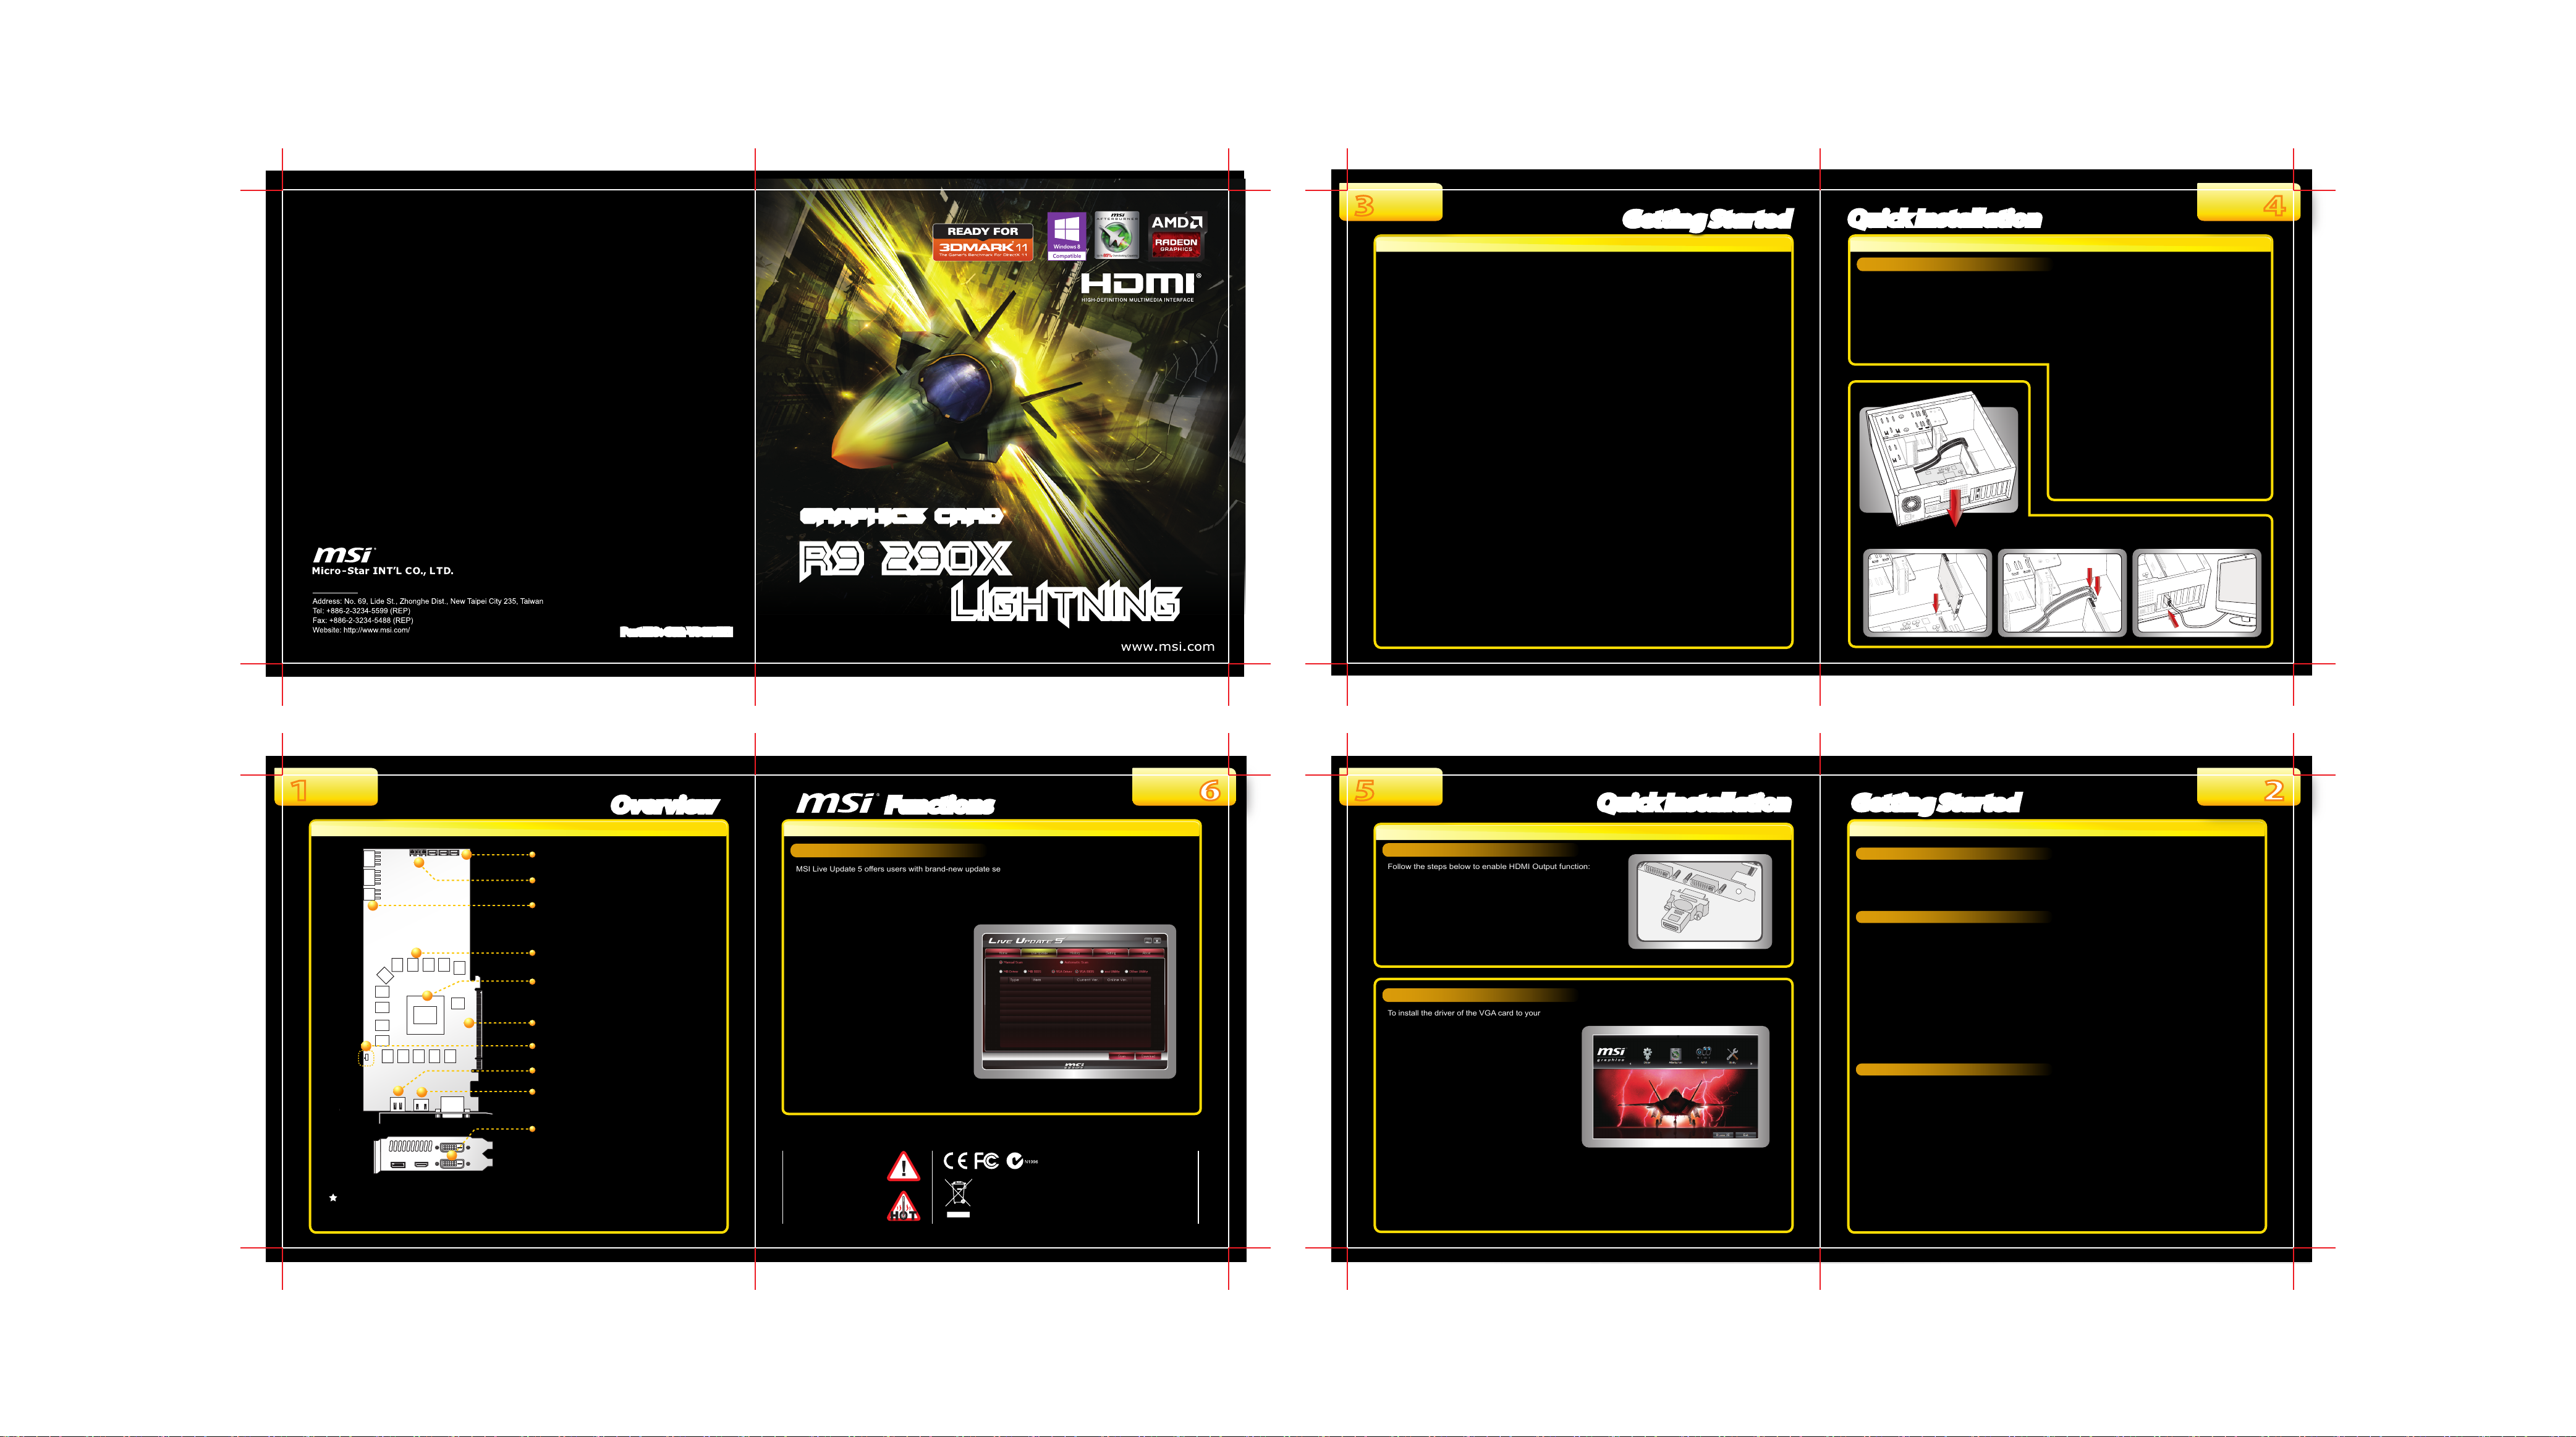
Follow the instructions below to install the VGA card:
1. Remove the computer case.
2. Locate the expansion slot on your mainboard.
Warning: Inserting the VGA card into a wrong
slot may damage your card (refer to your
mainboard manual for further Information).
15V
1
Installing the VGA card... Attaching the power cable... Connecting the monitor...
3. Put the card directly over the expansion slot and
press one end of the card into the slot first.
Gently but firmly press the other end until the card is
fully seated in the slot.
4. Secure the card with a bracket screw.
5. Attach the power cable of the power supply with
recommended wattage to the VGA card, if necessary.
6. Install all other cards and devices and connect all the
cables, and then re-install the computer case.
7. Connect the monitor. Now, you are ready to install
the driver and software on your computer.
Fan Connector
V-Check Points
Power Connectors
4G GDDR5 memory
AMD Radeon
PCI Express Interface
BIOS Switch
1: STD BIOS / 2: LN2 BIOS
Display Port
HDMI Port
DVI-D Ports
- HDMI supported
- HDCP supported
- Dual-link DVI output supported
The VGA card shown here is for reference only, and may vary from the actual card.
For further information, please visit MSI website at www.msi.com
TM
OverviewOverview
R9 290X
FunctionsFunctions
LIVE UPDATE 5
MSI Live Update 5 offers users with brand-new update service experience, which can significantly save your
time while searching files. Live Update 5 is capable to automatically analyze and list drivers, BIOS, and
utilities you need. With the easy-to-use updating approaches, you can increase the performance of your
system easily and quickly. Follow the instructions below, with a few mouse clicks, you can acquire the
related files for the system updating.
1. Insert the driver disk into the optical
device drive, and start the Setup program.
2. Click the Utility tab on the setup screen.
3. Click the MSI Live Update 5.
Follow the on-screen nstructions to
complete the installation.
4. Launch MSI Live Update utility to proceed
the updating function.
WARNING!!
DO NOT touch the cooling
system since it may produce a
certain heat while processing
tasks.
CAUTION!!
Do not force the GPU cooler
against the fragile GPU to avoid
damage to the GPU.
Under the European Union ("EU") Directive on Waste Electrical and Electronic
Equipment, Directive 2002/96/EC, which takes effect on August 13, 2005,
products of "electrical and electronic equipment" cannot be discarded as
municipal waste anymore and manufacturers of covered electronic equipment
will be obligated to take back such products at the end of their useful life.
* All trademarks used in this manual are the sole property of their respective owners.
6
5
Quick InstallationQuick Installation
Enabling HDMI Output
Follow the steps below to enable HDMI Output function:
1. Find the DVI-to-HDMI adapter that comes with the package,
if provided. Consult your dealer to purchase the adapter if
it is not provided.
2. Attach the DVI-to-HDMI adapter to the DVI connector.
3. Ensure that the adapter is firmly installed.
Software
To install the driver of the VGA card to your
computer, please follow the steps below:
1. Turn on the computer.
2. Insert the driver disk into the optical device drive.
The AUTORUN program will start the Setup
program, and show the setup screen as shown
on the right.
3. Click the Driver tag, and follow the on-screen
instructions to complete the installation.
4. Once the installation is completed, restart the
computer as instructed.
Tip: If, on your computer, the AUTORUN program does not execute automatically, please 1) enable the
optical device drive auto-detect function from the Control Panel; or 2) find and run the setup.exe file manually
from the driver disk.
Getting StartedGetting Started
Unpacking
Please check out the following items to make sure that you get the complete product:
∙ VGA card
∙ Driver disk, documentation, and accessories, if provided.
Consult the dealer immediately if the package is not completed.
System Requirements
To install the VGA card, your computer system needs to meet the following requirements:
∙ PCI Express
∙ 500W (or greater) power supply with two 75W 6-pin PCI Express power connectors recommended.
600W power supply (or greater) with four 75W 6-pin PCI Express power connectors recommended for AMD
CrossFire™ technology.
∙ Certified power supplies are recommended.
Refer to http://ati.amd.com/certifiedPSU for a list of Certified products
∙ Minimum 4GB of system memory.
8GB (or more) of system memory recommended for AMD CrossFire™ technology.
∙ CD-ROM / DVD drive / Blu-ray
∙ Microsoft Window 8 or later, Window 7, Window Vista, or Windows XP Operating system (64-bit operating
system highly recommended)
∙ Visit MSI website for further information of operating system support.
Card Features
∙
Microsoft DirectX® 11.2 Support
AMD RADEON™ R9 Series Graphics fully support Microsoft DirectX 11.2.
∙
GCN Architecture
GCN Architecture for AMD’s unified graphics processing and compute cores allows them to achieve higher
utilization for improved performance and efficiency.
∙
AMD Eyefinity Technology
Run multiple displays from a single graphics board and expand your gaming field of view across all displays.
∙
AMD HD3D Technology
Supports the latest stereoscopic 3D content and display technologies.
∙
Display Flexibility
Enjoy a full range of display options natively on the board, including dual-link DVI-D, DisplayPort, and HDMI.
DisplayPort 1.2 with MST allows multiple high resolution monitors to be connected to a single display output
through an external hub.
®
based PC is requird with X16 lane granphics slot available on the motherboard.
TM
drive is required for driver installation.
21
 Loading...