


MSB Technology DVD Audio Player User Manual
Super DVD Audio Player
Users Manual
It’s a complete player, processor and preamp that plays everything!
Rev 1 Draft (5/03)
1

Contents
Simple Setup and Quick Start................ 5
Unique Features and Unprecedented
Performance .......................................... 6
The Preamp Upgrade......................................................................................................................................... 6
Burn-In ................................................................................................................................................................ 6
Features .................................................... 7
IEEE 1394 and MSB Network digital interface............................................................................................ 7
Noise Shaped Video (NSV)* .............................................................................................................................. 7
Built-in Dolby* Digital and DTS* decoding with multichannel outputs .................................................. 7
24 bit 192 kHz Upsampling ............................................................................................................................... 7
Progressive scan ............................................................................................................................................. 7
Super Fine Focus digital filter ........................................................................................................................ 7
MP3 compatibility ............................................................................................................................................. 7
Graphical on-screen displays ........................................................................................................................ 7
Whats in the box .............................................................................................................................................. 7
Putting the batteries in the remote control ...................................................................................................
7
Using the remote controls .............................................................................................................................. 8
Disc/Content Format Playback Compatibility............................................................................................. 8
DVD-Video regions............................................................................................................................................ 9
System Design and Connections ........ 10
Stand alone system ......................................................................................................................................... 10
Enhanced Audio system ................................................................................................................................. 10
Add to a complex home theater ..................................................................................................................... 11
Enhanced Home Theater Design ................................................................................................................... 11
Rear Panel Details ................................ 12
Inputs ................................................................................................................................................................ 12
Video Outputs .................................................................................................................................................. 12
Analog Audio Outputs .................................................................................................................................... 13
Digital Audio Outputs ..................................................................................................................................... 13
The MSB Network ............................................................................................................................................ 13
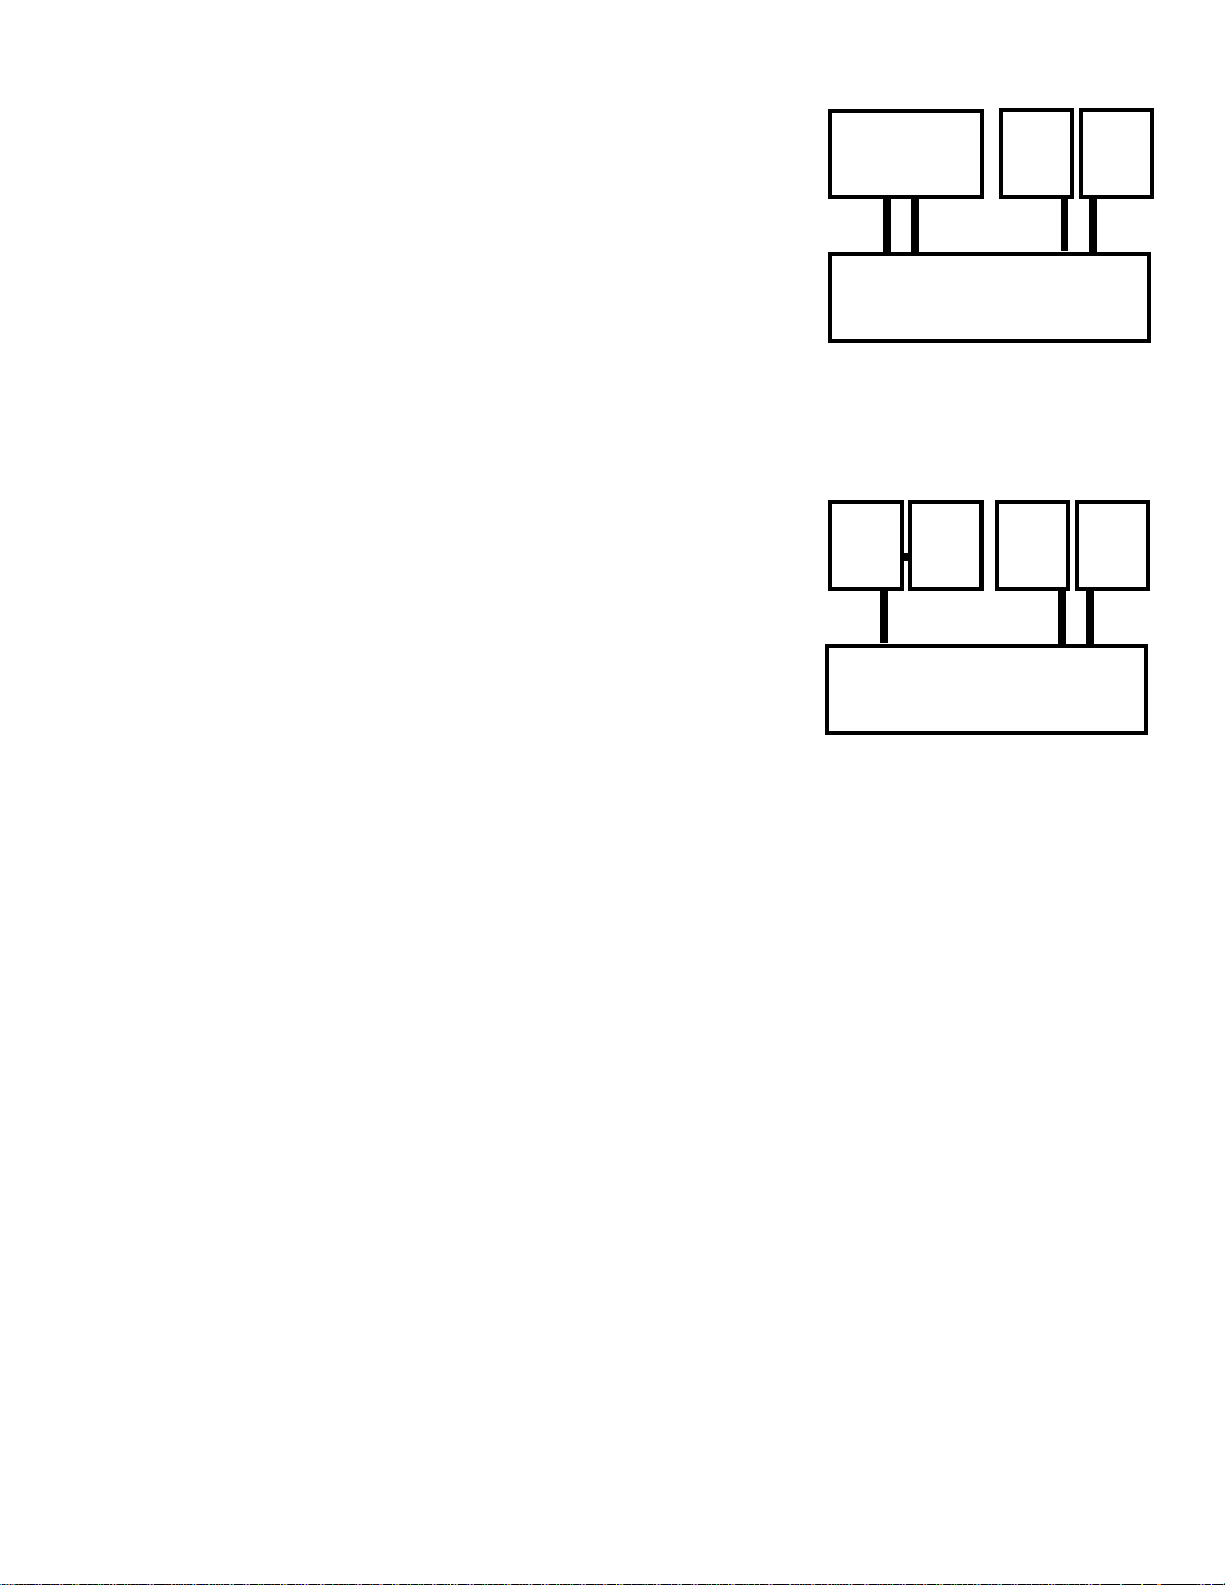
The IEEE1394 Network................................................................................................................................... 14
Creating an IEEE1394 network ................................................................................................................... 14
Front Panel Controls .......................... 15
Display...................................................... 15
Remote controls ................................... 16
Simple Volume Remote .................................................................................................................................... 16
Complete Remote............................................................................................................................................. 16
Player Setup ........................................... 18
Eight Channel Audio Configuration . 18
Setup Operations ............................................................................................................................................ 18
Configuration Options .................................................................................................................................. 18
2

Opening the Player ......................................................................................................................................... 18
Center Channel Downmixing ....................................................................................................................... 20
Master Slave MODE ........................................................................................................................................ 21
Player Settings using the On Screen
Menus ..................................................... 22
Switching on .................................................................................................................................................... 22
Using the on-screen displays ........................................................................................................................ 22
Setting up with the Setup Navigator ............................................................................................................. 22
Playing discs ........................................... 23
Basic playback controls ...............................................................................................................................23
Front panel and small remote controls .................................................................................................... 23
DVD disc menus ............................................................................................................................................... 23
........................................................................................................................................................................... 24
FAQ .................................................................................................................................................................... 24
Playing Discs........................................... 25
Introduction ....................................................................................................................................................25
Using the Disc Navigator to browse the contents of a disc ..................................................................... 25
Scanning discs ................................................................................................................................................ 25
Using the Multi Dial ........................................................................................................................................25
Playing in slow motion................................................................................................................................... 25
Frame advance/frame reverse.................................................................................................................... 26
Looping a section of a disc ............................................................................................................................ 26
Using repeat play ............................................................................................................................................ 26
Using random play.......................................................................................................................................... 26
Creating a program list ................................................................................................................................. 27
Editing a program list .................................................................................................................................... 27
Other functions available from the program menu .................................................................................. 27
Searching a disc ............................................................................................................................................. 28
Switching subtitles ........................................................................................................................................ 28
Switching DVD-Video audio language ......................................................................................................... 28
Switching DVD-RW audio channel .............................................................................................................. 28
Switching DVD-Audio audio channel ........................................................................................................... 28
Switching CD/MP3 audio channel .............................................................................................................. 28
Switching camera angles .............................................................................................................................. 28
Displaying disc information ......................................................................................................................... 28
The Audio Settings Menu ...................... 29
Audio DRC (Default setting: Off) .................................................................................................................. 29
Legato PRO (Default setting: Off) ................................................................................................................ 29
Hi-Bit (Default setting On) ............................................................................................................................. 29
Virtual Surround (Default setting Off) ..................................................................................................... 29
Channel Level (Default setting: Fix) ............................................................................................................ 29
Speaker Distance (Default setting: all speakers 10 ft./3 m) ................................................................... 29
The Video Settings Menu ...................... 29
Video Adjust (Default setting: Professional) ........................................................................................... 29
Creating your own presets ........................................................................................................................... 30
Using the Initial Settings menu ........... 30
Digital Audio Out settings ................... 30
Digital Out (Default setting: On) .................................................................................................................. 30
Dolby Digital Out (Default setting: Dolby Digital) .................................................................................... 31
DTS Out (Default setting: DTS>PCM) ............................................................................................................ 31
Linear PCM Out (Default setting: Down Sample On) ................................................................................ 31
3

MPEG Out (Default setting: MPEG>PCM) .................................................................................................... 31
Video Output settings ........................... 31
TV screen (Default setting: 16.9 (Wide)) ..................................................................................................... 31
Component Out (Default setting: Interlace) .............................................................................................. 31
S-Video Out (Default setting: S2) .................................................................................................................. 31
Still Picture (Default setting: Auto) ............................................................................................................ 31
Language settings................................. 31
Audio Language (Default setting: English) ................................................................................................ 32
Subtitle Language (Default setting: English) ............................................................................................ 32
Auto Language (Default setting: On) .......................................................................................................... 32
DVD Menu Language (Default setting: w/Subtitle Lang.) ....................................................................... 32
Subtitle Display (Default setting: On) ......................................................................................................... 32
Display settings ..................................... 32
OSD Language (Default setting: English) ................................................................................................... 32
On Screen Display (Default setting: On)..................................................................................................... 32
Angle Indicator (Default setting: On) ......................................................................................................... 32
Background (Default setting: Black).......................................................................................................... 32
Screen Saver (Default setting: Off) ............................................................................................................ 32
Options ..................................................... 32
Parental Lock (Default level: Off, Default password: none, Default country code: us (2119)) ........ 32
Bonus Group .................................................................................................................................................... 33
Auto Disc Menu (Default setting: On) .......................................................................................................... 33
Group Playback (Default setting: Single) .................................................................................................. 33
DVD Playback Mode (Default setting: DVD-Audio) ..................................................................................... 33
SACD Playback (Default setting: 2ch Area) .............................................................................................. 34
CD Playback (Default setting: PCM Playback).......................................................................................... 34
Speakers .................................................. 34
Audio Output Mode (Default: 2 Channel) .................................................................................................... 34
Speaker Installation (default: L/R: Large | C:Large | LS/RS: Large | SW: On).................................. 34
Speaker Distance (Default setting: all speakers 10 ft./3 m) .................................................................. 34
Channel Level (Default setting: Fix) ........................................................................................................... 34
IEEE1394 Setup ...................................... 35
Audio Out (Default setting: On) .................................................................................................................... 35
Connections Setup ......................................................................................................................................... 35
Auto Select Play (Default setting: Off) ...................................................................................................... 35
Additional Information ........................ 35
Handling discs ................................................................................................................................................ 35
Storing discs ................................................................................................................................................... 35
Discs to avoid ...................................................................................................................................................35
Screen sizes and disc formats ..................................................................................................................... 36
Widescreen TV users .................................................................................................................................... 36
Standard TV users ......................................................................................................................................... 36
Watching NTSC on a PAL TV ......................................................................................................................... 36
About the audio output settings .................................................................................................................... 36
Language code list ......................................................................................................................................... 37
Selecting languages using the language code list ................................................................................... 37
Glossary .......................................................................................................................................................... 37
Troubleshooting ............................................................................................................................................. 38
IEEE1394 troubleshooting ............................................................................................................................ 40
IEEE1394-related messages .......................................................................................................................... 40
Limited Warranty................................... 41
4
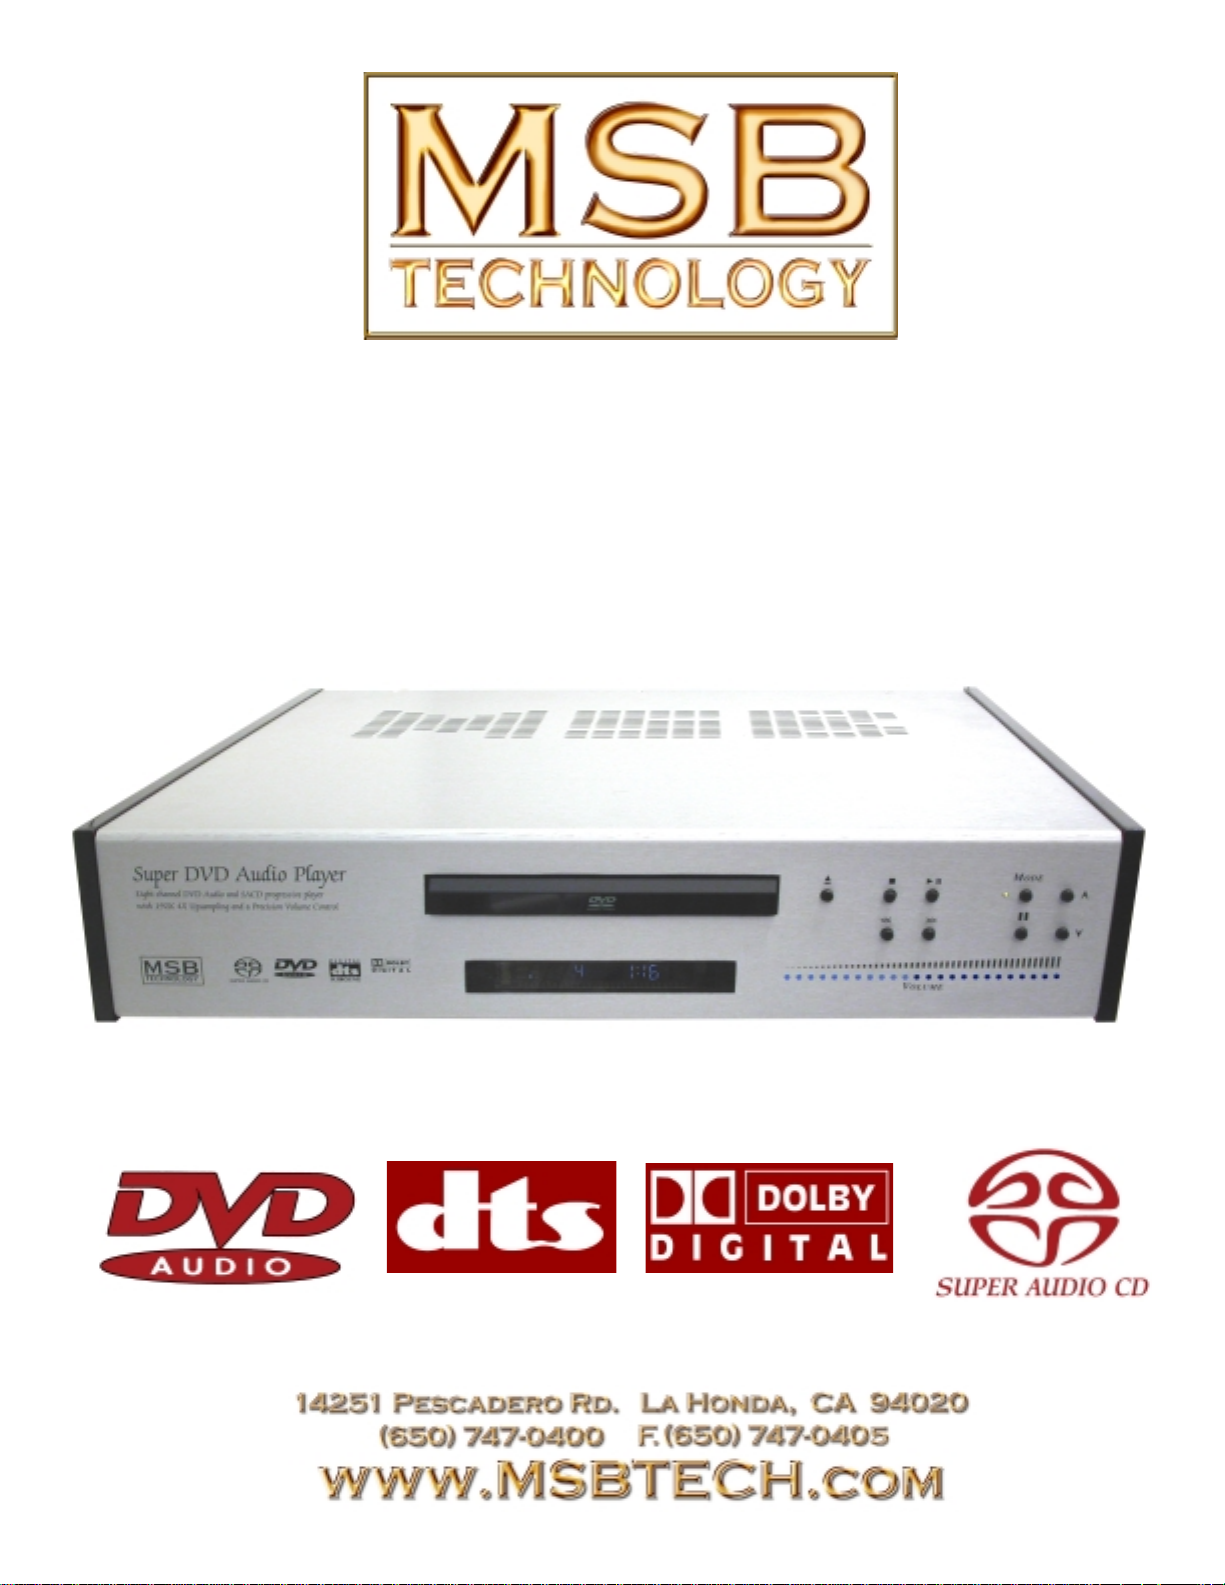
Simple Setup and Quick Start
Location - This unit produces a lot of heat. DO NOT STACK, Do
not place anything on top of this unit or put in closed cabinet!
Power - The SDVDA Player comes standard with an inboard
power supply. A fuse block inside the unit allows the unit to be
switched between 240V and 120V. Please check the back of the
unit before plugging the unit in. Unit is configured for 120V
unless otherwise marked. Leave the SDVDA powered on all the
time.
Connections - Connect the video outputs and audio outputs using
the row of 8 RCA connectors. Be sure to connect to the set
labeled output, not the set labeled input!
Very Important - Be sure the toggle switch on the back of the unit
is set to AUTO (the center position).
Existing
System
Display
AMPs
Best Installation - Connect this player
directly to your Amplifiers and Monitor
or Projector. It is a complete system. If
you already have a system, connect it to
Video
In
with Master Volume Controls and
Audio
In
Super DVD Audio Player
Trims
Video
Out
Audio
Out
the inputs of this player. Connect the line
level audio from your system to the 6 or 8 AUDIO INPUTS. Insert
new cables from AUDIO OUTPUTS to your AMPS. Connect
the video connections from your system to VIDEO INPUTS.
Insert new cables from VIDEO OUTPUTS to Projector or monitor.
To use the SDVDA Player - Insert disc and play. Adjust volume
with either remote. (Volume starts out low on power up)
To use your existing system - Turn SDVDA Player off using
remote. (Leave unit plugged in). Adjust system volume with
either remote. Leave existing system volume at line level (0db).
5
Super DVD Audio Player
Users Manual
Rev 1 (5/03)
Unique Features and Unprecedented Performance
MSB has been making high-end audio players for over 15 years. The latest is a new audio player that plays SACD and DVD Audio discs,
DTS CDs, CDs, MP3s and just about any disc sized music source. It has 24 bit 192k DACs, 192k MSB upsampling, MSB-built volume
controlled analog outputs with a pass-through, as well as all the latest digital outputs including Firewire (IEEE 1394), 24 bit 192k MSB
Network standard optical and coaxial outputs. It is the player for music lovers - enjoy the
music in every disc format.
Just for audiophiles?
Not a chance. Why should home theater enthusiasts compromise video performance for
great sound? The MSB Player features advanced progressive video with 108 MHz 12 bit
DACs. Video pass-throughs allow easy integration into your system. All decoding is internal
and our 8 channel audio system accommodates a wide range of advanced theater designs.
The strongest feature of this player is its unique ability to be integrated into the most
demanding systems.
In the most simple case, the player is a complete multi-channel system. Add amplifiers and
speakers and you have a full 8 channel surround system that will play back all the current
music and movie formats. It includes two remote controls, a simple one for volume and play and a complex one for programming and total
control.
A second application is as an upgrade product for an existing home theater. The Player
includes a master volume control and trims and has a complete audio and video pass-through.
This means it can be installed into any existing system with separate amplifiers (or integrated
system with external input) with no re-configuration or loss of features. You have just added
a player that will play almost anything, and a much higher quality volume control to your
system. Simple and fast with big results.
Another way to expand is to take advantage of the comprehensive 24 bit 192K digital audio
outputs. External DACs can be added for any channels and they can be played back through
a high-quality audiophile DAC and outboard volume control that can be slaved to the Players
volume control. For example, a high-end balanced DAC and volume control can be added to
the front channels for uncompromised audio only playback yet movies can be enjoyed without any system changes.
Super DVD Audio Player
with Master Volume Controls and
Existing
System
Video
In
with Master Volume Controls and
Audio
In
Super DVD Audio Player
Display
Video
Out
Trims
Display
Video
Out
Trims
AMPs
Audio
Out
AMPs
Audio
Out
The Preamp Upgrade
The Super DVD Audio Player has just one 8 channel analog input. It is designed to be the
last component in your system before the amplifiers. With its low impedance output it can
drive long interconnects and handle any type of amplifier input stage design with optimum
performance.
If you have a complex system with a preamp with many analog inputs, attach the outputs of
your preamp to the input on the SDVDA Player. Set your preamp to a volume that matches
the SDVDA output and use nothing but the SDVDA volume control in your system.
Burn-In
The concept of burn-in is little understood. Does it take your ears some time to get used to the incredibly detailed and life like sound of
an MSB product or is something actually changing? The feedback we receive leads us to recommend at least 100 hours of burn-in on the
DACs in this unit. Customers generally recommend one month.
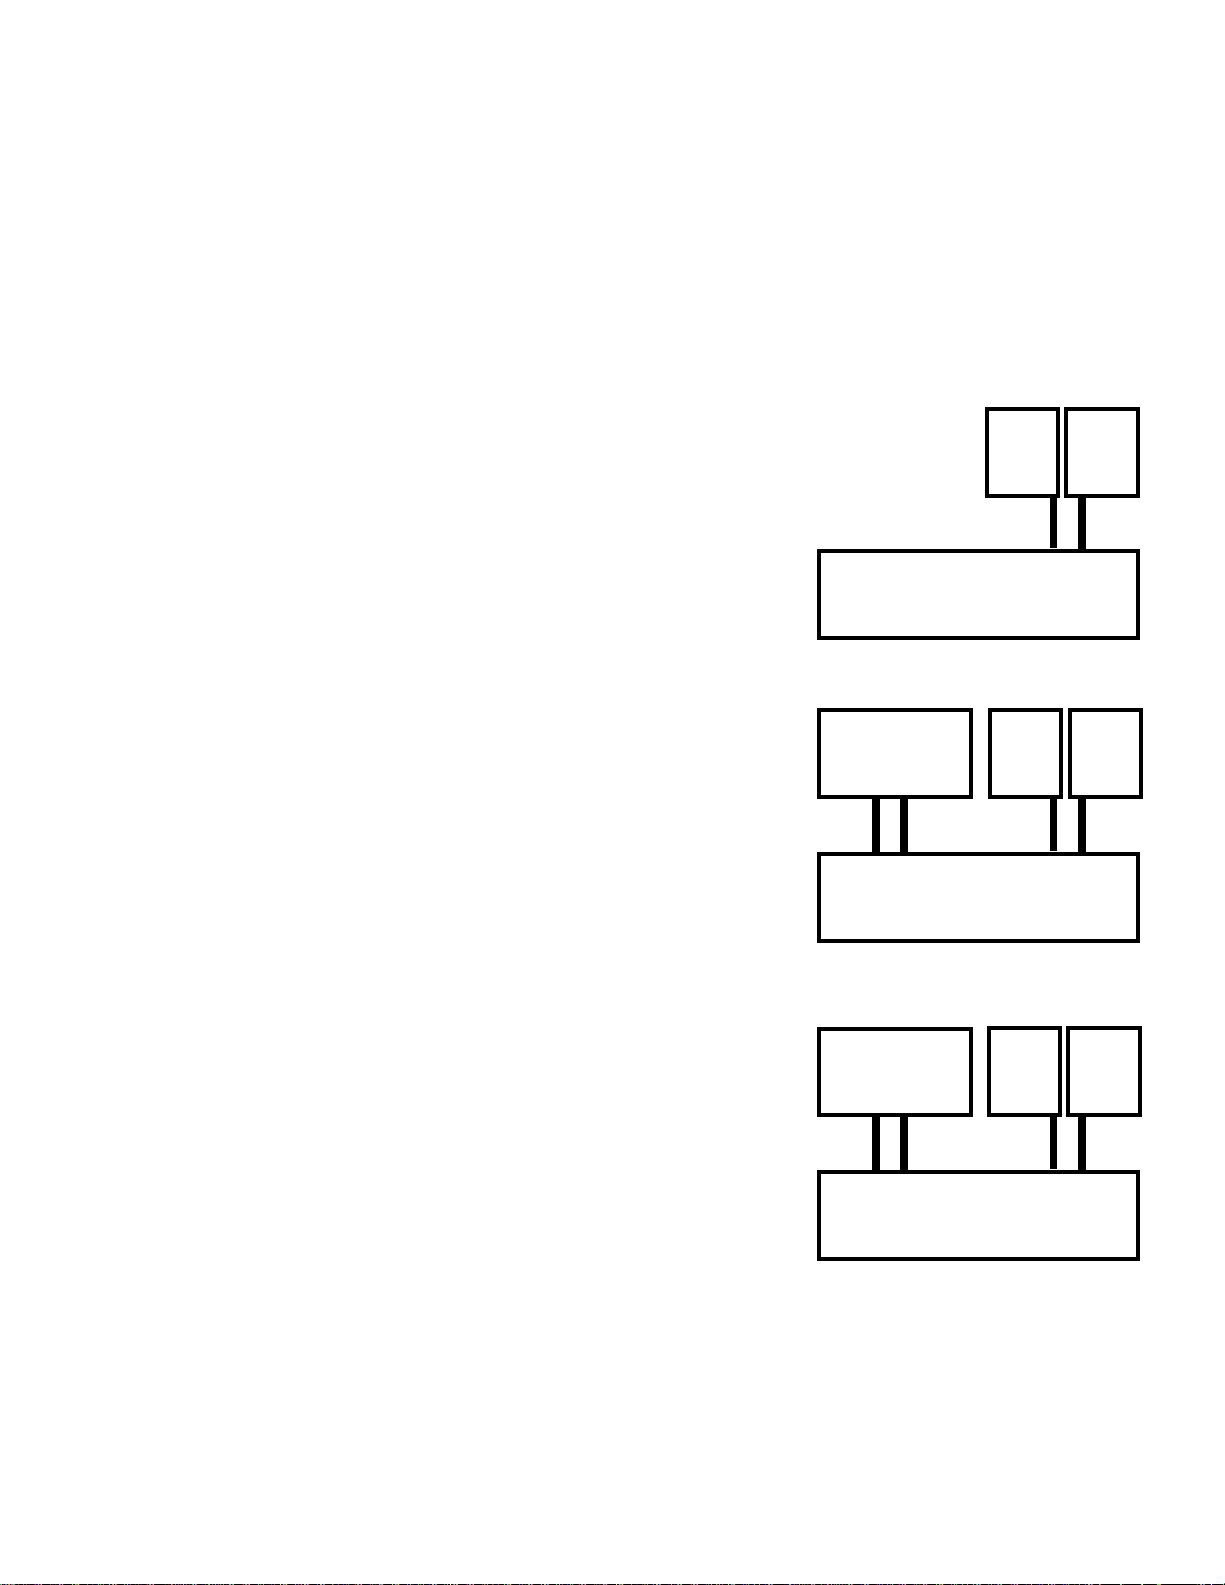
Outboard
DAC
192k
Digital
Output
with Master Volume Controls and
Audio
In
Super DVD Audio Player
Display
Video
Out
Trims
AMPs
Audio
Out
6

Features
IEEE 1394 and MSB Network digital interface
The IEEE 1394 and MSB Network interface makes it possible to connect this player to another product with a single cable and enjoy high
sampling rate (up to 192 kHz) PCM multichannel digital audio from DVD-Audio and SACD (IEEE only) discs , as well as digital audio
(upsampled to 192k on MSB Network only) from DVD-Video, CD, Video CD and MP3 discs.
In addition to simplified connection, jitterless audio is possible with these technologies when playing audio CDs, SACDs and DVD-Audio
discs.
Noise Shaped Video (NSV)*
Noise Shaped Video processing makes it possible to display video images at higher resolutions than would otherwise be possible using the
same video data converter. This is achieved using the digital processing techniques of oversampling to reduce high-frequency aliasing
and multi-bit Delta-Sigma processing (to reduce quantization noise). *Noise Shaped Video is a trademark of Analog Devices Inc.
DVD-Audio and SACD compatible
This player has separate signal paths and DACs for SACD and PCM Audio. This unit is capable of delivering exceptional sound quality
in terms of dynamic range, low-level resolution and high-frequency detail.
Built-in Dolby* Digital and DTS* decoding with multichannel outputs
This player features multichannel analog outputs for connection to your amplifier to give you stunning surround sound from Dolby
Digital, DTS and multichannel DVD-Audio discs. *Manufactured under license from Dolby Laboratories. “Dolby” and the double-D
symbol are trademarks of Dolby Laboratories. *“DTS” and “DTS Digital Surround” are registered trademarks of Digital Theater Systems,
Inc.
24 bit 192 kHz Upsampling
All of the audio channels output from both the volume controlled analog outputs and the MSB Network are upsampled to 24 bit, 192 kHz
resolution using MSB’s proven 4X upsampling.
Progressive scan
When connected to a progressive scan-compatible TV or monitor using the component
video outputs, you can enjoy extremely stable, flicker free images, with the same frame
refresh rate as the original movie.
Super Fine Focus digital filter
This improves the quality of the video output by reducing video noise and increasing the
horizontal resolution to 540 lines.
MP3 compatibility
This player is compatible with CD-R, CD-RW and CD-ROM discs that contain MP3 audio
tracks.
Graphical on-screen displays
Setting up and using your DVD player is made very easy using the graphical on-screen
displays.
What’s in the box
4X
UPSAMPLING
ON
SIGN WAV E (0DB, 19.95 KHZ TEST TONE
SCOPE SETTINGS 2 V/DIV, 10USEC/DIV)
Please confirm that the following accessories are in the box when you open it.
• 2 remote controls
• 2 AA batteries and 2 AAA batteries
• 4-pin IEEE cable
• Power cable
Putting the batteries in the remote control
7

1. Open the battery compartment cover on the back of the remote control.
2. Insert two AA/R6P batteries into the battery compartment following the indications (+, -) inside the compartment
of the larger remote. Install two AAA batteries in the smaller remote.
3. Close the cover.
Note, incorrect use of batteries can result in hazards such as leakage and bursting. Please observe the following:
· Don’t mix new and old batteries together.
· Don’t use different kinds of battery together—although they may look similar, different batteries may have
different voltages.
· Make sure that the plus and minus ends of each battery match the indications in the battery compartment.
· Remove batteries from equipment that isn’t going to be used for a month or more.
· When disposing of used batteries, please comply with governmental regulations or environmental public
instruction’s rules that apply in your country or area.
Using the remote controls
Two remotes are provided. A small simple remote has just limited functions aimed primarily at volume control and
is easy to use in the dark. The larger remote has all the Player setup and control functions. Keep in mind the
following when using the remote controls:
· Make sure that there are no obstacles between the remote and the remote sensor on
the unit.
· The remote has a range of about 23 ft. (7 meters)
· Remote operation may become unreliable if strong sunlight or
fluorescent light is shining on the unit’s remote sensor.
· Remote controllers for different devices can interfere with each other. Avoid
using remotes for other equipment located close to this unit.
Replace the batteries when you notice a fall off in the operating range of the remote.
Disc/Content Format Playback Compatibility
This player was designed and engineered to be compatible with software bearing one
or more of the following logos. Other formats, including but not limited to the following, are not playable in this player: Photo CD, DVDRAM, DVD-ROM, CD-Rom except those that contain MP3 files formatted as specified in the “Compressed Audio Compatibility” section.
DVD-R/RW and CD-R/RW discs (Audio CDs and Video CDs) recorded using a DVD recorder, CD recorder or personal computer may not
be playable on this machine. This may be caused by a number of possibilities, including but not limited to: the type of disc used; the type
of recording; damage, dirt or condensation on either the disc or the player’s pickup lens.
· This unit will play CD-R and CD-RW discs recorded in CD Audio or Video CD format, or as a CD-ROM containing MP3 audio files.
However, any other content may cause the disc not to play, or create noise/distortion in the output.
· Unfinalized CD-R/RW discs recorded as CD Audio can be played, but the full Table of Contents (playing time, etc.) will not be
displayed.
· This unit will play DVD-R/RW discs that were recorded using the
DVD Video format or Video Recording format.
· Unfinalized DVD-R/RW discs cannot be played in this player.
· This unit will play CD-ROM discs containing files saved in the MPEG1 Audio Layer 3 format (MP3) with a sampling rate of 44.1 or 48kHz.
Incompatible files will not play and “UNPLAYABLE” will be displayed
on the unit.
· Fixed bit-rate files are recommended. Variable bit-rate (VBR) files are
playable, but playing time may not be shown correctly.
· The CD-ROM used to compile your MP3 files must be ISO 9660 Level
2 compliant.
· CD physical format: Mode1, Mode2 XA Form1.
· This player only plays MP3 tracks that are named with the file extension
“.mp3” or “.MP3”.
8

· This player is compatible with multi-session discs, but only plays sessions that are closed.
· Use CD-R or CD-RW media for recording your MP3 files.
· This player can recognize a combined total of up to 250 tracks and folders. If a disc containing over 250 tracks/folders is loaded,
only the first 250 tracks/folders recorded on the disc will be playable.
· Folder and track names (excluding the “.mp3” extension) are displayed.
· There are many different recording bit-rates available to encode your MP3 files. This unit was designed to be compatible with all
of them. Audio encoded at 128Kbps should sound close to regular CD Audio quality. This player will play lower bit-rate MP3
tracks, but please note that the sound quality becomes noticeably worse at lower bit-rates.
· If you record a disc using a personal computer, even if it is recorded in a “compatible format” as listed above, there will be cases
in which the disc may not be playable in this machine due to the setting of the application software used to create the disc. In these
particular instances, check with the software publisher for more detailed information. Check the DVD-R/RW or CD-R/RW
software disc boxes for additional compatibility information.
· DVD-Video discs are generally divided into one or more titles. Titles may be further subdivided into chapters.
· DVD-Audio discs are divided into one or more groups that can each contain a number of tracks.
· CDs, SACDs and Video CD/Super VCDs are divided into tracks.
· CD-ROMs containing MP3 files are divided into folders and tracks. Folders may also contain further subfolders.
DVD-Video regions
All DVD-Video discs carry a region mark on the case somewhere that indicates which region(s) of the world the disc is compatible with.
Your DVD player was produced to only play region 1 discs. Discs from incompatible regions will not play in this player. Discs marked ALL
will play in any player.
9
System Design and Connections
This DVD player has many interesting features that allow it to be used effectively in a whole range of audio and home theater systems.
Following the system design section the individual features of the front and rear panel will be described. This player can be distinguished
from most others in three ways. First it includes an eight channel volume control. This allows it to be used independently with nothing but
amplifiers, speakers and a display. Second, it includes full pass-through features for both audio and video. This allows it to be inserted
into an existing system with no changes to the system. Third, it contains substantial and very high quality digital audio outputs, allowing
it to be incorporated in a very high performance system. Four systems configurations are shown below.
Stand alone system
With 8 channels of volume controlled audio and video in composite, interlaced component
and progressive component, the SDVD player is a complete system. How good is it? The
Display
volume control is excellent in the player, as good as any super high-end 2 channel audio
preamp. As a DVD player it has excellent sound. For the most discriminating listener who is
primarily interested in audio, not movies, we recommend adding PLATINUM DACs, at least
to the front channels. We have made provision for these, so that the installation is easy and
the operation remains simple. If you have balanced amps and want a balanced output player,
see the enhanced system below.
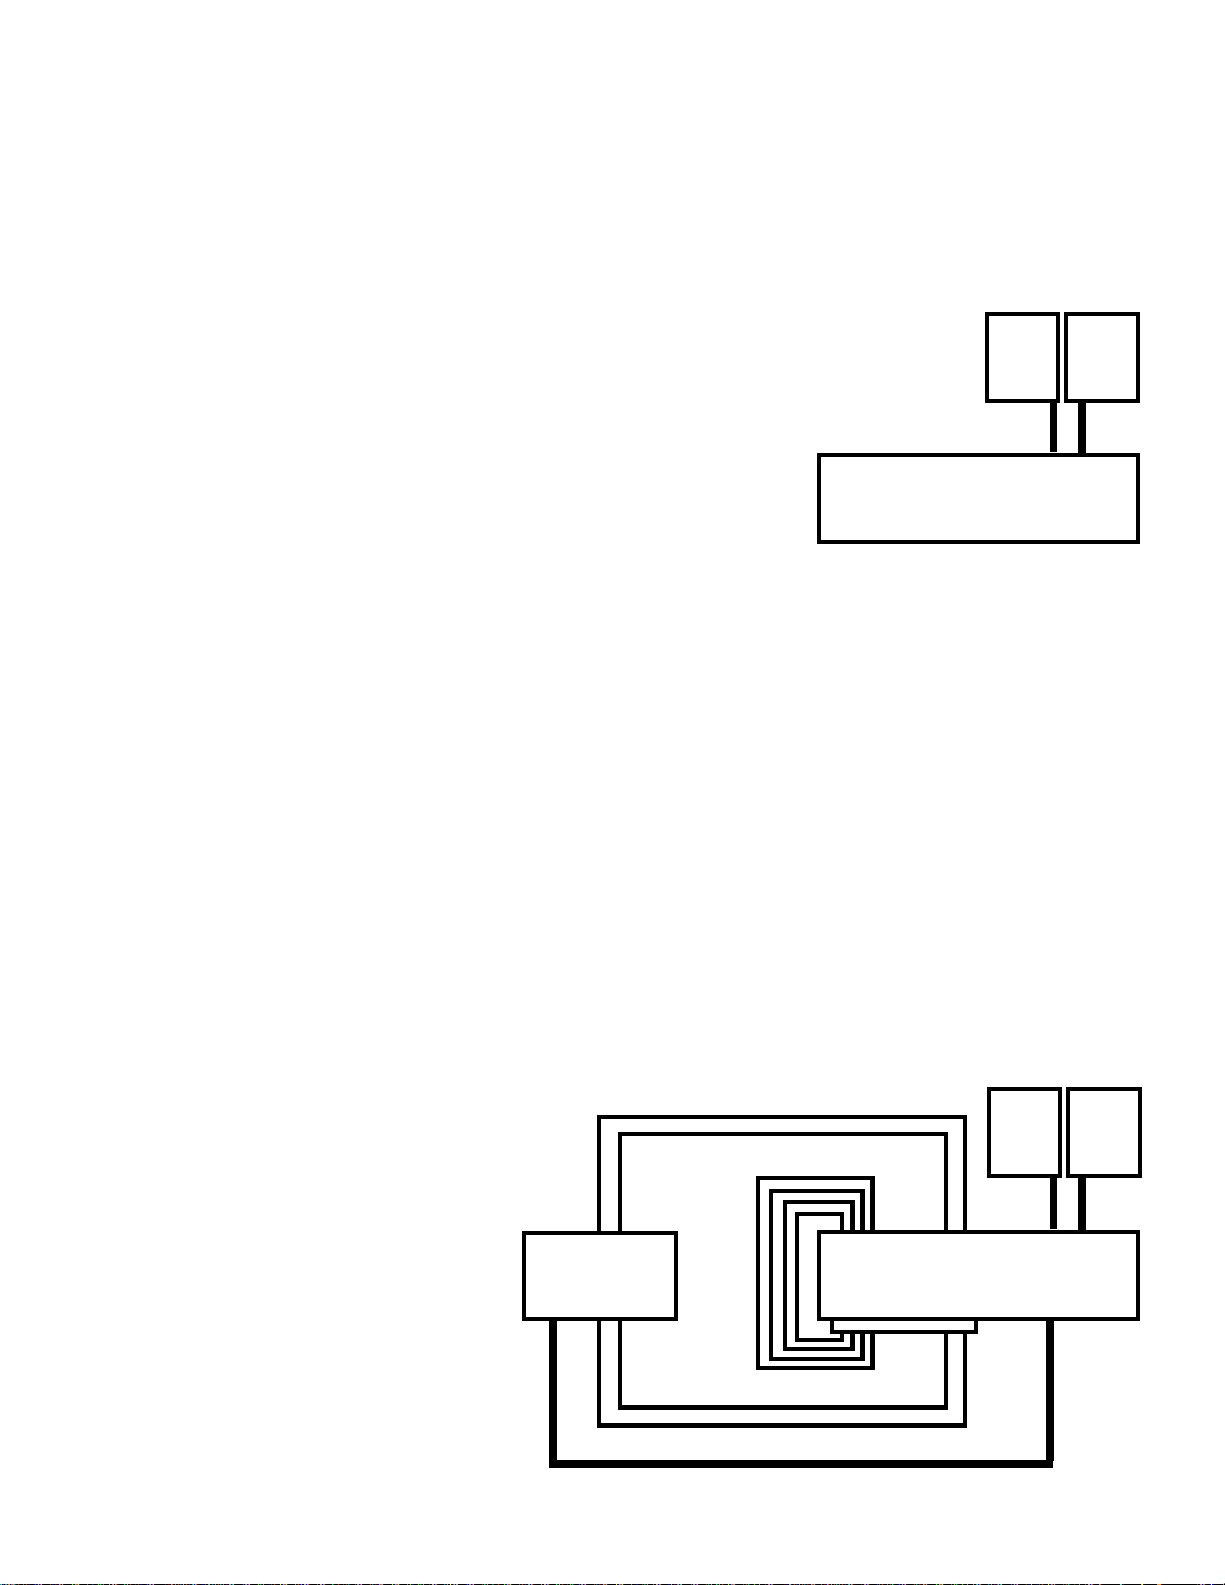
Enhanced Audio system
Super DVD Audio Player
with Master Volume Controls and
Video
Out
Trims
Up to three external DACs can be added to the player using either IEEE 1394 or the MSB Network. MSB sells a line of DACs that are
optimized for 192K operation over the MSB Network.
For single ended amplifier operation, attach the MSB Network output to an MSB DAC using a CAT5 cable. Now attach the single ended
analog outputs of the DAC to the appropriate channel analog inputs on the back of the player. Now plug a DB-25 to RCA cable (availible
from MSB) into the 5.1 Line Level outputs of the player. This output is line level and contains all the channels. Plug in the RCA outputs
to either the audio pass-through on the DAC or the Audio inputs on the player as appropriate. Turn the SELECT toggle switch on the back
of the player to the OFF position. This instructs the player to look for DVD audio on the input during play, instead of from the internal
DACs. For example, if a Platinum LINK II DAC is used with the player, the hookup is as shown below. The rear, center and sub channels
pass out of the DB-25 line level output and are looped to the rear, center and sub channel inputs on the back of the player. The front
channels are plugged into the PLATINUM using a RCA to XLR adapter (as the platinum only has balanced inputs). It was designed to use
this adapter for single-ended output. The toggle switch is turned OFF so that the player looks to the 8 channel input instead of the internal
DACs for audio from the player. We must make the analog connection through the DAC because the PLATINUM DAC does not decode
SACD. It passes the SACD through when played. Last, disable the volume controls in the external DAC by removing the volume modules
or setting the level to 0 db and putting tape over the remote sensor as the player and DAC use the same remote codes.
For front channel balanced operation, the task is complicated just a little. Because the volume control in the player is single-ended, the
MSB PLATINUM MVC Preamp is used externally. It is configured at the factory to run in the slave mode and is attached to the player using
the MSB NETWORK. It now matches the master volume set at the player. Just as in the single-ended mode, the external DAC is attached
to the MSB NETWORK. The balanced line level output is attached to the analog input of the DAC. The balanced output of the DAC is
hooked up to the balanced input of the MVC and its balanced output is connected to the front amplifiers. The remaining channels can be
hooked up as described above.
For stereo operation only, the process is
simplified. Connect the balanced line level out
and the MSB NETWORK to the PLATINUM
DAC. Connect the DAC directly to your
amplifiers using either single-ended or balanced.
Use the volume control in the DAC as they use
the same remote codes. Ignore the volume
settings on the player as they are not used.
Outboard
DAC
DAC
Analog
Outputs
(RCA)
Analog
Audio
Inputs
(RCA)
Super DVD Audio Player
with Master Volume Controls and
Display
Video
Out
Trims
AMPs
Audio
Out
AMPs
Audio
Out
MSB
Network
Input
(CAT5)
10
Audio
In
(XLR)
5.1 Line
Level
Output
(DB25)
Line
Level
Front
Output
(XLR)
MSB
Network
Digital
Output
(CAT5)
Add to a complex home theater
The player provides a simple way to add into most home theater systems, even if quite complex.
Identify the cables running to the amplifiers. Unplug them and plug them into the 8 channel
input on the player. Now run new cables from the player outputs to the amplifiers taking care
Existing
System
Display
AMPs
that each channel is looped through the player in the same order. Now find the video going to
the monitor or projector. Also loop it through the player. Now when the player is OFF, nothing
is changed in the system. It will work just as it did before except that the player becomes the
new master volume control for the system. The volume control for the system works if the
player is on or off. Play a CD in the player at a comfortable volume. Now play something in your
old system. Leave the volume the same on the player but adjust the old system level until the
Video
In
Audio
In
Super DVD Audio Player
with Master Volume Controls and
Trims
Video
Out
Audio
Out
two match. Now you will achieve the highest possible performance from your new player, with
no compromise to your existing system.
Enhanced Home Theater Design
One of the more powerful features of the MSB NETWORK is the ability to run 192k digital audio over great distances with low cost CAT5 cable with absolutely not performance degradation. This can be nicely applied in large home theaters. Rear channel as well as subwoofer
information can be sent to the rear of the home theater along with embedded volume information
all in one CAT-5 cable. (Actually all the channels are sent on the network, so any can be used).
It can go under the carpet or through the walls. It is a low cost cable and is available everywhere
as it is used to create Ethernet computer networks (LANs). At the rear of the theater, the cable
Rear
DAC
Rear
AMPs
Display
Front
AMPs
is plugged into the MSB Multiple Volume Control (MVC) with the internal DAC option operating
in the SLAVE mode. All channels are now available at the rear with full fidelity, and linked
directly to the players master volume control. This concept can also be applied to multi-room
ideas where the MVC is run in the Master mode, giving you complete control over the volume
in this second room.
192k
Digital
Output
Super DVD Audio Player
with Master Volume Controls and
Video
Out
Audio
Out
Trims
11

Rear Panel Details
The most important feature of the rear panel is a small toggle switch near the power connection labelled ON AUTO and OFF. It controls the
audio pass-through.
toggle switch on position - In this position, the 8 VOLUME CONTROLLED ANALOG AUDIO OUTPUTS always output the sound
made by the player. Even when the player is off, the pass-through feature is disabled. This position should be selected only when
the pass-through feature is not used or during troubleshooting operations as directed.
toggle switch AUTO position - In this position, the 8 VOLUME CONTROLLED ANALOG AUDIO OUTPUTS output the sound made
by the player only when the player is turned on. When the player is off, the pass-through feature is enabled and the inputs are
connected to the outputs through the volume control. This position should be selected any time the pass-through feature is used
for normal operations in most cases.
toggle switch OFF position - In this position, the 8 VOLUME CONTROLLED ANALOG AUDIO OUTPUTS always output the sound
input on the ANALOG AUDIO INPUTS. Even when the player is ON and playing no sound will be heard unless an outboard DAC
is used to supply the 8 inputs. This position should be selected only when the pass-through feature is used to add outboard
DACs or processors.
Inputs
POWER - Connect the supplied power cord here, then plug into a power outlet. Unit is configured internally for either 100V to 120 V
operation or 220V to 240V operation.
MICROPHONE - This input accepts a standard microphone jack and is used for automatic setup of all channels and levels. This feature is
not activated in the current level of code It is expected to be a user installable software upgrade some day.
8 ANALOG AUDIO INPUTS – They are all of equal quality although some can be mixed and some cannot.
VIDEO INPUTS - A component input as well as composite and S-Video inputs are provided. They pass directly to the outputs with no
circuity, passive or active when the player is off. When turned on, they are disconnected and the players video is output. The video
switching is not effected by the toggle switch.
Video Outputs
This player has standard (composite), S-video and component video outputs. The main difference between them is the quality of the
picture. S-video delivers a better picture than standard composite video, while component video gives better picture quality still. The
variety of outputs also gives you the flexibility of connecting your particular equipment using the best connection type available.
I connected the DVD player to my AV receiver, and although the sound is fine, there’s no picture. What did I do wrong? Make sure
that the type of video connection from the DVD player to your AV receiver is the same as that from the receiver to your TV. Most
AV receivers won’t convert from one kind of connection to another.
COMPONENT VIDEO OUT (YUV) - High quality video output for connection to a TV monitor or Projector that has component video
inputs. Connect using a commercially available three-way component video cable. Be careful to match the colors of the jacks and cables
for correct connection.
PROGRESSIVE SCAN VIDEO - Compared to interlace video, progressive scan video effectively doubles the scanning rate of the picture,
resulting in a very stable, flicker-free image. Progressive scan video is available only from the component video output. If you connect a
TV that is not compatible with a progressive scan signal and switch the player to progressive, you will not be able to see any picture at all.
12

In this case, you must hook up the player with a composite or S output and program the component output to interlace using the remote.
COMPOSITE VIDEO OUT (C) - Standard video output that you can connect to your TV or Projector.
S-VIDEO OUT (S) - S-Video output that you should use instead of the VIDEO OUT jack if possible..
Analog Audio Outputs
8 VOLUME CONTROLLED ANALOG AUDIO OUTPUTS – They are designed to drive any high-end Amplifier directly. Two outputs are
extra channels and can be programmed to contain different content depending on your needs. See Page # 18 for details. In order to be able
to hear multichannel sound from SACDs, DVD-Video and DVD-Audio discs, you need to set SACD Playback to Multi-ch Area, and the
Audio Output Mode to 5.1 Channel (see page # 34).
LINE LEVEL FRONT – This balanced analog output is provided primarily to supply high-quality SACD audio to the analog passthrough
input of an outboard DAC. It should only be used for SACD as the quality of any other audio is inferior to the quality from the volume
controlled single-ended outputs. Even if you do not intend to use the volume control, use the volume controlled output for critical
listening.
5.1 LINE LEVEL OUTPUT - This 6 channel output is provided primarily to supply high-quality SACD audio to the analog passthrough
input of an outboard DAC. It should only be used for SACD as the quality of any other audio is inferior to the quality from the volume
controlled single-ended outputs. Even if you do not intend to use the volume control, use the volume controlled output for critical
listening.
Digital Audio Outputs
The player also has optical and coaxial digital outputs should you want to use an external decoder or the decoder in your AV receiver. Note
that multichannel DVD-Audio and SACD audio is not output through these jacks, so this connection should be in addition to, rather than
instead of, a 5.1 channel analog connection.
Toslink Optical – Although this format has the lowest bandwidth, it is one of the more common outputs on low-end products. It also offers
ground isolation between products and noise immunity over long runs. 192K material is downsampled to 48K. Digital audio outputs can
also be programmed for connection to a PCM, Dolby Digital, DTS and/or MPEG-compatible processor.
Coaxial – A good input for short runs and lower frequencies. 192K material is downsampled to 48K. Digital audio outputs can also be
programmed for connection to a PCM, Dolby Digital, DTS and/or MPEG-compatible processor.
The MSB Network
MSB Network – These triple CAT-5 connectors are actually three identical multi-channel high-definition digital audio outputs with full 24
bit, 192K audio resolution with all material played except SACD. These outputs can be attached to an outboard DAC. All three outputs
contain volume information so they can be attached to a MVC with internal DACs or a Network DAC, and they will slave to the SDVD
Player.
SLAVE - This MSB Network output is just for volume control and can be used as either an output, sending imbedded volume information
for an outboard MVC. This is useful if balanced outboard DACs and Balanced MVC are used. It can also be used as a volume input, if the
DVD player was converted to a slave and another MVC was set up as the master. Although not likely, it could happen in a large
Theater.
One of the most powerful features of the Player is the MSB network. The MSB network has the following capability:
* Unidirectional communications over any twisted pair
* Simultaneous transmission of 8 audio channels with 32 bit resolution at 192 kHz sampling
rate
* Simultaneous transmission of 8 data channels with 3 Mbs data rate (for volume and
trim data)
* A single serial channel of 384 kbits/sec for control and system data.
This network is our answer to 192 kHz audio transmission and multichannel transmission in the same
package. We provide network outputs to this player and offer a source upgrade to your transport as
well. In a surround processor, this upgrade can send up to 8 channels of decoded data through one wire
to separate DACs. The twisted pair format is very
MSB NETWORK CAPABILITY
TWISTED PAIR WIRING
XLR CONNECTORS (AES/EBU COMPATIBLE)
EIGHT 32 BIT 192 KHZ AUDIO CHANNELS
8 CONTROL CHANNELS
EXTRA SERIAL CHANNEL
convenient as it has become the standard for all
computer networks. Ethernet networks use CAT5
wire which contains 4 twisted pairs. This one cable
could be used to send 32 channels of 32 bit, 192 kHz
audio data! Several cables are available for
connecting MSB transports to any MSB DACs
including CAT5 cable at any length up to 80 feet.
13