

Page 1

技术要求:
1.折后尺寸:70*55mm(+/-0.2mm)
2.材质:105g铜版纸
3.印刷:双面四色印刷
4.折叠:两个骑马装钉
5.要求印刷清晰无重影
Page 2
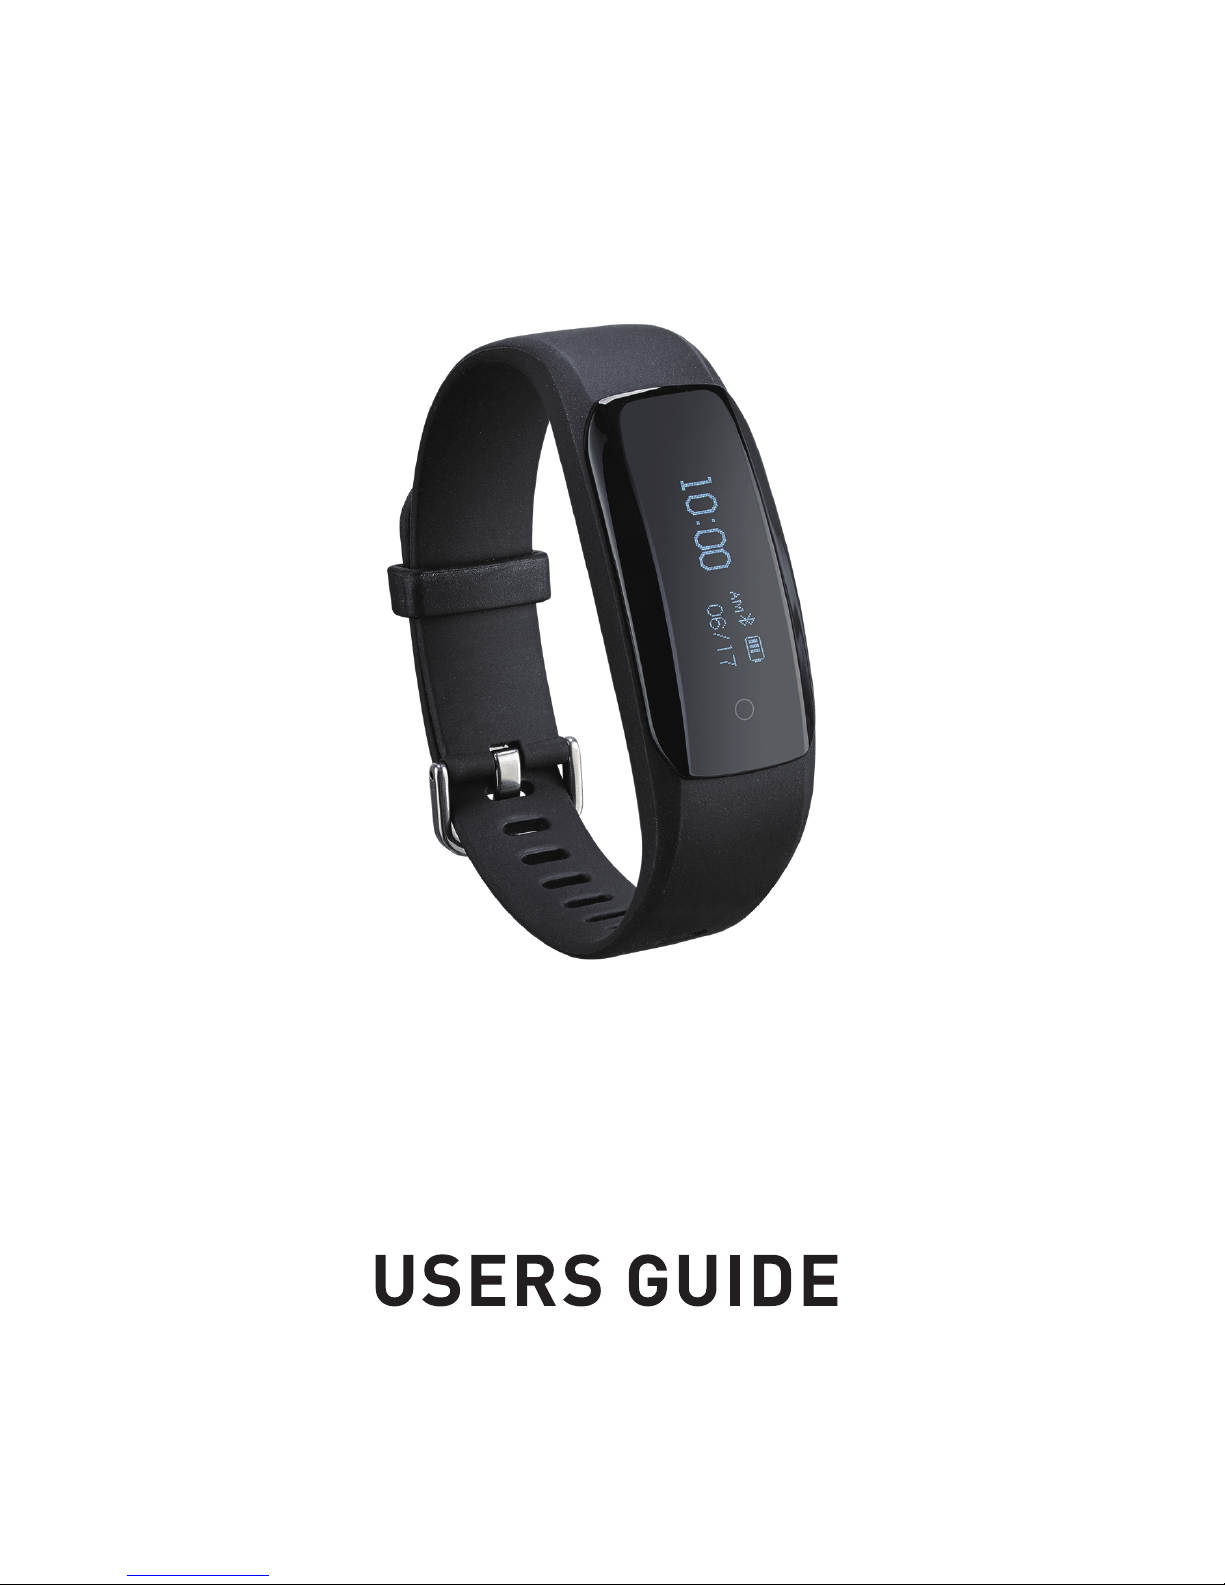
DS-D6
Page 3

Quick Start
Thank you for choosing DS-D6 Smart Bracelet!
Please take the time to read this manual carefully, even if you are already
familiar with a similar product.
What’s in This Document
This manual lets you started quickly useing your Smart Bracelet. Setup
ensures that you can synchronize your data with the Mpow Smart APP ,
where you can get detailed information on your sets, such as view
historical data, more function, and so on. As soon as setup is complete,
you’re ready to start moving!
2
Page 4
DS-D6 Smart Bracelet
Users guide
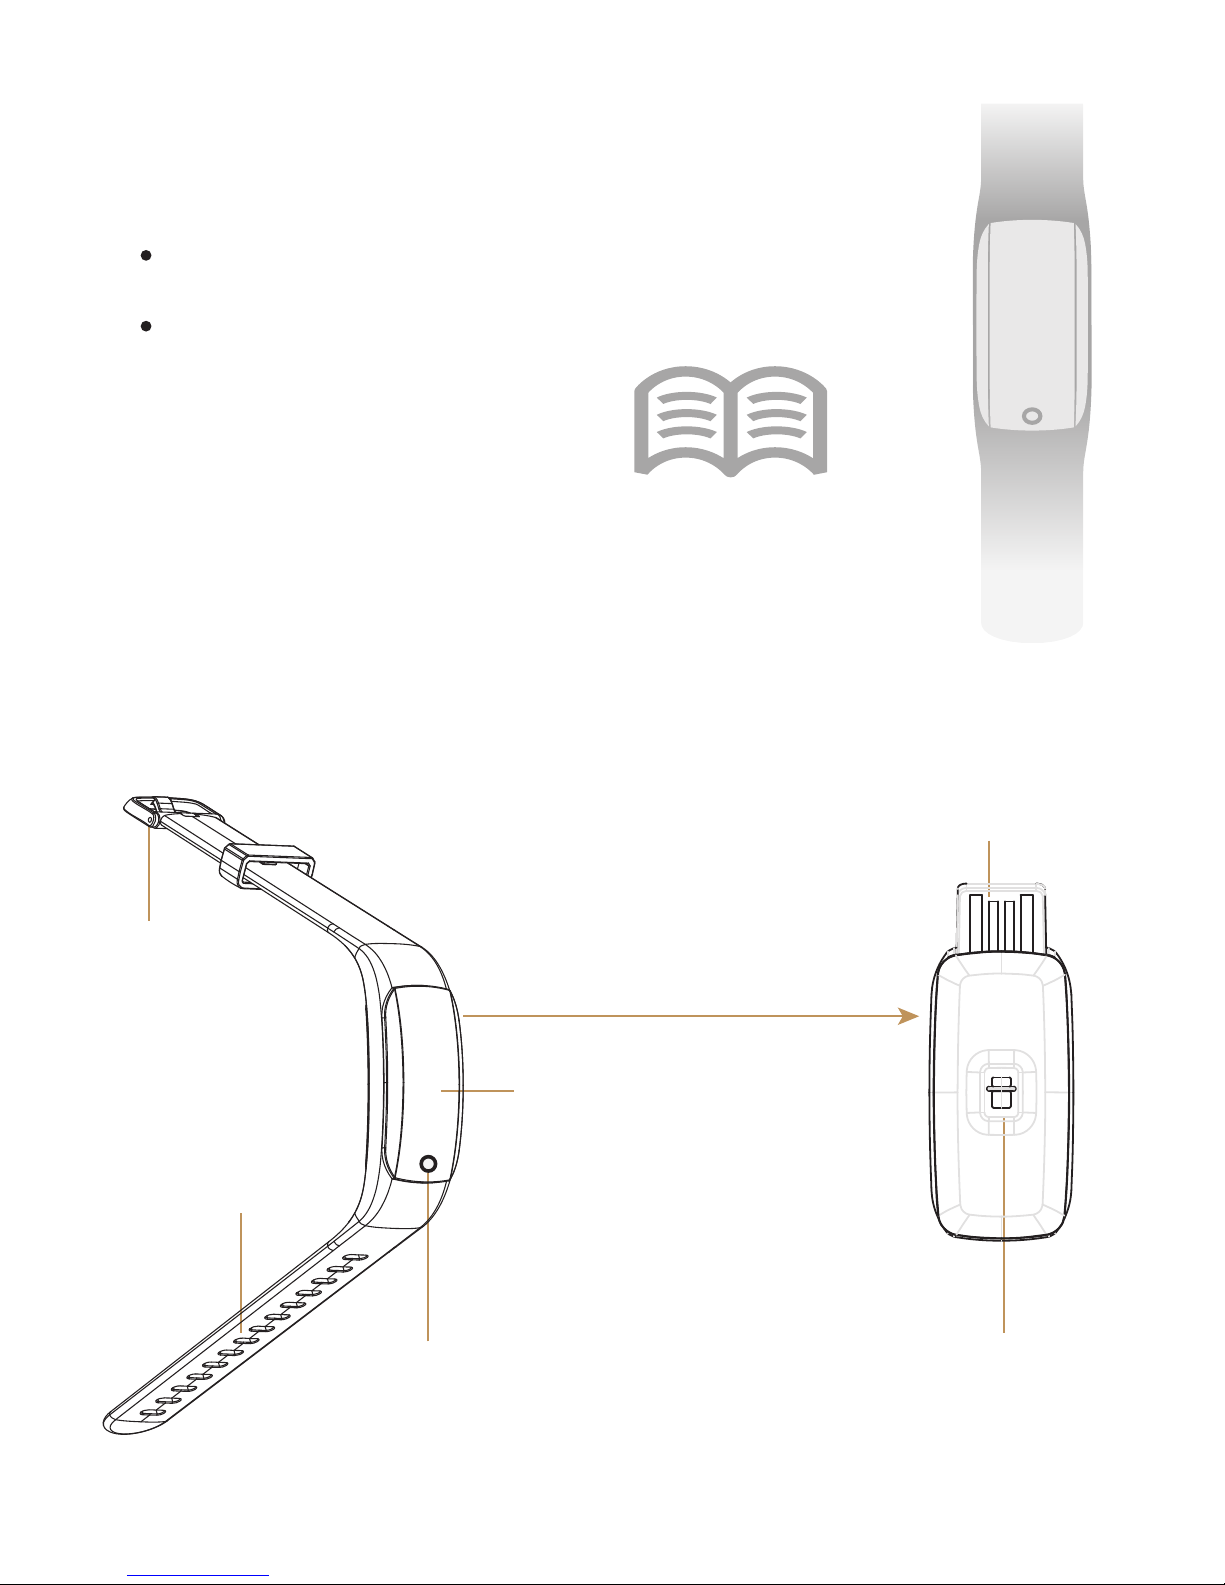
Unpacking
Product Overview
Wristband
Buckle
Touch Key
Screen
Standard USB Port
for charging
Band can be pulled out
from wristband
Heart Rate
Indicator
3
Page 5

Wear Your Smart Bracelet
Your Smart Bracelet
has an adjustable wristband. Attach your Smart
Bracelet to your wrist with the touch key closer you and the band wrapped
around your wrist.Align the sizing clip along the band to nd the best and
most optimal t.
Ulnar Styloid
4
Page 6
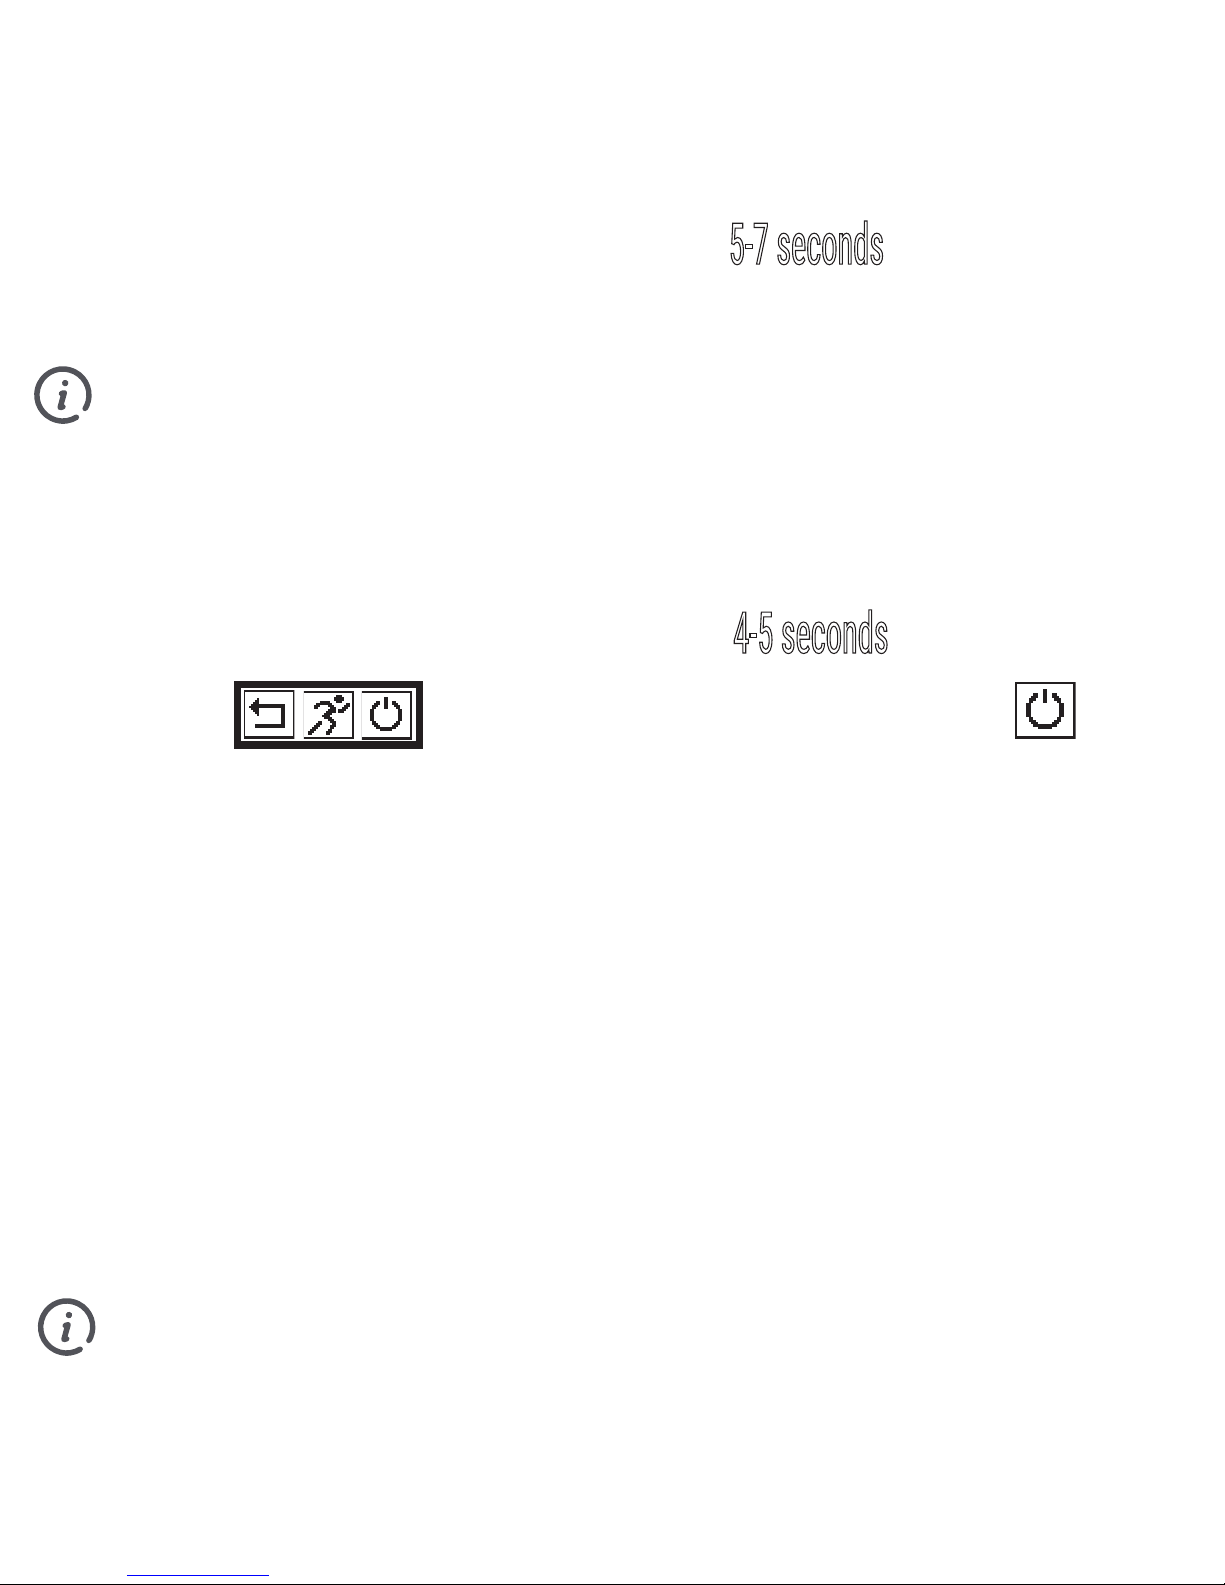
Power On/Off Your Smart Bracelet
Power On: Press and hold the touch key for 5-7 seconds until the screen
is display.
If you found nothing displayed, your Smart Bracelet maybe no power,
please charge it according to the charging chapter at the next page.
Power Off: Press and hold the touch key for 4-5 seconds until the screen
displays , then touch the key to change cursor to ,
then press and hold the touch key to confirm, your Smart Bracelet will
power off.
Your Smart Bracelet goes into standby mode by default when not in
use, it is reactivated by a short press of the touch key or by your wrist
movement if applicable.
If no action occurs when pressing down the touch key try moving your finger to
a slightly different position to activate the touch sensor.
5
Page 7
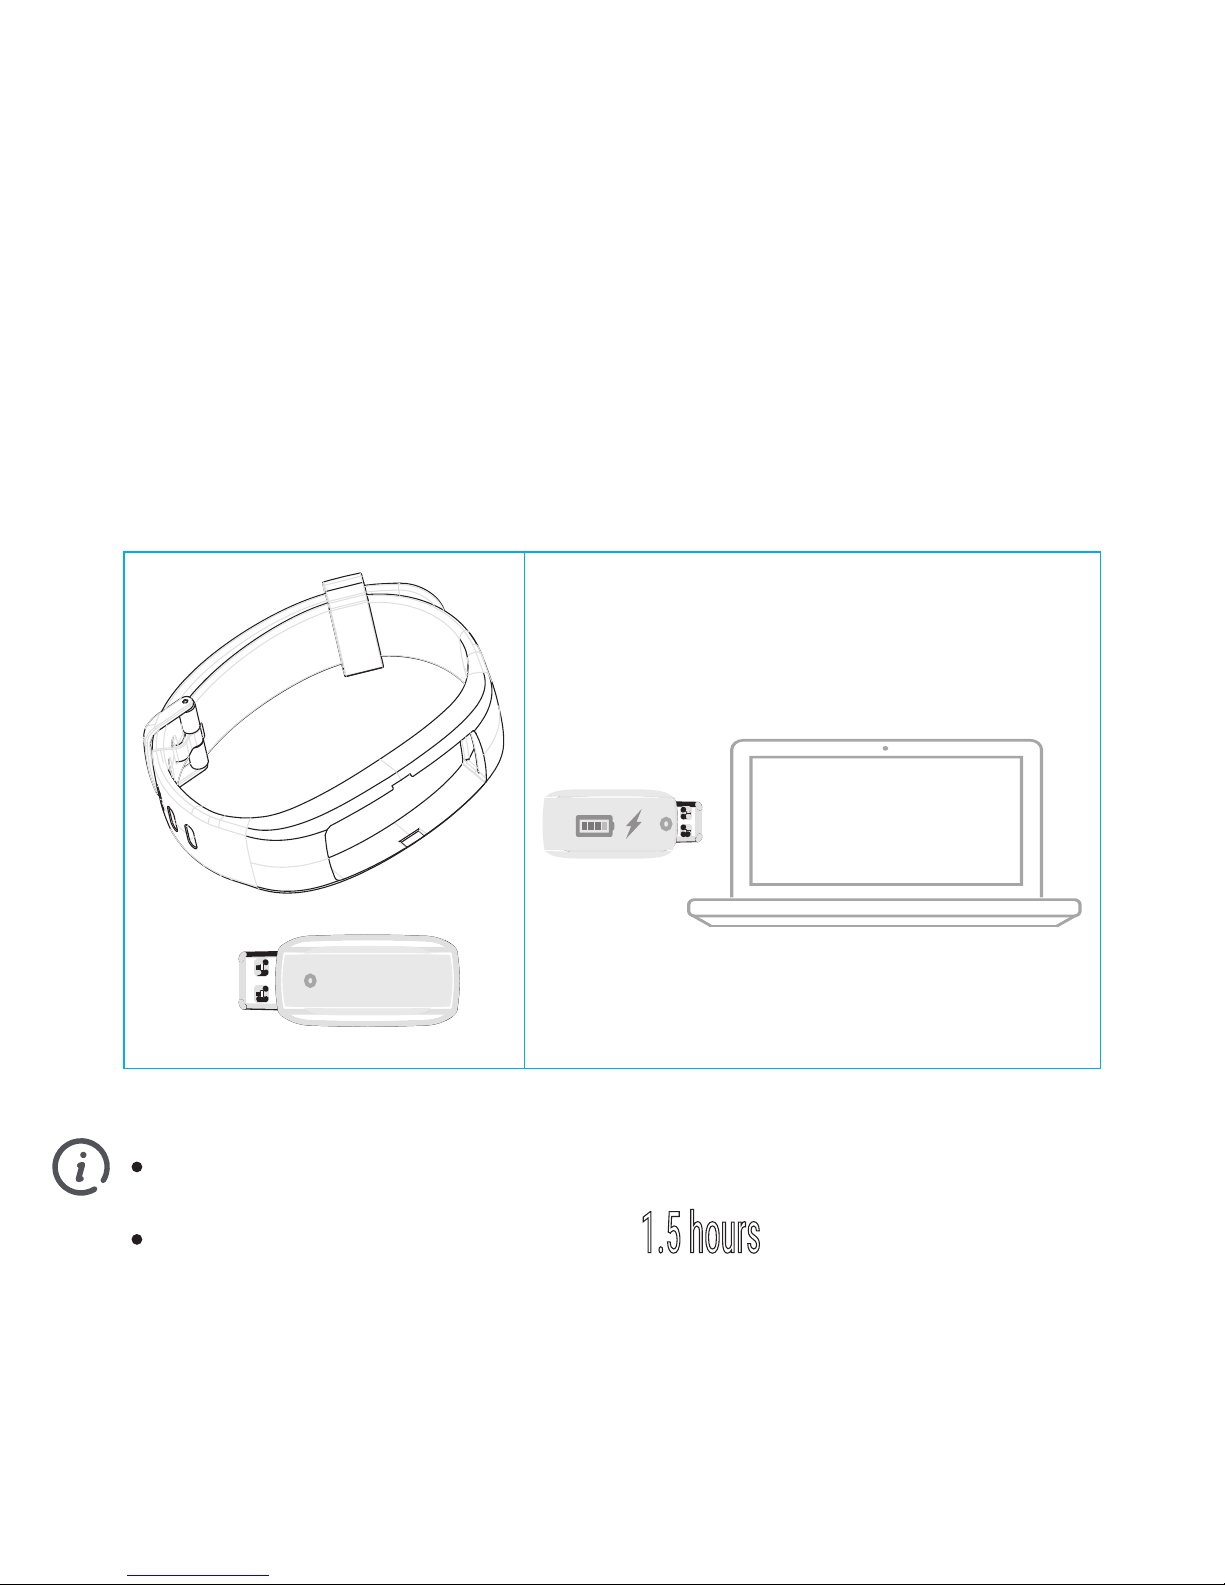
Please use the standard USB cable to charge.
Initial charging time is approximately 1.5 hours
.
Charging Your Smart Bracelet
Your Smart Bracelet comes with a built-in rechargeable battery and a standard
USB charging port. Charge fully before use. Pull out the Band from wristband,
you can see a standard USB port on the band, you can insert the USB to either a
PC or power adaptor to start charging.
6
Page 8

Mpow Smart
Mpow Smart
Page 9

For better experience, when using Mpow Smart APP, please register and login to your
email address and password. After the registration is complete, all data is saved
to the server, no longer have to worry about data loss or replacement bracelet.
Register
8
Page 10

to the
email, please use the correct email to register. Please make sure:
a) Email address is correct
b) Your email system do not reject our mail
c) The email is in normal use
d) The network is in good condition and the network is smooth
If the email is error, there may be the following problems:
a) Can not receive the v
b) Can not retrieve the password
c) Can not get the previous data
Once the Mpow Smart APP is installed, open it to get started. You will be guided
through the process of creating an account and connecting(Pairing) you Smart
Bracelet to your smartphone.
Please make sure that your Smart Bracelet is full charged and powered on
befor
Notice
9
Mpow Smart
Page 11

On the home page, click the blue outlined area to pair/bind your Smart Bracelet.
Your Smart Bracelet must be connected with smartphone by Mpow Smart
APP, Do not connect them by smartphone OS bluetooth.
Please make sure that your Smart Bracelet and smartphone can communicate
each other via bluetooth, and enable the bluetooth in your smartphone.
Pairing Your Smart Bracelet
10
Page 12

Select the Statistics Interface to see
a history
of your activity
Select the Settings Interface to set
up your settings and preferences
Select the Exercise Mode to begin
training/running
Select Real-Time Activity Data to
track your daily data such as steps
taken, distance traveled and calories
burned
Swipe to the left for Sleep Data or
more information
Pull down on this section to refresh
data/sync data
View daily status data
Home Page
11
Page 13

Analyses and tracks your daily data, including the steps taken and calories
burned, sleep pattern and qulity of sleep.
You can view different data by entering from different pages, such as step page,
sleep page, heart rate page.
You can slide the blue outlined area to view history data.
You can also share your data with other via text and social media.
Statistics Interface
12
Page 14

You are allowed to set up your settings and preferences.
In the More
page, you will able to modify your personal information, set up your
alarm, select your metric preferences, sharing preferences, get more help, and
more.
In the Setting
page of your band( you need to click on Band) you will be able to
set up your reminders.
Settings Interface
13
Page 15

In Exercise Mode, select “Go” to start your training program. Click “History
Record” to see your past exercise data. you can switch in between the Map and
Regular mode for location tracking purposes. You can hold to pause or stop the
Excerise Mode.
You also can enter Exercise Mode by press and hold the touch key in band, when
the screen shown , touch the key to switch the cursor to ,
then press and hold the touch key, Excerise Mode will be start.
In map mode, you need enable the GPS in your smartphone.
Exercise Mode
14
Page 16

Using Your Smart Bracelet
You can short press the touch key on band to switch different function modes,
information shown on the screen will vary as you change.
When the correct function is highlighted, this function will work.
Display Time
Bluetooth Connection
Battery Status
Display Date
12:38
06/08
PM
Steps Taken
2568
Heart Rate
75
b pm
Distance Traveled
2.5
km
Calories Burned
236
kcal
Find Phone
GO
15
Page 17

1. Real Time Activity Mode
Analyses your daily data, including the steps taken and calories burned.
2. Sleep Mode
Tracks your sleep pattern and quality. Sleep monitoring works automatic if you
wear the band when sleeping, the sleep data can sync to Mpow Smart APP.
Sleep monitoring only works in evening, not in day time.
3. Exerise Mode
Starts a workout and displays information including duration, steps taken,
calories burned and distance traveled during the workout.
When you enter running mode, your band will display like the this
4. Silent Alarm
Silent alarm awakes you using gentle vibrations from the Smart Bracelet. you can
dismiss the alarm by pressing the touch key on band. Alarms can be setup from:
Mpow Smart APP Menu --> Settings Interface --> Alarm
5. Sedentary Reminder
This function allows you will be notified using a gentle vibration if you have been
sedentary past the set time. Sedentary reminders can be set up fr om :
Mpow Smart
APP Menu --> Settings Interface --> Smart Bracelet --> Sedentary Reminder
Features of Your Smart Bracelet
12:34
10:45
AM
16
Page 18

Features of Your Smart Bracelet
6. Find Phone
This function allows you to sound an alarm to detect your phone’s location.
touch key and the screen will displa
GO
y , after the 3 seconds
countdown the function will be entered.
7. Display Mode
This function allows you set different display in your band. You can select which
type of display in the “
Display Mode
” in Mpow Smart APP:
Mpow Smart APP Menu --
>
Settings Interface --> Smart Bracelet Menu --> Display Mode
Display Mode is bellow:
12:38
06/08
PM
12:38
06/08
PM
Horizontal screen
Left Landscape Right Landscape
38
12
06/08
..
17
Fri
Page 19

Features of Your Smart Bracelet
8. Notifications
This function allows you will be notified using a gentle vibration of incoming call,
SMS, E-Mail, or alerts from the social APPs. You can select which type of alerts
and notifications in the “Smart Reminder” in Mpow Smart APP. Notifications can be
disable or enable from: Mpow Smart APP Menu --> Settings Interface --> Smart
Bracelet
menu --> Smart Reminder
Notice
Actual performance may vary due to the user's habits, different modes of
operation, and smartphone settings. This manual is for reference purposes
only. The functions, specifications and design of the Smart Bracelet
may change without prior notice. Actual product may differ slightly from the
image on the
packaging.
18
Page 20

Product Specifications
Product
Smart Bracelet
CPU Nordic nRF52832
Screen 0.87” OLED
Battery 90mAh Li-Battery
Charging Mode
USB Direct
Charging Voltage DC 5V
Work Time 5~10 Days
Operation Touch Key
Waterproofing
IP67
Device
Requirement
Android 4.4+
iOS 8.0+
BT4.2+
19
Page 21

Main Remind ICONs
Sedentary
Running
Call
Find Phone
SMS
Step
Distance
Alarm
Wear Band
Whatsapp
Twitter
Skype
Sync
Heart Rate
Calories
Email
Reach Target
Wechat
Facebook
QQ
Upgrade
Line
20
Page 22

1. For better experience, please register and connect when using Mpow Smart
APP.
2.
Your Smart Bracelet must be conneted with smartphone via Mpow Smart
APP, Do not connect them by smartphone OS bluetooth.
3.
To prevent fire or shock hazard, do not expose this device to excessive
moisture or water.
4.
Lithium batteries, like all rechargeable batteries are recyclable and should be
recycled or disposed of in normal household waste. Contact your local
government for disposal or recycling practices in your area.
5.
Time in Band can not be set, time and time mode will sync with your
smartphone when connected.
6.
Please do not use any corrosive chemical to clean the device, use a soft
cleaning cloth for the tracker and some mild soap and water for the band.
7.
To learn more FAQ, please open Mpow Smart--> More --> Help.
Warning And Precautions
21
Page 23

This equipment has been tested and found to comply with the limits for a Class
Bdigital device, pursuant to part 15 of the FCC Rules. These limits are designed
toprovide reasonable protection against harmful interference in a residential
installation.This equipment generates, uses and can radiate radio frequency
energy and, if notinstalled and used in accordance with the instructions, may
cause harmful interferenceto radio communications. However, there is no
guarantee that interference will notoccur in a particular installation. If this
equipment does cause harmful interference toradio or television reception,
which can be determined by turning the equipment offand on, the user is
encouraged to try to correct the interference by one or more of thefollowing
measures:
• Reorient or relocate the receiving antenna.
• Increase the separation between the equipment and receiver.
• Connect the equipment into an outlet on a circuit different from that to
which thereceiver is connected.
• Consult the dealer or an experienced radio/TV technician for help.
Caution: Any changes or modifications to this device not explicitly approved
by manufacturer could void your authority to operate this equipment.
FCC Warning
22
Page 24

This device complies with part 15 of the FCC Rules. Operation is subject to
thefollowing two conditions:
(1) This device may not cause harmful interference, and
(2) this device must accept any interference received, including interference that
maycause undesired operation.
The device has been evaluated to meet general RF exposure requirement.The
devicecan be used in portable exposure condition without restriction.
FCC Warning
23
 Loading...