

Page 1
A
USER’S GUIDE
™
™
Contents
INTRODUCTION
Effective Use of Your Pager ..............1
GETTING STARTED
Battery Information ............................ 2
Controls ............................................. 4
Turning Your Pager On ..................... 5
MenuIcons ........................................5
Turning Your Pager Off ..................... 6
Sending a Test Page to Yourself.......6
Backlight........................................... 7
MESSAGES
Types of Messages .......................... 8
Setting the Scroll Speed................... 8
Receiving/Reading Messages........ 10
Scanning Your Messages............... 11
Duplicate Messages........................ 12
TIME/DATE
Setting the Time and Date............... 12
ALERTS
Setting the Incoming Alert ............... 13
Choosing an Audio (Audible) Alert .. 15
ALARMS
Setting the Alarm ............................. 16
MESSAGE FEATURES
Locking Personal Messages............18
Unlocking Personal Messages ........19
Private Time .................................... 19
Deleting Messages..........................21
Storing Messages............................22
Automatic Message Deletion...........23
INFORMATION SERVICES
Information Services ........................ 23
Information Services History............ 23
Reading Information Services ......... 24
Turning the Information Service
AlertOn and Off.............................25
Turning the Information Service
Bookmark On................................. 26
OTHER FEATURES
Out of Range ...................................27
Message Error Icons ....................... 27
USE AND CARE .................................27
1
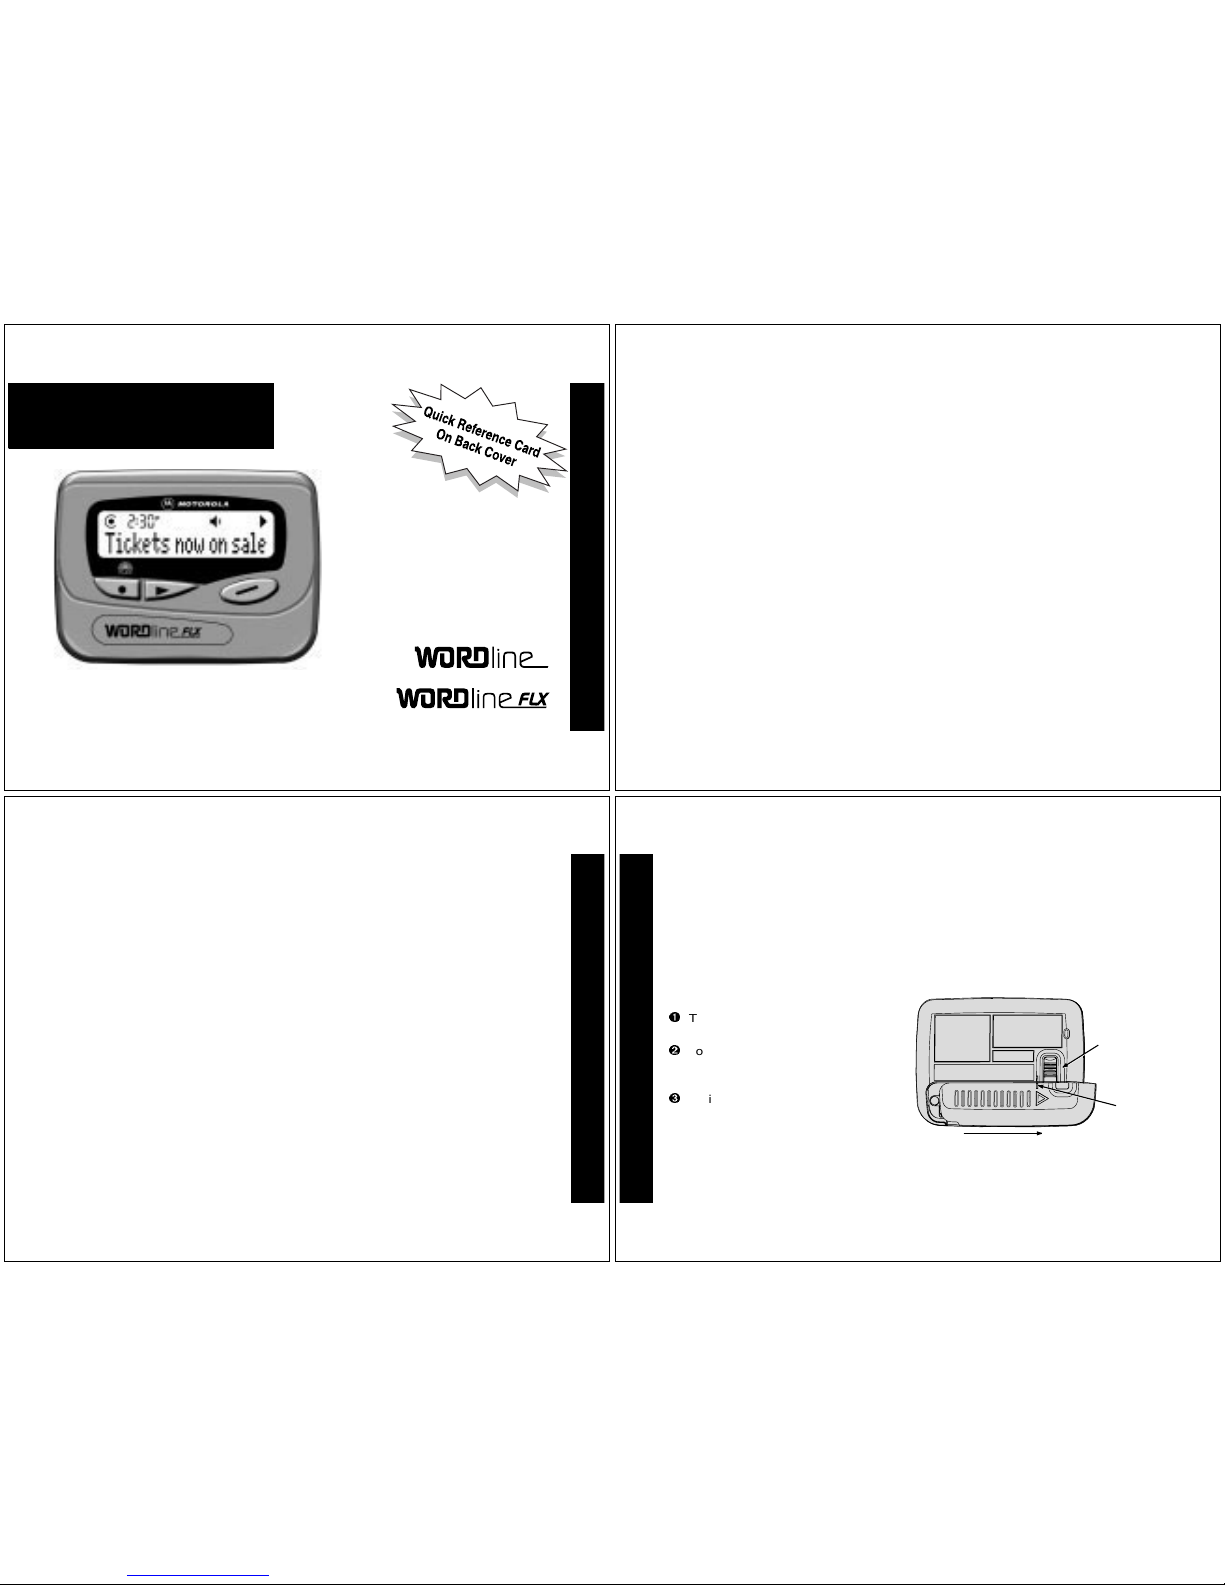
Congratulations on purchasing the MotorolaâWORDline™ or WORDline FLX
TM
pager. The WORDline FLX pager incorporates the latest in paging technology.The
Motorola FLEX protocol-based pagers offer extended battery life and improved
paging reliability.
This compact pager combines messaging and time keeping functions in a package
that is convenient to carry. Full understanding of what thisproduct offers begins with
reading this user’s guide.
This user’s guide includes a detachable Quick Reference Card on the back
cover.
Effective Use of Your Pager
Your pager can help you keep in contact with everyone important to you. By giving
your pager number to your business associates, family,and friends, you can be
contacted when necessary.
If you have a cellular phone, give your pager number instead ofyour cellular number.
Then you can decide who to call back on your cellular phone without paying for
incoming calls.
INTRODUCTION
2
Battery Information
Your WORDline or WORDline FLX pageroperates with one AAA-sizealkaline battery.
When the battery is low,the low-battery icon
ô is displayed between the time and
date on the standby screen. Change your battery after receiving a low-battery
indicator.
Messages are retained when replacing the battery.Toretain pager alert settings, turn
the pager off before removing the old battery.
Installing / Replacing the Battery
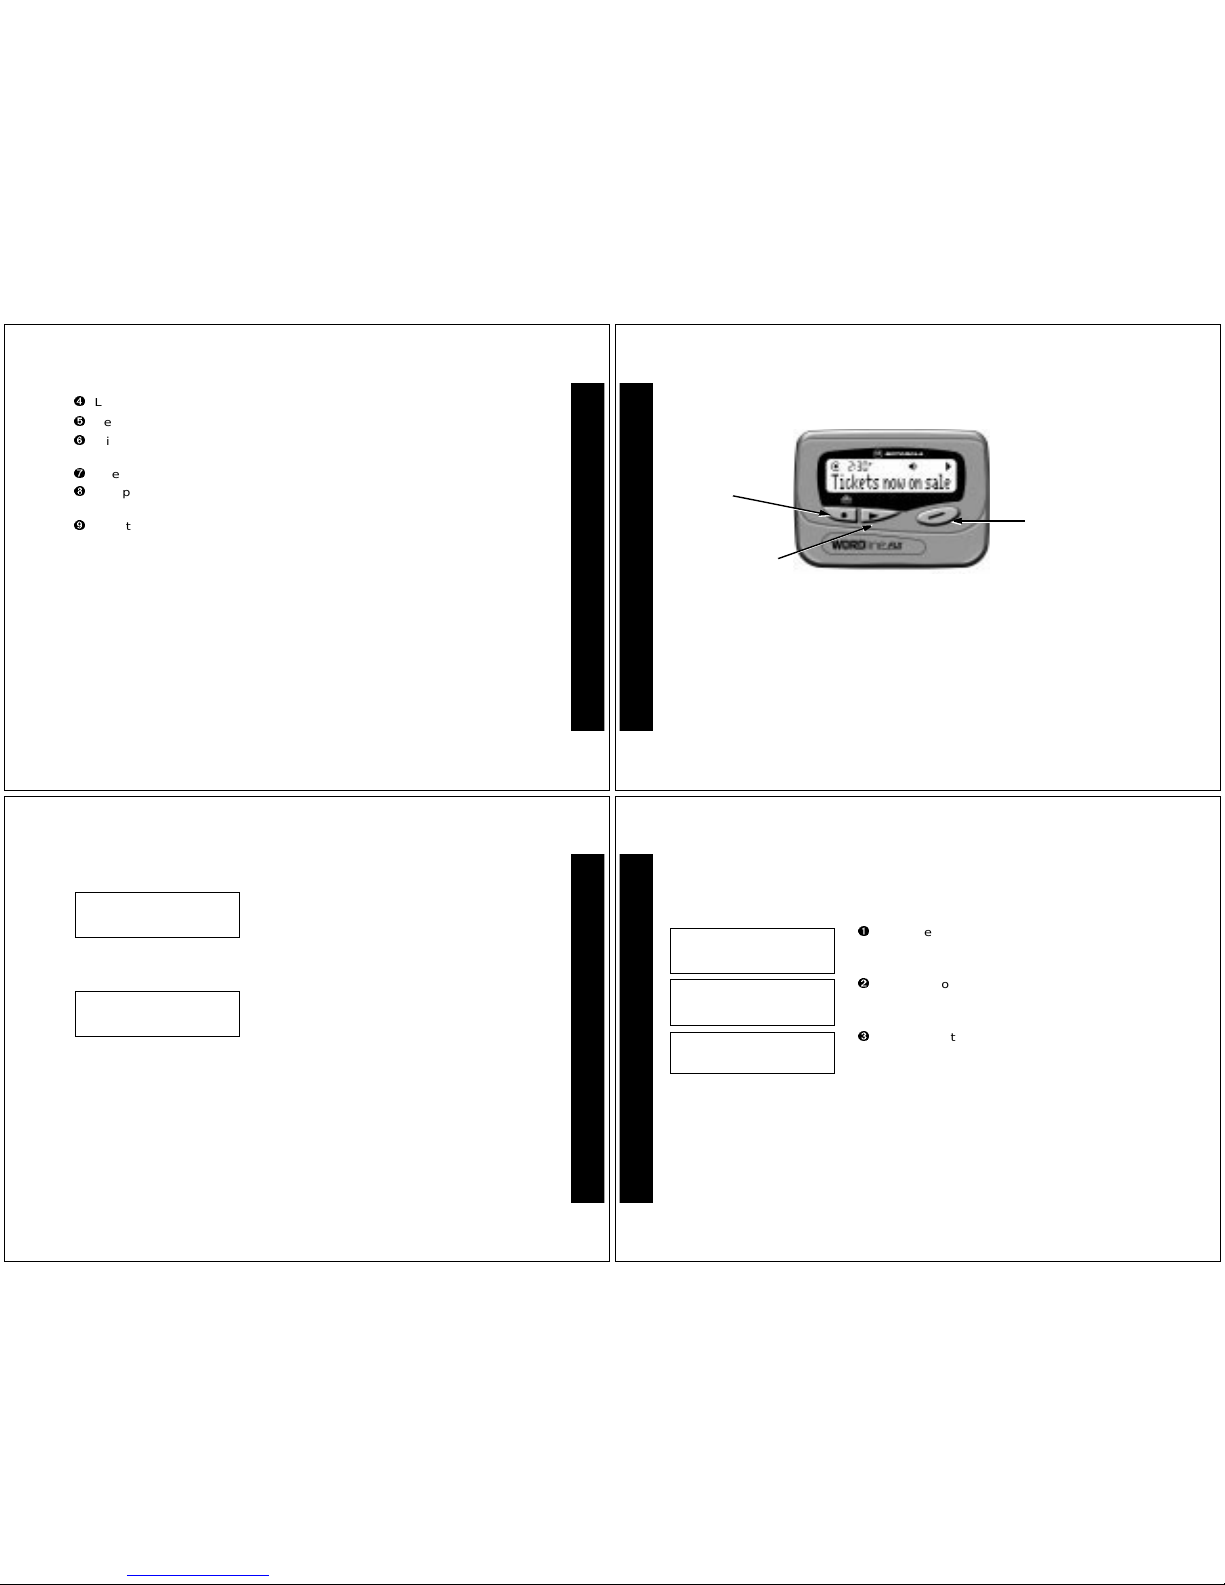
Turnyour pager off. Refer to “Turning
YourPagerOff”onpage6.
Toremove the old battery, slide the
battery door locktowards the top of
the pager to unlock the battery door.
While pressing on the battery door,
slide the door until the rib on the
battery door aligns with the rib on the
back cover.
Battery
Door Lock
Ribs
Slide to open
GETTING STARTED
Page 2
3
GETTING STARTED
Lift the battery door to free it from the housing.
Remove the battery.
Align the new battery so the positive(+) and negative (-) markings match the
polarity diagram in the battery compartment.
Insert the battery.
To replace the battery door, align the grooves on the battery door with the grooves
on the back cover and slide the battery door closed.
Slide the battery door lock toward the bottom of the pager to lock the battery door.
4
Controls
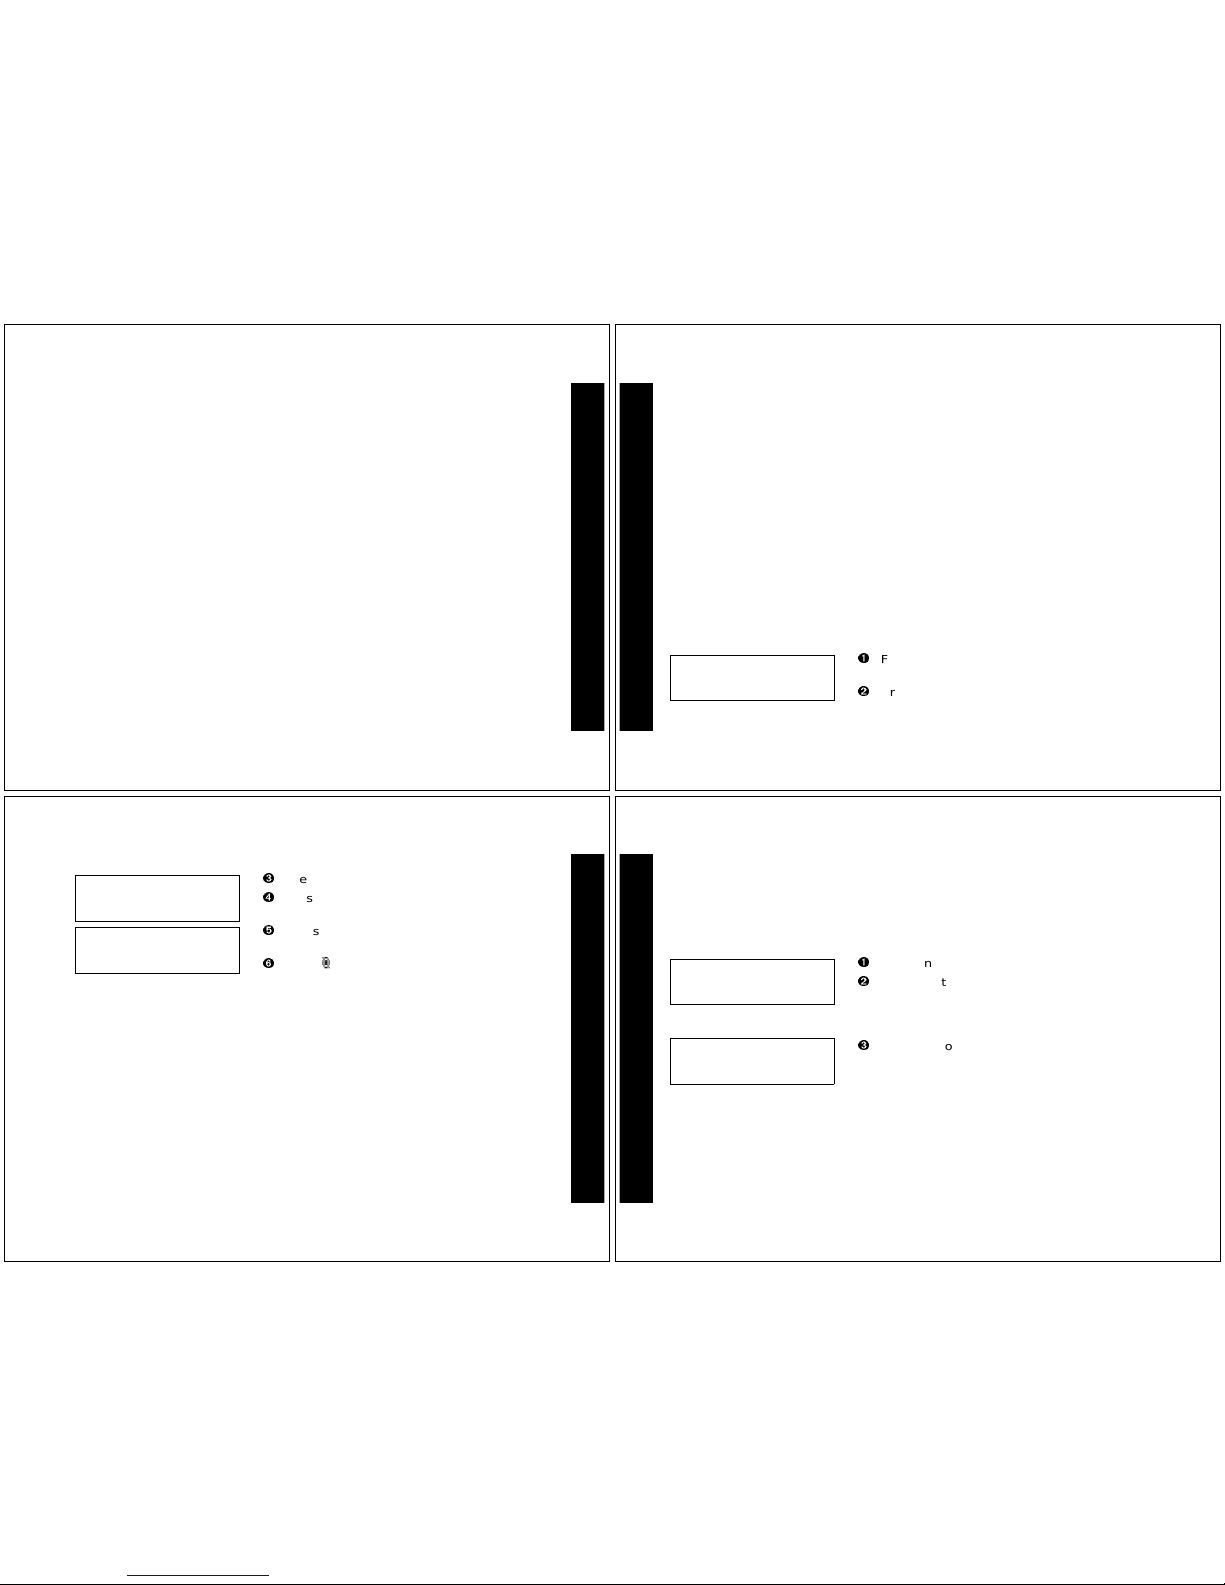
ƒ
Mode Used to scroll through available choices, or to increment a
value.
°
Select Used to select and confirm a choice.
”
Read/
Power On
Used to read amessage, to save a setting, to turn on the
pager, to turn on the backlighting, and to exit from a menu.
Read/Power On
Button
Mode Button
SelectButton
GETTING STARTED
5
Turning Your Pager On
Menu Icons
The four menu icons on the top row (wie=) correspond to the four menus: CONTROLS,
DELETE ALL, ALERTS, and ALARMS respectively.
Press and release
ƒ to display the CONTROLS?, DELETE ALL?, ALERTS?, and ALAR MS?
menu prompts. Press ° to enter the corresponding menus, or press ” to return to
the standby screen.
Press
” to turn your pager on.
A start-up message is displayed momentarily
and your pager activates the currently selected
alert.
Note:
The start-up alert can be stopped by
pressing any button.
When the pager is on and no activity is taking
place, the standby screen is displayed. The
standby screen displays the power indicator, the
time and date, the alert mode, and may display
other pager indicators such as alarm status.
s00:00afwiuqyto
MOTOROLA
s00:00afwiuqyto
12:35P 4/23
GETTING STARTED
6
Note:
The first time you press ƒ these menu icons are displayed. The controls
menu icon
w flashes, indicating that pressing ° will enter the controls menu.
Turning Your Pager Off
Sending a Test Page to Yourself
It’s a good idea to test your pager and service by sending a page to yourself. Start by
using the phone number, web site or email address (and a PIN, if required) your
service provider gave you, thenenter a short message.
From the standby screen, press ƒ to display
CONTROLS?. The controls menu icon w flashes.
Press° to display OFF?.
Press° toturn the pager off. The off screen is
displayed without any icons.
s00:00afwie=yto
CONTROLS?
s00:00afwiuqyto
OFF?
s
00:00afwiuqyto
12:35P 4/23
GETTING STARTED
Page 3
7
If you are sending a word message from a phone,an operator will assist you;
otherwise, press the phone buttons to entera numeric message or type a message
and send it.
While you are waiting for the message to reach yourpager, refer to page 10 for more
information about how to read a message.
If yourpager does not receive the message within a few minutes, contact your service
provider. After youhave tested the pager, read the rest of this guide to learn about the
many useful features of your new pager.
Backlight
Press and hold ” forone second or more to activate the LCD message screen
backlight. The backlight turns off automatically after the pager returns to the standby
screen.
GETTING STARTED
8
Types of Messages
The message indicators define the type of message receivedand flash until the
message is read.
Personal messages:
• unselected selected
Information services
when received:
® unselected ¥ selected
Æ unselected selected (FLEX)
when chirp is on:
unselected ¯ selected
when bookmark is on:
ï unselected ˆ selected (not available on all models)
Setting the Scroll Speed
You can choose the speed at which your messages scroll, or read them line by line.
From the standby screen, press ƒ to display
CONTROLS?. The controls menu icon w flashes.
Press° to enter the CONTROLS menu.
s00:00cfwiu=yto
CONTROLS?
MESSAGES
9
Press and release ƒ until SCROLL? is displayed.
Press ° to enter the SCROLL menu.
Press and release ƒ tochoose the scroll
speed.
Press ° to select the scroll speed.
There are four scroll speeds to choose from:
LINE-BY-LINE, SCROLL 1, SCROLL 2, and SCROLL 3
(fastest).
s00:00cfwiuqyto
SCROLL?
s00:00cfwiuqyto
LINE-BY-LINE
MESSAGES
10
Receiving/Reading Messages
When a message is received, your pager either alerts audibly (audio, chirp, and
Escalert™ modes) or vibrates. A message indicator (for example
1, 2, etc.) lets you
know how many messages you have received. On some models, this message
indicator displays on the standby screen.
Press any button to stop the alert.
Press” to display the message status
screen. The message indicators for unread
messages
• flash until any part of the message
is read.
Press” to read the selected message or
press
° to selectanother message, then
press
” .
s00:01cfwiqyto
Ü ••
s00:02cfwiqyto
Ü • •
MESSAGES
Page 4
11
Note:
If the reminder alert has been set and there are any unread messages, your
pager may give a periodic alert until they have all been read. This will continue for
up to 30 minutes. A message is considered read if any part of the message is
displayed.
Scanning Your Messages
When the first line of a message is displayed, press ° to scan all messages of the
same type. The message number and thefirst line of the message are displayed for
each message.
If your pager is set to scroll the message
automatically (
SCROLL 1, SCROLL 2,orSCROLL 3), the
remainder of the message is automatically
displayed at that speed.
Hint:
To pause or restart a scrolling
message, press
” .
Allow the pager to automatically return to the
standby screen, or press
ƒ then ” .
s10:35afwiuqyto
2:Call Bill 279-1234
time the mes sag e
was received
message number
message
continuation
indicator
MESSAGES
12
Duplicate Messages
Setting the Time and Date
When a dupli ca te message is received,
DUPLICATE is displayed after the message number
and before the message. The time the duplicate
message was received is displayed.
From the standby screen, press ƒ to display
CONTROLS?. The controls menu icon w flashes.
Press° to enter the CONTROLS menu.
Press andreleaseƒ until TI ME/DATE ? is
displayed.
Press° to enter the TIME/D ATE menu. The
hour field flashes.
s10:35afwiuqyto
1: DUPLICATE
s00:00afwie=yto
CONTROLS?
s00:00afwiuqyto
OFF?
s00:00afwiuqyto
TIME/DATE?
TIME/DATE
13
Hint:
Pressing and holding ƒ scrolls through selections quickly.
Setting the Incoming Message Alert
You can set your pager to alert witha vibrating alert (vibration with no alert tone), a
chirp alert (short beep alert), an alert ofincreasing volume (Escalert), or no alert
(completely silent). You can also choose from one of the audio alerts (called audible
alerts in some models).
Press and release ƒ toadjust the hour.
Press ° to move to the next field.
Repeat steps 5 and 6 for the minutes, AM/PM,
month, and day fields.
Press ” from any field to save.
Fromthe standby screen, press and release ƒ
until ALERTS? is displayed. Thealert icon e
flashes.
s00:00afwiuqyto
12:00 1/01
s00:00afwieqyto
12:35P 4/23
s00:00afwie=yto
ALERTS?
ALERTS
14
Note:
If you choose no alert or vibrate, your pager emits an audio (or audible)
alert only if a priority message is received, or an alarm sounds.
Note:
If either audio (or audible) alert mode is selected, your pager automatically
displays the alert options screen.
Press ° to enterthe ALERTS menu. VIBRATE? is
displayed.
Press andreleaseƒ until your choice of
VIBRATE?, AUDIO? (or AUDIBLE?, depending on
the
model), CHIRP?, ESCALERT?,orNO ALERT is
displayed.
Press° toselect the desired alert.The
standby screen is displayed with the
corresponding alert icon.
s00:00afwiu=yto
VIBRATE?
s00:00afwi-=yto
AUDIO?
s00:00cfwie=yto
CHIRP?
ALERTS
Page 5
15
Choosing an Audio (or Audible) Alert
Ifyouselect theaudio (or audible) alert mode, you can set your pager to alert with one
of the audio (or audible) alerts.
Fromthe standby screen, press and release ƒ
until ALERTS? is displayed.
Press ° toenter the ALERTS menu. VIBRATE? is
displayed.
Press and release ƒ untilAUD IO? (or AUDIBLE?,
depending on the model) is displayed.
Press ° to enter the AUDIO (or AUDIBLE)menu.
Press ƒ until your choice of audio (or audible)
alert is displayed. The pager emits a sample of
each alert.
Press ° to select your choice of audio (or
audible) alert. The standby screen is displayed
with the audio (or audible) alert icon
-.
s00:00cfwi-qyto
AUDIO?
s00:00afwie=yto
ALERTS?
s00:00cfwi-qyto
ALERT 1
s00:00cfwi-qyto
12:35P 4/23
ALERTS
16
Setting the Alarm
Your pager has three alarms. Each alarm can be set for either a specific time and
date, or for a specific time on a daily basis.
Fromthestandby screen, press and release ƒ
until ALARMS? is displayed. The alarm icon =
flashes.
Press° to enter the ALARMS menu. The alarm
number
01 flashes.
Press ƒ to scroll through alarm choices 01,02,
or
03.
Press° to moveto the next field. The turn on
= or turn off q icon flashes.
Pressƒ to turn on = or turn off q the alarm.
Press° to moveto the hour field. The hour
flashes.
s00:00cfwiu=yto
ALARMS?
s01:00cfwiuqyto
12:35P 4/23
s01:00cfwiu=yto
12:35P 4/23
ALARMS
17
Press and release ƒ to adjust the hour.
Hint:
Press and hold ƒ toadjust the setting
quickly.
Press ° to move to the next field.
Repeat steps 7 and 8 to set the minutes,
AM/PM, month, and day fields.
Press ” in any field to save and exit.
When an alarm is turned on, the alarm icon
= is
displayed on the standby screen.
To alert on a daily basis, set the month and day
to
--/--.
When an alarm expires, the alarm icon
=
flashes, ALARM is displayed with the a larm
number, and your pager alerts.
Press any buttononce to stop the alarm, and
again to clear the message.
s0101:00cfwiu=yo
12:00P 4/23
s01:00cfwiu=yto
14:30P --/--
s01:00cfwiu=yto
ALARM 1
ALARMS
18
Locking Personal Messages
By locking messages, you can save personal messages to prevent them from being
replaced when the memory is full. Messages can be locked only while reading them.
Note:
You may lock up to half of your personal messages. The number of
messages that can be locked varies by model. To lock another message once your
pager’s limit is reached, you must first unlock at least one message.
Pressƒ while reading a personal message to
display
LOCK?.
Hint:
Refer to “Receiving/Reading
Messages” on page 10 for information on
how to access messages.
Press° to lock the message. The message
indicator
is displayed.
When a locked message is selected or read, the
lock icon
y is displayed.
s10:35afwiuqyto
LOCK?
s10:34afwiuqyto
†
•••
MESSAGE FEATURES
Page 6
19
Unlocking Personal Messages
Private Time
This feature allows you to turn off all pager alerts during a preselected time period.
When the private time period expires, alerts are turned on again. Messages received
during this time period are stored. When turned on, private time works on a daily
basis.
Press ƒ while reading a locked personal
message to display
UNLOCK?.
Hint:
Refer to “Receiving/Reading
Messages” on page 10 for information on
how to access messages.
Press ° tounlock the message. The message
indicator
is displayed.
From the standby screen, press ƒ to display
CONTROLS?. The controls menu icon w flashes.
s10:35afwiuqyto
UNLOCK?
s10:34afwiuqyto
†
•••
s10:35afwie=yto
CONTROLS?
MESSAGE FEATURES
20
Press° to enter the CONTROLS menu.
Press andreleaseƒ until PRIVATE TIME? is
displayed.
Press° to enter the PRIVATE TIME menu. The
private time turn on
r or turn off s icon
flashes.
Pressƒ to turn on r or turn off s private time.
Press° to moveto the next field. The hour
field of the start time flashes.
Pressƒ to adjust the start time hour.
Repeat steps 6 and 7 to adjust the start time
minutes, AM/PM, stop time hour, minutes, and
AM/PM.
s00:00afwiuqyto
OFF?
s10:34afwiuqyto
PRIVATE TIME?
s10:34afwiuqyto
1:52P/ 1:52P
r10:34afwiuqyto
1:52P/ 1:52P
r10:34afwiuqyto
9:00A/11:30A
MESSAGE FEATURES
21
Deleting Messages
Messages may be deleted one at a time orall at once.
Deleting a Single Message
Press ” from any field to save and exit. While
private timeisactive,
e isnotdisplayed,and the
pager does not alert.
While reading a message, press and release
ƒ until DELETE? is displayed.
Hint:
Refer to “Receiving/Reading
Messages” on page 10 for information on
how to access messages.
Press ° to delete the message.
r01:00cfwiu=yto
10:35A 4/23
s10:35afwiuqyto
DELETE?
MESSAGE FEATURES
22
Deleting All Messages
The DELETE ALL command deletes all read and unlocked personal messages and
information services. Locked or unread messages are not deleted.
Storing Messages
Y our pager can store up to 16 personal messages, depending on the model. (Some
models can store up to 20 messages.) Each stored message is assigned a number,
which is displayed when the message is saved. The first message received is 1, the
second is 2, and so on.
Fromthestandby screen, press and release ƒ
until DELETE ALL? is displayed. The delete icon
i
flashes.
Press° to enter the DELETE menu. The delete
confirmation
DELETE? is displayed.
Press° to delete all read and unlocked
personal messages and information services.
s10:35afwie=yto
DELETE ALL?
s10:35afwie=yto
DELETE?
MESSAGE FEATURES
Page 7
23
Automatic Message Deletion
If all message slots are full and anew message is received, the oldest unlocked read
message is automatically deleted. When the message memory isfull,
MEMORY FULL is
displayed. Press any button to return to the standby screen. If all messages are
unread, the oldest message is deleted and
OVERFLOW is displayed.
Informa tion Services
Information services are typically news updates sent byyour service provider. Your
WORDline pager may be equipped with these services. If your pager has this
capability, you will receive regular updates throughout theday in up to 3 different
information categories. Updates include sports scores and sports news,top stories,
and entertainment news.
Note:
Content providers and content are subject to change without notice. Update
schedules may vary depending uponyour service provider.Contact your service
provider if you are interested in receiving information services.
Informati on Services History
Y our pager may be equipped with up to three history slots for information service
messages. These slots contain themost recent information service messages your
pager received. Multiple messages are displayed in reverse chronological order
(newest first) and each is preceded by ---x-->, where x is the message number.
INFORMATION SERVICES
24
Reading Information Services
When an information service message is received, Ü flashesfor12 secondsand
the number of unread information services is displayed. After 12 seconds, the
standby screen is displayed.
Press” to display the message status
screen.
Hint:
Press ° to select the information
service menu, if necessary.
Press” to enter the information service
menu.
The information service message icons
display
¥ or when selected and ® or Æ when
unselected.
Press° to move to the message you want to
read. The corresponding message slot number
is displayed.
s00:01cfwiu=yto
Ü
s00:01cfwiuyto
¥®
s00:02cfwiuyto
®¥
INFORMATION SERVICES
25
Note:
Information messages cannot be locked.
Turning the Information Service Alert On and Off
You can set an information service alert for each message slot.
Press ” to read the message. The time the
information service was received is displayed
with the first screen of the message.
Note:
To return to the standby or message status screen while reading a message,
press
ƒ and then” .
Note:
o indicates the message is continued on an additional screen.
While reading an information service message,
press
ƒ until CHIRP ON? or C HIRP OFF? is
displayed.
Press ° to turn chirp on or off for that
information service message slot.
Note:
Next time you view yourinformation
service messages,
is displayed.
s05:08pfwiuqyto
TOP SINGLES 1.
s0fwiuqyt
CHIRP ON?
INFORMATION SERVICES
26
Turning the Information Service Bookmark On
Y oucan set a bookmark to hold your place in a lengthy information service while
reading it. This feature is only availableon certain models.
While reading an information service message,
press
ƒ to display BOOKMARK?.
Press° to activate the bookmark. The
message menu screen is displayed.
ï is displayed in the information service menu.
The next time you read that information service
message, the message begins at the point where
the bookmark was placed.
ˆ indicates a selected book marked message.
s05:08pfwiuqyto
BOOKMARK?
s00:01cfwiuyto
Ü
s00:01cfwiuyto
ˆ®®
INFORMATION SERVICES
Page 8
27
Out of Range
Ifyour pager is equipped with thisfeature,and if you areoutsideyour paging coverage
area,
t is displayed. As long as t is displayed, your pager cannot receive
messages.
Message Error Icons
If there is an error in the message received, the error icon É is displayed over each
errored character in the message.
If this option is turned on, and if the truncated message icon
ª isdisplayed at the end
ofthemessage, either the messagewas too long, or therewas not enough memory to
store the message.
Cleaning YourPager
To clean smudges and grime from the exterior of your pager, use a soft, non-abrasive
cloth moistened in a mild soap and water solution. Use a second cloth moistened in
clean water to wipe the surface clean. Do not immerse in water. Do not use alcohol or
other cleaning solutions.
Care and Maintenance
WORDline and WORDline FLX pagers are durable, reliable, and can provide years of
dependable service; however, they are precision electronic products.
USE AND CARE
28
Water and moisture, excessive heat, and extreme shock may damage the pager.Do
not expose your pager to these conditions. If repair is required, th e Motorola Service
Organization, staffed with specially trainedtechnicians, offersrepaira nd maintenance
facilities throughout the world.
You can protect your pager purchase with an optional extended warranty covering
parts and labor. For more information about warranties, please contact either your
paging service provider,retailer,or Motorola, Inc. at 1-800-548-9954. For repairs, call
Motorola, Inc. at 1-800-548-9954 in the U.S. or 1-800-323-9685 inCanada. In the
U.S., to contact Motorola, Inc. on your TTY,call 1-800-793-7834.
Questions?
For questions about the use of your Motorola pager call 1-800-545-9954 or 1-800793-7834 (TTY) in the U.S. If you have questions about your paging service, contact
your paging service provider.For information about other Motorola products, please
visit our web site at www.motorola.com.
Patent Information
This Motorola product is manufactured under one or more Motorola U.S. patents.
These patent numbers are li sted inside the housing of this product. Other U.S.pa tents
for this product are pending.
USE AND CARE
29
Regulatory Agency Compliance
This device complies with part 15 of the FCC Rules Operation is subject to the
following two conditions: (1) This device may not cause harmful interference, and (2)
this device must accept any interference received, including interference that may
cause undesired operation.
This equipment has been testedand found to complywith the limits for a Class B
digital device, pursuant to part 15 of the FCC Rules. These limits are designed to
provide reasonableprotection against harmful interference ina residential installation.
This equipment generates, uses and can radiate radio frequency energy and if not
installed and used in accordance withthe instructions, may cause harmful
interference to radio communications. However ,there is no guarantee that
interference will not occur in a particular installation.
If this equipment does cause harmful interference to radio or television reception,
which can bedetermined by turning the equipment off and on, the user isencouraged
to try to correct the interference by one or more of the following measures:
•Reorient or relocate the receiving antenna.
•Increase the separation between the equipment and receiver .
•Connect the equipment into an outlet on a circuit different from that to which the
receiver is connected.
•Consult the dealer or an experienced radio/TV technician forhelp.
FCC / WARRANTY
30
ONE (1)YEAR STANDARDLIMITED WARRANTY AND PROVISIONS(U.S.A. ONLY)
Motorola warrants the pager against defects in material and workmanshipunder normal use and
service for the periodof time specifiedbelow.This expresswarranty is extended by Motorola,1500
GatewayBlvd., Boynton Beach, Florida 33426 to the original end user purchaseronly and is not
assignableor transferabl eto any other party.
This warranty setsforth thefull extentof MOTO R OLA's responsibilitiesregardingthe pager.Repair,
replacement,or refund of the purchase price,at MOTOROLA'soption,is theexclusiveremedy.THIS
WARRAN TY IS GIVEN INLIEU OF ALL OTHER WARRANTIES,EXPRESSOR IMPLIED,
INCLUDING WITHOUT LIMITATION, IMPLIED WARRANTIES OF MERCHANTABILITY AND
FITNESS FOR A PARTICULA RPURPOSE. THISWARRANTY IS LIMITED TO THEDURATION
CHOSEN.IN NOEVENT SHALL MOTOROLABE LIABLEFOR DAMAGESIN EXCESS OFTHE
PURCHASE PRICE OF THE MOTOROLAPAGER, FOR ANY LOSS OF USE, LOSS OF TIME,
INCONVENIENCE, COMMERCIALLOSS, LOST PROFITS OR SAVINGSOR OTHER
INCIDENTAL,SPECIAL OR CONSEQUENTIAL DAMAGES ARISING OUT OF THE USE OR
INABILITY TOUSE SUCH PRODUCT,TO THE FULL EXTENT SUCH MAY BE DISCLAIMED BY
LAW.
Motorola pagers are shippedfrom the factory with a standard limited warranty of one (1) year on
parts and labor from date of purchaseby the original end userpurchaser, based on proof of
purchase. In the event of a defect, malfunction, or failure to conform to specificationsduring the
warrantyperiod, Motorola,at itsoption, willeither repair,replaceor refundthe purchaseprice of the
pager.Repair,at Motorola's option,may include thereplacement of parts orboards withfunctionally
equivalentreconditioned or new parts or boards. Replacedparts and boards are warrantedforthe
balance of the originalwarranty period.All parts and boards removedin thereplacement process
shall become the property of Motorola. (continued)
FCC / WARRANTY
Page 9
31
LIMITED WARRANTY AND PROVISIONS (U.S.A.ONLY)continued
This warranty doesnot coverdefects, malfunctions, performancefailures or damages to the unit
resultingfrom use in other thanits normal and customary manner,misuse, accident or neglect, the
use of non-conformingparts, or improperalterations or repairs. Thiswarranty does not coverwear
andtear on covers orhousings, nor the coverage or range overwhichthe pager will receivesignals.
For information on how toreceive service on Motorola pagersor coveredaccessories, call 1800-548-9954 or 1-800-793-7834(TTY).
Pager warrantywillbe VOIDif anyof the following conditions occur:
• Pagers that are incomplete such as those in which boards or components are missing and/or
incompatible.
• Pagers whose serialnumbers do not match on the boards,or pagersin whichthe board serial
numbersdon’t match thehousing.
• Pagers that havebeen opened by, orhad work performed by,anyoneother thana Motorola
authorizedpager service center.
• Pagers receivedwith non-conforming or non-Motorolahousingsor parts.
• Flat raterepair fees applyto pagersand accessories notcoveredunder warranty.
STATE LAWS
SOME STATES DO NOTALLOW THE EXCLUSION OR LIMITATION OF INCIDENTAL OR
CONSEQUENTIAL DAMAGES, OR LIMITATION ONHOW LONG AN IMPLIED WARRANTY
LASTS,THEREFORE THE ABOVELIMITATIONS O R EXCLUSIONSMAY NOTAPPLY.This
warrantygives you specific legal rights andyou mayalso haveother rightswhich vary from state to
state.
FCC / WARRANTY
NOTES
Personal Numbers
Use the spaces provided b elow to write down your pager and personal
identification number (PIN), and the number of your s ervice provider. Additional
spaces have been provided to write down the pager and PIN of your family and
friends.
Service Provider Pager Number and PIN
Family and Friends Pager Number and PIN
PERSONAL NUMBERS
t, Motorola, WORDline, WORDline FLX, Escalert, and F
are trademarksor registered trademarksof Motorola, Inc.
© 1997, 1999 by Motorola, Inc. All Rights Reserved.
PersonalCommunications Sector
1500 Gateway Blvd., BoyntonBeach, FL 33426-8292
Printed in U.S.A. 8/99
MESSAGE FEATURES
FOR HOME OR OFFICE USE
Tested To Comply
With FCC Standards
Wordline
A04 Models
@6881028B95@
6881028B95-B
Page 10
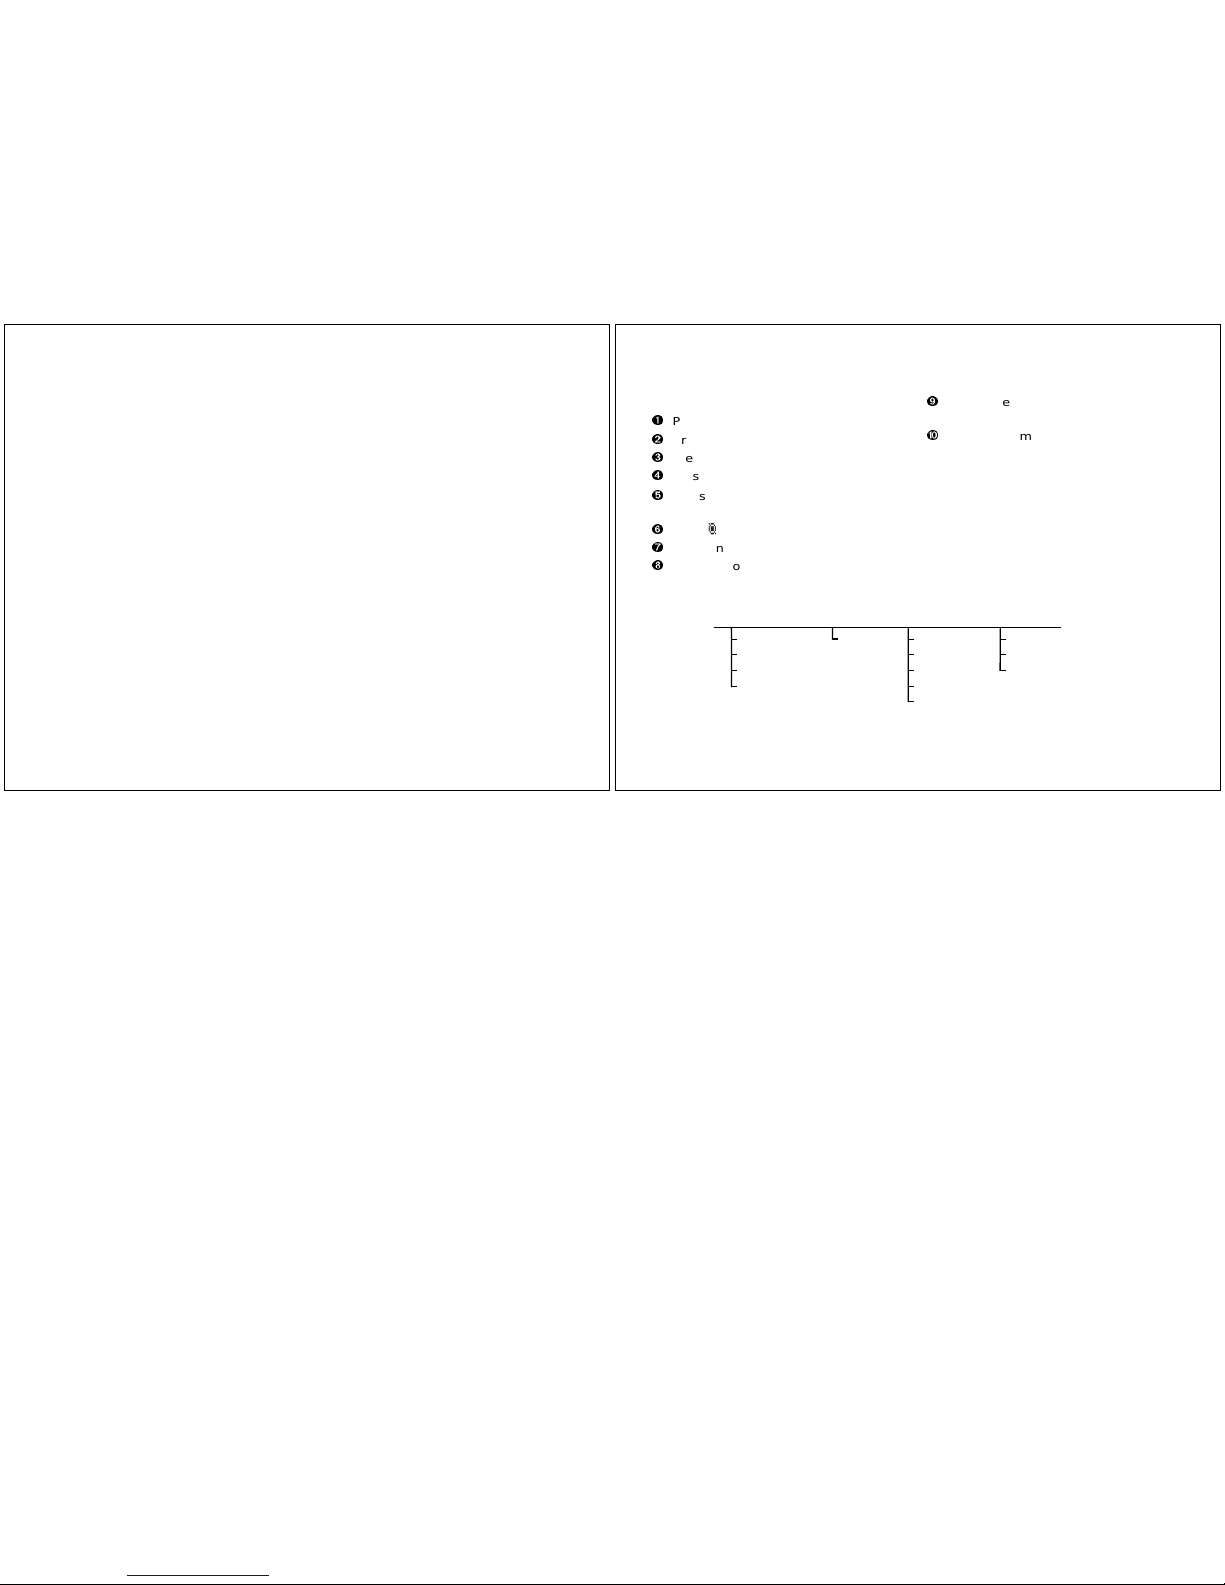
WORDline™ and WORDline™ FLX Quick Reference Card
Indicatorsand Icons
s
On
o
Message continuation
r
On, PrivateTime turned on
ô
Low-battery
Message, selected
Ü
Information service menu, selected
•
Message, unselected
¿
Information service menu, unselected
w
Controls menu
¥
Information service message, selected
i
Delete All menu
®
Information service message, unselected
-
Audio alert (or Audible alert)
Information service message, selected (FLEX)
e
Alerts menu/Chirp alert
Æ
Information service message, unselected (FLEX)
u
Vibrate (silent) icon
¯
Information service, Chirp on, selected
=
Alarm menu/Alarm turned on
Information service, Chirp on, unselected
q
Alarm turned off
ˆ
Information service, Bookmark, selected
y
Locked message
ï
Information service, Bookmark, unselected
t
Out of range
Locked message, selected
¢
Locked message, unselected
ƒ° ”
Mode Select Read/Power On
Control Buttons:
Setting theAlarm
Press ƒ until ALARMS? is displayed.
Press ° .
Press ƒ to choose alarm 01, 02 ,or03.
Press ° to move to the next field.
Press ƒ to turn on = or turn off q the
alarm.
Press ° to move to the hour field.
Press and release ƒ toadjust the hour.
Press ° to move to the next field.
Repeat steps 7 and 8 to set the minutes,
AM/PM, month, and day fields.
Press ” from any field to save and exit.
Toalert on a daily basis, set the month and
day to
--/--.
Locking and Unlocking Messages
While reading a personal message, press
ƒ
to display LOCK? or UNLOCK?.Press° .
Deleting a Single Message
Press
ƒ while reading a message until
DELETE? is displayed. Press ° .
WORDline and WORDline FLX Menu Map
Controls Delete All Alerts Alarms
DELETE
OFF
TIME-DATE
SCROLL
PRIVATE TIME
VIBRATE
AUDIO
CHIRP
ESCALERT
NO ALERT
ALARM 01
ALARM 02
ALARM 03
 Loading...