

Morel VIRTUSnano 603, MXR240n, VIRTUSnano 602, MXR300.2, VIRTUS NANO MW6 Installation Manual
...Page 1
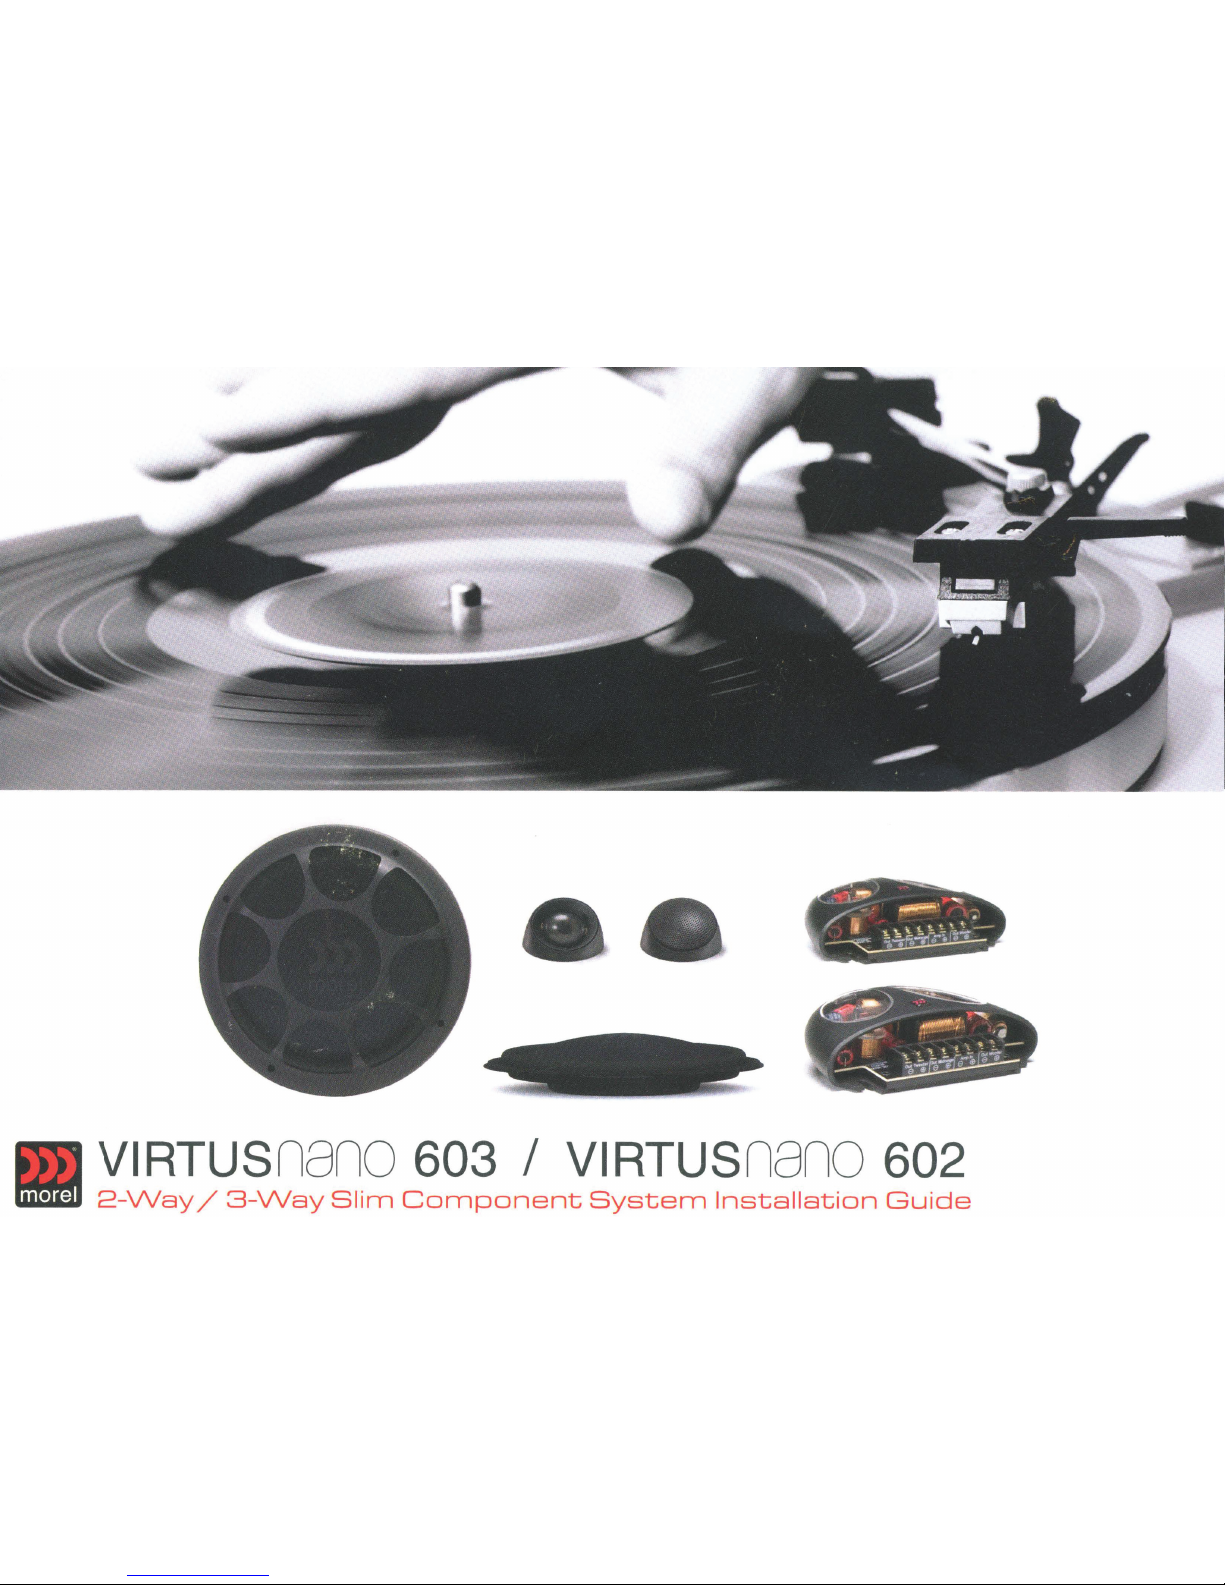
VIRTUSnano 603
I
VIRTUSnano 602
lllliiA'iM
2-Way
/
3-Way
Slim
Component
System
Installation
Gu
i
de
Page 2
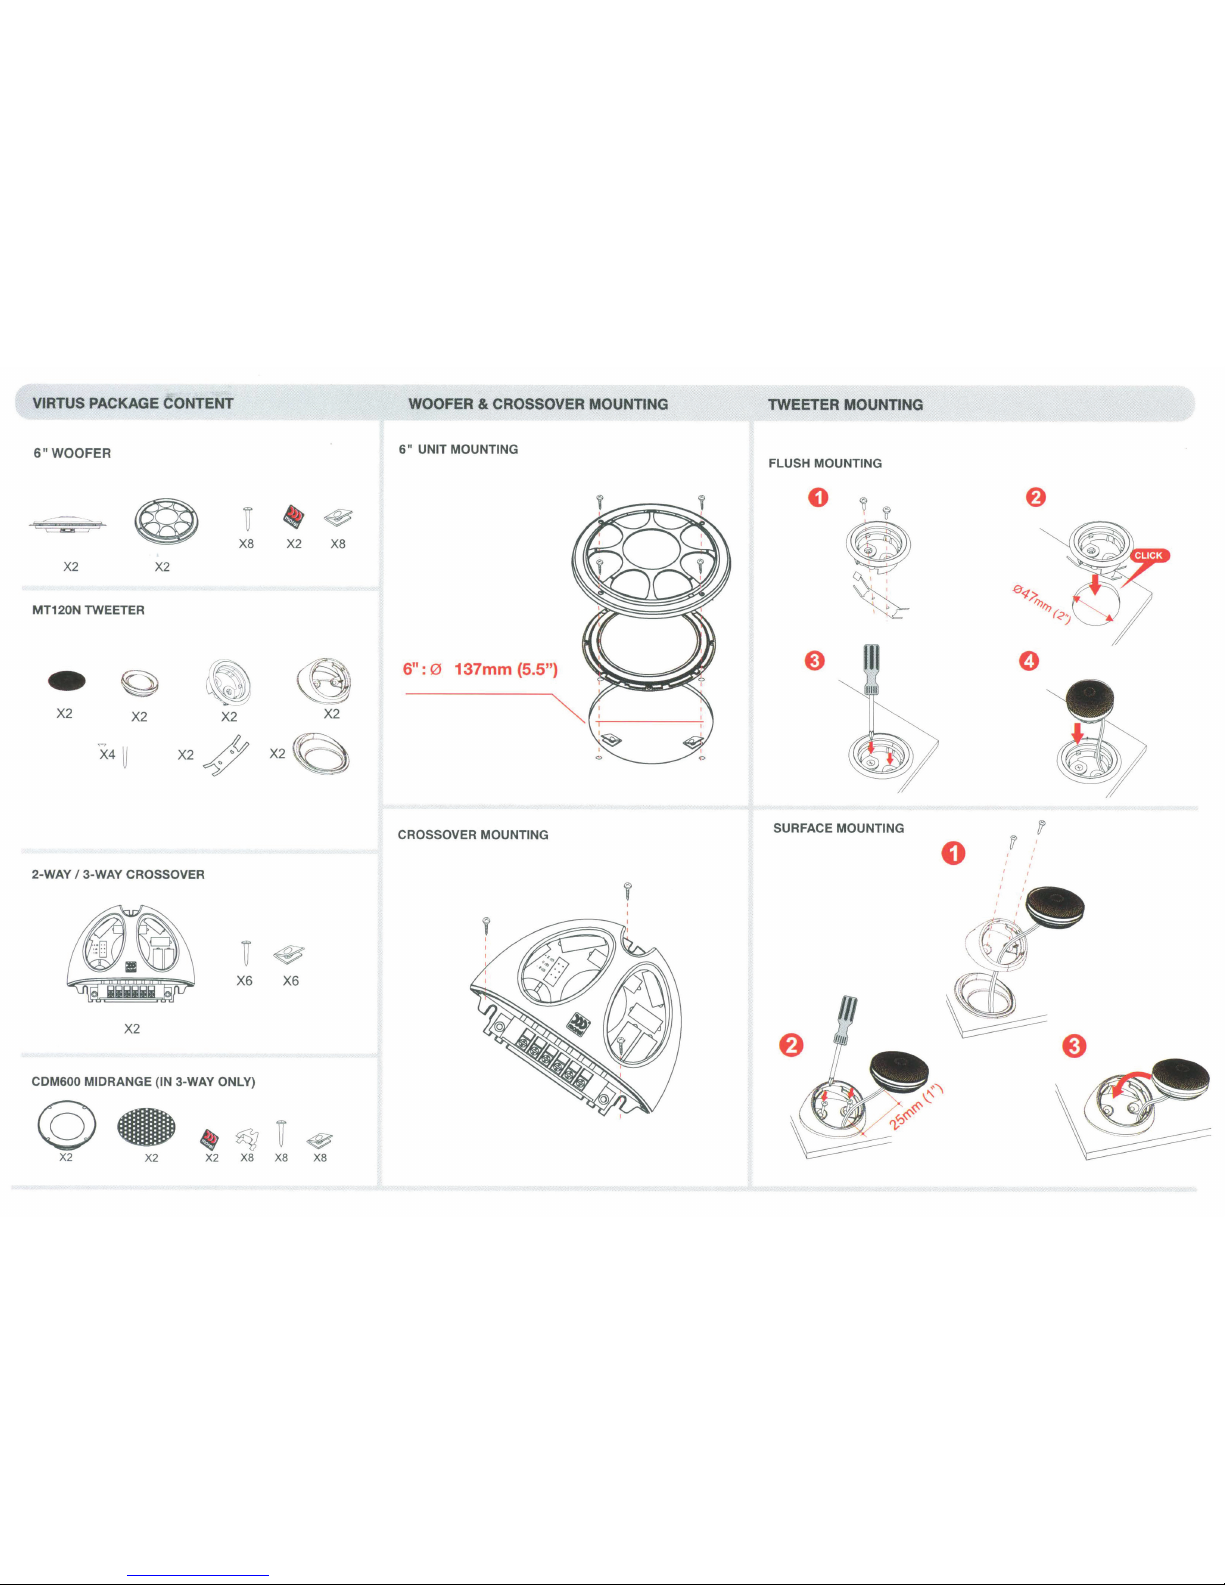
VIRTUS
PACKAGE CONTENT
WOOFER
&
CROSSOVER MOUNTING
TWEETER
MOUNTING
6"WOOFER
6"
UNIT MOUNTING
FLUSH MOUNTING
®
~
4t
~
....
1
XB
X2
XB
0
X2 X2
MT120N TWEETER
~
0
~
~
6" : 0
137mm
{5.5")
e
X2
X2
X2
X2
x4
~
X2
4
X2
e
CROSSOVER MOUNTING
SURFACE MOUNTING
2-WAY
I
3-WAY
CROSSOVER
X6 X6
X2
CDM600
MIDRANGE (IN
3-WAY ONLY)
©
~~~
X2
X2
X2 X8
X8
X8
Page 3

2-WAY CROSSOVER WIRING 3-WAY CROSSOVER WIRING
PASSIVE SET UP PASSIVE SET UP
e e
Tweeter~
Amplifier
OUT
I Head Unit
OUT
e1 e
ACTIVE SET UP (Outputs must be filtered)
e Hi Pass OUT
Ell
Low Pass
OUT
2ch Amplifier with crossover
filtered outputs
at
minimum 2,500 Hz
TWEETER LEVEL ALIGNMENT
:V
I
-
~
1
~1
1000
Hz
2000Hz:
3200
Hz
20000
Hz
Ell
e
Woofer
Tweeter
IN
e
Ell
e
Ell
Woofer IN
........
B
~
.,
..
OdB (FLAn
-
2d8
/
\
)
Midrange OUT
e e e
Ell
Tweeter OUT e
Amplifier OUT I Head Unit
OUT
ACTIVE SET UP (Outputs must be filtered)
0
Hi Pass
OUT
Ell
0
Ell
Low
Pass
OUT
2ch Amplifier with crossover
filtered outputs at minimum 2,500 Hz
CDM600 MIDRANGE MOUNTING (IN 3-WAY ONLY)
Option 2
Use
the
screw clips in any combination.
with
or
without the plastic frame.
These
clips can be used either
way
up
down depending on installation requirements.
e e
0
Woofer OUT
Tweeter
IN
0
Option 1
Woof
er
Midrange
IN
Page 4

WOOFERS VIRTUS NANO
MW6
t-:Jorninal
_
lrnp~dance
(Ohms)
PSJvver
~andli[lg
'v\frrns
Max
. _Trans :
Pvvr
~an(jling
Wrrns
Ser)~itivity(2
.83V/i
M)
Freqljency
Response
Hz
Resor1ant
Freq.FsHz
V()ice
qoiiQiarnet~r
mf!1(ir)Ch)
V()iC:e
(;oil
Height
mrn
(inch)
V()ice Coil
Type/
Former
Voice Coil Wire
[)9
_
Re~istance(Ohms)
.
V()iceq()illndiJCL
@1
_
~~z
_
(tv1f-l)
M
_
~9r1~t
Systef!1
~
-
~
-
~
tv1~gn~ticGap
Heig~t
mn~
(ir)Ch)
BL
Product/BXL
Max.
Un.earExjXmax
mm(inch)
Electrical
QFactor
QES
QTS
OMS
fy1()ying
ty1ass
tv1M?-
gr
j c)unce
Equ1y
_
gan
Air
Load_
VA$
-
-
~
-
_L
_(C
LLft)
f:ttectiye
Piston
Area$[)
?q
:~
rn
(sq.
inch)
Cor1
_
eType
Cone
Mc:terial
U_
nit[)iarneter
mrn
_(inch) .
MountingDepth
mrn
(inch)
rv1ounting Cutout_mm
(inc~)
..
Net Weight
gr.
4
80
250
~lc:U3
50-3500
~!)
···
···
·· ..
.
!)'f{?.J§l
......
!.(){().'fl
.
A
.
I~IT~irt~rrl
..
H~:><:CI!~h~~
.
J()Q
0
(()
AI\Jf!l~f.l\JIT'
3
9~7t3
..
.
N~c:»c:tYI11i\J
m
VE!rtt~c:t
.
...
.. .. .
.4(()~1§)
.4.4
..
:!:;3.
.<9
.
~~71
1.4
0.9
3.2
17
!).5
141cm
2
.
Tr:E!CI~E!CL
paper:
C:<>rtE!
Carbon
+
Paper
.
§~S.
(().?§)
!.?
{().?)
137
(S..48)
450
MIDS
&
TWEETERS
CDM600 MT120N
_
~()rl'li
_
~Cil
_
lrl'lP~?<:i~~e.
(
()
hfl1)
~ol,\/er
t-Jan(jlin9.
~~rrns)
Max Transient
~()'.\fe.r
Handling
I''!
(
1
Oms)
Se.nsitivity
_
(?
·
~
-
~\/_11tv1)
__
~E~
~re.que.nc;y
_
fie?P()r1Sl7
t-Jz
FS Hz
\J_()ice
_
g()il_[)_i~
_
rne.~e.r
rT1rn(inch)
Voice
Coil
Former
·-
·--·
-···
..
·-
..
--
-·
.....
-··
..
······
..
-~-
......
····-··-·
.. .
.
\/()i~~
QqiiiJI.Iir~
.
DC Resistance ohm
8
100
300
90
600-6000
·
···
····
····
···
486
54
(2.125)
Aluminum
3.5
······· ·
··
···
·····-··-·
······
···········--·
-···
··
-·
······
··
······
M<.'lgn~t
$yst~
.
l"0
...
·
···:·
~
-
~?~y0iu
.
fT1_:Rear
.
v__er,te.
·
~
··· ·
·
·
PqmeJvPI3
Dome.
M?ter_ial
..
l)nit
Qiarne.te.r
..
f!l
.
rnJ
i_
l')ghJ
..
M9tJJJ!log
_
Qe.pJ.IJ
.
_rD
.m
(i.ogb}
.
Mounting
..
Cutou.tmm
..
O.nc.h)
.
...
.....
.
........
..
Net
Weigb.t.Kg(lb)
..
.
..
...
.
Selected
soft dome
Silk
8~.00(~.50)
-
~
-
~
..
Q9
<9:
.
~~)
....
?.?:?Q.(g
_
:~!t
.....
.
9:??(().!)5) .
4
80
1800-22000
1200
2~(1.125)
Aluminum
3.4
_
NeC>~YrT1iurT1
Ac:utl~)(
Ge>~ted
Pe>rn~
Silk
45.()Q(1
~?t
.
..
..
.......
..
..
?
.
9
.
~90
_
(9:~
.
9}.
....
§Q_,QQ
_
{g
_
,QQ}.
.
Q.QE){QJ
.
~1
..
CROSSOVERS MXR240n MXR300.2
Crossover
Point
Crossover
Controls
Wiring
Options
2200Hz/12dB/6dB
Tweeter+/-
2d8
N/A
W:
500Hz
I
12dB
M:18d8/
2200Hz/12dB
T:
2200Hz
I
6d8
Tweeter+/-
2d8
N/A
Page 5

Place plastic housing
on
~
rubber
base
before
assembly
Plastic Housing
Rubber
Base
Page 6

•
Verifying
your
Genuine
Morel
Product
In
light
of
counterfeit
products
that
have
appeared
in
some
markets,
Morel
enables
you to verify the authenticity
of
your purchase.
1.
Remove the verification slip from the nylon
bag that contains your Installation
Guide.
2. Place it over the verification sticker found
on the bottom
of
each
Genuine
Morel
product.
3.
The word "Genuine" should become visible.
4.
If
not, we recommend that you return the
product
to
your
point
of
purchase.
HOLD
HERE
 Loading...