

Mopar EVTS User Manual
Technical Support 877-477-3710
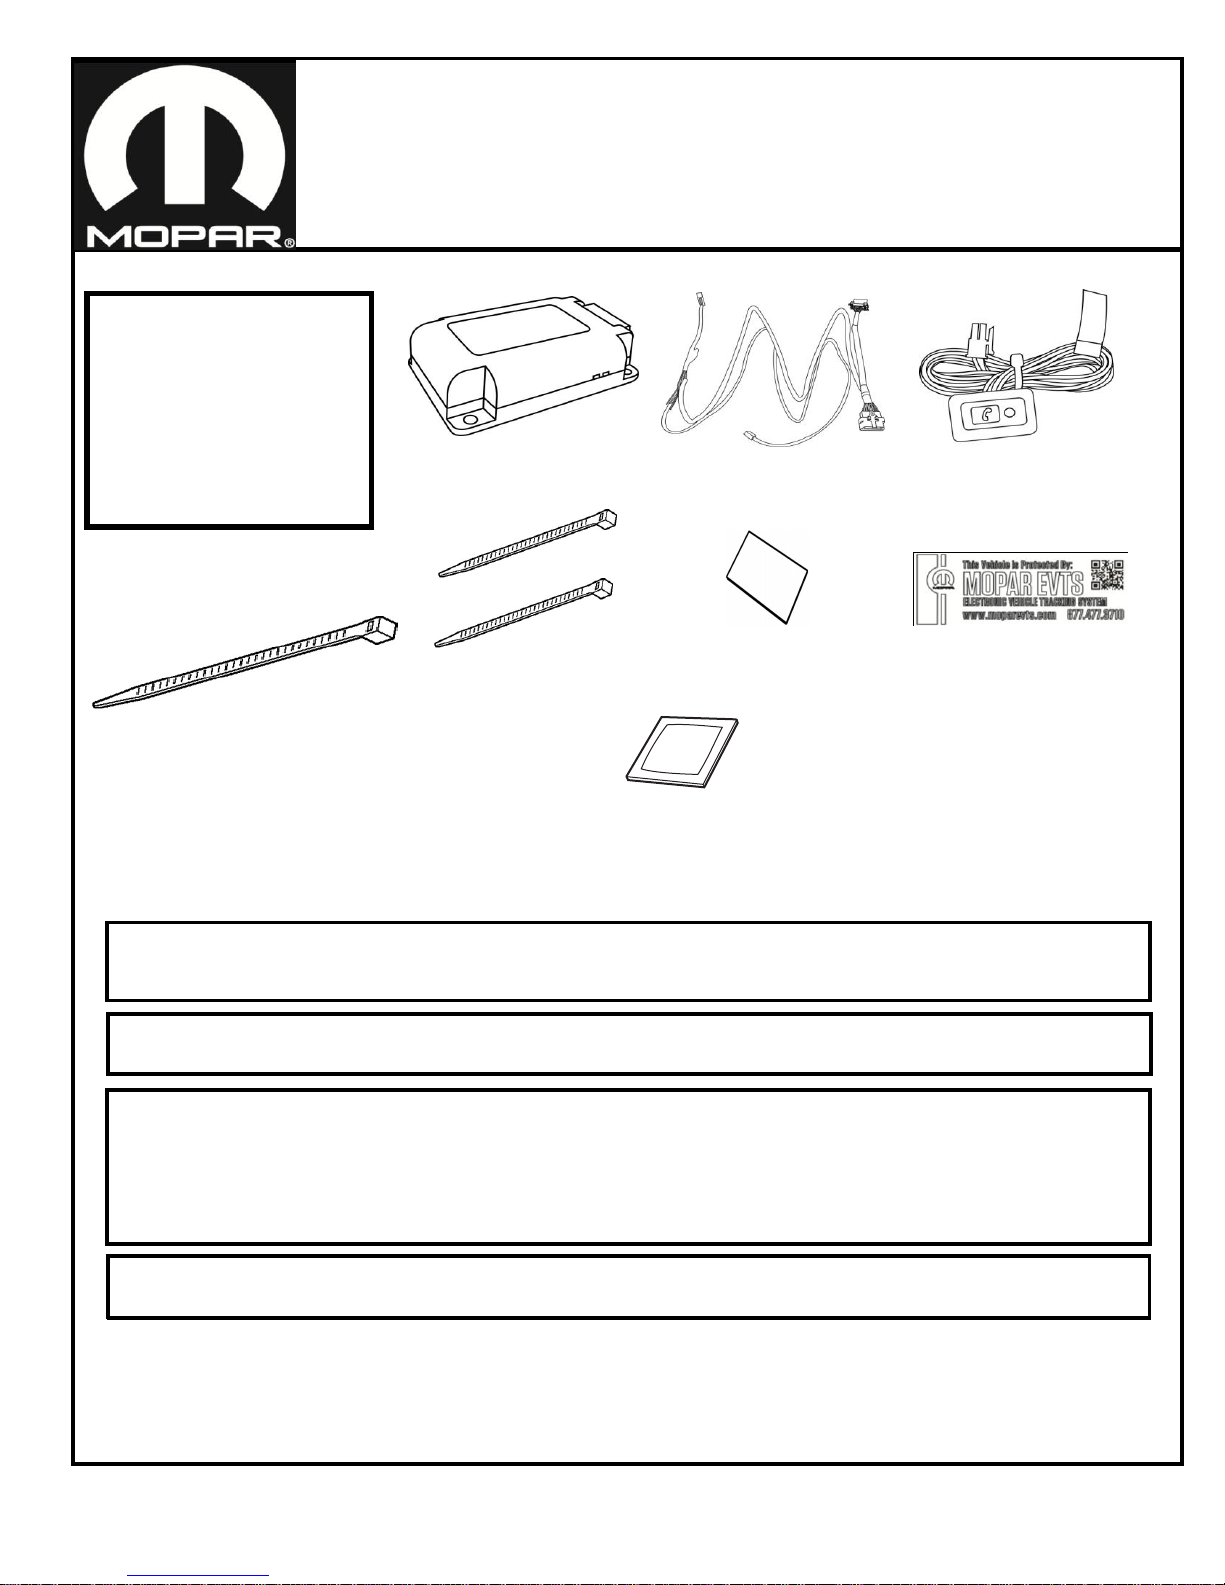
Contents of box:
1. GPS Module
2. OBDII wire harness
3. Gap Panel switch
4. Zip ties
5. Double sided tape
6. Window Sticker
7. EVTS Owner's Manual
1
2
3
4
6
7
IMPORTANT: Make sure to get the ESN from the label on the module or from the box. You should also place
the extra ESN label sticker in the front cover of the EVTS owner's manual. Be sure to provide the ESN to the
WARNING: Make sure to keep GPS Module and wiring harness away from AIRBAGS, AIRBAG WIRING, and
any moving objects under the dash. (i.e. steering joints, brake pedal and shift levers.)
This information is provided to assist with installation of certain features available
may contain outdated or incorrect information. It is the technician's job to verify all wires being used and
connect them properly. Guidepoint is not responsible for any damage that may occur due to improper testing
and/or installation of components related to this installation supplement. If you feel that the information
contained in this supplement is incorrect, please contact Guidepoint Technical Support at 1.877.477.3710.
Electronic Vehicle Tracking System
(EVTS)
1
For instructions related to trim panel, instrument cluster and radio removal
refer to the vehicle specific service manual.
www.moparevts.com
ALCOHOL
PAD
customer so that they can easily activate their new EVTS system.
on the EVTS device and
July 20, 2016
K6861090AB
Technical Support 877-477-3710
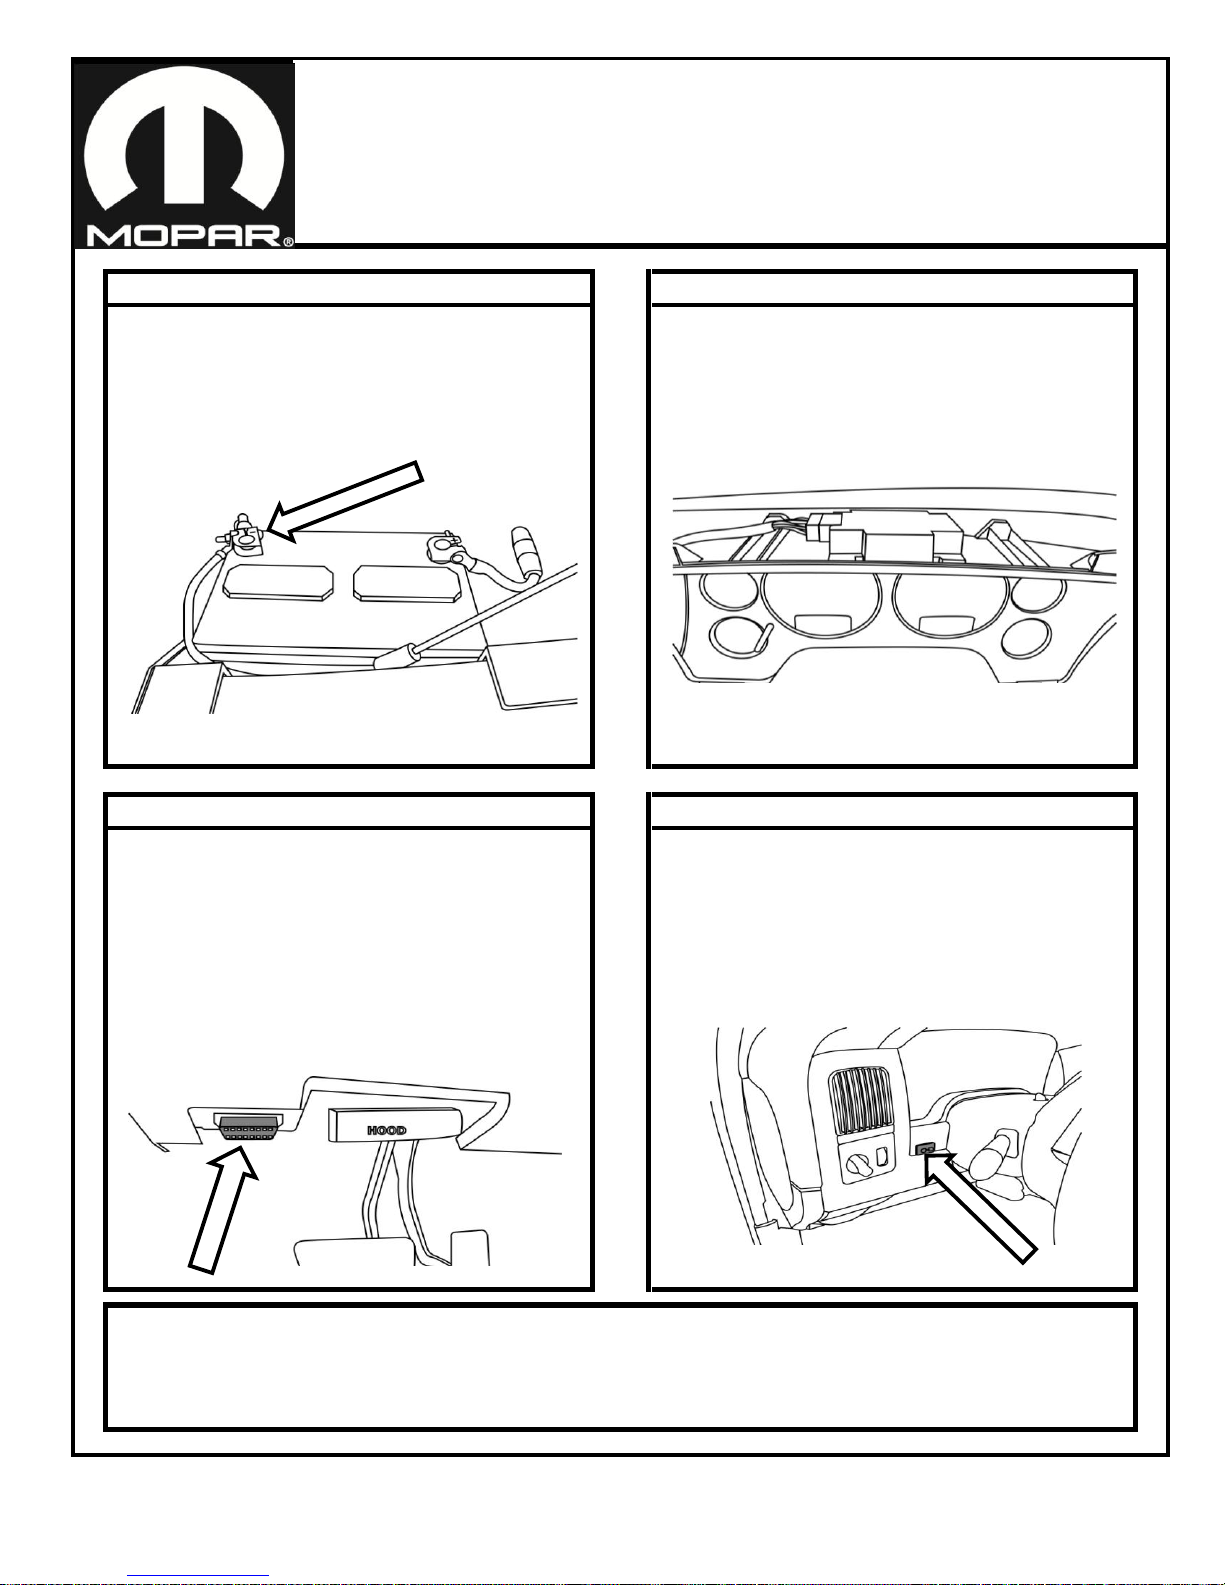
Disconnect Battery Negative Terminal Find a suitable location for the Control Module
Locate the vehicle's OBD-II connector
Route Harness
Installation Instructions
1
For instructions related to trim panel, instrument cluster and radio removal
refer to the vehicle specific service manual.
2
3
4
The module should be underneath the dash and not
visible. There should not be any metal obstructing
the module's view of the sky. Plastic, vinyl and
glass will not affect signal reception. Make sure
that the label is facing up and that the module is
The vehicle's OBD-II connector is usually found
underneath the dash to the left of the steering
column. Remove any panels necessary to access it.
Unclip OBD-II from panel it is clipped in to. Clip
OBD-II harness male end where original plug was.
Clip the car OBD-II harness in to the female side of
OBD-II harness. Then find a good spot to zip tie
this harness up. Make sure to keep away from
Route GAP Panel Connector to location where you
are going to install GAP Panel. (i.e. blank knock
outs, around shifter or close to steering wheel)
Then route harness for GPS module and plug in.
Make sure to not route around any moving parts.
Make sure the connection to the harness is secure.
Disconnect the negative terminal of the vehicle's
battery.
2
www.moparevts.com
Airbag wiring and any moving parts under dash.
The harness should be secured every 150 mm.
level. Visit www.moparevts.com for vehicle specific
mounting locations.
July 20, 2016
K6861090AB
 Loading...