

Page 1

Owners Manual
series
Page 2

Page 3
Contents
Contents 1
Introduction 2
Set Up and Positioning 2
Radius One 2
Radius 200 2
Positioning - Front Speakers 3
Positioning - Surround Speakers 3
Optimum Speaker Placement 4
Fixing the Radius 225/ Radius One to a Wall 5
Radius 270 Feet and Spikes 6
Specifications 7
Owner Information 8
monitoraudio.com
1
Page 4

Introduction
Congratulations and thank you for your purchase of the Radius Series loudspeakers.
We are confident they will provide years of enjoyment and pleasure as only high quality
components have been used throughout.
Please follow this user manual carefully as it contains important information about positioning
and set up procedures. For further advanced information please refer to our web site at:
www.monitoraudio.com
The Radius 45 incorporates a thermal protection device, which helps to protect
the drive unit and tweeter from permanent damage. If the speaker stops working
after a long period of play, turn off the source for about 10 minutes, and retry.
Set Up and Positioning
Although position and suitability will have been considered prior to purchasing these
loudspeakers, this section will guide optimum positioning and set up (an illustration is
provided on page 4 to assist with positioning). For instructions on fitting the Radius 225 or
Radius One to a wall, please refer to page 5. The Radius One features fixings compatible
with a Sanus Wall Bracket.
NOTE: The Radius 45 and 90 can be fixed to a wall using our Universal Speaker Mount
sold seperately. The Radius 200 is not designed to be wall mounted.
Self adhesive rubber feet are provided to prevent movement due to vibration when using
the Radius Series loudspeakers on a table/ equipment stand. The Radius 270 comes
supplied with rubber feet fitted into the plinth for use on hard floors. Further details on these
can be found on page 10.
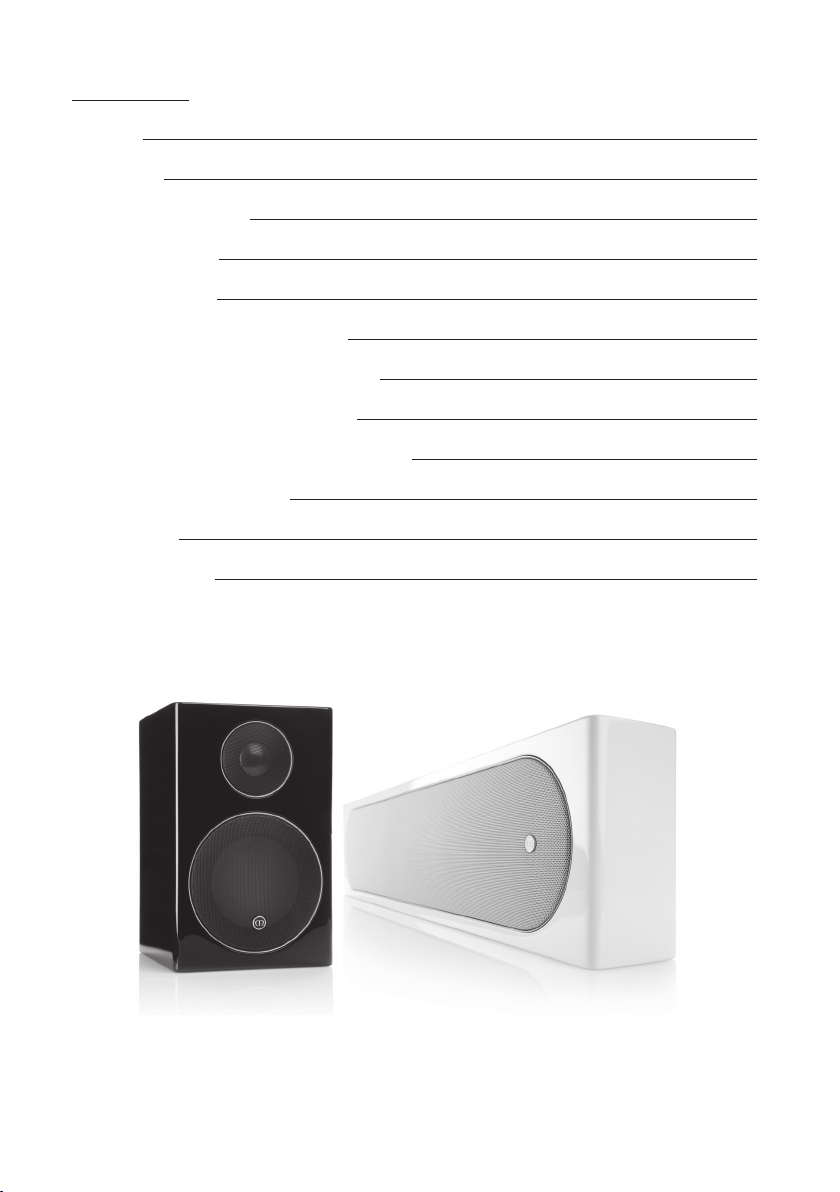
Radius One
The Radius One can be placed either just below or just above your TV/ projector screen. It
can be wall mounted with the supplied bracket (refer to page 5), or alternatively using the
Sanus VMA202 Soundbar Speaker Mount. refer to www.sanus.com for further information.
Radius 200
The Radius 200 is the range’s first dedicated centre speaker, and is designed to be placed
on a shelf or cabinet.
2
Radius Series
Page 5

Positioning - Front Speakers
The centre channel should be the first speaker positioned in a home theatre room, and
such that the tweeter is directed towards the listener’s ear. The centre channel’s job is to
anchor dialogue and other on-screen sounds to the screen. Typically, as much as 60% of
a movie soundtrack comes through the centre channel.
The centre channel can be placed either above or below the TV screen, and as close as
possible. If positioned in a cabinet or sitting on top of the TV, ensure that the front edge
is aligned with the front edge of the TV or shelf. Where possible, the height of the centre
channels’ tweeter should be close to the height of the front speakers’ tweeter — ideally,
within about 600mm.
When placing Radius loudspeakers on the wall around a plasma/ LCD TV, the left and right
speakers need to be between 22 & 30° to the left and right of the seating position, with the
tweeters at approximate ear level.
Positioning - Surround Speakers
Ideally, the primary pair of surround speakers should be placed to the left and right of the
listening position — either in line with it, or just behind it (90 - 110°). If using a 6.1 or 7.1
channel system with more than two surround speakers, or if side placement isn’t available
in a 5.1 channel system, consider placement behind the listening position, facing the front
of the room (135 - 150°).
Surround speakers should be placed high enough so that the drivers do not fire directly at
ear level when sitting down — one rule of thumb is to place them at ear level while standing,
to avoid overpowering the front speakers.
If the surrounds are mounted on brackets on the side walls, experiment with aiming them.
Surround speaker placement ideal for home theatre, may not necessarily be so for
multichannel music listening, where a precisely focused rear soundstage is best. If both
types of listening are important, position them as a compromise between the two.
monitoraudio.com
3
Page 6

Optimum Speaker Placement
Surround
Left
Left Right
Centre
0°
22°
30°
150°
110°
135°
90°
Surround
Right
Rear
Surround
Left
4
Radius Series
Rear
Surround
Right
Page 7

Fixing the Radius 225/ Radius One to a Wall
Additional Points to Remember
• When using the wall fixing plate, the speaker will drop by 7.5mm due to the key hole
fixing.
• Templates are supplied with the products to aid fixing.
• The Radius 225 grille badge can be rotated, simply by applying some pressure with
your thumb/ finger and turning.
• Please allow no more than 100mm (4 inches) of excess cable protruding from the wall.
Any excess cable can be coiled inside of the terminal panel.
• Please see the template for suggested rubber foot placement.
Wall Mounting
Point
Cable Through
Hole
Wall Mounting
Point
monitoraudio.com
5
Page 8

Radius 270 Feet and Spikes
The Radius 270 is supplied pre-installed with rubber feet for use on hard floors, or when
spikes are inappropriate.
If using spikes, first remove the
rubber feet by simultaneously
twisting and pulling them out,
revealing the threaded inserts.
Take the spikes and twist
them in a clockwise direction
in to the plinths. Ensure they
are fully inserted, stand the
cabinet up and place it in it’s
final location. To level, adjust
the spikes accordingly,
before finally tightening the
knurled locking nut to hold
the spikes in that position.
6
Radius Series
Page 9

Specifications
ported
C: Bass reflex – front
Bass reflex – front &
ported to sides
L/R: Bass reflex –
3 x 4” C-CAM cone
rear ported
2 x 4” C-CAM cone
bass/ mid driver.
3 x 25mm C-CAM
gold dome tweeter
175 x 980 x 67mm
3/16
15/16
bass/ mid driver
1 x 25mm C-CAM
3/8
gold dome tweeter
1000 x 177 x 208mm
")
5/8
x 2
9/16
x 38
7/8
(6
")
x 8
x 6
(39
(Inc plinth without spikes)
")
1/8
x 3
9/16
x 38
7/8
175 x 980 x 79mm
(6
")
3/16
x 8
15/16
x 6
3/8
1025 x 177 x 208mm
(Inc plinth with spikes)
(40
")
5/16
x 3
9/16
x 38
7/8
175 x 980 x 84mm
(6
N/A
87dB 83dB 86dB 87dB 87dB 87dB
8 Ohms 8 Ohms 6 Ohms 6 Ohms 6 Ohm 6 Ohms
120Hz – 20 KHz 80Hz – 35 KHz 60 Hz – 35 KHz 80Hz – 35KHz 50Hz – 35KHz 90Hz – 35KHz
25W 75W 100W 100W 100W 75W
50W 100W 100W 150W 150W 100W
15-50 W 30-100 W 40-150W 40-150W 40-150W 30-100W
101 105 105 108 108 108
ported
Bass reflex – front
2 x 4” C-CAM cone
ported
Bass reflex – rear
2 x 4” C-CAM cone
ported
Bass reflex –rear
Sealed Cabinet
1 x 4” C-CAM cone
1 x 3” MMP2 cone
bass/ mid driver.
1 x 25mm C-CAM
gold dome tweeter
610 x 140 x 67mm
bass/ mid driver.
1 x 25mm C-CAM
gold dome tweeter
125 x 330 x 140mm
bass/ mid driver.
1 x 25mm C-CAM
gold dome tweeter
198 x 125 x 140mm
15/16
mid-bass driver.
1 x 20mm C-CAM
15/16
gold dome tweeter
100 x 100 x 100mm
")
5/8
x 2
1/2
(24 x 5
")
1/2
x 13 x 5
15/16
(4
")
1/2
x 5
15/16
x 4
13/16
(7
x
")
15/16
x 3
3
(3
")
1/16
x 3
1/2
(24 x 5
610 x 140 x 77mm
")
7/16
x 13 x 6
15/16
(4
125 x 330 x 164mm
")
1/2
x 6
15/16
x 4
13/16
198 x 125 x 165mm
(7
")
7/8
x 4
15/16
x 3
15/16
100 x 100 x 124mm
(3
")
5/16
x 3
1/2
(24 x 5
610 x 140 x 84mm
N/A
x 8")
15/16
x 4
13/16
(7
198 x 125 x 203mm
")
3/8
x 6
15/16
x 3
15/16
100 x 100 x 162mm
(3
1Kg (2lb 4oz) 2.1Kg (4lb 10oz) 3.6Kg (7lb 14oz) 4.2Kg (9lb 4oz) 9.9Kg (21lb 12oz) 7.4Kg (16lb 4oz)
Model Radius 45 Radius 90 Radius 200 Radius 225 Radius 270 Radius One
Sensitivity (1W@1M)
Frequency Response
Nominal Impedance
Power Handling
Single (RMS)
System Power
Handling (RMS)
Recommended Amp
Requirements
Maximum SPL (dBA)
Bass Alignment
Drive Unit
Complement
External Dimensions
Inc Grille and
Terminals. (H x W x D).
Cabinet Dimensions
(H x W x D).
External Dimensions
Weight (each)
Inc Grille Bracket.
Kg ( Ib)
(H x W x D).
Page 10

Owner Information
Product Details
Model .................................................................
Product Serial No ................................................
Date of Purchase ................................................
Dealer Details
Dealer Name .....................................................................................................................
Address .............................................................................................................................
...........................................................................................................................................
e-mail address ...................................................................................................................
Monitor Audio reserves the right to alter specifications without notice.
8
Radius Series
Page 11

Page 12

Monitor Audio Ltd.
24 Brook Road
Rayleigh, Essex
SS6 7XJ
England
Tel: 01268 740580
Fax: 01268 740589
Email: info@monitoraudio.co.uk
monitoraudio.com
Designed and Engineered in the UK
Made in China.
© 2013. Version 1
 Loading...