

Page 1
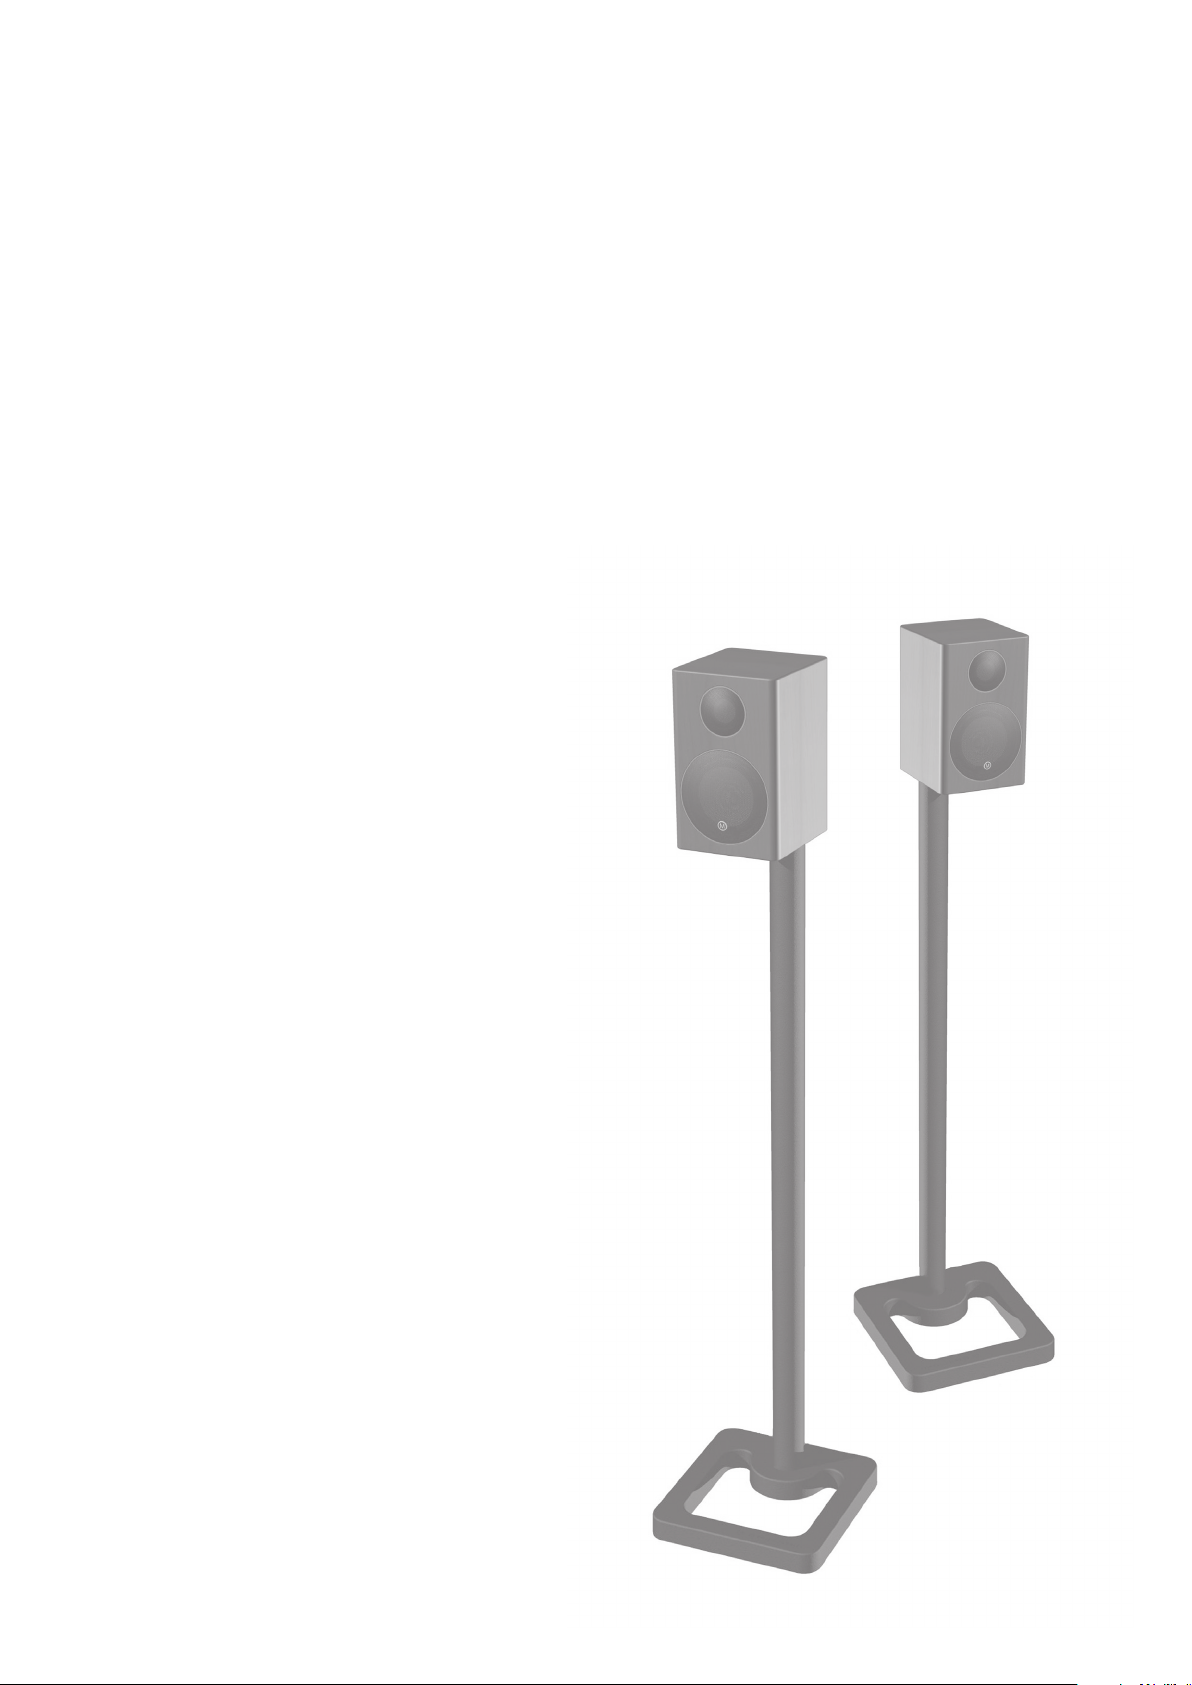
stands
HD
Assembly Instructions
Page 2
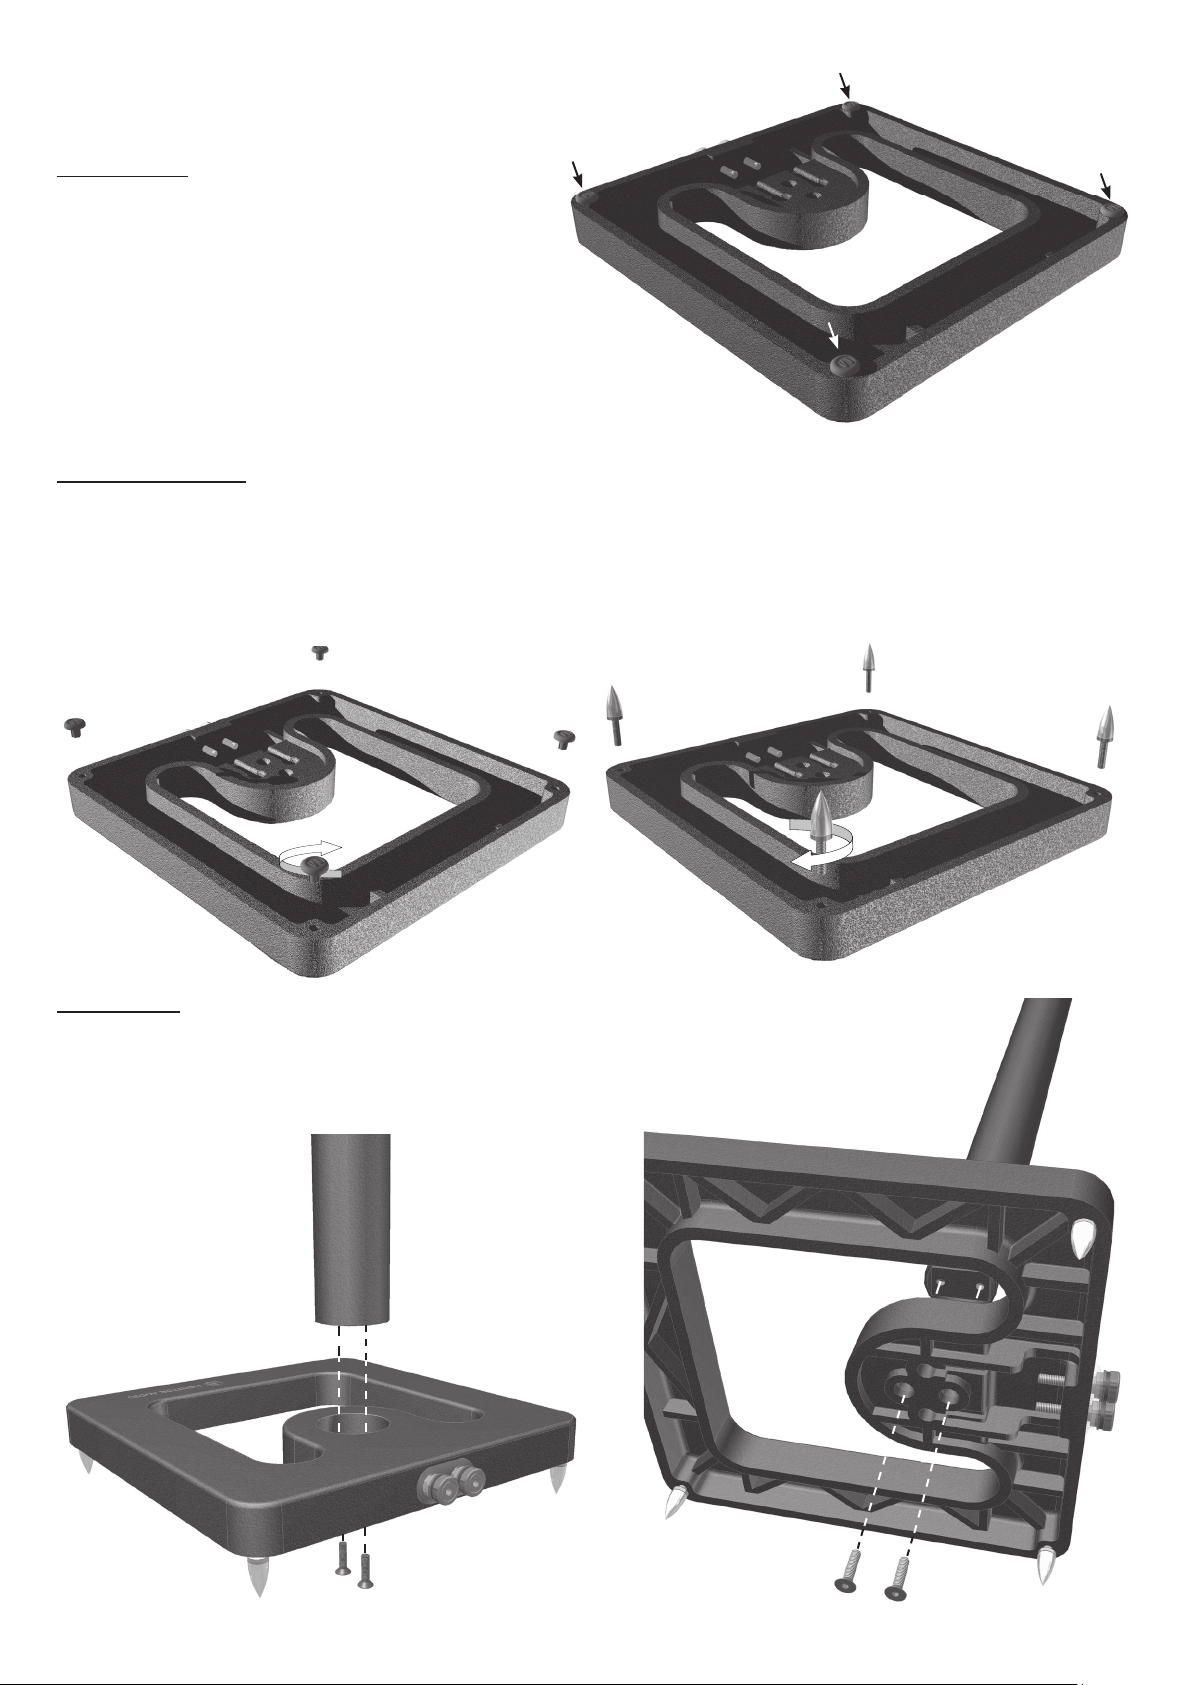
Hard Floor
The stand base will come ready for use on hard
floors, with the rubber feet pre-assembled into
base.
Carpeted Floor
When using on carpeted floor, you will gain better stability and improved sound quality by using the spikes. To use
these, simply remove the rubber feet and replace them with the spikes. To remove the rubber feet simultaneously
twist and pull them. Then screw the spikes in their place.
Assembly
Place the pole into the aperture in the base and line up the screw holes, ensuring the terminals
in the housing at the top are facing forward.. The screw holes are the ones that run from front to
back. The cables also needs to be fed through the holes. They run from left to right.
Note: Cables not shown
in these two images
Page 3

Connecting The Cables
When the screws have been securely tightened, the cables should be connected to the spade terminals. The
female terminals on the cables simply push onto the male terminals on the stand. The positive is marked with a red
band.
Connecting The R45 / R90
Turn the stand over so that it is now the correct orientation. Remove the
two button head screws (either side of the terminals) from the back of
the R45HD/ R90HD.
Line the R45HD/ R90HD up to the terminals, and press into place. Fix in
place using the two screws you have just removed.
HD HD
Page 4

Monitor Audio Ltd.
Unit 2, 24 Brook Road
Rayleigh, Essex
SS6 7XL
England
Tel: 01268 740580
Fax: 01268 740589
Email: info@monitoraudio.co.uk
monitoraudio.co.uk
Designed in the United Kingdom
© 2008. Version 2
 Loading...