

Page 1
TC9460IPSA Rev. AA 7/02 2002 Paxar Corporation. All rights reserved.
MONARCH is a registered trademark of Monarch Marking Systems, Inc. Sierra Sport and 9460 are
trademarks of Monarch Marking Systems, Inc. Paxar is a trademark of Paxar Corporation.
IP PRINTER SETUP
Use these instructions to configure your MONARCH Sierra Sport 2 IP
Printer using the printer’s Main Menu. The IP printer operates on any WiFi
(Wireless Fidelity) compatible 802.11b RF network. Make sure your access
point and network are correctly set up. Refer to your network manuals for
more information. This manual does not include information about setting up
your RF network.
Setting Up the RF Network Printer
1. Turn on the printer by pressing and holding the P button until the
display turns on.
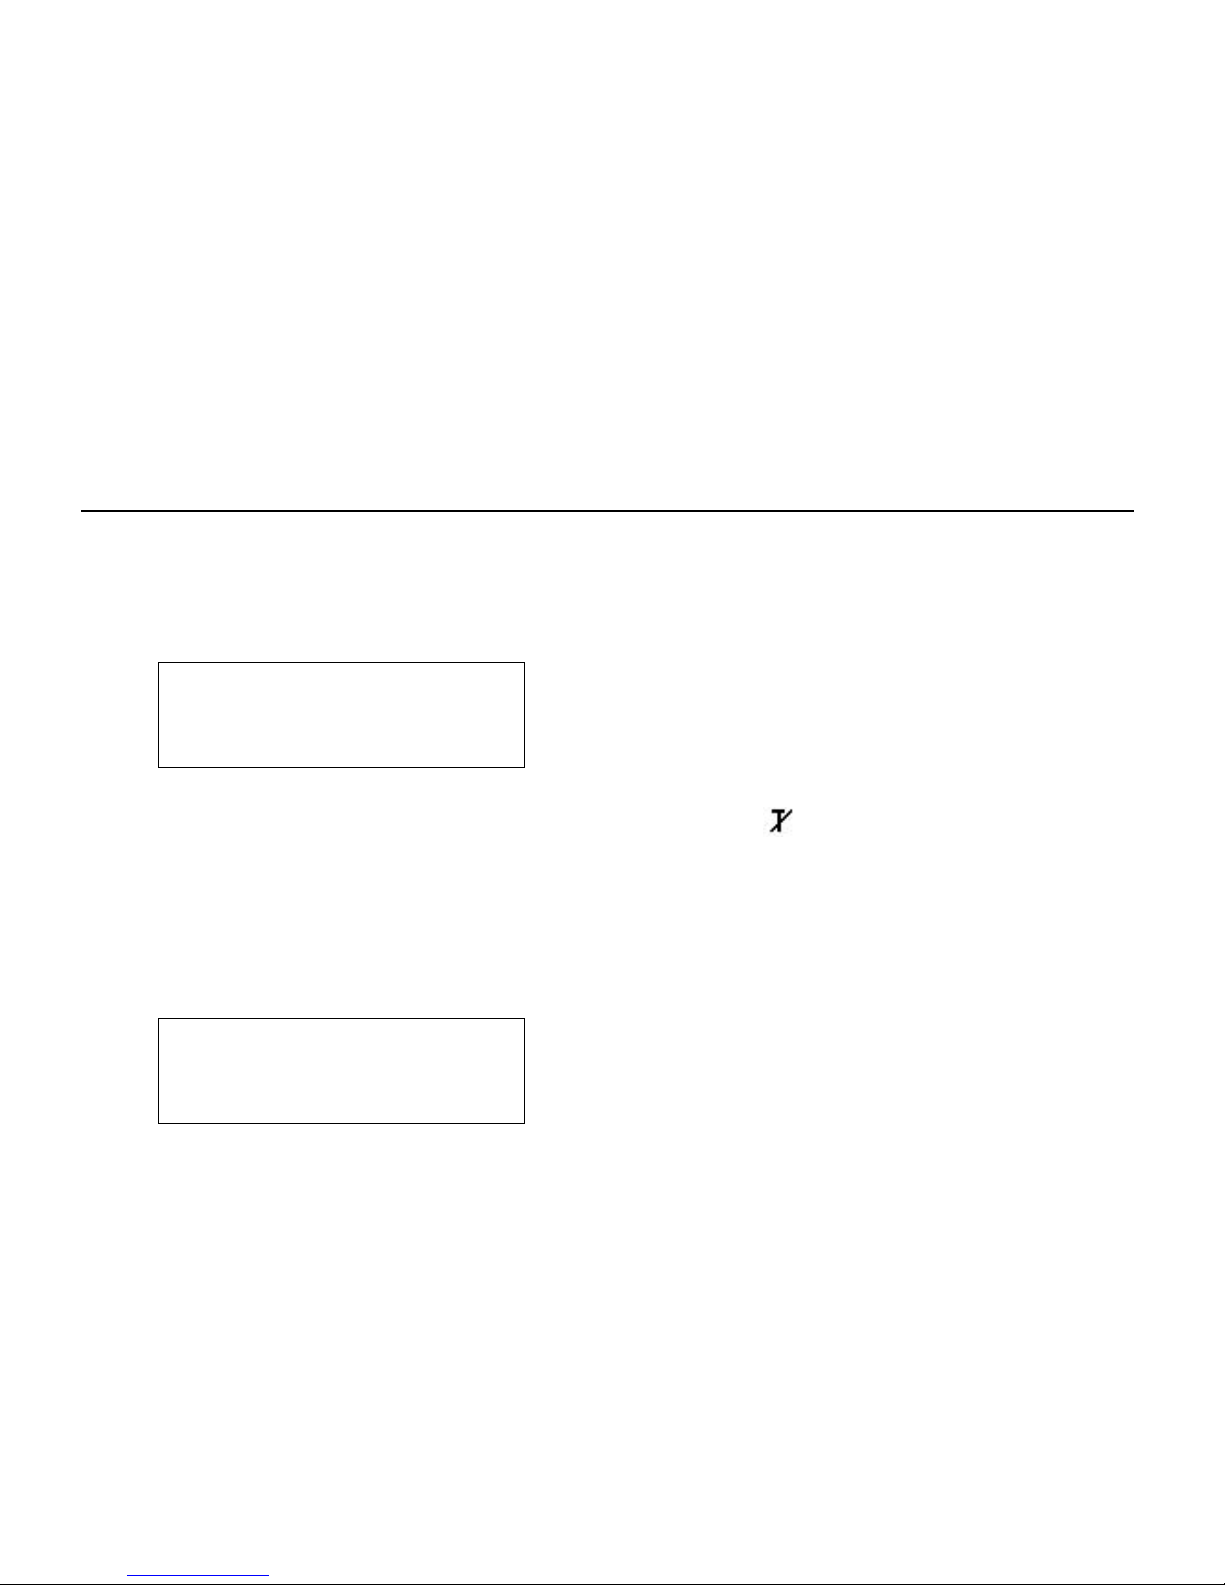
The display flashes printer version information, battery charging
status, and then you will see:
Ready
p <T>
The <T> on the display indicates the printer is connected to a
network (peer to peer or infrastructure mode). indicates the printer
is not connected to a network.
When you see “Ready,” press the Center navigational button to
display the printer’s IP address. Press any button to return to
Ready mode.
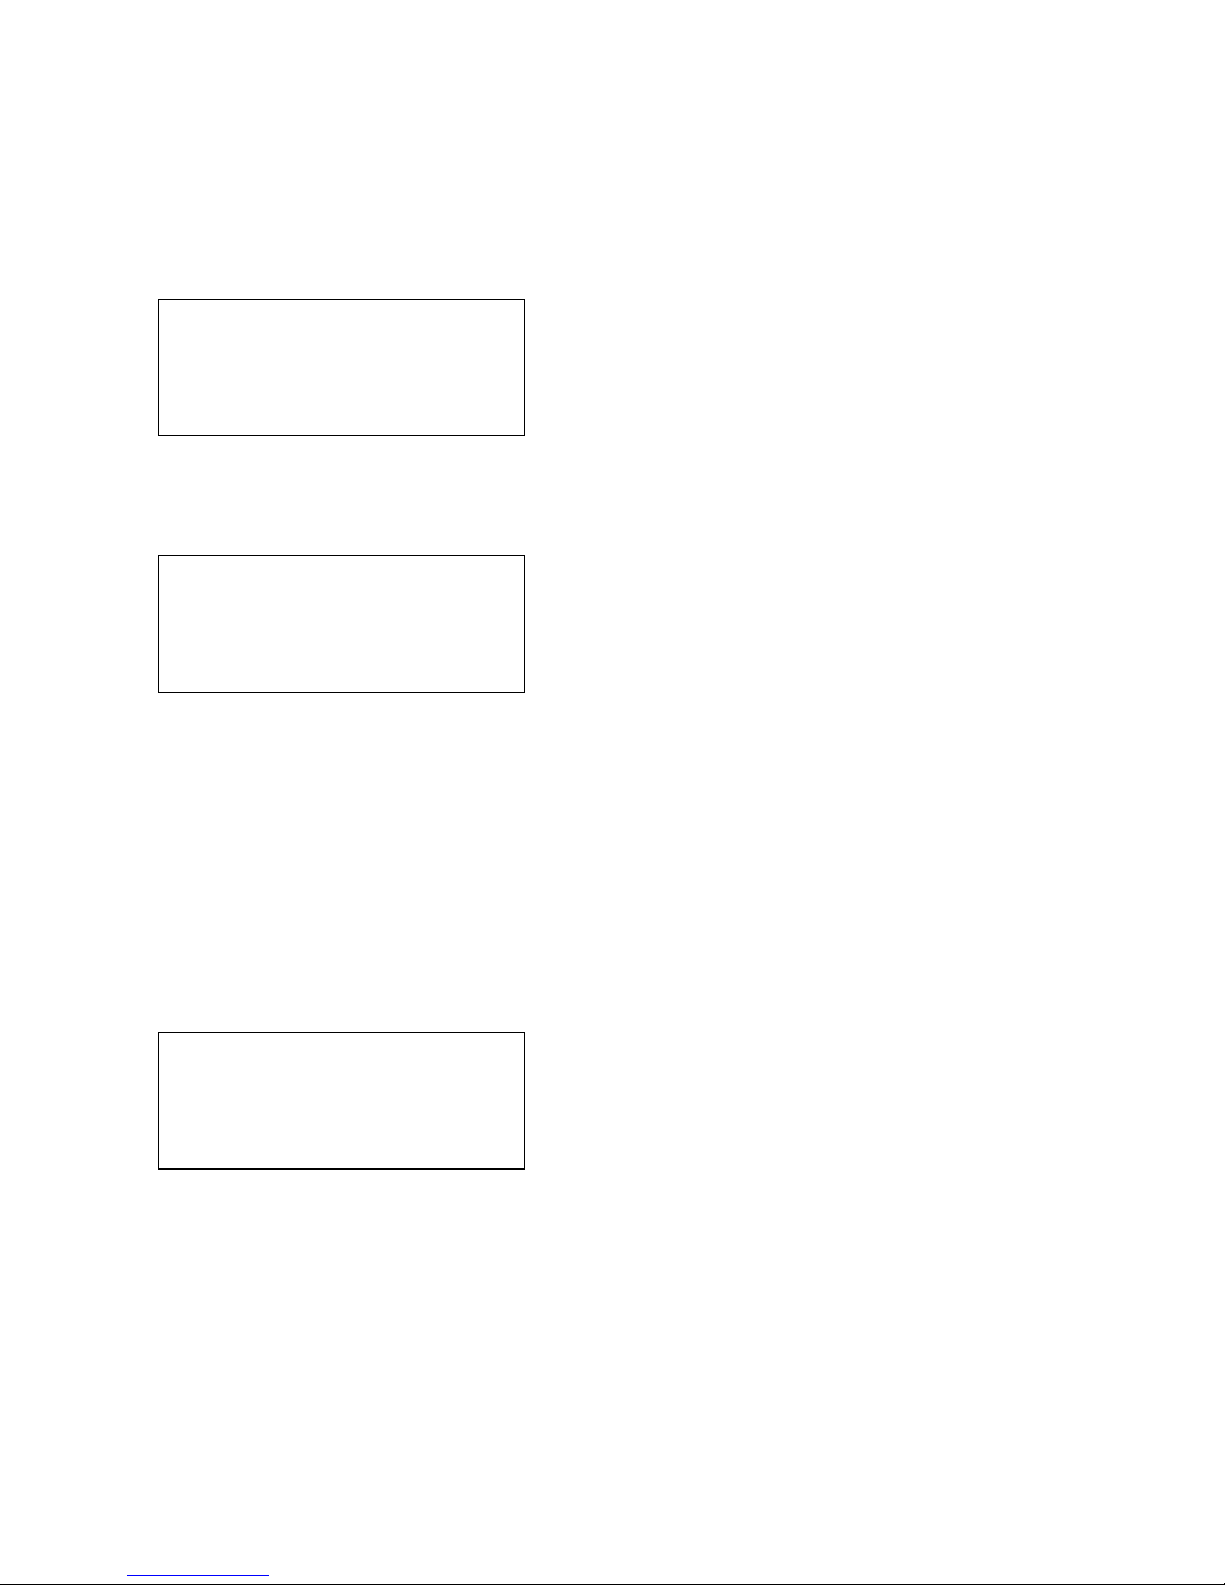
2. Press the A button under the p icon.
E B F
R X T
You will see the battery indicator E (empty) and F (full). As you use
the printer, the battery indicator line gets closer to E (empty), instead
of F (full). Recharge the battery when the line is by the E.
Page 2

2
3. Press the A button under the T icon (Tool Box) to enter the program.
Tool Box
Language
E D
4. Tool Box is highlighted. Press the A button under the E icon to select
Tool Box.
Enter Password
5. Press the navigational buttons in this order: Right, Center, Left,
Center, Right. The Service Diagnostics menu appears.
6. Press the A button under D until you see
Setup
Service
Eu U D
7. Service is highlighted. Press the A button under the E icon to select
Service.
Totals
Sensor Cal
E D
8. From the Service menu, press the A button under D until you see RF
Network. Press the A button under the E icon to select RF Network.
The following menu shows the RF Network options.
The RF Network menu allows you to check the printer’s status, configure the
RF network settings, and reset the radio.
To exit, press the F button at any time.
Status
Configure
Reset
Exit
RF
Network
Page 3
3
Checking the Status
This option displays the status of the RF network.
1. From the RF Network menu, select Status.
192.168.069.062
S1.10 020 104
Version 1.10
WHSEFLR
The local IP address, firmware version, software version, and device
name are displayed.
2. Press any A button to see the next screen of information.
OIKOB1ZO3B54
Protocol: TCP
State: Wait
Radio: IEEE 802.11b
The MAC address, protocol, current state, and radio type are
displayed.
3. Press any A button to return to the RF Network menu.
Resetting the RF Network
This option resets the radio, because it cycles the power off and then back
on.
NOTE: You may lose your current connection and application.
1. From the RF Network menu, select Reset.
Reset command
sent. Hit key
to continue.
2. Press any A button to return to the RF Network menu.
Page 4

4
Configuring the Printer
The following menu shows the RF Network Configure options.
The Configure menu allows you to set the printer’s IP Address, Subnet Mask,
Gateway, Power Mode, Call/Listen, Protocol, Transfer, and ESS ID.
To exit, press the F button at any time.
Setting the IP Address
This option sets the printer’s IP Address.
1. From the RF Network menu, select Configure.
2. From the Configure menu, select IP Address.
IP Address
192.168.69.62
E R +
Use the A buttons as shown in the following table:
E
Press A to
R
Press A to
+
Press A to
Saves the setting Scrolls through the
positions from left to right
Increments the current
position setting by 1
3. When the setting you want is displayed, press the A button under the E
icon to save the setting. You return to the Configure menu.
IP
Address
Subnet
Mask
Gateway
Power
Mode
Configure
Call/
Listen
Protocol
Transfer
ESS ID
Exit
Page 5

5
Setting the Subnet Mask
This option sets the printer’s Subnet Mask.
1. From the Configure menu, select Subnet Mask.
Subnet Mask
255.255.000.000
E R +
Use the A buttons as shown in the following table:
E
Press A to
R
Press A to
+
Press A to
Saves the setting Scrolls through the positions
from left to right
Increments the current
position setting by 1
2. When the setting you want is displayed, press the A button under the E
icon to save the setting. You return to the Configure menu.
Setting the Gateway
This option sets the printer’s Gateway address.
1. From the Configure menu, select Gateway.
Gateway
000.000.000.000
E R +
Use the A buttons as shown in the following table:
E
Press A to
R
Press A to
+
Press A to
Saves the setting Scrolls through the positions
from left to right
Increments the current
position setting by 1
2. When the setting you want is displayed, press the A button under the E
icon to save the setting. You return to the Configure menu.
Page 6

6
Setting the Power Mode
This option sets the Power Mode.
1. From the Configure menu, select Power Mode.
Power Mode
PP CAM
X PSP
E D
The choices include CAM (continuously awake) or PSP (power save
protocol). PSP conserves battery power. CAM means the printer is
continuously receiving and transmitting data. This mode uses
battery power quickly.
2. Use the A button under the D icon to select the power mode you want.
Press the A button under the E icon to save the setting.
If you select PSP, you are prompted to enter a PSP algorithm
between 1-10. 1 is the shortest sleep time (uses battery power
quicker, but responds faster); 10 is the longest sleep time (optimal
battery conservation, but responds slower).
5
6
E U D
3. Use the A buttons under the U or D icons to select the desired PSP
algorithm. Press the A button under the E icon to save the setting.
You return to the Configure menu.
Page 7

7
Setting the Call/Listen Mode
This option sets the connection mode to Call or Listen.
1. From the Configure menu, select Call/Listen.
Call/Listen
PP Listen
X Call
E D
The choices include Listen or Call. Call mode initiates the transfer of
data. Call mode can be used for TCP or Telnet protocols. Listen
mode waits for a host to connect to the specified port and receives
data. Listen mode can be used for TCP or LPD protocols.
2. Use the A button under the D icon to select the connection mode you
want. Press the A button under the E icon to save the setting. For
example, if you select Call, you will see
Port
+ 09100
E R +
In Listen mode, this is the listen port.
In Call mode, this is the call port.
Use the A buttons as shown in the following table:
E
Press A to
R
Press A to
+
Press A to
Saves the setting Scrolls through the positions
from left to right
Toggles between + or –;
also
Increments the current
position setting by 1
3. When the setting you want is displayed, press the A button under the E
icon to save the setting.
Remote IP
192.168.069.200
E R +
In Call mode, this is the remote IP address you are calling.
Page 8

8
Use the A buttons as shown in the following table:
E
Press A to
R
Press A to
+
Press A to
Saves the setting Scrolls through the positions
from left to right
Increments the current
position setting by 1
4. When the remote IP setting you want is displayed, press the A button
under the E icon to save the setting.
5. Press the F button to exit. You return to the Configure menu.
Setting the Protocol
This option sets the protocol.
1. From the Configure menu, select Protocol.
Protocol
PP TCP
X Telnet
E U D
The choices include DLP, UDP, TCP, Telnet, or LPD. The most
common options are TCP and LPD for AS400 or Unix systems. Do
not use UDP.
2. Use the A buttons under the U or D icons to select the protocol you
want. Press the A button under the E icon to save the setting. You
return to the Configure menu.
Setting the Transfer Mode
1. From the Configure menu, select Transfer.
Transfer
PP Stream
X Frame
E D
The choices include Stream or Frame.
2. Use the A button under the D icon to select the transfer mode you
want. Press the A button under the E icon to save the setting.
3. Press the F button to exit. You return to the Configure menu.
Page 9

9
Setting the ESS ID
1. From the Configure menu, select ESS ID.
ESS ID
ABC 1234
E R D
Use the A buttons as shown in the following table:
E
Press A to
R
Press A to
+
Press A to
Saves the setting Scrolls through the positions
from left to right
Increments the current
position setting by 1 and
scrolls through
alpha/special characters
2. When the setting you want is displayed, press the A button under the E
icon to save the setting.
3. Press the F button to exit.
When you select “Exit” after configuring, you will see
Configure
Re-configure?
E X
To save all the configuration settings, press the A button under the E icon.
To exit without saving the configuration settings, press the A button under
the X icon.
The IP printer is ready to use. Turn on the printer.
When you see
Ready
p <T>
Press the A button under the connected icon <T> to see the printer’s IP
Address. Press any A button to toggle back to Ready.
Page 10

For supplies, service or assistance, call toll free:
1-800-543-6650 (In the U.S.A.)
1-800-263-4650 (In Canada)
www.paxar.com
 Loading...