

Page 1
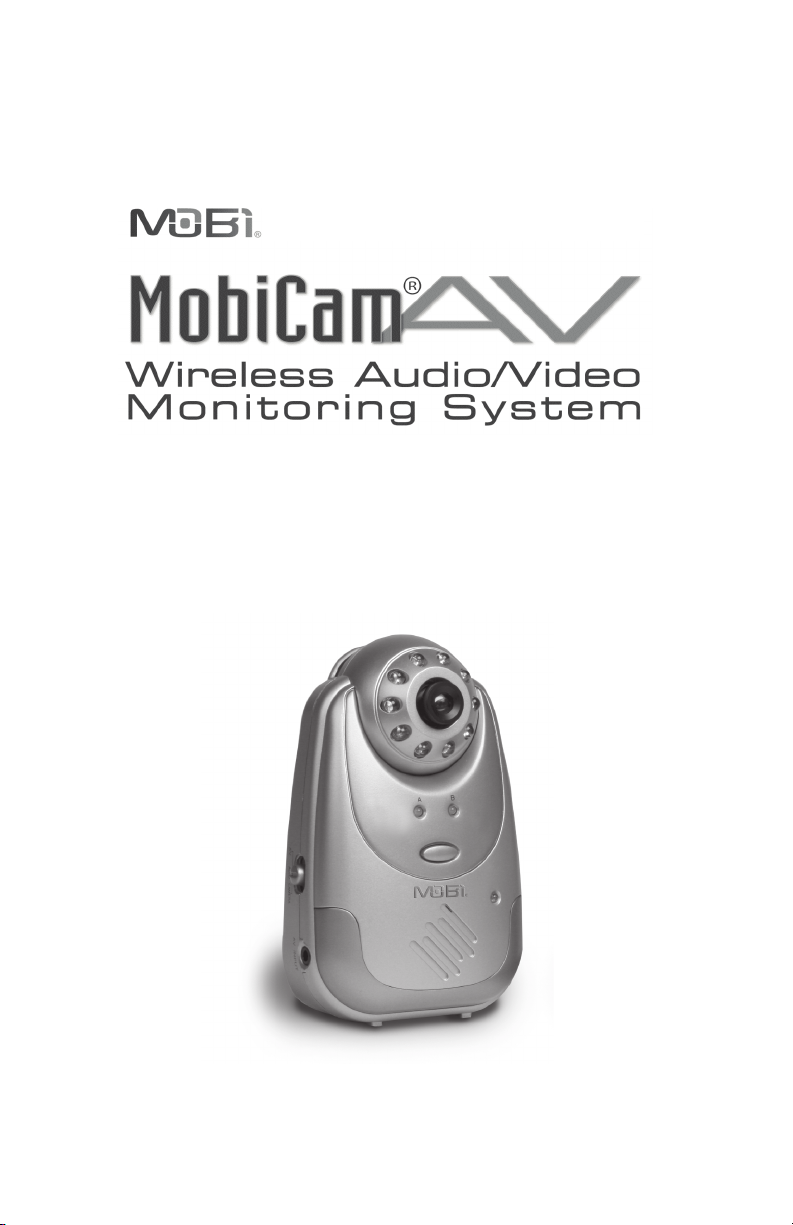
Model #70061
Additional Camera
USER’S MANUAL
Page 2

TABLE OF CONTENTS
INTRODUCTION 2
PACKAGE CONTENT 2
FEATURES & COMPONENTS 3
SAFETY TIPS 4
INSTALLATION & SET UP 6
CAMERA OPERATION & INSTALLATION 7
POWER ON/OFF 7
CHANNEL SELECTION 7
VOICE ACTIVATION (VOX) 7
AUTOMATIC INFRARED NIGIT VISION 7
PROBLEMS & SOLUTIONS 8
FCC REGULATION 9
LIMITED WARRANTY 10
1 10
Page 3

INTRODUCTION
Thank you for purchasing the Additional Camera for the MobiCam AV Wireless Audio/Video Monitoring System. The 900 MHz
MobiCam AV, incorporates the latest in advanced technology
enabling you to transmit picture and sound wirelessly. We highly
recommend you read the entire Instruction Manual before use.
PACKAGE CONTENTS
Please note the package should include the following:
a) 1 x Camera Unit
b) 1 x AC Adaptor
c) Instruction Manual
Page 4
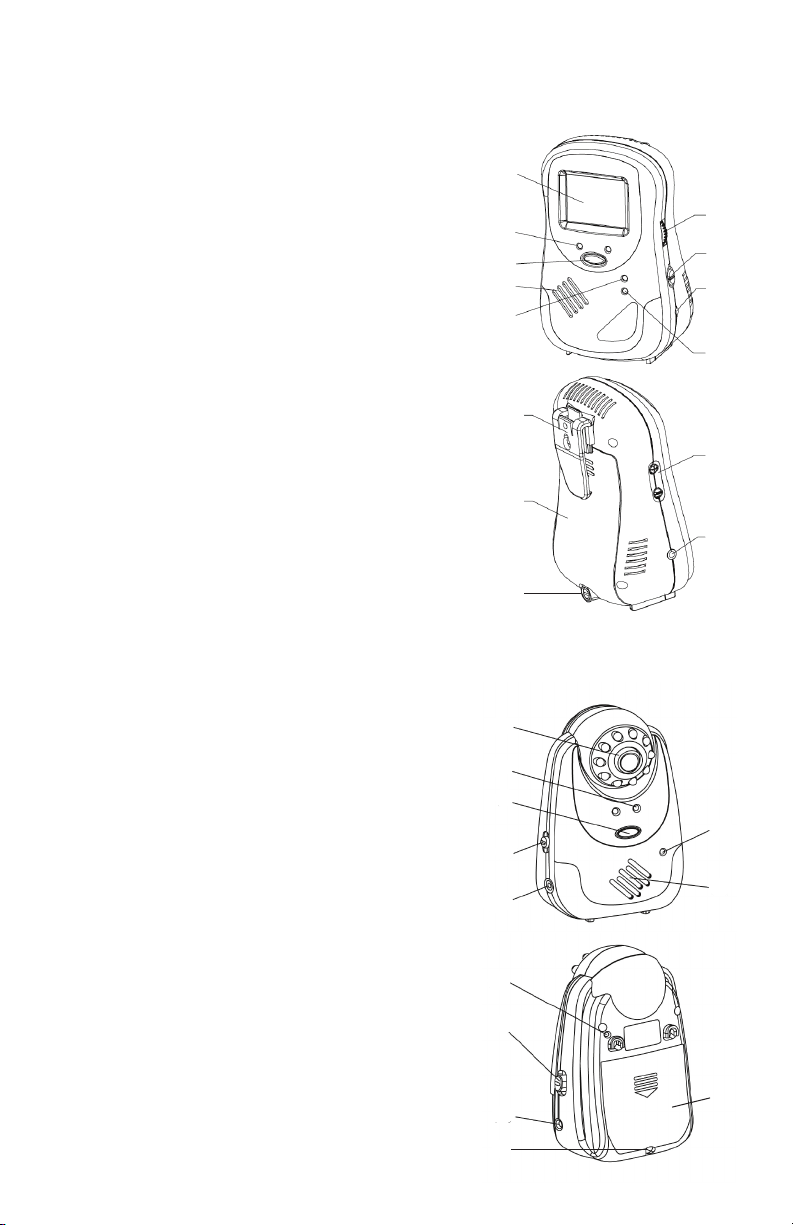
MONITOR UNIT FEATURES & COMPONENTS
20
21
23
25
1
2
3
4
5
6
7
8
9
10
12
14
10
11
12
13
14
15
16
17
18
19
20
21
22
23
24
25
(Monitor sold separately but shown as reference)
1. TFT LCD Display
2. Channel Indicator LEDs
3. Channel Selection Switch
4. Speaker
5. Automatic Channel Scan Indicator
6. Power On/O Indicator
7. Power On/O Switch & Volume Control
8. LCD On/O Switch
9. DC Jack
10. Belt Clip
11. Brightness Controls (+)(-)
12. Battery Door
13. Audio/Video Output
14. Child-Safe Battery Door Screw
CAMERA UNIT FEATURES & COMPONENTS
15. Camera Lens
16. Channel Indicator LEDs
17. Channel Selection Switch
18. Voice Activation Action Selection Switch
19. Analog Audio/Video Input Jack
20. Light Sensor for Automatic Night Vision
21. Power On/O Switch
22. Power On/O Indicator
23. DC Jack
24. Microphone
25. Child-Safe Battery Door Screw
26. Battery Door
26
3 8
Page 5
SAFETY TIPS
For proper setup and use, please read all instructions
Please keep this manual for future reference.
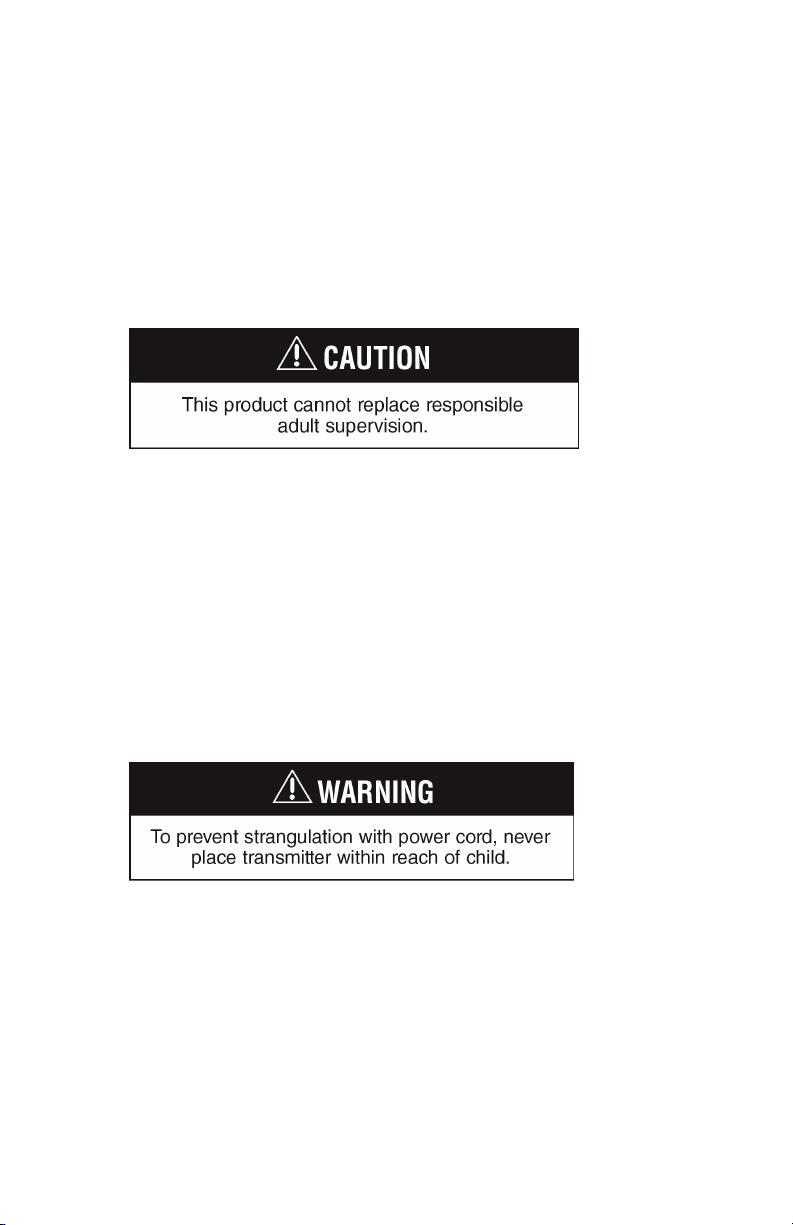
• This Product is not intended to be used as a medical monitor
and its use should not replace adult supervision
• Periodically examine this product for damage to the cord,
housing or other parts that may result in the risk of fire, electric
shock or injury.
• Never use transmitter and receiver near water (i.e. bathtub,
sink, etc.)
• The AC adaptor is not a toy
• Always use transmitter and receiver where there is adequate
ventilation. To prevent overheating, keep away from heat
sources such as radiators, heat registers, stoves, or other appli-
ances that produce heat.
Page 6
• Always remember that you are using public airways when using
your monitor.
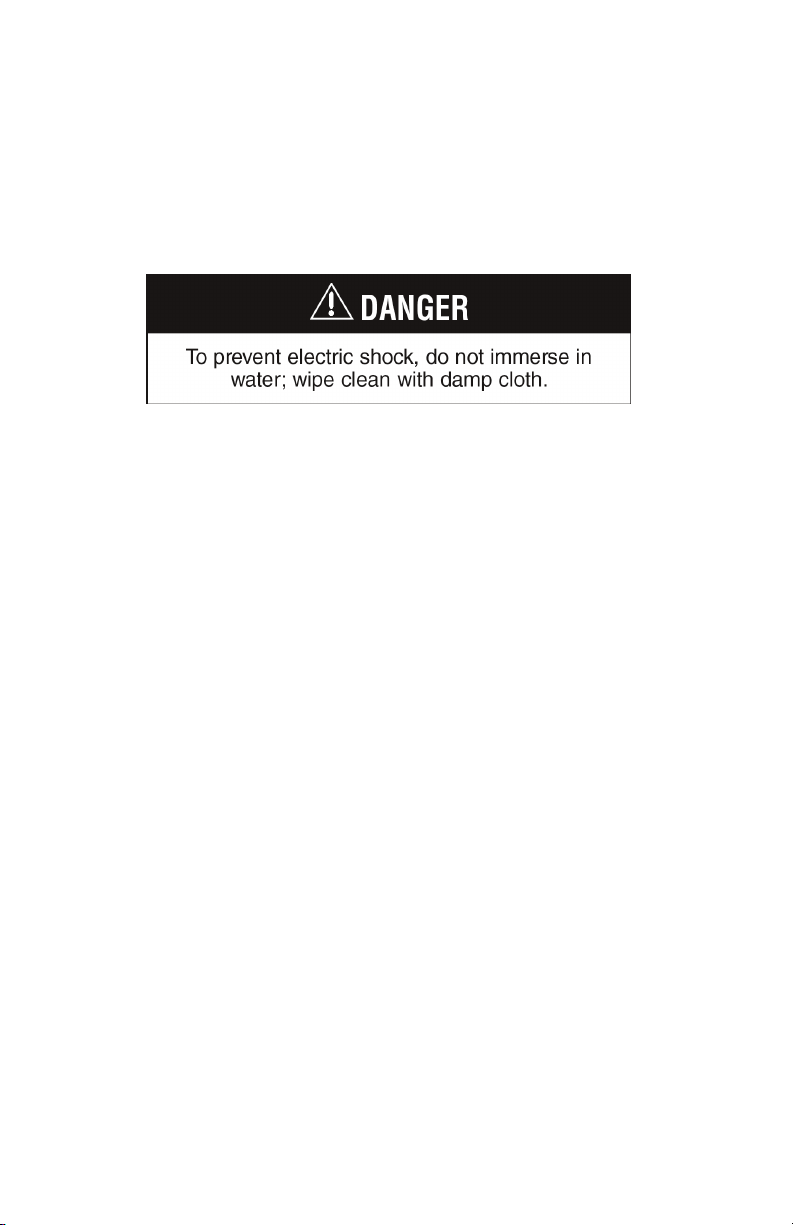
• Use only a dry cotton cloth to keep the Camera and Monitor units
free of dust. Do not use a dampened cloth, water, or liquid cleaner
of any kind.
• Always remove batteries from the Camera and Monitor and
unplug the AC adaptors from wall outlets during long periods of
non-use.
• Replace only with the same or equivalent type. Please dispose of
old, defective batteries in an environmentally friendly manner in
accordance with the relevant legislation.
5 6
Page 7

INSTALLATION & SET UP
Installing Batteries
Your MobiCam AV can be powered by either using the supplied
AC power adaptors or batteries.
Using Batteries:
a) Remove the battery door (12, 26) at the bottom/ back of each
unit by loosening the child-safe screw (14, 25) and sliding the
cover downward to release.
b) Both units use 1.5 volt AA size batteries. Always use batteries of
the same brand and age (alkaline recommended). Insert 4 AA
batteries into the camera and 6 AA batteries into the monitor.
c) Replace the covers by aligning the tabs with the tab holes and
tightening the child-safe screws.
CAUTION: Remove batteries immediately once they run out of
power and dispose of them properly. Do not use batteries while
using the AC adaptor for extended periods of time as this might
cause battery leakage.
Using AC Adaptors:
a) Insert the AC adaptor into the DC Jack (9, 23) of either unit (The
AC adaptors are the same for both the Camera and Monitor).
b) Plug the AC adaptor plug into a standard AC power outlet.
Page 8

CAMERA OPERTATION & INSTALLATION
Power ON/OFF
Use the Power ON/OFF sliding switch to turn ON/OFF the unit (see
#21 on page 3).
Channel Selection
Press the Channel Selection Switch (g. 17) on the Camera to
choose which channel you want the unit to transmit on. The channel indicator LED (g. 16) will illuminate which channel the Camera
is set to (A or B). Make sure to set the additional camera to a dierent channel than the rst camera. For instance, if the st Camera is
set to Channel A, then the additional should be set to Channel B.
Voice Activation
To Activate: Select the VOX setting on the Function Activation
Switch (18)on the left side of the Camera unit. When the sound level
within the area surrounding the unit reaches a preset level, the
Camera will begin transmitting the image and sound to the Monitor.
NOTE: The LCD on the Monitor unit will automatically switch to
standby mode if no signal is received from the Camera. To Deactivate: Select the CAMERA setting on the Function Activation Switch
of your camera.
Automatic Infra-Red Night Vision
The infra-red night vision feature will switch on automatically
during darkness or periods of very low levels of light and a black
and white image will be displayed on the monitor. Once the feature
is activated objects must be within 6 ft/ 2 m of the camera to be
seen on the monitor.
7 4
Page 9

PROBLEMS & SOLUTIONS
Problem Solution
Poor reception • Battery Levels (check Led indicator:
Full Power - Green; Low Power Orange)
• The camera may not be set to
Camera Mode.
• Wrong Channel (Please note the
monitor will return to Channel A
automatically after power off)
Only Black & White • Camera has switched to “Infrared
picture displayed Night Version” mode.
Units Continually • Check to see if the scanning feature
Loses Signal is enabled
• Check to see if Camera is in VOX
mode
• Make sure both cameras are not on
the same channel. Each camera
should be set to its own channel to
ensure your unit is monitoring two
rooms.
Unit does not • AC Adapter has not been connected.
turn on • Unit has not been switched on.
• AC Adapter is plugged into AV jack.
Make sure to connect the power
plug to the DC jack.
Page 10

FCC REGULATION
These limits are designed to provide reasonable protection
against harmful interference in a residential installation. This
equipment generates uses and can radiate radio frequency
energy and, if not installed and used in accordance with the
instructions, may cause harmful interference to radio communications. However, there is no guarantee that interference will
not occur in a particular installation. If this equipment does
cause harmful interference to radio or television reception,
which can be determined by turning the equipment o and
on, the user is encouraged to try to correct the interference by
one or more of the following measures:
• Reorient or relocate the receiving antenna.
• Increase the separation between the equipment and receiver.
• Connect the equipment into an outlet on a circuit different
from that to which the receiver is connected.
• Consult the dealer or an experienced radio/TV technician for
help.
Operation with non-approved equipment or unshielded cables
is likely to result in interference to radio or TV reception. The
user is cautioned that changes and modications made to the
equipment without the approval of manufacturer could void
the user’s authority to operate this equipment.
9 2
Page 11

LIMITED WARRANTY
Mobi Technologies, Inc. warrants this product to be free from
defects in material and workmanship for a period of ninety (90)
days from the date of purchase. Should this product prove to be
defective at any time during the warranty period, Mobi Technologies, Inc. will, at its option, either replace or repair it without
charge. After the warranty period, a service charge will be
applied for replacement of parts or labor for repair. To obtain
warranty service, please return the product to Mobi® along with
a dated sales receipt from the place of purchase. Purchaser is
responsible for shipping the product to Mobi Technologies, Inc.
at the address indicated below and for all associated freight and
insurance cost. This warranty does not cover damage caused by
accident, misuse, abuse, improper maintenance, unauthorized
modication, or connection to an improper power supply. A
charge will be made for repair of such damage. This warranty
excludes all incidental or consequential damages and any
liability other than what is stated above.
Mobi Technologies, Inc.
5913 Blackwelder St
Culver City CA 90232
Toll Free Number (877) 662-4462
www.getmobi.com
Mobi and MobiCam are registered trademarks of
Mobi Technologies, Inc.
© 2009 Mobi Technologies, Inc. All Rights Reserved
 Loading...