

Page 1
www.minoltaeurope.com The essentials of imaging
DiMAGE F100 Camera Firmware V101
Thank you for purchasing the Minolta DiMAGE F100.
Minolta announces that firmware* version 101 is now available for improving the file number memory function.
*Firmware: software used internally to control the camera.
Please review the following information and installation instructions:
Be sure to read these instructions entirely, and carefully follow when installing the firmware.
Do not turn the camera OFF during installation; doing so could damage the CPU inside the camera.
Contents of update
Firmware version V101 was developed to improve the file number memory function.
1. In V100, file names saved in the media card were numbered consecutively only when images
were taken continuously, and not numbered consecutively if the camera was turned off and
then on. In V101, files are named consecutively even if the images are not taken continuously.
2. In V100, file names were named independently in each folder. In V101, the file names can be
numbered consecutively over multiple folders when using the file number memory function.
If the camera is left with the batteries removed, the file number memory will be kept for Approx. 1
hour. (not guaranteed)
Target products
This firmware is for use only with the DiMAGE F100 and cannot be used with other products.
If the firmware version in the camera is already V101, it is not necessary to update the firmware.
To check the firmware version in your camera, please use the following procedures:
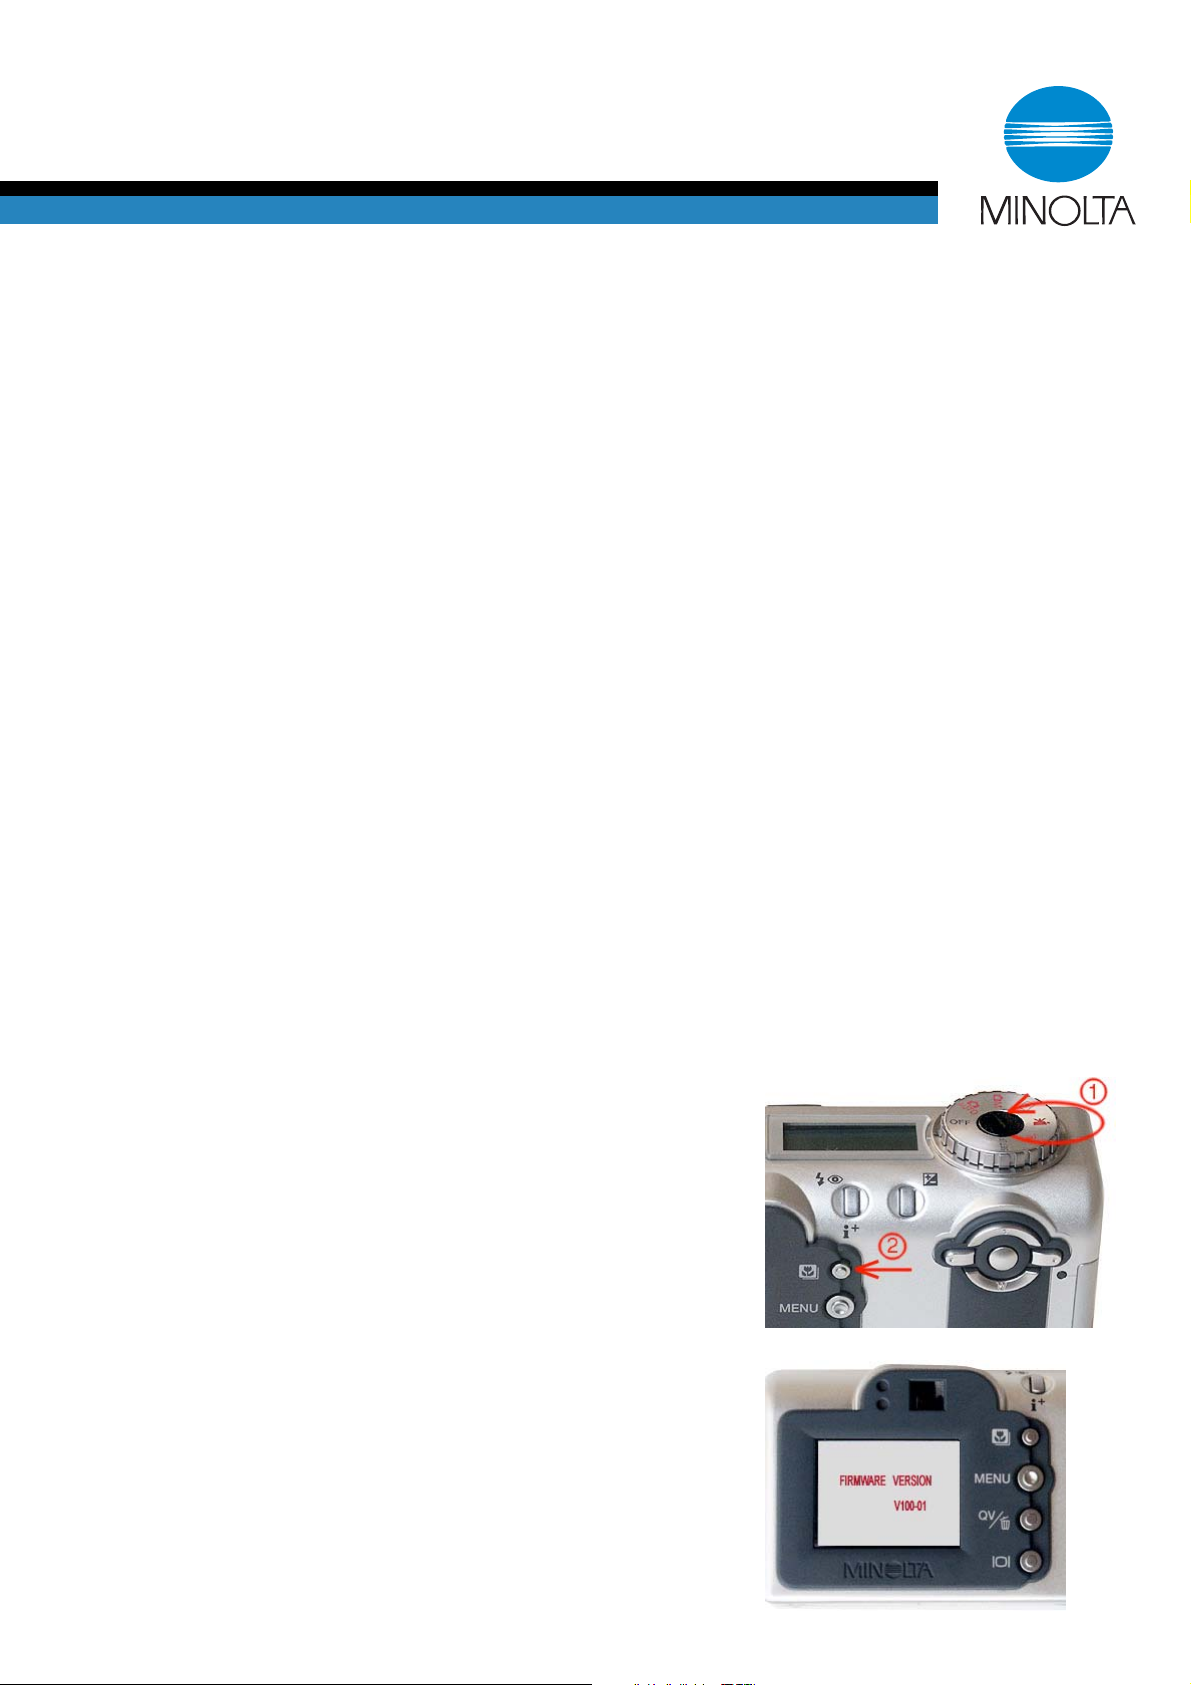
Checking the firmware version
(1) Set the main switch/mode dial of the camera to the setup
position.
(2) Press the digital-subject-program button.
(3) Check the number displayed in the LCD monitor display of
the camera.
(4) Products with version number V100 are eligible for a
firmware upgrade.
MINOLTA SOFTWARE INSTALL GUIDE
Page 2
The downloaded file is compressed.
1. After creating a folder in your PC and extracting the contents of the archive, the following files
are created.
"firmware" folder: "firmware" folder includes the "firmware.bin" file.
"firmware.bin" file: Software for update.
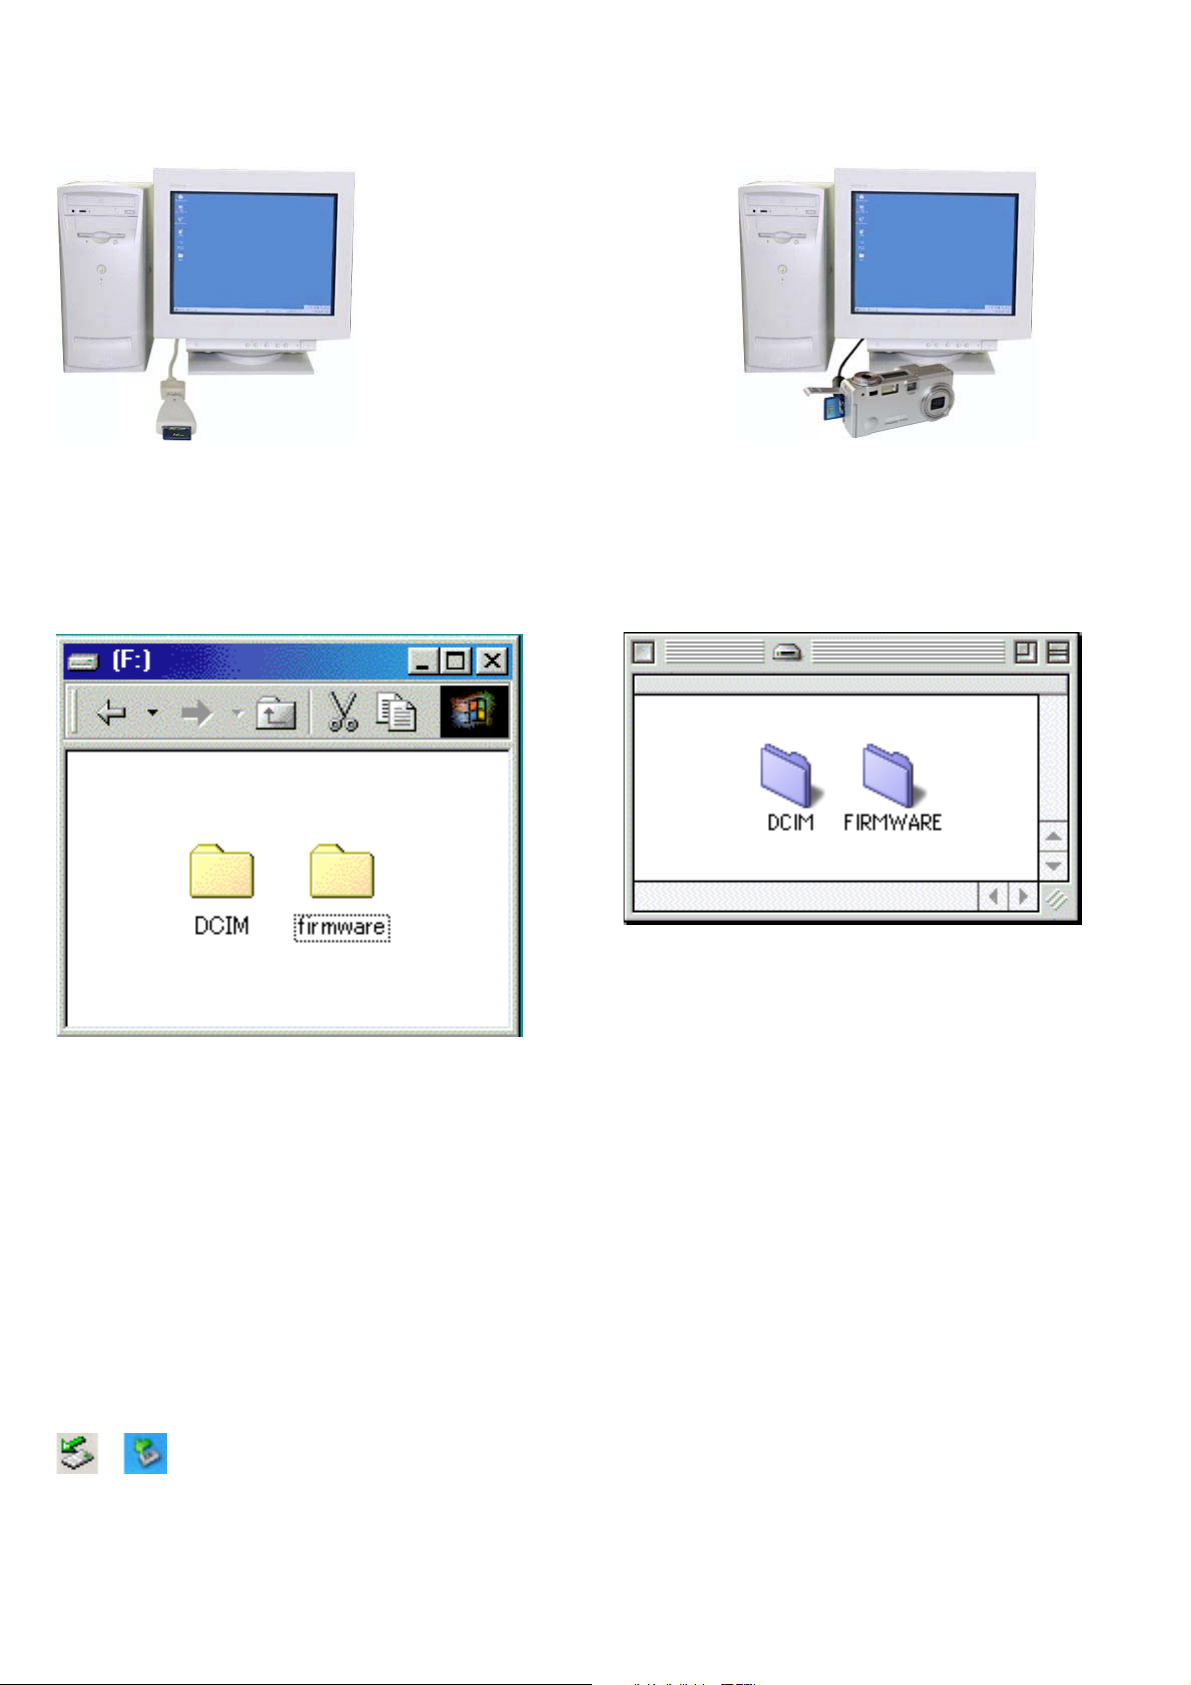
After extraction, copy the folder named "firmware" into the root directory of the SD memory card.
2. Before removing the SD memory card, open the "firmware" folder on the SD Card and confirm
that "firmware.bin"* has been copied.
*"firmware.bin" : firmware update file saved in the "firmware" folder.
3. Remove the SD memory card from the camera or disconnect the USB cable from the camera.
If you are using Windows ME, 2000 or XP, click the unplug-or-eject-hardware icon in
the lower right-hand corner of the screen, wait until the safe-to remove-hardware window appears, then remove the SD memory card from the card reader, or disconnect
the USB cable from the camera.
If you are using Macintosh, drag the SD memory card icon to the Trash.
For Windows For Macintosh
Copy to SD Card via SD Memory Card
Reader.
Copy to SD Card via DiMAGE F100 connected
to PC using USB-cable.
Preparing the SD memory card for updating:
Use one of the following methods to prepare a SD memory card to update the firmware*.
*Format an 8 MB or larger SD memory card in the camera.
Page 3

How to update firmware
- Windows and Windows ME, 2000 and XP are registered trademarks of Microsoft Corporation in the U.S.A and other countries.
- Macintosh is a registered trademark in the U.S.A. and other countries.
For questions or comments about this matter, contact your nearest Minolta service facility.
Note:
When performing the firmware update, use a new CR-V3, a set
of fully charged Ni-MH (nickel hydrogen) batteries or an AC
adapter. When you use an AC adapter, be sure not to inadvertently disconnect the camera during the firmware update procedure.
1. Insert the prepared SD memory card into the DiMAGE
F100, disconnect the AC adapter or remove the batteries
and turn the main switch/mode dial to the playback mode
position . Then connect the AC adapter or insert the batteries.
2. When the updating screen appears, confirm that "YES" is
selected in green, then press the central button of the controller.
If the firmware version is already V101, it is not necessary
to update the firmware. Go to step 5 to complete.
3. During updating, the orange flash lamp blinks and
"EXCHANGING" is displayed in the LCD.
4. After completing the update, the LCD becomes blank and
then the update screen. Check the version number displayed on the LCD monitor display. If the number has
changed to V101, the update was performed successfully.
If update was not performed correctly, or an error occurred
during the update procedure, turn off the power of the
camera, and then proceed from Step 1 again.
5. Turn the main switch/mode dial to OFF.
Note:
Before you use the SD memory card for storing image data,
first format it again in the camera or delete the "firmware" folder.
 Loading...