

MINOLTA ALPHA SWEET DIGITAL, ALPHA 5 DIGITAL, MAXXUM 5D, DYNAX 5D Service Manual Check List
Page 1

CHECK LIST
(2186)
1
Check List
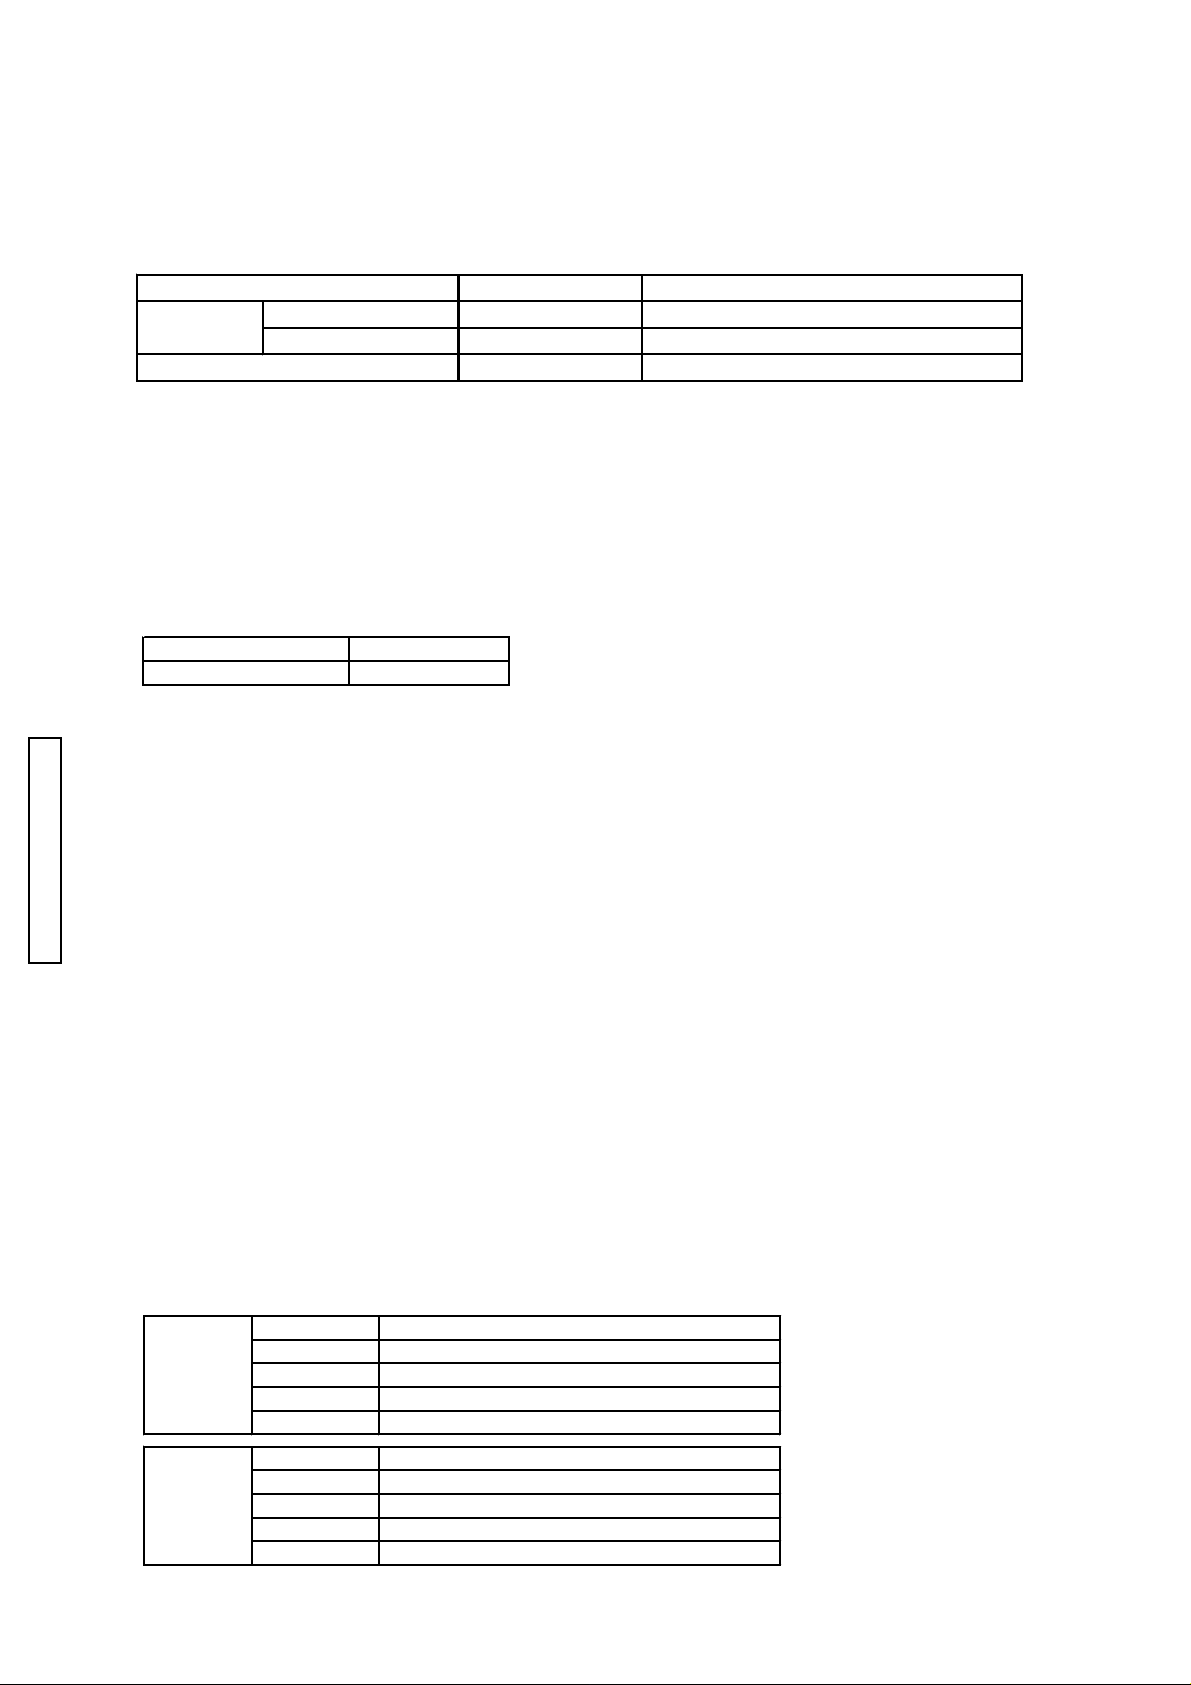
1. This Check List describes the quality of operation warranted to general users. When users inquire about
quality or request inspection, refer to this Check List. Use this list also when checking operation after
repair.
2. When using this list during shipping or receiving inspection, judge the quality according to the purpose of
the inspection, not by directly referring to this level.
3. For individual taste or special usage, some users may not be satisfied with this level of quality and will
request a different one. In such cases, adjust the level as requested by them as much as possible.
4. Checking items which are characterized as sensory test are not included. Adjust these items according to
product or users request.
CONTENTS PAGE
Condition of Measure and Appreciation ------------------------------------------------------------------------------------------ 2
Settings of Photoshop ---------------------------------------------------------------------------------------------------------------- 2
Screen Dust ---------------------------------------------------------------------------------------------------------------------------- 3
Standard --------------------------------------------------------------------------------------------------------------------------------4
Exposure------------------------------------------------------------------------------------------------------------------------------- 4
Manual Shutter-speed ------------------------------------------------------------------------------------------------------------ 4
X-sync Time Lag------------------------------------------------------------------------------------------------------------------- 4
Resolving Powerving Power------------------------------------------------------------------------------------------------------- 4
Image quality ------------------------------------------------------------------------------------------------------------------------ 6
Grayscales--------------------------------------------------------------------------------------------------------------------------- 7
Color Reproduction ---------------------------------------------------------------------------------------------------------------- 7
Current Leak------------------------------------------------------------------------------------------------------------------------- 8
BC Lock voltage --------------------------------------------------------------------------------------------------------------------- 8
Page 2
(2186)
2
Condition of Measure and Appreciation
Basically maesure and appreciation at the blow condition. But it is allowed to use another condition as long as
not to influence the examination results.
(The concrete settings refer to the opelationmanuals of the PC or monitor.)
1. Settings of Screen Area and Colors (System settings of PC)
Macintosh Windows
Screen Area
Colors
Mac: Control panel ‐ Monitor & sounds ‐ Monitor ‐ Contrast of colors and Resolution.
Win: Conrtol panel ‐ display ‐ property of display ‐ detail of display ‐ Color palette and Field of
desktop.
2. Settings of monitor size
Adjust size and position of monitor adjustment menu as the center glay scale width of monitor calibra-
tion image.
(Moni1.PSD: file from the 2186 Adjustment Program CD) is about 80mm at 100% display.
After above adjustment, the length of a diagonal line of the monitors display erea is below.
17 inch type monitor 1024x768 pixels 1024x768 pixels
20 inch type monitor 1152x870 pixels 1152x864 pixels
16.7 million colors True Color (24-bit) or True Color (32-bit)
17 inch ty pe monitor: About 393mm
20 inch ty pe monitor: About 462mm
3. Gamma Settings ( Mac system set up)
Control panel- Color settings of Monitor ‐ Set Color Sync. Profiles of the monitor you use.
4. Settings of monitor color temparature, brightness, contrast
Color temparature of the monitor: 6500K
At monitor calibration image (Moni1.PSD: file from the 2186 Adjustment Program CD), adjust brightness and contrast as the difference between 0 and 5, 255 and 250 of RGB are recognized slightly and the
CHECK LIST
difference between 0 and 10, 255 and 245 of RGB are recognized distinctly.
5. Surroundings
Perpendicular illuminance to the monitor surface is less than 200lux.
There is no reflects such as flourescent on the monitor surface.
Settings of Photoshop
1. Photoshop ver for measurement and appriciation
Photoshop ver for measurement and appriciation are from ver.4 to ver.7.
When use newer versions than Photoshop 5, set up color setting as 2.
(For Photoshop4, no need to set up especially.)
2. Color setting of newer versions than Photoshop 5
For Photoshop5, Default Color Setting is sRGB. This setting convert RGB data when open images.
So you must set up below setting. (This is unrelated for Phtoshop4.)
Macintosh:
RGB Custom
Gamma 1.8
White point Custom (Custom v alue x=0.312, y=0. 329)
Primaries Trinitoron
Monitor Display Using M onitor Com pensation OFF
Windows:
RGB Custom
Gamma 2.2
White point Custom (Custom value x=0.312, y=0 .329)
Primaries Trinitoron
Monitor Display Using M onitor Com pensation OFF
Page 3
CHECK LIST
3.Image cache memory setting
∞
Edit ‐ Preferences - Memory & Image cache... ‐ Check off Use cache for histgrams
Screen Dust
1. Measure Equipment: Photoshop
(2186)
3
2. Capture Condition:
3. How to measure:
1). Stick to a luminance box and capture, and open in PC.
2). with 33.3% magnification, select Image > Color compensation > Level compensation in Photoshop,
set the Input level to 32 1 233 to confirm whether any stains can be seen on the screen.
4. Quality Regulations:
When stain is admitted, follows the following judgment standards, when setting Iput level of level
Conpensation (select Image > Color compensation > level compensation in Photoshop to 32 1 233.
When you measure L* stain and its peripheral, L* ratio must be 1.3% or less.
L* ratio = (L* around stain bristletail ‐ L* at stain bristletail position)/ L* around stain bristletail ×
100 ≦ 1.3
Light source Luminance Box
Illumination EV10
Lens 2613
Capture Distance Stick a lenz to a luminance box.
Exposure Mode A mode (F11)
WB Preset ( A light source)
Focus
Image Size 3008x2000 (L)
Compression Mode Fine or Std.
position
5. Do the cleaning on the CCD, when users point out the dust on the CCD.
*It is easy to find the dust on screen by using "Auto Levels" of Adobe Photoshop.
This command is located in the "Adjustment" sub-menu in the "Image" menu.
Page 4

(2186)
g
BBBB
BBBB
y
pp
y
pp
4
Standard
Exposure Manual Shutter-speed Manual Shutter-speed
SS
1/4000 0.244 0.156 - 0.383
1/2000 0.488 0.333 - 0.714
1/1000 0.977 0.793 - 1.202
1/500 1.950 1.590 - 2.40
1/250 3.910 3.17 - 4.81
1/125 7.810 6.35 - 9.62
1/60 15.60 12.7 - 19.2
1/30 31.30 29.2 - 33.5
1/15 62.50 58.3 - 67.0
1/8 125 117 - 134
1/4 250 233 - 268
1/2 500 467 - 539
X-sync Time Lag X-sync delay time
Shutter speed Item Allowance
1/160 (AS-OFF )
1/125 (AS-ON)
Period
(ms)
X-s
From X ON to the 2nd curtain a
X-s
From X ON to the 2nd curtain a
Tolerance
(ms)
nc delay time 0.5 ms or longer
nc delay time 0.9 ms or longer
Allowable
ran
e
With in
0.45EV
With in
0.30EV
Exposure variation
Difference between Max.
and Min. value among range
A, B, and C: within ±0.6EV
Difference between range A
& B, B & C: within ±0.3EV
earance 2.0 ms or longer
earance 2.0 ms or longer
Resolving Power Required Equipment
CHECK LIST
PC (Adobe Photoshop installed)
2766 Resolving Power Chart (W)
LENS: 2613
Fluorescent Stand SQ967W
CF card
AC adapter (AC-11)
Tripod
* 2766 Resolving Power Chart (W) contains 3 charts. Set the A-chart at the center,
then set the B-charts at its both side. (Align 3 charts with the positioning lines
on them.)
AAAA
Page 5

CHECK LIST
(2186)
p
p
pp
Check
1. Insert the CF card in the cart slot of the camera, and set the camera on the
tripod.
2. Set up the equipment and distance as shown on the following table.
Image size 3008x2000 ( L ) o r 2256x1496 (M)
ression Mode Fine or Std.
Com
osure Mode A mode (Aperture full open)
Ex
Focus Mode Auto Focus
Flash Mode Cancell
Distance A
3. Capture the charts (for Wide-angle) at the when focusing from both ∞ and near
end for 5 times.
* Light up the chart (center and 4 corners) with the fluorescent stand SQ967W
(inverter fluorescent light)). The dim lighting may result in the incorrect
reading due to low contrast.
If the amount of the light is insufficient, capture each half separately.
rox. 3m (Using Standard len s 2613)
5
4. Open the images with Adobe Photoshop on PC, check the resolving power.
* Do not apply any image correction to test images on Photoshop. (Image
correction such as contrast, tone Curves compensation or histogram operation
may cause incorrect reading.)
* All the 10 pictures taken should have resolving power as below when read
under magnification of 2.5X.
Standard Center: 884 lines or greater
Moreover, satisfy the following about the scene of resolving power best among
ten scenes.
Standard Center: 1400 lines or greater/ Corners: 775 lines or greater
Reading
A 1400 G 800
B 1300 H 700
C 1200 I 600
D 1100 J 500
E 1000 K 400
F 900
Number of lines
(television resolution)
Reading
Number of lines
(television resolution)
Page 6

(2186)
y
p
play
pping
6
Image quality
Check Grayscales and Color Reproduction to verify performance.
Capture images with the given condition and save them to a computer , and then
read the color data with the Color Calculator 2 (2766-0008-75).
Color Calculator 2 Installation
1. Load the Color Calculator 2 CD-ROM to the computer .
2. Click on English folder in the CD-ROM.
3. Double-click on SET UP.exe. The installer program starts automatically .
4. Continue the installation according to the screen until "Finish" appears.
Using Color Calculator 2
1. Click Program in Start menu, and click on "Color Calculator".
2. Click on Read Image button and select the desired image in Select Image
window.
3. Set the modes as below.
Check Item
Chart
Color S
Color Dis
Calculate Mode Multi Area
Cro
ace sRGB
Mode RGB+L*a*b*
Area Size 20×20 Pixel
Gra
scales, Color reproduction
Macbeth Color Checker
CHECK LIST
4. In Multi Area mode, click and drag the edge of the frame to select the entire
color chart.
5. Click on Calculate button. Data calculation starts, and the result is listed in
the right window.
Multi Area mode: The average readings for each of 24 areas are listed.
Center Single Area: The average reading for the center area is listed.
Macbeth Color Checker
LS
BGRYMC
123456
Page 7

CHECK LIST
Grayscales
(
)
(
)
(
)
(2186)
Measuring Condition
Chart: Macbeth Color Checker
Light Source: Light Source-A (Tungsten) 6500+/-100 lux.
Lens: Attach the lens (#2163) be sure to set the chart right in front of the camera
so that the chart center aligns with the optical axis.
Distance (from the subject): 1.5m
Focus: MF (1.5m)
WB: Preset A light source
Image size: 3008x2000 (L), 2256x1496 (M) or 1504x1000 (S)
Compression Ratio: Std.
Exposure Condition: Proper Exposure
Standard
Read L* value of each square, and confirm all readings suffice the standard.
Chart L*
White
1
2 82.1 ± 10
3 67.5 ± 10
Gray
4
5 28.9 ± 10
Black
6
93.8 ± 5
51.2 ± 10
10.7 ± 10
7
Color Reproduction
Measuring Condition
Chart: Macbeth Color Checker
Light Source: Light Source-A (Tungsten) 6500+/-100 lux.,
Light source-C (Light source-A + LB B16 filter) 600+/-200lux,
White Fluorescent (FL-10W) 700+/-200lux.,
Flash (Built-in)
Lens: Attach the lens (#2613) be sure to set the chart right in front of
the camera so that the chart center aligns with the optical axis.
Magnification: The taking a picture distance is adjusted with the focal length so
that the width of the wide area AF display is corresponding to as
many as four patches of Macbeth Color Checker.
White-balance: Light Source-A; Auto WB and Preset WB
Built-In flash; Auto WB
Other light source; Preset WB
Image Size: 3008x2000 (L) or 2256x1496 (M)
Compression Ratio: Fine or Std.
Exposure Condition: L* of a white patch of Macbeth color chart may become
95±5.
Standard
Read a* and b* value of each square, and confirm that all readings suffice the
standard.
The tolerance level is all ±10
Light
Source-A
WB
B 10.6 -20.3 42.6 -68.3 27.5 -51.4 31.5 -59.9 23.6 -50.5
G -28.0 45.3 -43.2 23.6 -41.3 33.6 -42.1 40.3 -33.8 29.8
R 66.1 56.9 65.9 48.4 50.8 25.9 56.2 41.1 55.4 40.4
Y 15.1 77.6 -7.2 76.2 -4.1 79.3 -3.2 84.9 -1.4 69.0
M 61.1 38.5 59.5 -15.1 49.0 -16.0 51.1 -21.6 47.4 -8.8
C -16.4 -1.6 -4.2 -43.0 -21.7 -26.7 -8.0 -36.2 -13.8 -26.0
LS 32.8 51.2 16.8 13.0 13.3 17.0 15.8 20.6 17.3 15.4
AWB Tungsten Cloudy
a* b* a* b* a* b* a* b* a* b*
Light
Source-C
White
Fluorescent
Fluorescence AWB
Flash
(Built-in)
Page 8

(2186)
(
)
)
8
Current Leak
Main Switch
BC Lock voltage
Current leak (7.4 volts/ 3 A) (Using Power Supply Adapter <2755-0005-75>
Standard
Item
OFF
ON
BC lock voltage (Using Power Supply Adapter for 2766 <2766-0013-76>)
Lock 6.8V
Unlock 7.4V (With 0.5 oh m attac hment yello w plug
Back LCD APO status
Standby status 700 micro A or b e lo w 450 micro A o r below
Item Standard
With attach m ent black plu g
OTP Mask
100 micro A or b e lo w
300 mA or below
CHECK LIST
 Loading...